Speed Graph Editor - Ae Style Speed Graph
 Oculis Studio

BLENDER ADD-ON · DOCUMENTATION
Speed Graph Editor
Keyframes decide where. The graph decides how it gets there.
v1.0.0 · Blender 4.2+ · Oculis.studios
ONE CURVE · EVERY CHANNELNON-DESTRUCTIVEBLENDER 4.2+
CONTENTS
| 1. Install | 7. Presets |
| 2. How it works | 8. Points and handles |
| 3. Getting started | 9. Ghost trail |
| 4. The panel | 10. Restoring and saving |
| 5. The graph | 11. Tips |
| 6. Timing | 12. Limitations |
01
Install
1. In Blender: Edit → Preferences → Add-ons → Install from Disk…
2. Choose speed_graph_editor.zip.
3. Enable Animation: Speed Graph Editor.
4. In the 3D viewport press N and open the Speed tab.
It ships as an extension package, so it installs the same way on every supported version — 4.2 LTS, 4.5 LTS, 5.0 and 5.2 LTS included.
02
How it works
Keyframes fix the timing of an animation — where it is at a given moment. The graph fixes the spacing — how the in-between frames distribute. Two animations can have identical keyframes on identical frames and feel completely different, and that difference is entirely spacing.
The curve is a multiplier. 1.0× means the speed you authored. Its cumulative integral maps each output frame back to a moment in your source animation, and your keyframes never move.
That integral is normalised, which is what conserves the area under the curve. Push one part up and the animation has to give that time back somewhere else — the same behaviour as the After Effects speed graph, and a direct consequence of the keyframe values being fixed.
A point set to 3.0× does not make the object three times faster. With Lock Duration on, the real multiplier is the curve's peak divided by the curve's own average — a 3.0× peak on a curve averaging 2.17 buys 1.38× of actual speed.
For more contrast, push the rest of the curve down rather than the peak up. The measured ramp exists to close exactly this gap: it shows what the object really does, in real units.
03
Getting started
Works on any object with an action — location, rotation, scale, custom properties, anything with keyframes. All channels retime together from the one curve.
1. Select the object.
2. N → Speed tab → Set Up Speed Graph.
3. Drag a point. The motion rebuilds live and the playhead follows, so you see the frame you are shaping.
4. Press Space. That is where it reads.
Your animation is copied to a *_SGSource action with a fake user, and a working *_Retimed action takes its place. From then on the source is the truth, and the retimed action is rebuilt from it on every change.
Want to feel it first? Build Demo Scene makes a cube moving and spinning across 60 frames, already set up.
04
The panel
Everything lives in 3D Viewport → N-panel → Speed.
| Speed Graph | Set Up, the target object, Flatten, Apply, Restore Original, Build Demo Scene |
| Timing | Lock Duration, Speed, Live |
| Presets | The eight curve shapes, plus Constant |
| Point | Whatever the playhead is over — frame, multiplier, Add and Delete |
| Curve | Interpolation mode and, in Bezier, the handle types |
| Ghost Trail | The onion-skin stamps and the compare-with-original options |
| Display | Show Graph, Show Measured Ramp, Scrub On Grab, Follow Playhead, Sync Scene Range, View Top, and the graph's size and position. Collapsed by default |
05
The graph
A flat line at 1.0× is your animation untouched. Everything else is relative to that.
| Drag a point | Reshape the curve. The playhead follows, so you see the frame you are changing |
| Drag the background | Scrub the timeline |
| Ctrl + click | Add a point |
| X | Delete the point under the cursor |
| Ctrl while dragging | Snap speed to 0.25 steps |
| Right-click / Esc | Cancel the drag |
Endpoints move vertically but not horizontally — they are the start and end of the animation.
Reading it
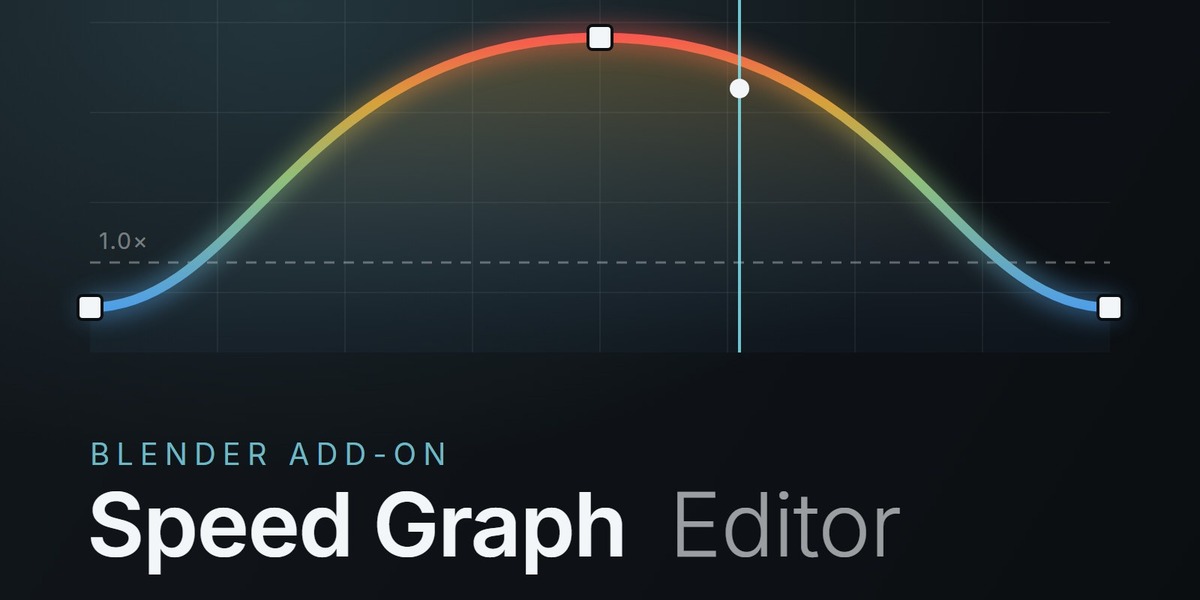
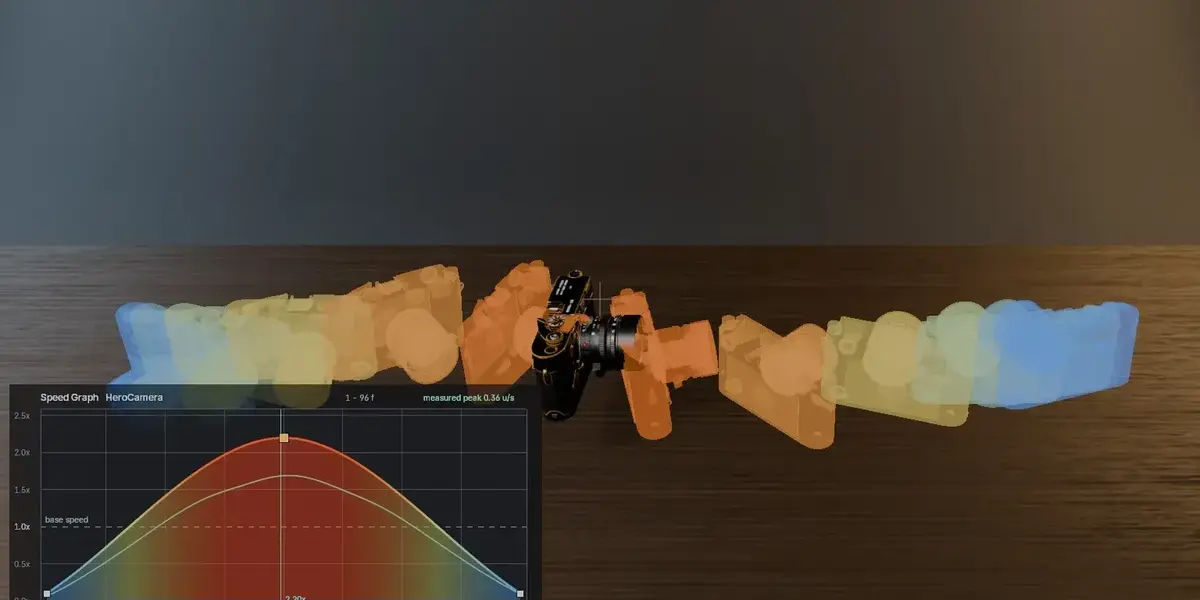
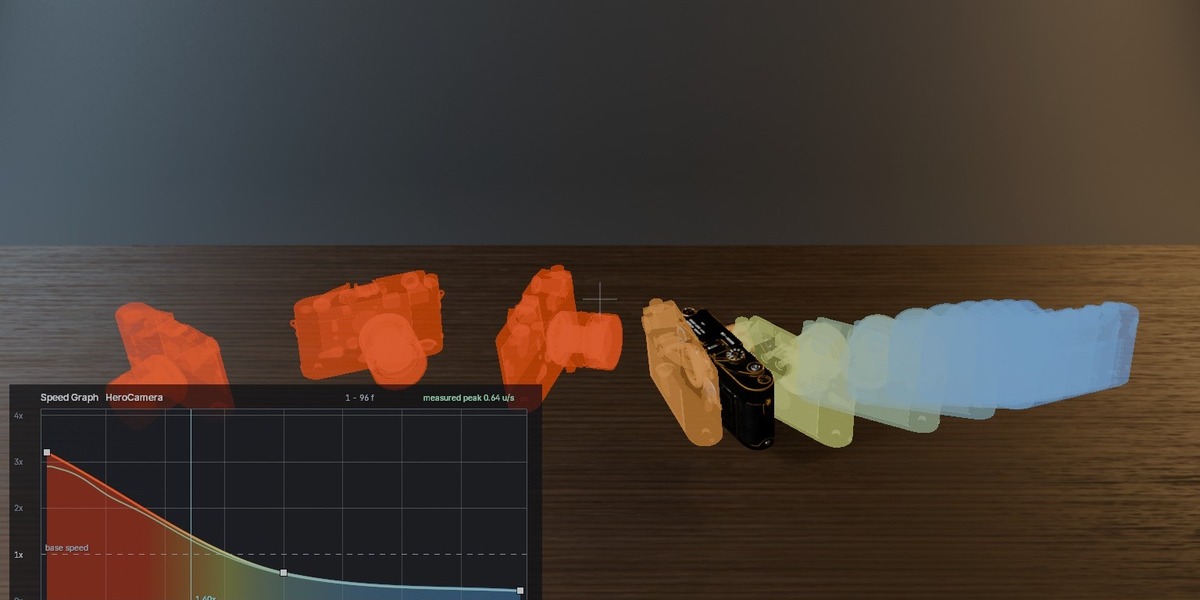
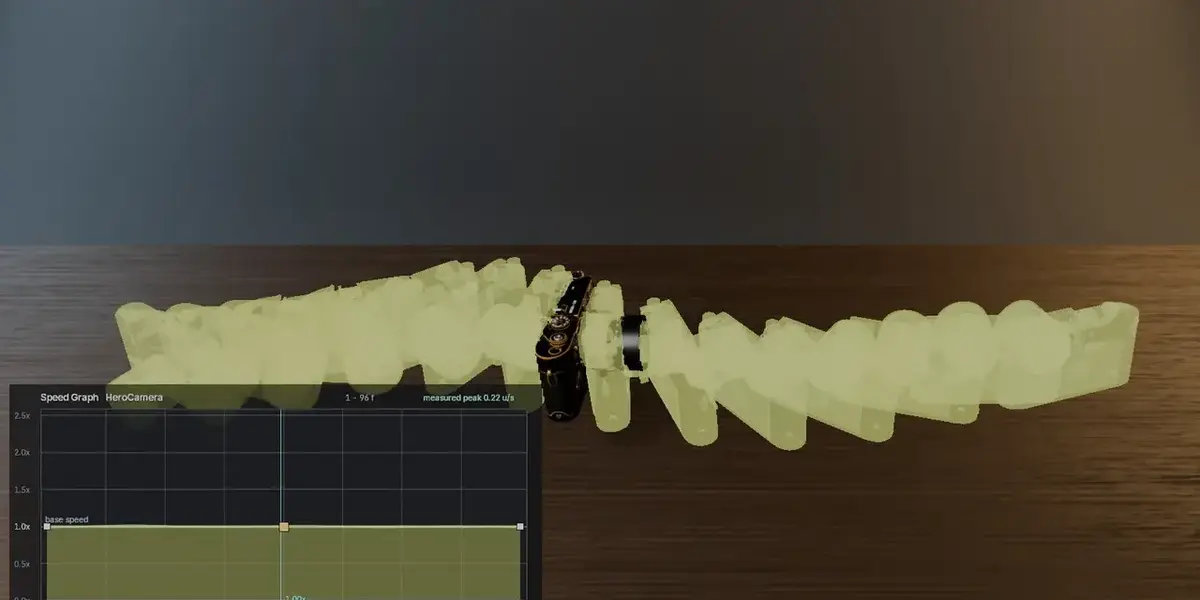
Dashed line at 1.0× — base speed, the flat shape every animation starts as.
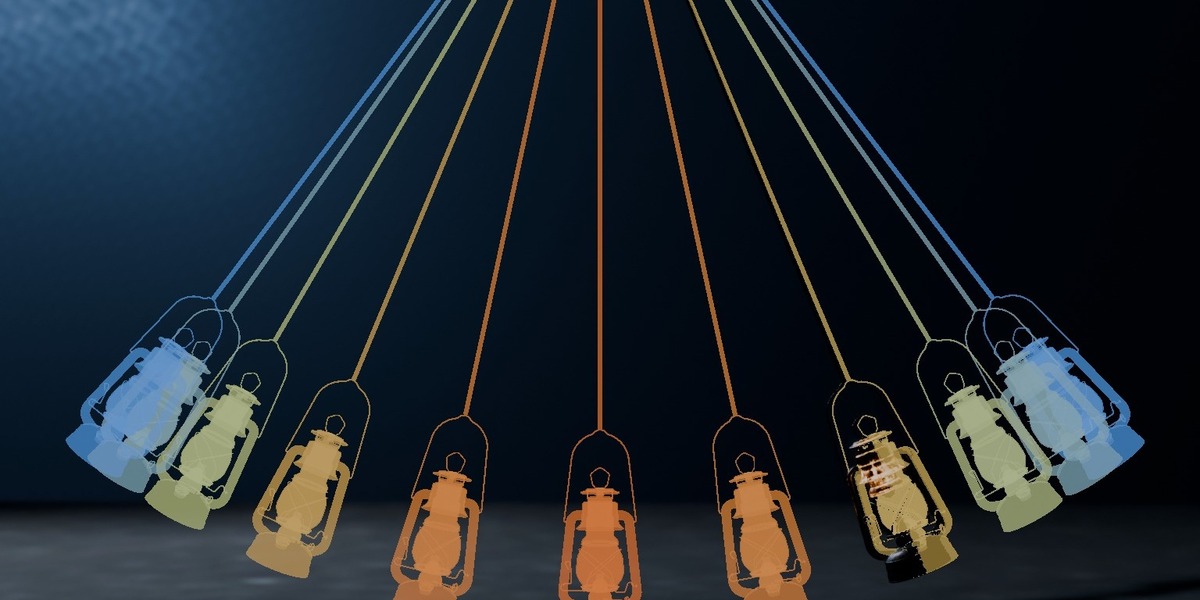
Colour — blue below 1×, gold at 1×, red beyond 2×. Keyed to base speed rather than to the view, so it means the same thing at any zoom.
Filled area — more area means more of the animation spent there.
Teal line — the measured ramp: the object's real speed in scene units per second, scaled by its own average so it shares the 1.0× axis with your curve.
Cyan line — the playhead, labelled with the current multiplier.
View Top and Fit View
The vertical range of the graph. Anything above it is pinned to the top edge, where you can neither see nor grab it. Fit View, the icon beside View Top, frames whichever is taller — your curve or the measured ramp.
Speed goes to 100×. The slider stops at 6 by feel, but you can drag or type straight past it.
Size and position
Width, Height, X and Y in the Display panel place the graph in the viewport. They are interface units rather than raw pixels — multiplied by Preferences → Interface → Resolution Scale — so one setting reads the same on a 1080p display and on a HiDPI one.
06
Timing
| Lock Duration | On by default. The animation keeps its original length, so shape only redistributes time |
| Speed | Active only with Lock Duration off. Changes the real duration — 2× makes a 60-frame animation take 30 |
| Sync Scene Range | The scene's start and end follow the retimed range |
| Live | On by default. Rebuilds on every change. Turn it off and rebuild by hand with Apply |
07
Presets
Eight shapes, named after how editors actually describe them.
| Ease In & Out | Slow at both ends, quick through the middle — the F9 shape |
| Slow Start | Creeps in, then runs away |
| Slow End | Arrives fast and settles — good for a closing shot |
| Snappy | Hard move up front, long soft settle |
| Fast Slow Fast | Quick in, hangs, quick out — carries one clip into the next |
| Hold Middle | Runs, nearly stops, runs again |
| Whip | Barely moves, then one violent burst |
| Build | Starts gently and keeps gaining |
| Constant | Flat — back to your authored speed |
Presets set the curve shape only. They leave Lock Duration, Speed and the interpolation mode alone, and they frame themselves in the view.
08
Points and handles
The Point panel always describes what the playhead is over — the frame, the multiplier there, and whether you are on a point or between two. Scrubbing makes the point under the playhead active.
Interpolation
| Smooth | Monotone cubic through the points. Never overshoots into negative speed. No handles — this is the sane default |
| Bezier | Every point gets handles |
| Linear | Straight lines, if you want the gear change |
Handle types
| Auto | Smoothed from the neighbours. Drag a handle and it becomes Aligned |
| Aligned | Both sides stay in line — smooth through the point |
| Free | Sides move |
Have questions about this product?
Login to message
| Blender Extension Compatible | Yes |
| Published | 2 months ago |
| Blender Version | |
| Extension Type | Add-on |
| Render Engine Used | Arnold, Blender-Internal, Blender-Game-Engine, Cycles, Eevee, Freestyle, Luxrender, Mental-Ray, Octane, Vray, Yafaray |
| License | GPL |