Splat Studio
 Blendreams
Install
- You need Blender 5.3 or newer.
- Drag splat_studio-1.0.0.zip onto the Blender window, or use Edit > Preferences > Get Extensions > Install from Disk.
- Import your Gaussian splat with File > Import > PLY.
- Select the splat and open Properties > Object Data > Splat Studio.
The panel
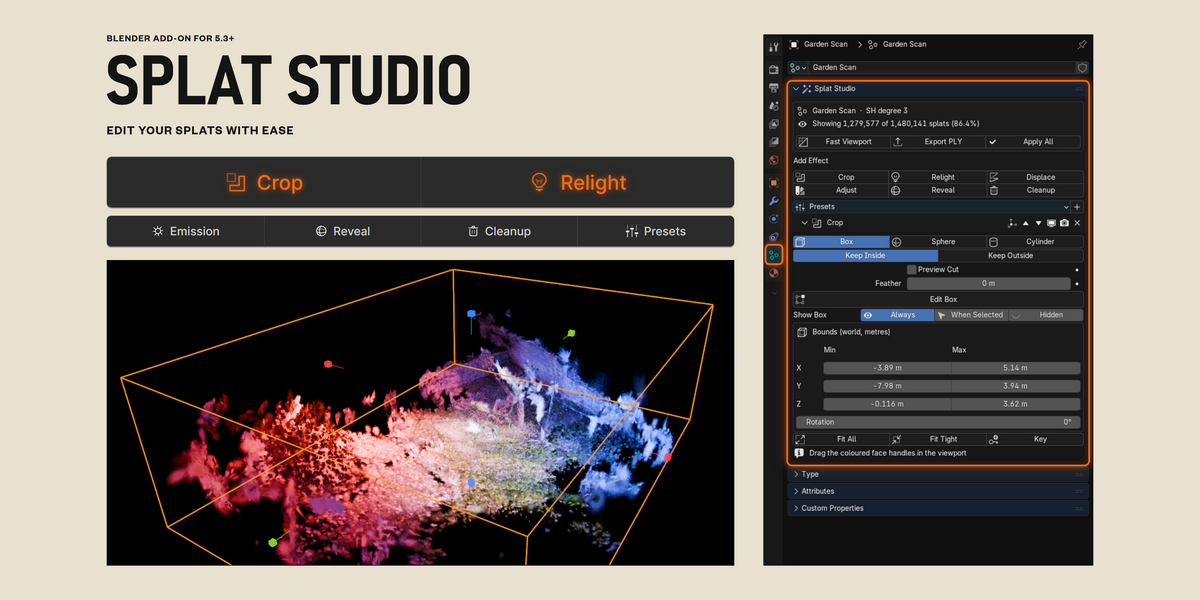
- Top box: scan info and splat count, Fast Viewport (shows a fraction of the splats while you work, renders always use all of them), Export PLY and Apply All.
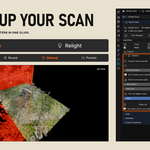
- Add Effect: Crop, Relight, Displace, Adjust, Reveal and Cleanup. Each click adds one effect to the stack.
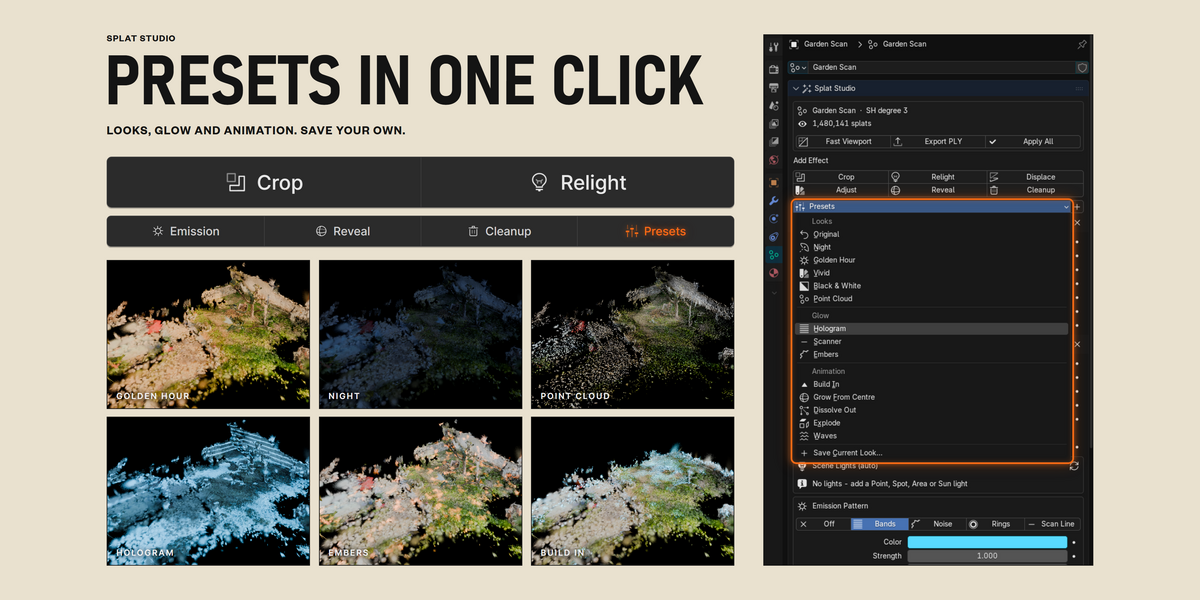
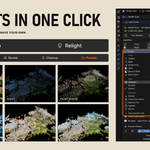
- Presets: one-click looks, glow and animation. The + button saves your current look as a preset.
- Effect headers: move up or down, show in viewport or render, and remove (X). Effects run top to bottom.
Crop
- Pick Box, Sphere or Cylinder, then Keep Inside or Keep Outside.
- Drag the coloured face handles in the viewport, or type the bounds in metres. Rotation turns the box to line up with walls.
- Fit All wraps the whole scan. Fit Tight ignores the outer 1% of stray splats.
- Preview Cut shows in red what will be removed. Feather softens the edge.
- Show Box: Always, When Selected or Hidden. Key keyframes the box.
Relight
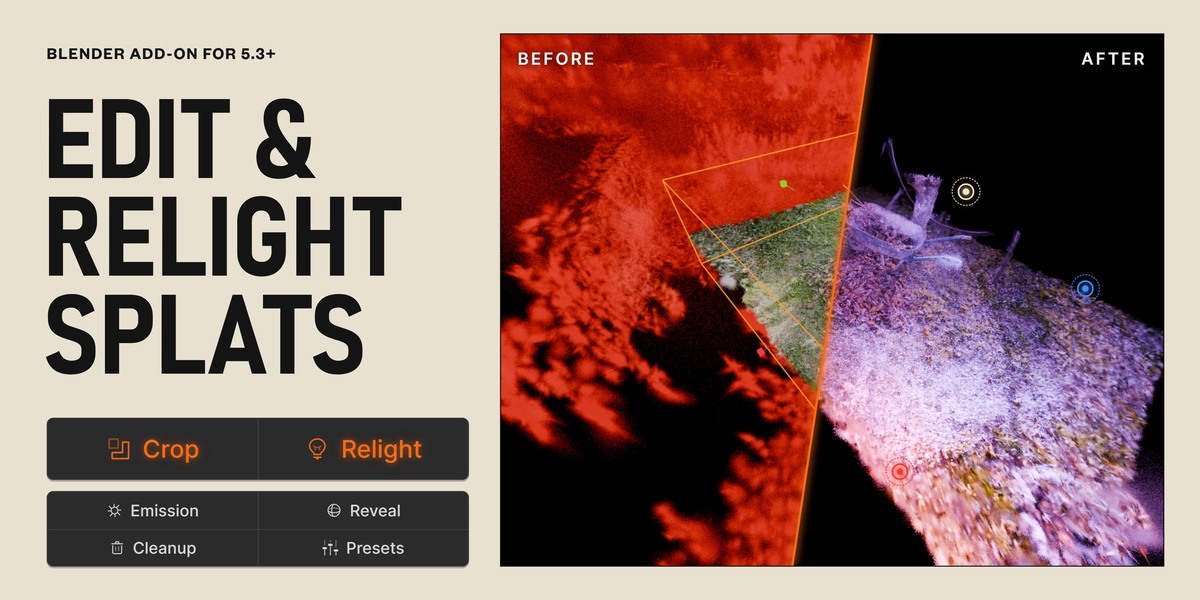
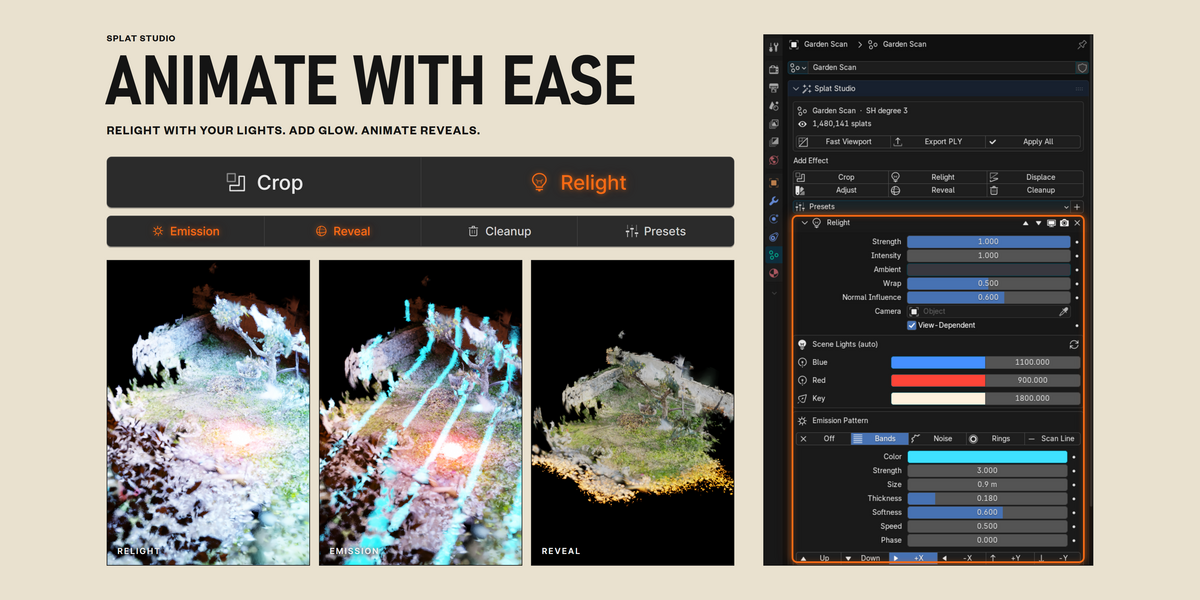
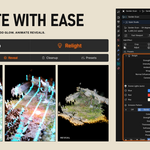
- Uses the point, spot, area and sun lights in your scene (up to 8). Add, move or animate lights and the splat follows. Scene Lights (auto) lists them, and the refresh button re-syncs.
- Strength blends between the original scan and the relit result. Ambient lifts the shadows, Wrap softens the falloff, Normal Influence sets how much splat orientation matters.
- Emission Pattern: Bands, Noise, Rings or Scan Line glowing inside the splat, with colour, strength, size, thickness, softness, speed and direction. It animates with the scene time. Set Relight Strength to 0 for emission only.
Reveal
- Sphere, Wipe or Noise. Build the scan in, or turn on Dissolve to take it away.
- One Progress slider from 0 to 1 that works on any scan size. The animate button keys it for you.
- Glowing edge with its own colour and strength.
Cleanup
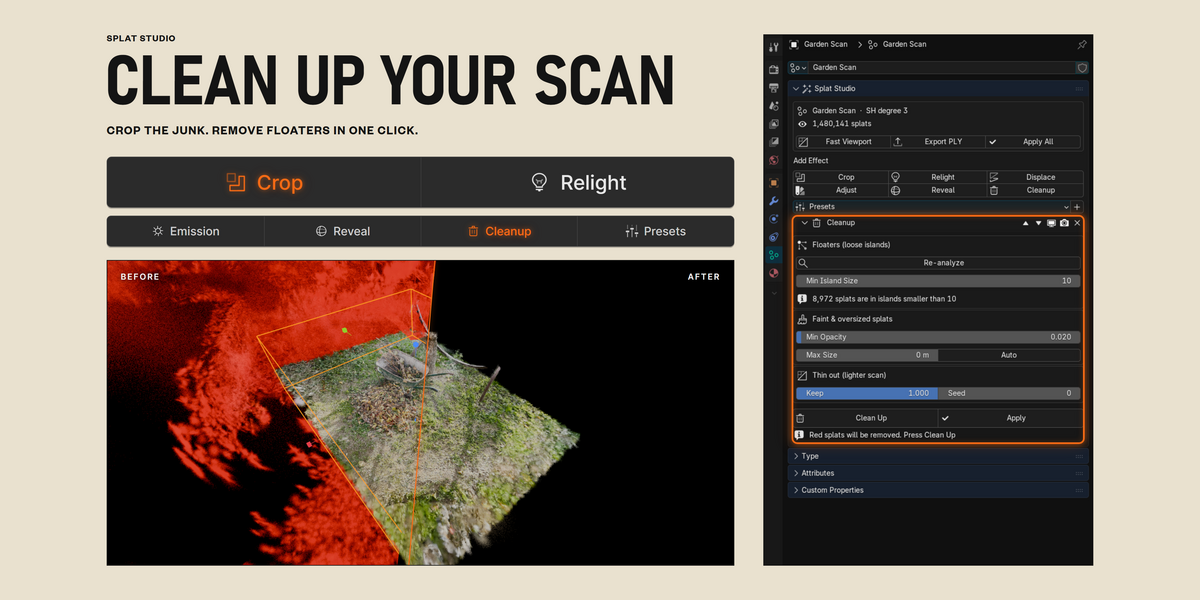
- Floaters (loose islands): Analyze, then raise Min Island Size to remove single strays and small clumps that are not attached to anything.
- Faint and oversized splats: Min Opacity and Max Size. Auto picks a good size.
- Thin out: Keep a fraction of the splats for a lighter scan.
- What will be removed shows in red with a live count. Clean Up removes it, Apply bakes only this effect.
Adjust and Displace
- Adjust: opacity, splat size, exposure, contrast, saturation, tint and view-dependent colour.
- Displace: noise warp with scale, detail and evolution, plus Explode for motion work.
Export and bake
- Export PLY writes a standard 3DGS .ply with every effect applied at the current frame, for SuperSplat, Postshot, Unreal or any splat viewer. Untick Include Effects in the export window to write the original scan instead.
- Apply All bakes every effect into the splat in Blender.
Tips
- Use Fast Viewport on big scans while you work. Renders always use every splat.
- Crop first, then Cleanup, so the analysis only looks at what you keep.
- Relighting has no shadows, so light passes through walls.
Have questions about this product?
Login to message
| Blender Extension Compatible | Yes |
| Dev Fund Contributor | |
| Published | about 1 hour ago |
| Blender Version | 5.3 |
| Extension Type | Add-on |
| Render Engine Used | Cycles, Eevee |
| License | GPL |
Discover more products like this
point cloud Relight photogrammetry 3dgs splats gaussian splats 3D Scan crop geometry nodes ply insta360 gaussian splatting