Splineweave
 Arq. Gustavo Garcia ARCHS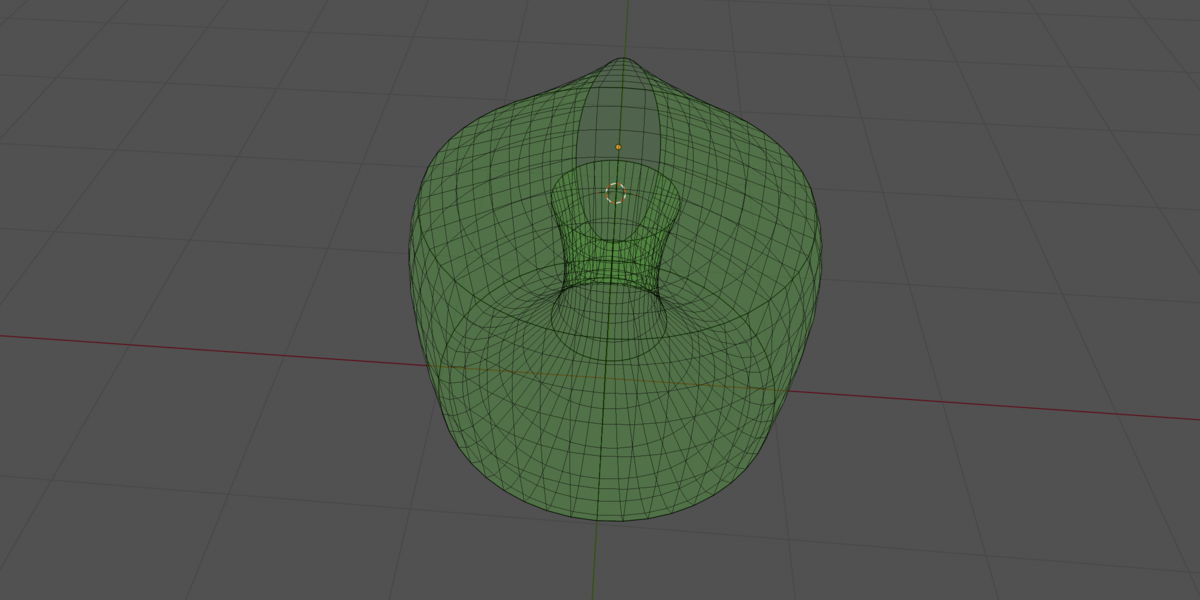
What is a Seam Mode?
When profiles are cyclic (closed), the seam defines where the loop starts. Options include Follow Previous, World X/Y/Z ±, and Object (nearest vertex to a reference object). This is critical for consistent UVs and clean surface flow.
What does "Auto Align" and "Auto Flip" do?
Because two curves may have different vertex counts or starting directions, the loft could twist or mirror unexpectedly. Auto Align rotates each section so its vertices line up with the previous one. Auto Flip also tries the reversed direction and picks the best match.
What are Snapshots?
Snapshots let you save the current loft (mesh + guide curves + all settings) and recall it later. You can mark snapshots as Favorite, set a Hero snapshot as the master reference, duplicate, filter, sort, and even load only the mesh, only the guides, or only the settings.
What is Preview Mode?
Preview Mode renders the loft live in the viewport using the GPU — no mesh is written to the scene while it is ON. Turn it OFF to bake the result into a real SplineWeave_Loft_Result mesh object.
Do I need to keep my original curves?
Not after baking. Once you press 🔥 Bake Loft to Mesh, a new permanent mesh is created with all active groups merged. The source curves are kept untouched, so you can keep tweaking or delete them at any time.
What is the difference between INTERSECTION and DIFFERENCE mode?
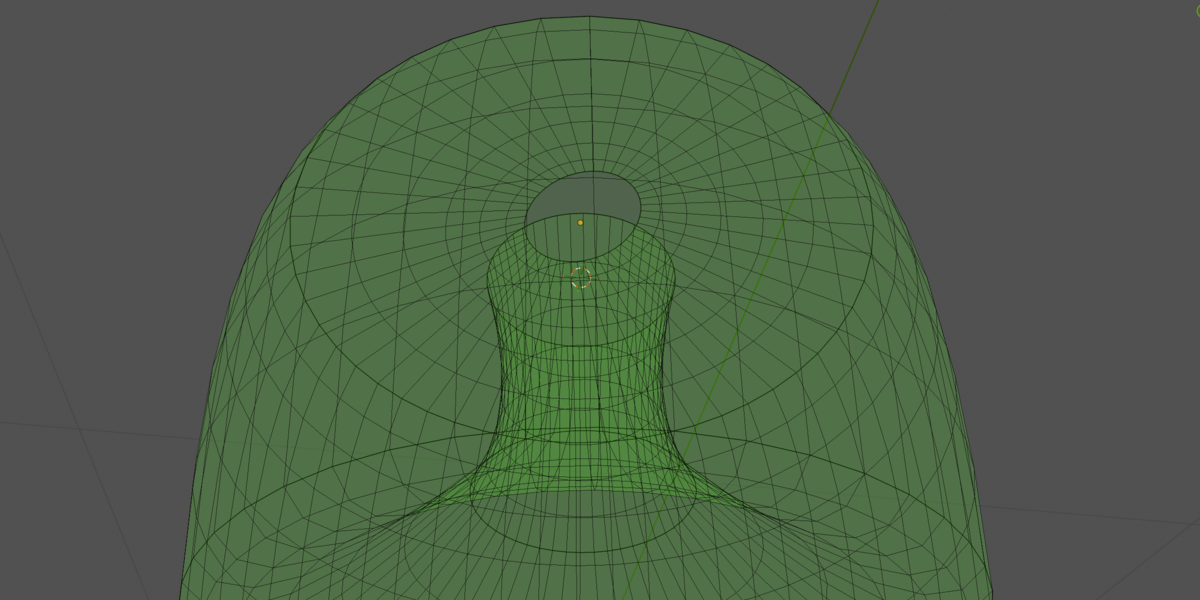
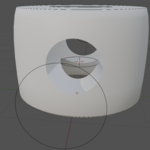
INTERSECTION (default): keeps only the geometry shared between Normal and Negative lofts — useful for clean contact patches/entry-exit caps.
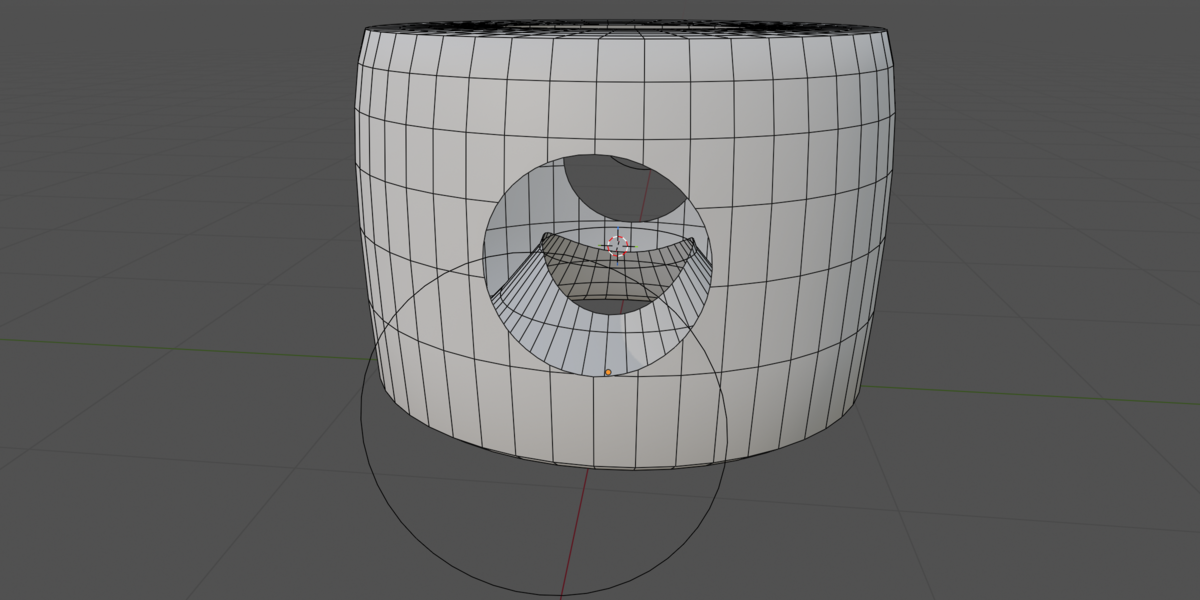
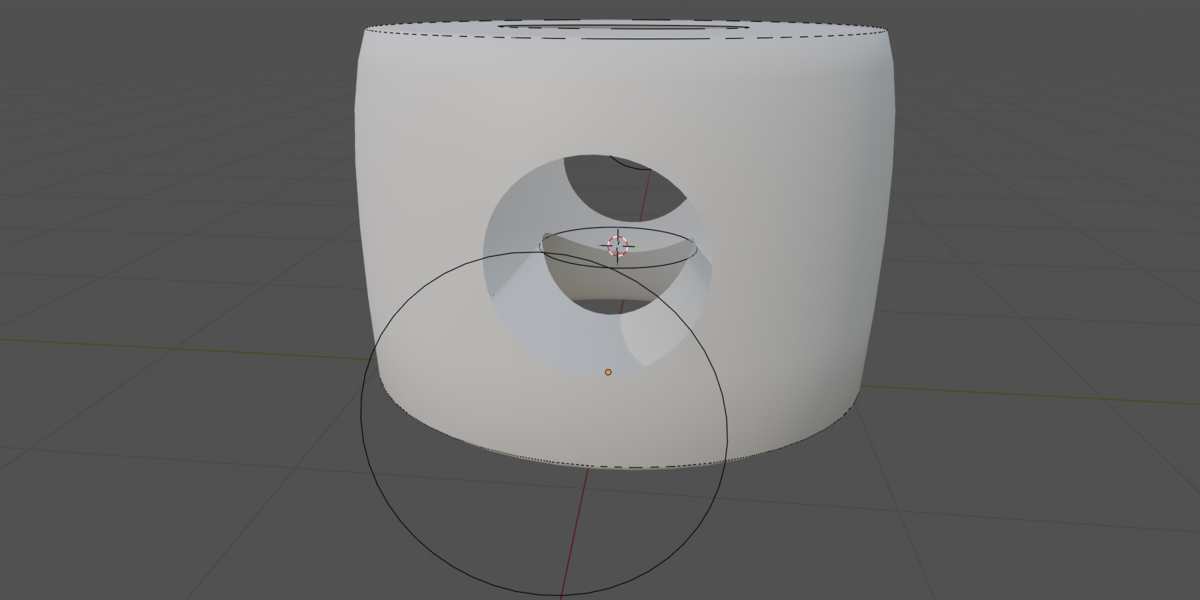
DIFFERENCE: removes the Negative volume from the Normal loft, producing actual holes. Optional Add Tunnel mode creates a full through-hole with interior walls; without it, only the two surface caps are removed.
What is a Negative Loft?
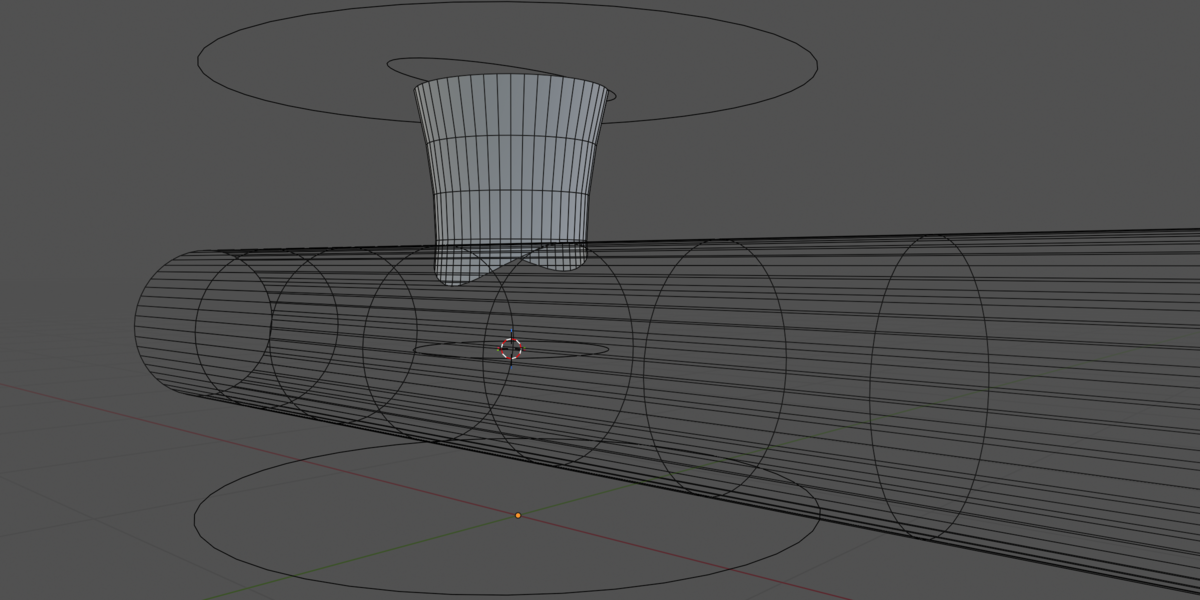
A Negative Loft is a loft marked with Operation = NEGATIVE. It acts as a Boolean cutter against all Normal Lofts. Use it to punch holes, tunnels, or subtract volumes without leaving Blender.
What is a "Loft Group"?
A Loft Group is an independent container of curves + settings. You can have many groups in the same scene, each with its own profiles, twist, grid, corner rules and operation (Normal/Negative). All groups are combined when you bake or preview.
How do I create my first loft?
1. Create two or more Curve objects in the scene.
2. Select them all.
3. Click ➕ Add Selected Curves in the SplineWeave panel.
4. The loft is generated automatically (or start Preview: ON for live interaction).
How do I open the add-on panel?
Enable the add-on in Edit → Preferences → Add-ons, then in the 3D Viewport press N to open the sidebar and click the SplineWeave tab.
Which Blender version do I need?
Blender 4.0.0 or newer. The add-on uses modern APls ( temp_override, GPU shader built-ins, PropertyGroup annotations) that are not available in 3.x.
What is SplineWeave?
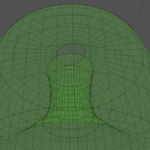
SplineWeave is an interactive loft engine for Blender that generates smooth surfaces between two or more curve profiles. It automatically resamples vertices across mixed profiles, supports multiple independent loft groups, negative (boolean cutter) lofts, live GPU preview, twist/grid patterns, corner smoothing controls, and one-click mesh baking.
$10
 Included
Includes 12 months of
- Support from Arq. Gustavo Garcia ARCHS
- Product updates
Extend this product’s Support Period +12 months: 75% of product price
Have questions before purchasing?
Login to message
| Blender Extension Compatible | Yes |
| Published | about 9 hours ago |
| Blender Version | 4.0 - 5.2 |
| Extension Type | Add-on |
| Render Engine Used | Arnold, Blender-Internal, Blender-Game-Engine, Cycles, Eevee, Freestyle, Luxrender, Mental-Ray, Octane, Vray, Yafaray |
| License | GPL |
