Staircase Generator
 multlabs
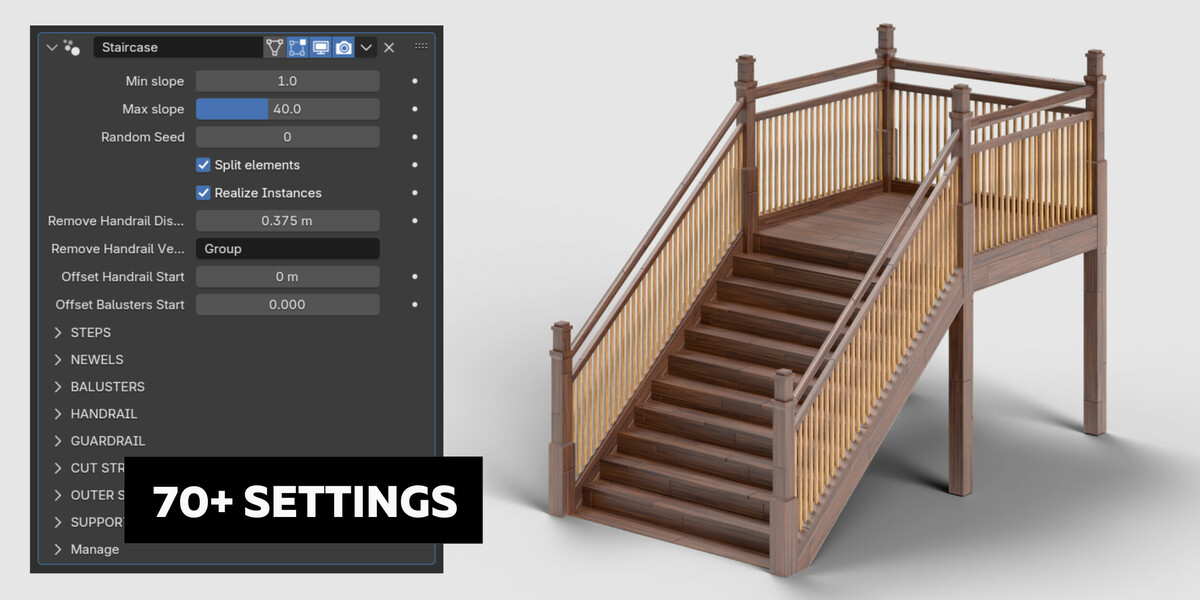
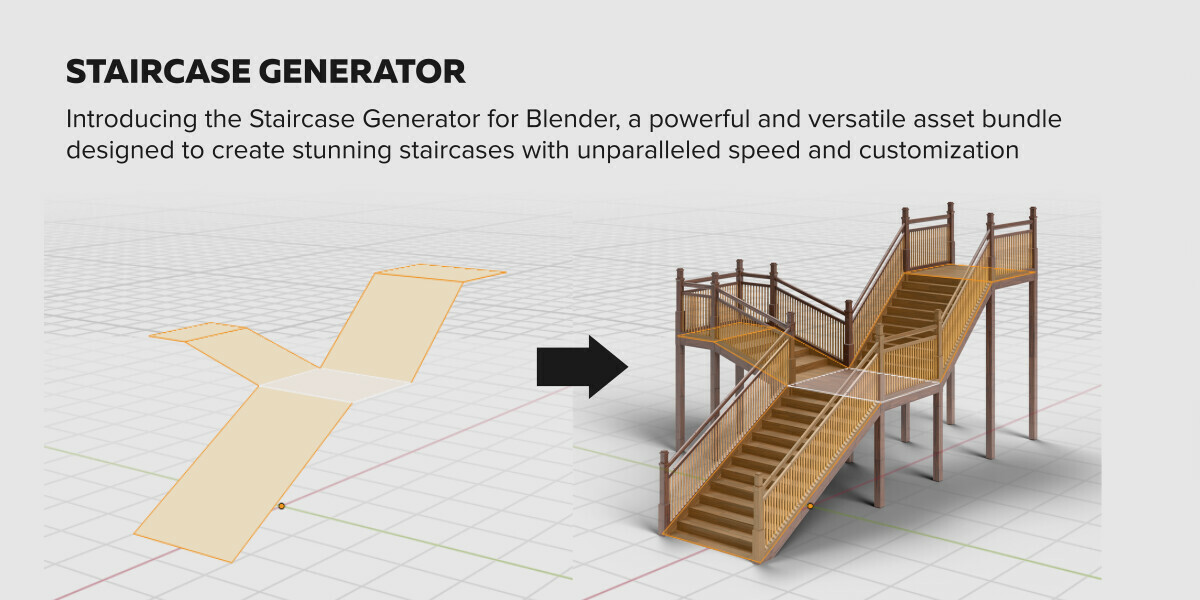
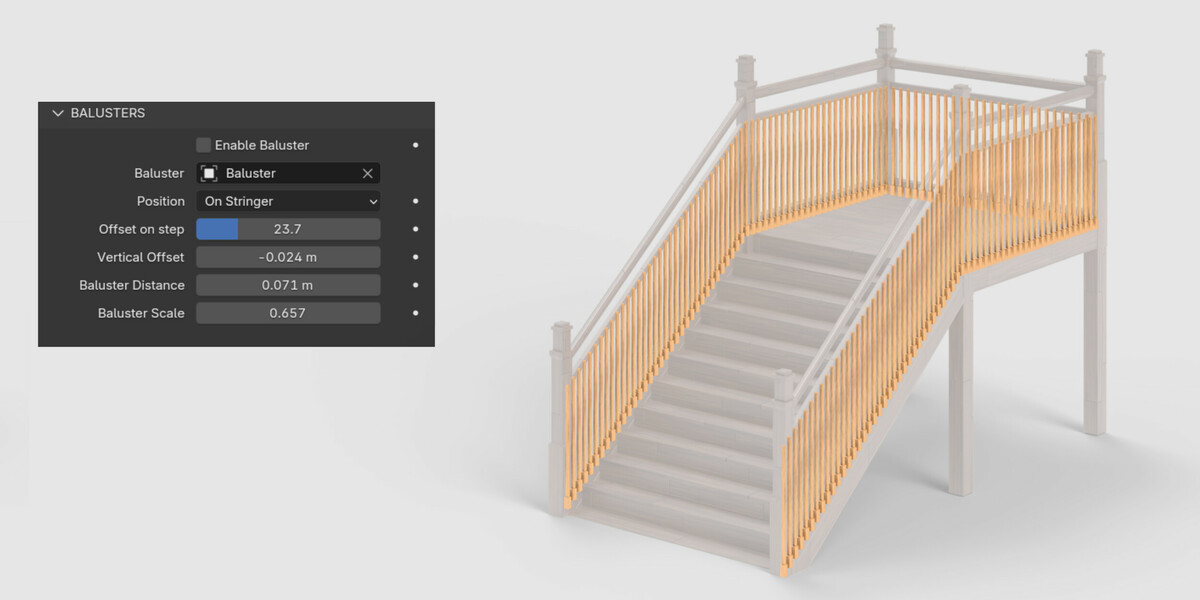
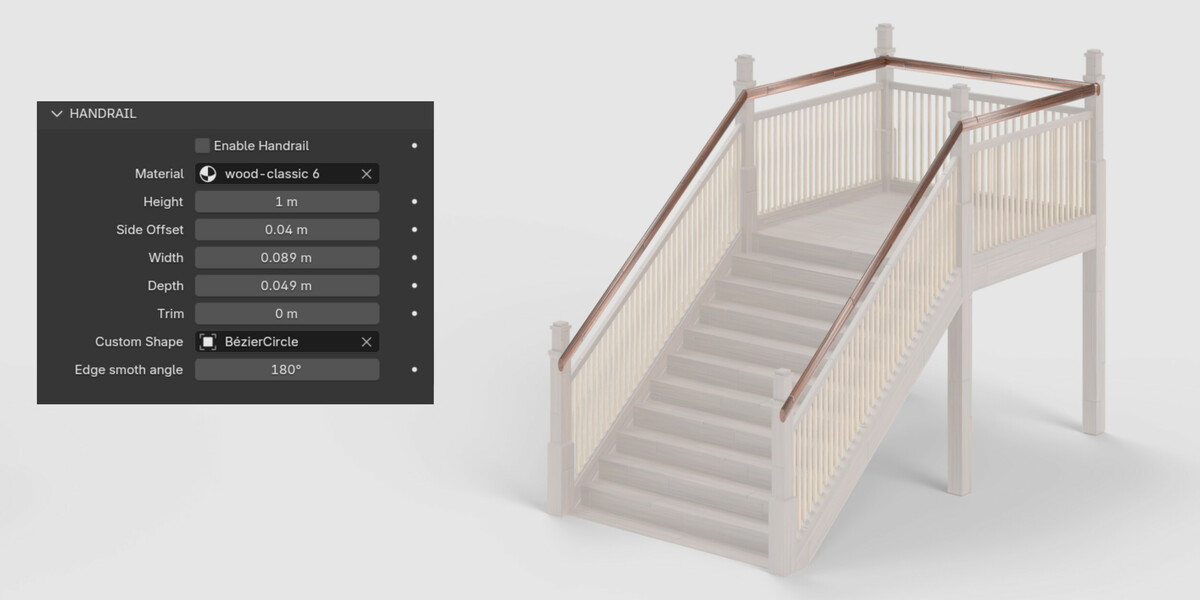
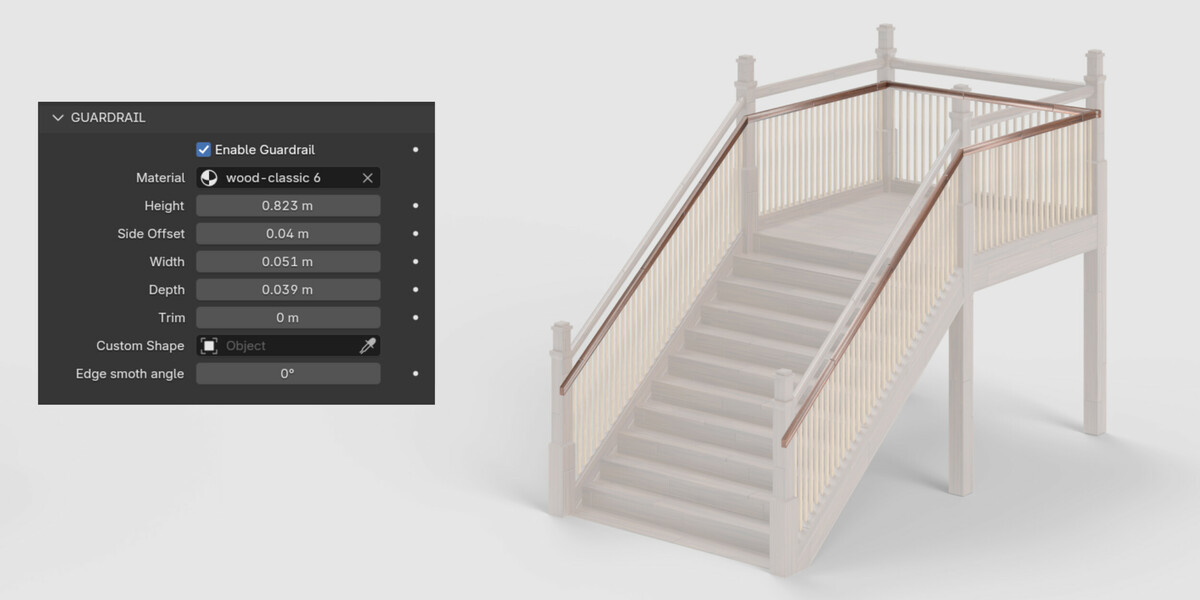
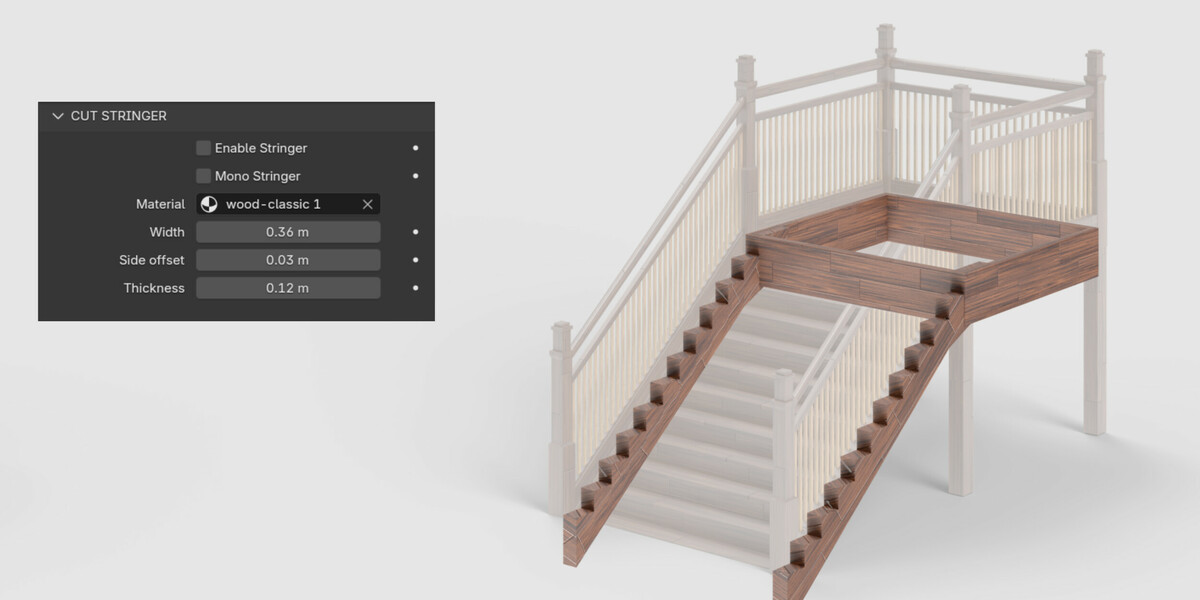

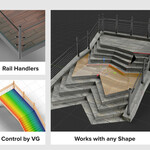
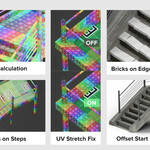
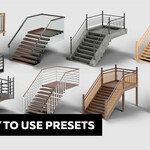
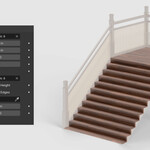
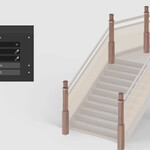
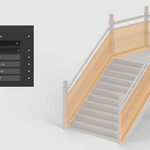
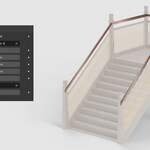
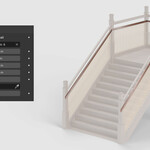
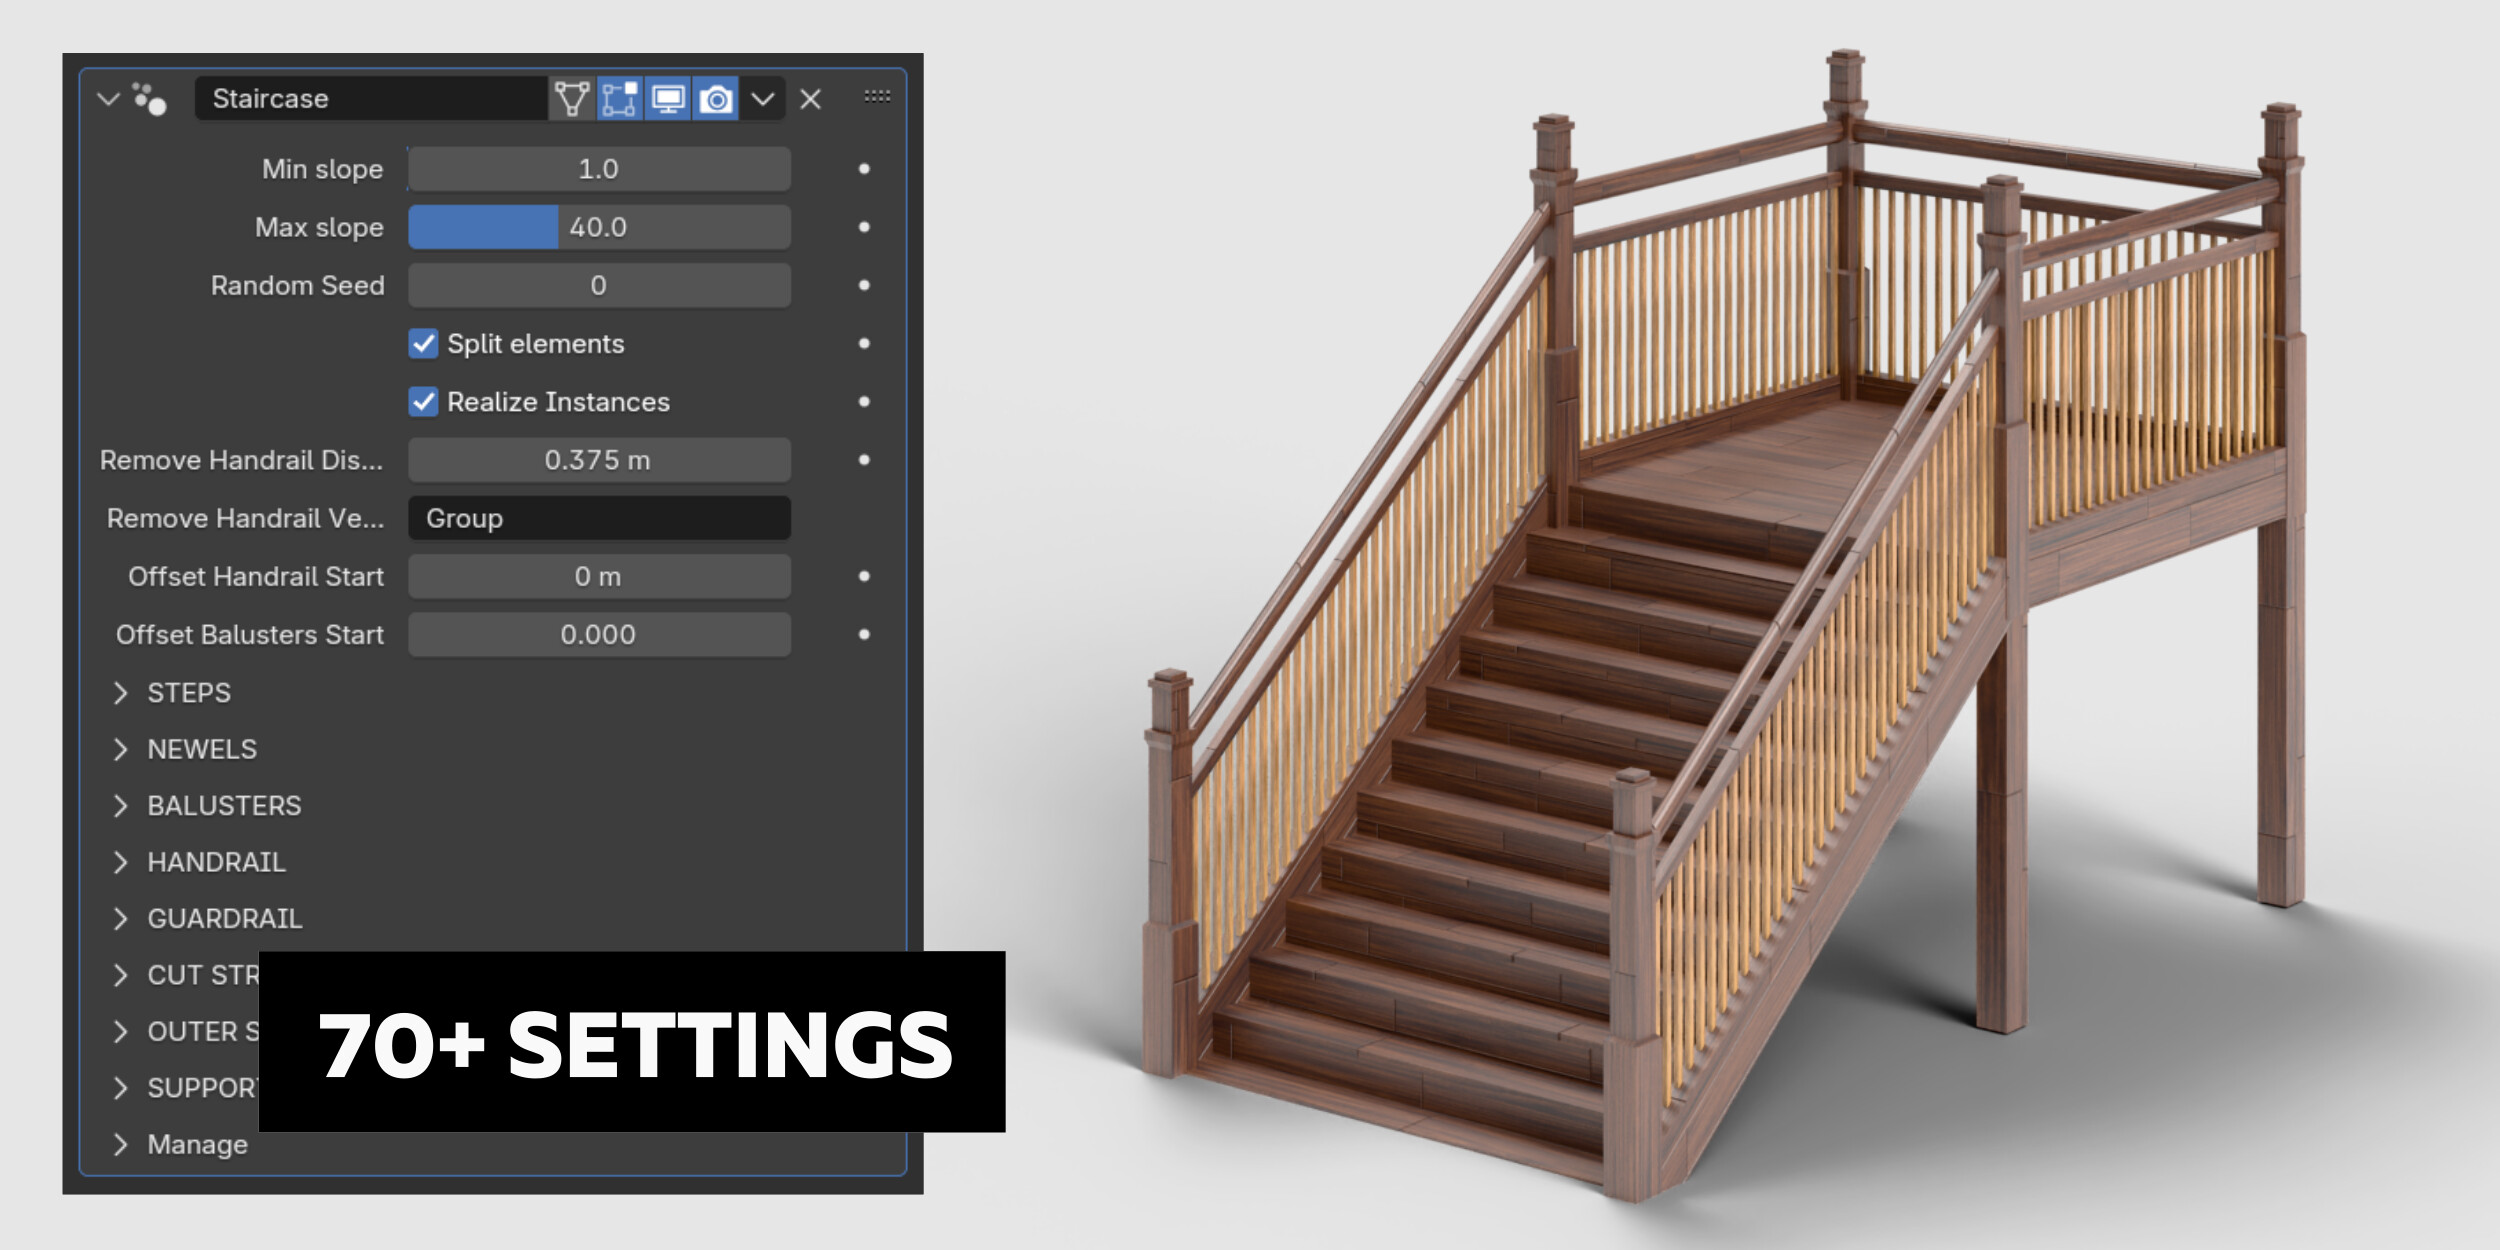
How to install.
Download the bundle file and open it. Inside, click "copy bundle to asset library". After copying the file, the assets will be available in the asset browser.
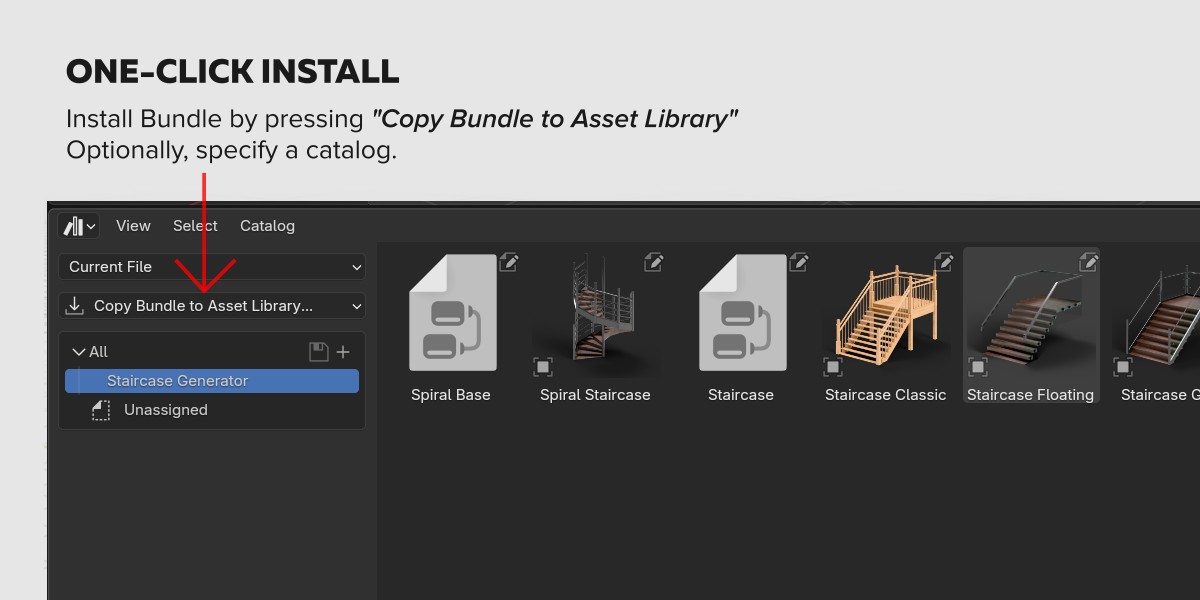
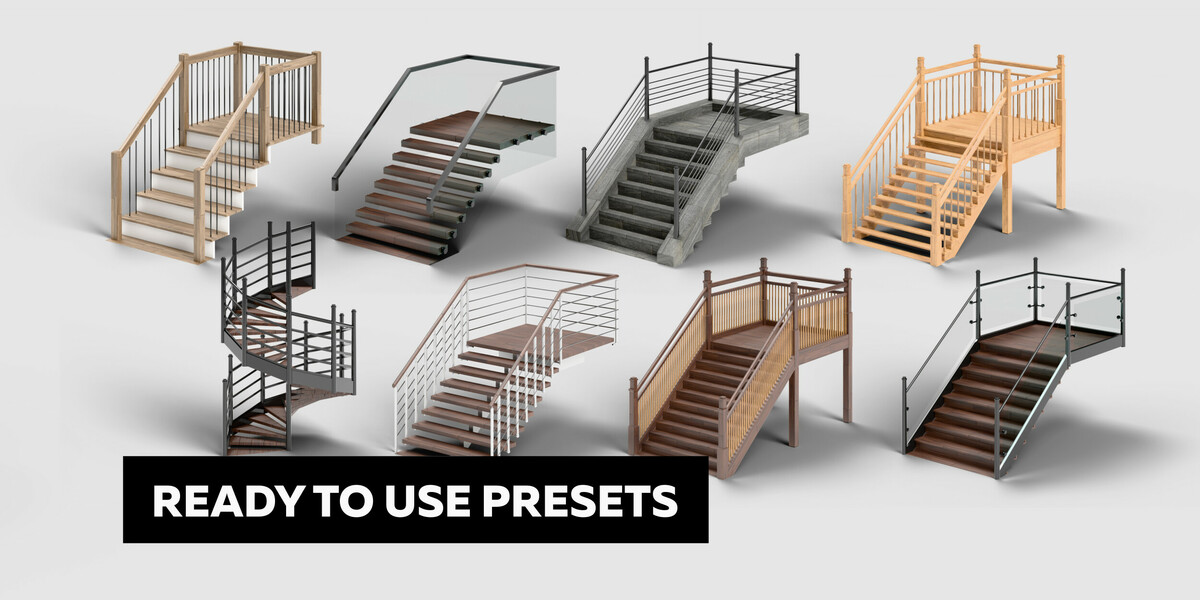
You can drag a ready-made setting into the scene and edit it. Then you drag the object to the scene, objects like curve profiles and newels will be also added to the scene, so that you can edit them as well:
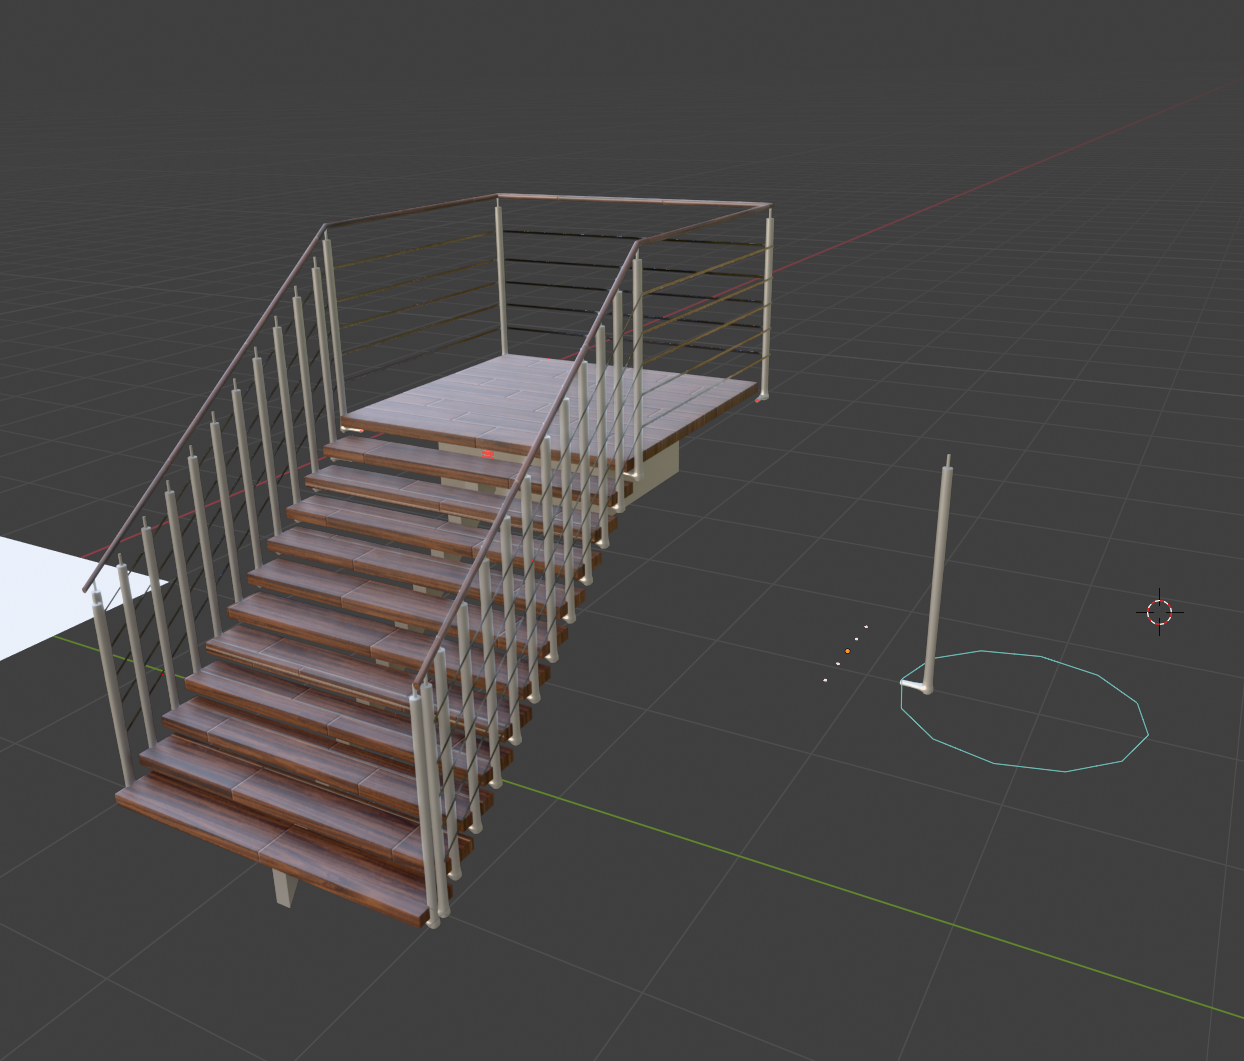
For example, let's copy the setting to a plane. Select Staircase, then Shift-select the plane, then copy the modifier to an existing mesh using CTRL+L.
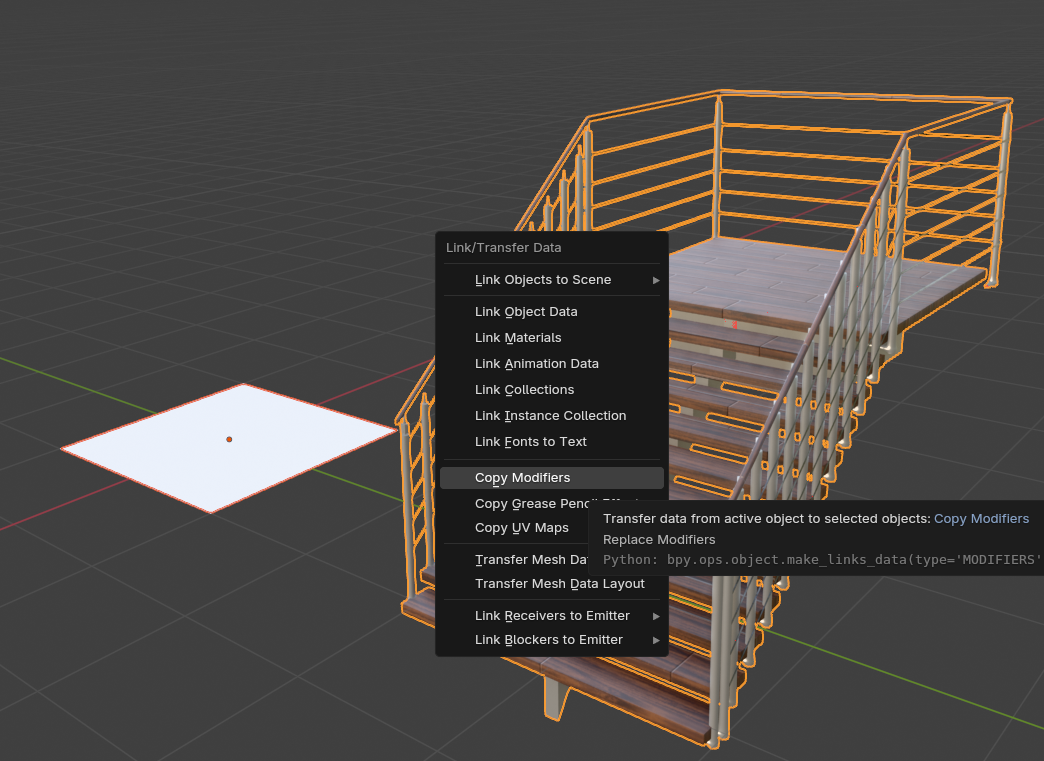
I also copy materials:
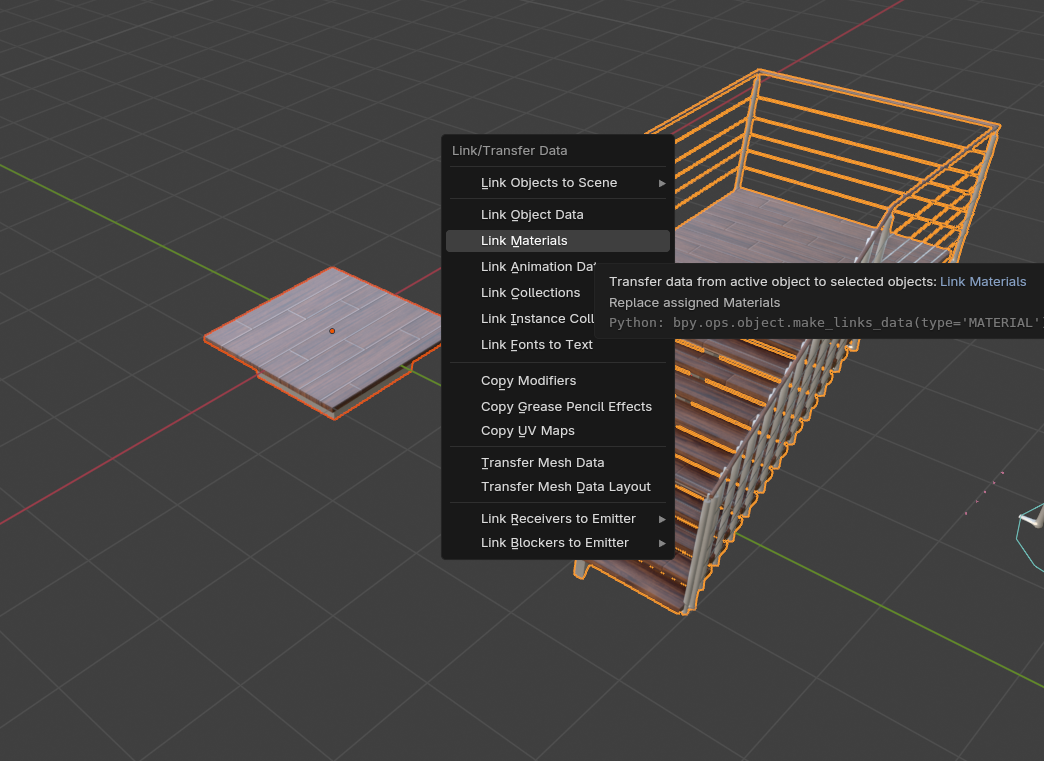
As you can see, nothing happens. The modifier needs polygons with a slope on which it will place steps. It automatically determines the direction and number of steps depending on the angle of inclination. Add slope by moving one of the face edges:
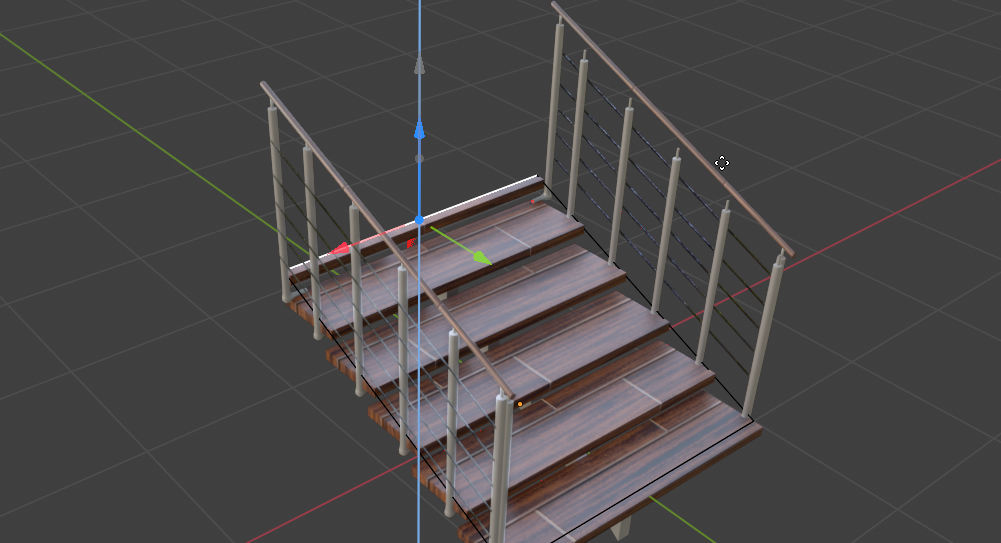
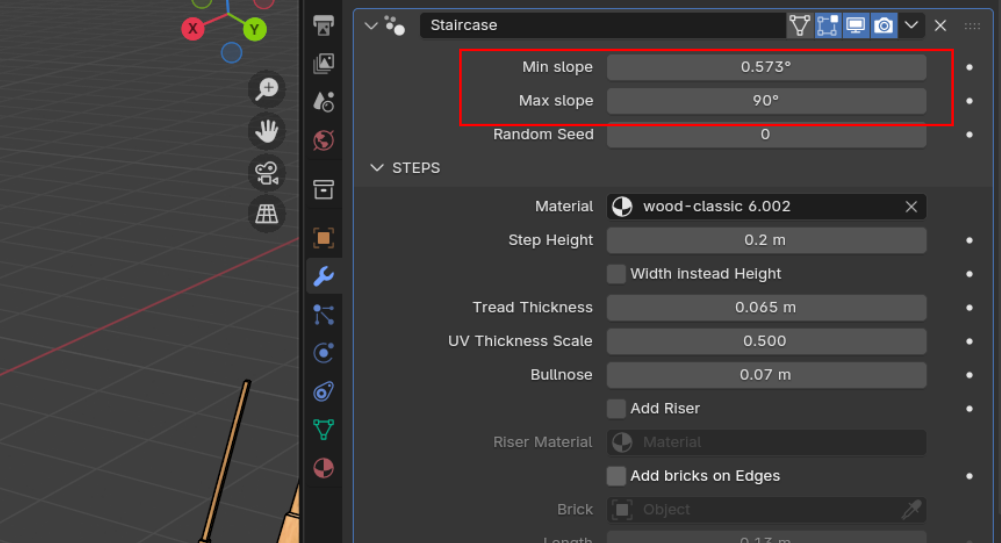
If the slope is small, steps won't be placed; this setting can be adjusted here. It regulates the minimum slope at which steps will appear:
You can combine flat surfaces with steps. This setup has 2 faces in the source mesh:
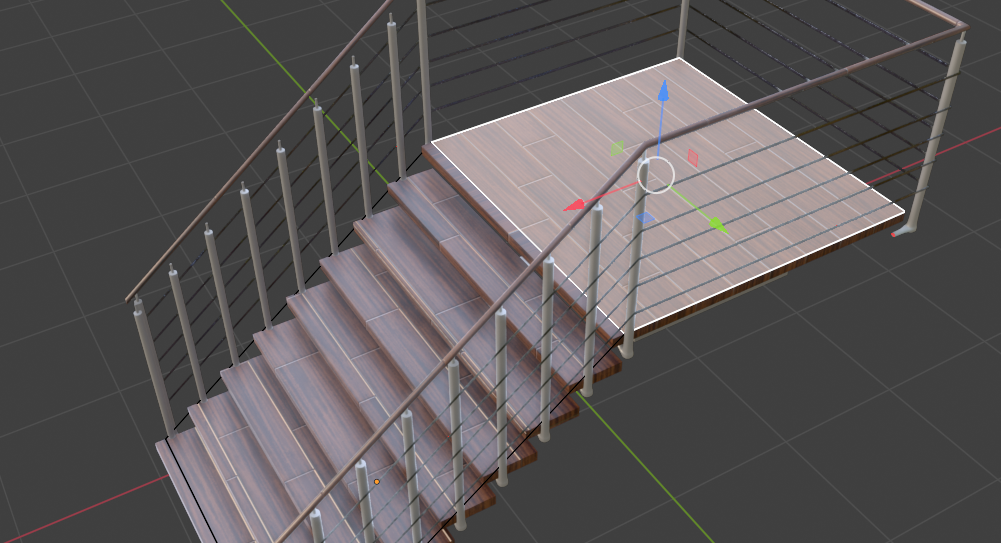
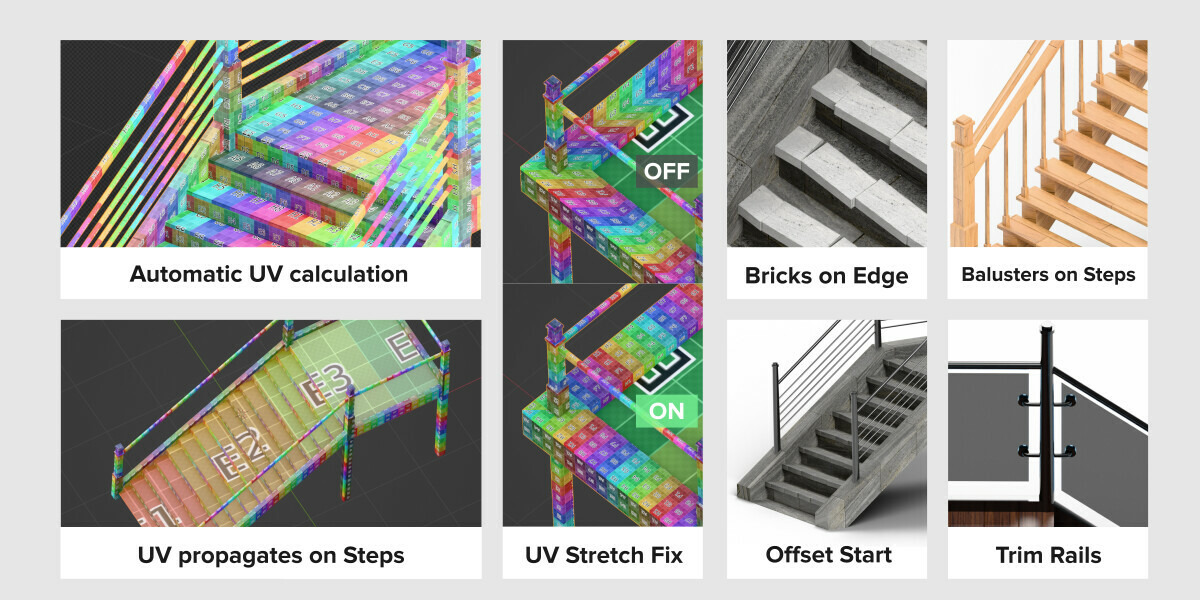
UV coordinates are automatically transferred to the steps. Other UV coordinates are generated automatically based on the calculation that the texture width equals 1 meter. You can scale the texture in the material using the mapping node.
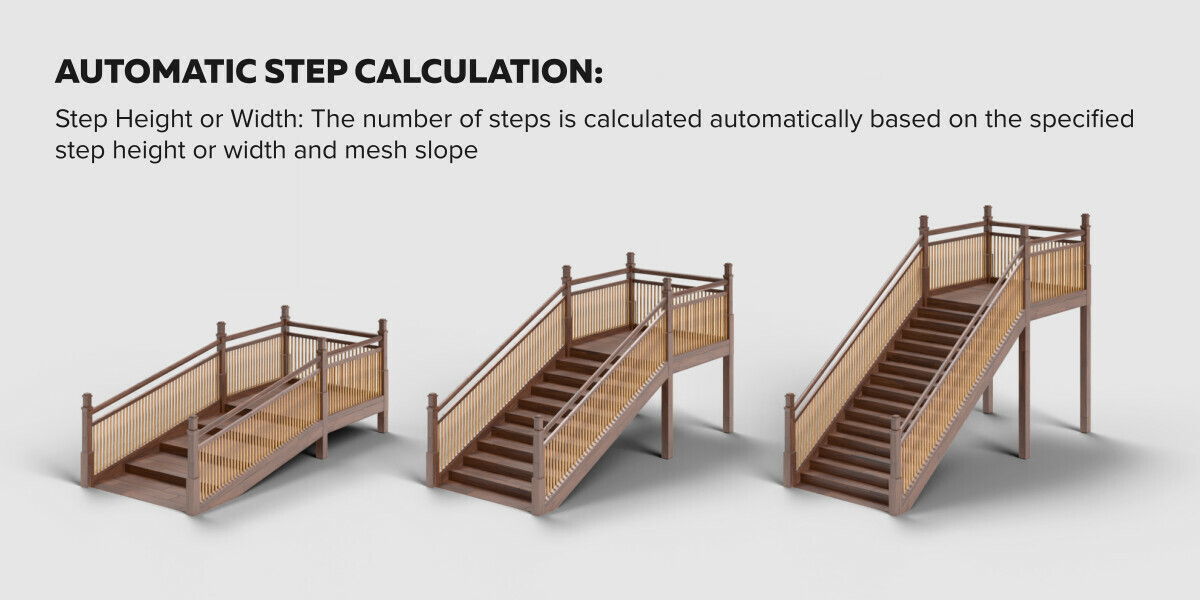
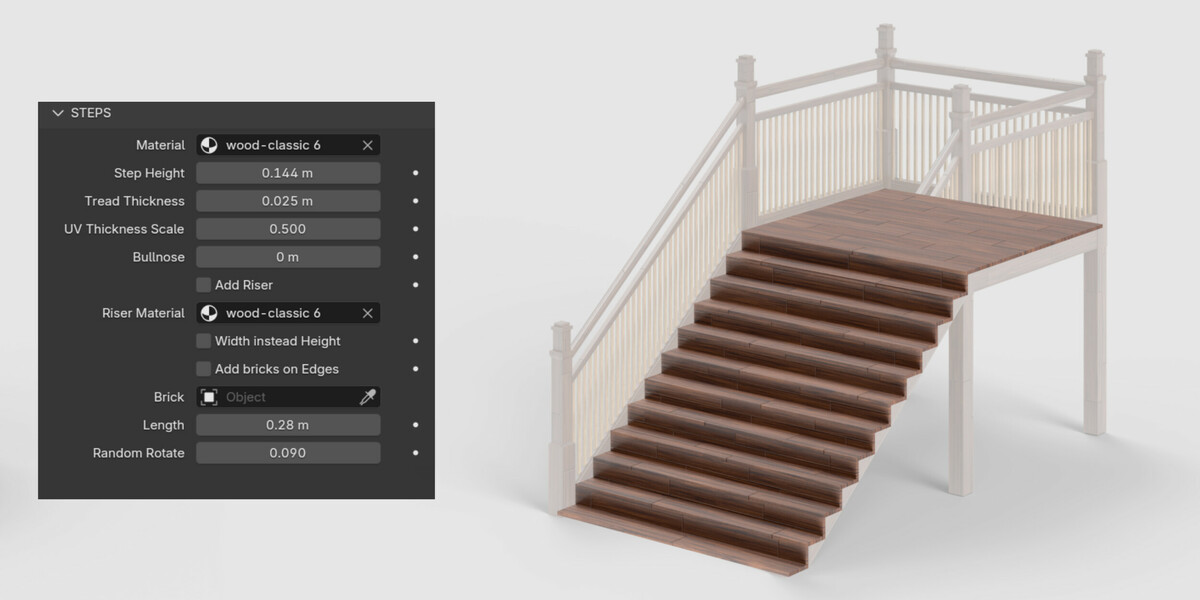
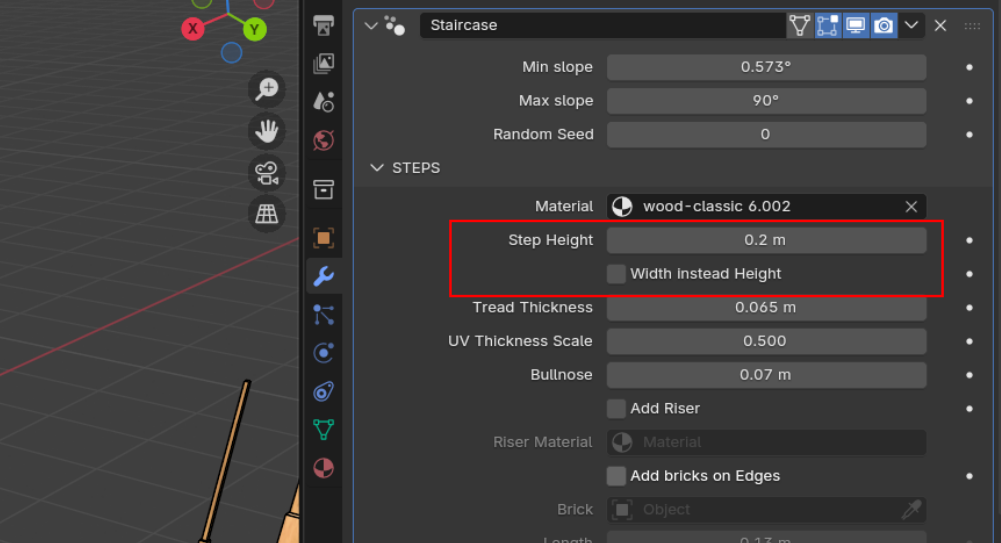
Step height is specified here. The modifier automatically calculates the number of steps based on this value. If you set "Width Instead Height", the modifier will calculate steps using width instead of height.
Now, let's look at several configuration examples.
U-shape.
This is a fairly standard example of a staircase with a turn. Let's start with a plane and raise one of its sides. Then extrude a horizontal surface. To the side of it, extrude a small rectangle, then again a surface of the same length as the first. Then extend the next section of the staircase up and to the side.
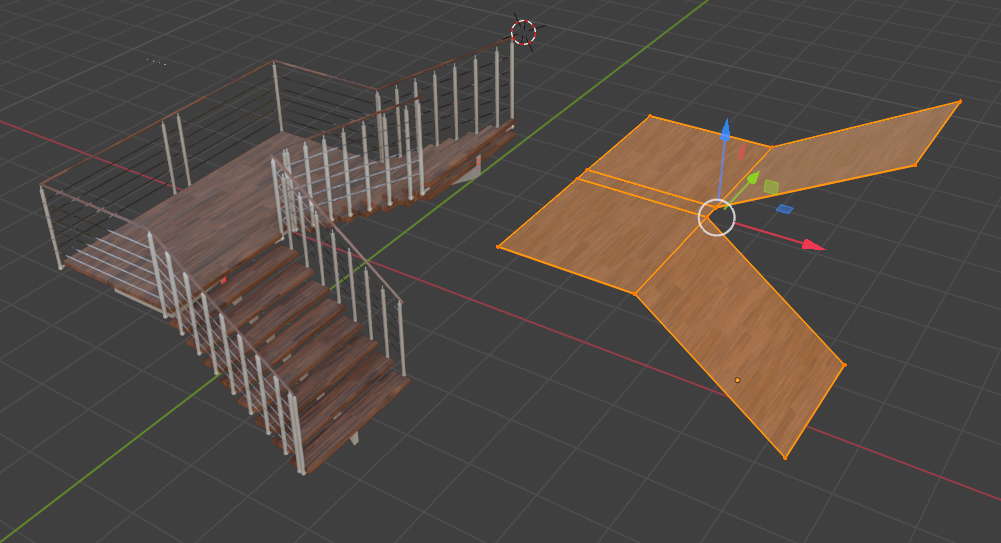
We need this small offset so that the railings are positioned next to each other and don't intersect.
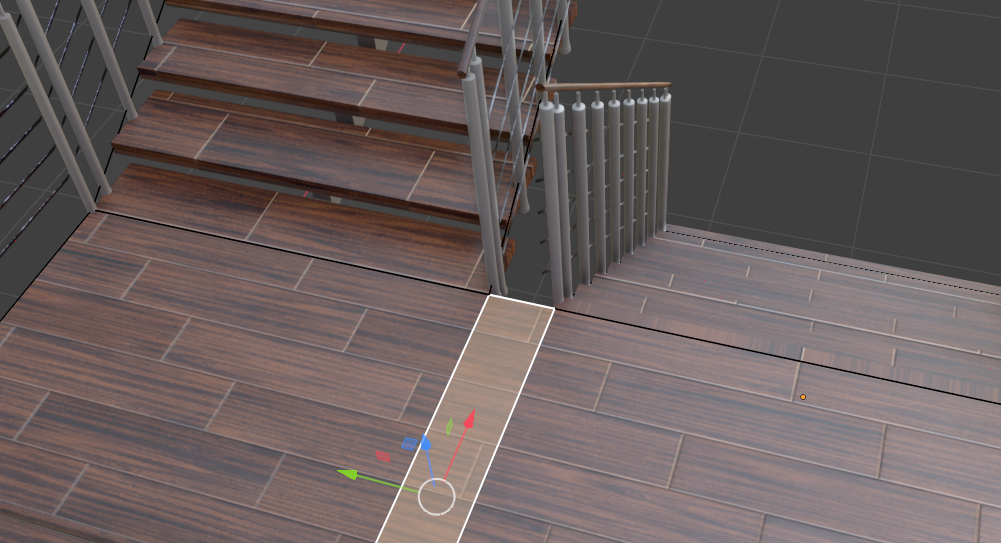
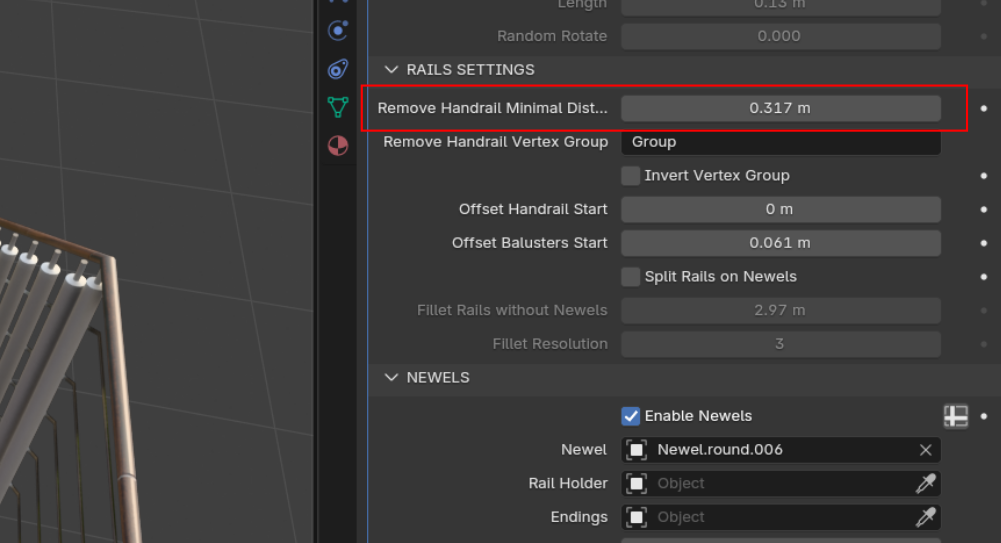
Usually, this small section remains without railings; the minimum distance is regulated by this parameter:
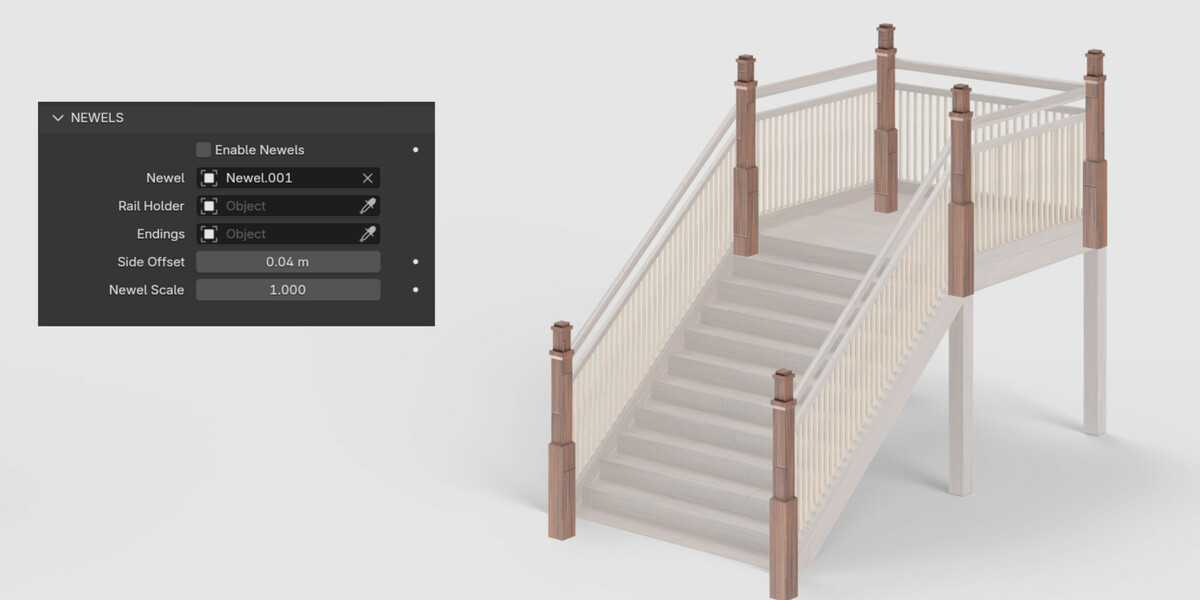
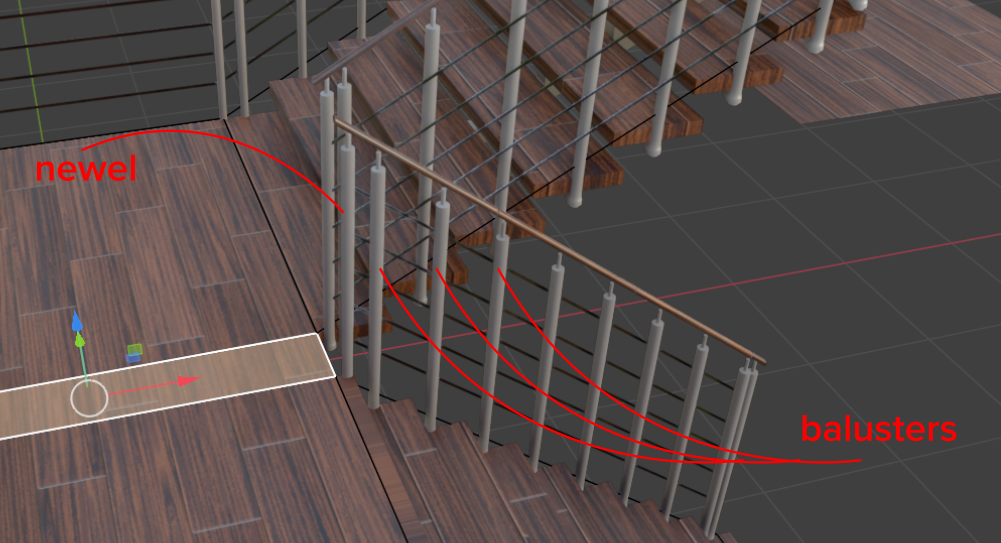
On the other side, railings are also removed - we can fix this either by positioning them further in width, or by merging with other vertices. In version 3, you can remove useless newels using a vertex group. For example, this model uses the same model for newel and balusters. They are too close to each other here:
I made a vertex group and added vertices only on these locations:
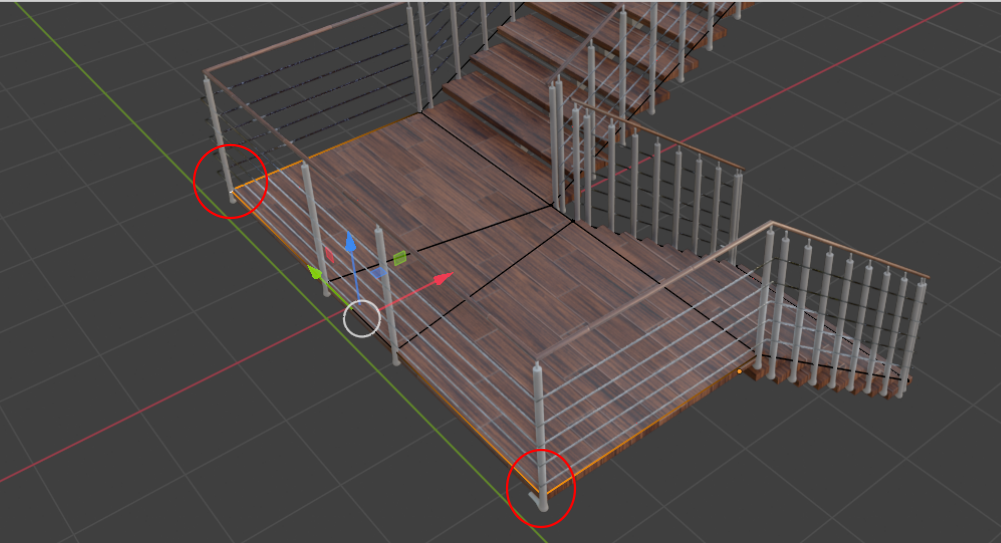
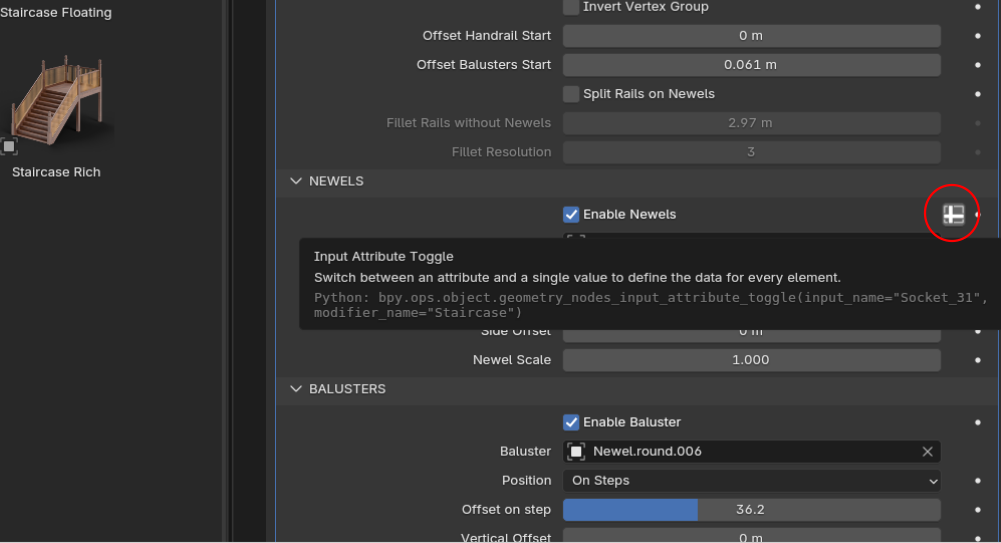
Then add this vertex group to make newels appear only in these locations:
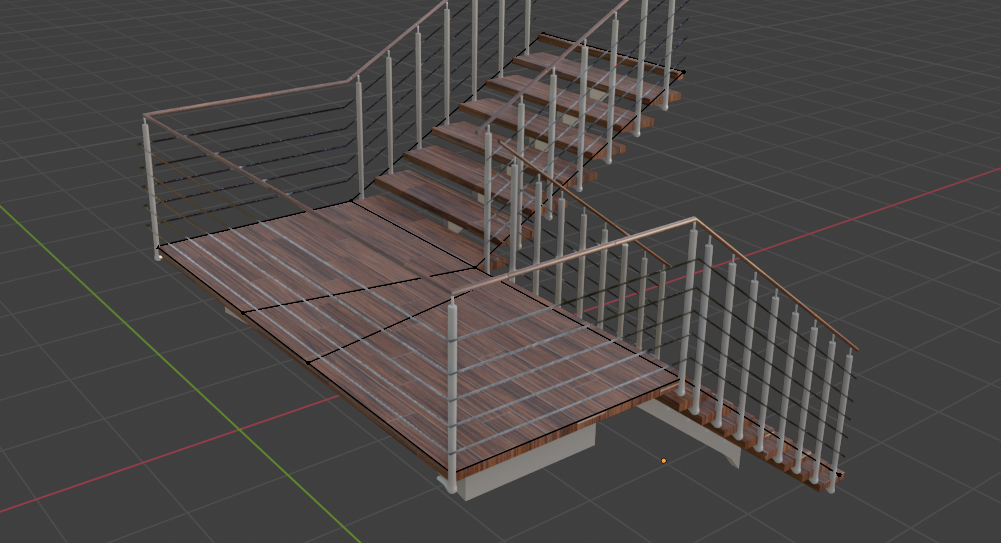
Result:
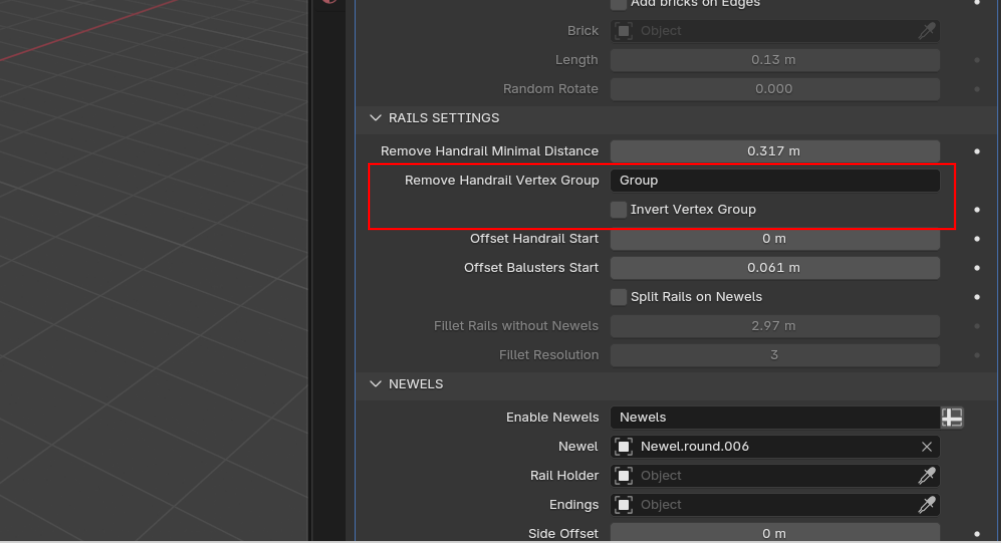
Often the staircase adjoins a wall, and you need to remove railings from one side, or on a certain section. To do this, create a new vertex group and add points where you want to remove railings. Then copy the vertex group name into this field:
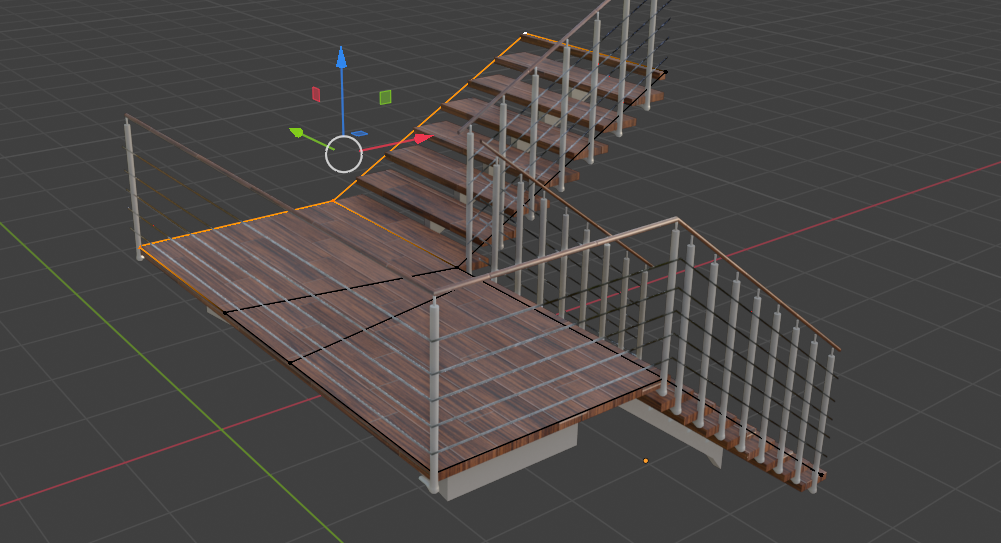
Result:
It's worth noting that you don't have to make a 90-degree angle; you can make staircases in the shape of triangles, hexagons, and other variations.
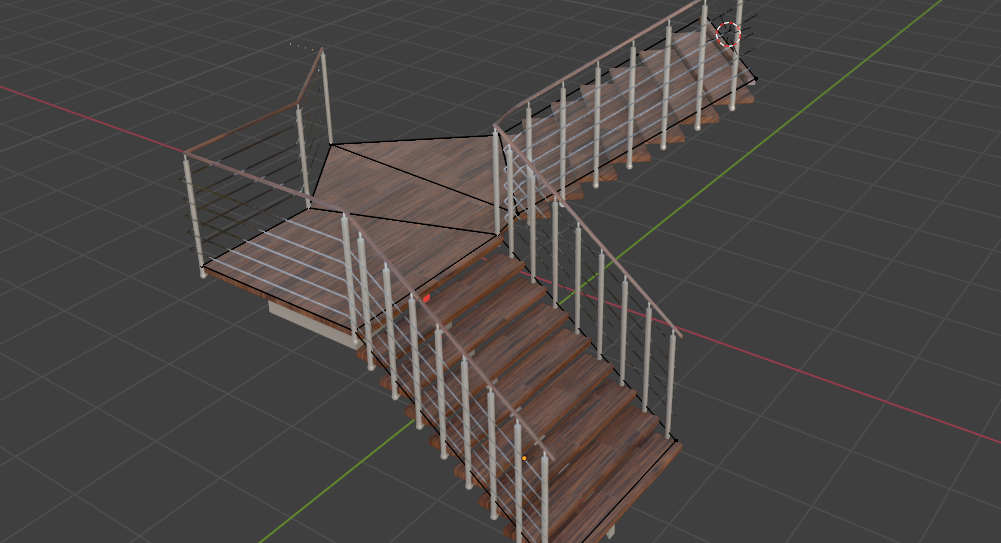
Winder.
Let's take a more complex example. To build a Winder, start again with an inclined plane. Extrude the end of the staircase, but this time upward. Then take a point from one of the sides of the edge and move it:
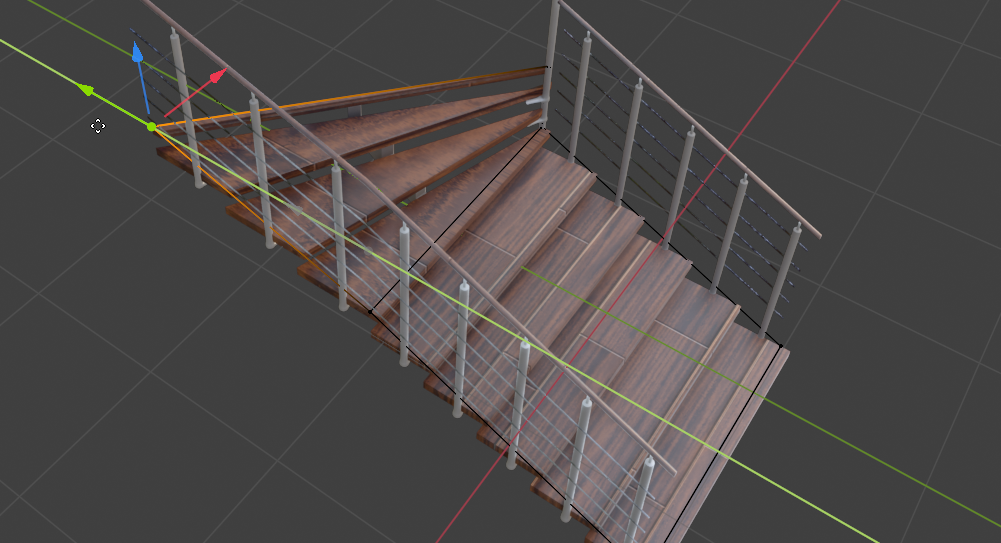
So we made a 45-degree turn fragment. Repeat the same for the second fragment. Extrude upward and move one of the points:
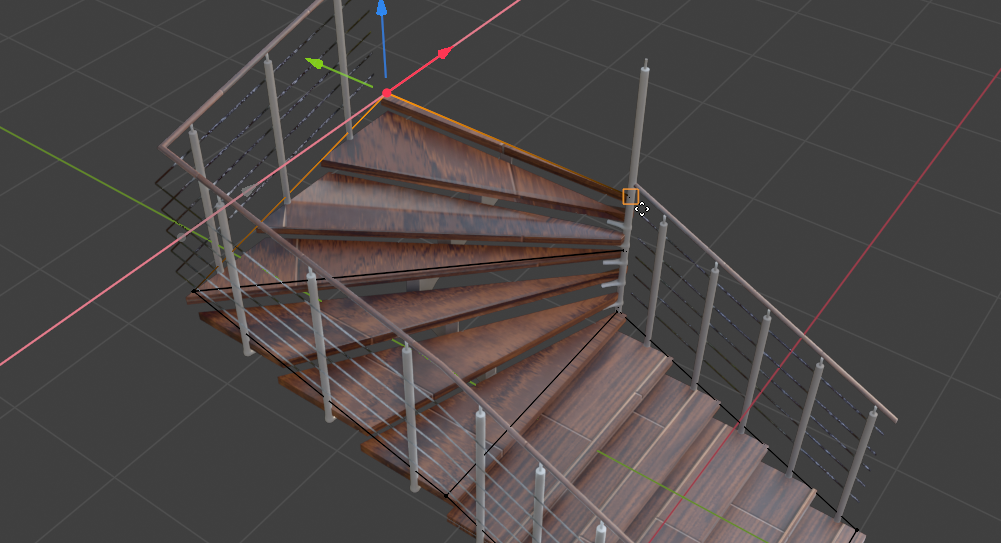
Adjust UV map. A 180-degree Winder consists of two such sections.
Circular staircase.
Building a circular staircase is not difficult, but quite tedious. So I made a separate modifier that creates the base mesh for you.
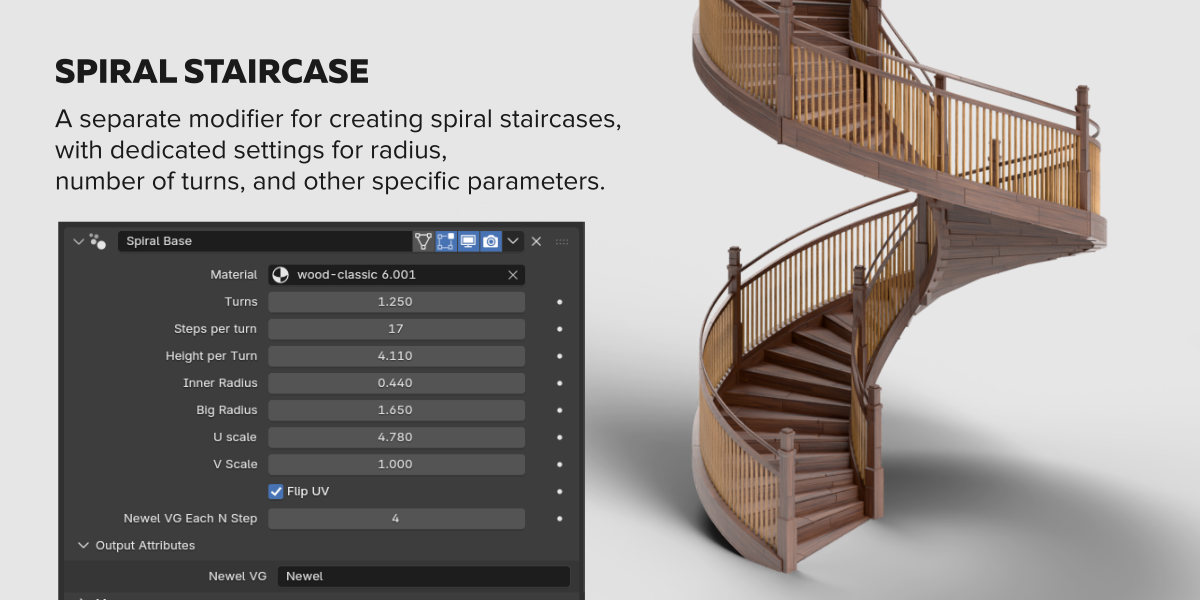
You can get it in the asset browser or grab a pre-made 2-modifier setup. After the result satisfies you, you can apply only this component and add intermediate stops or straight sections to the staircase, for example.
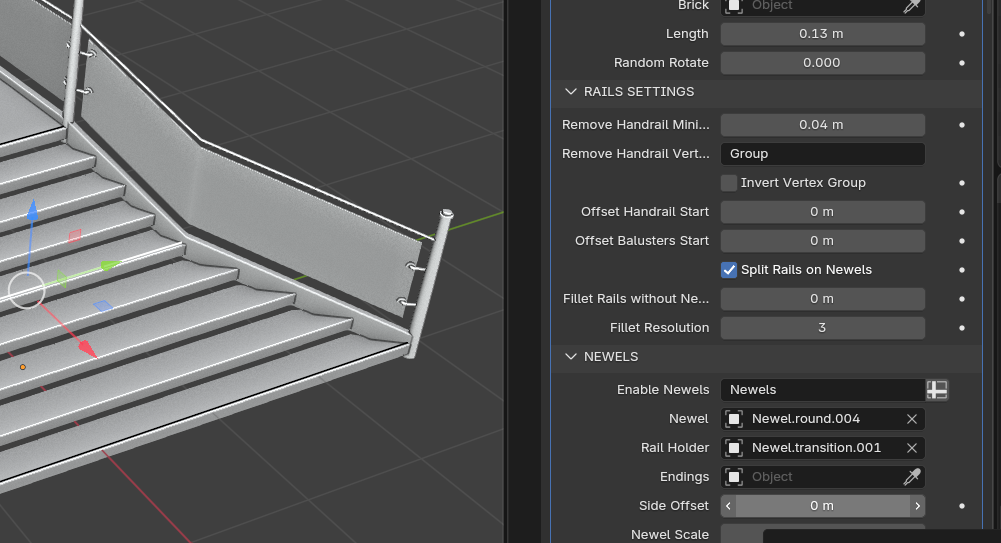
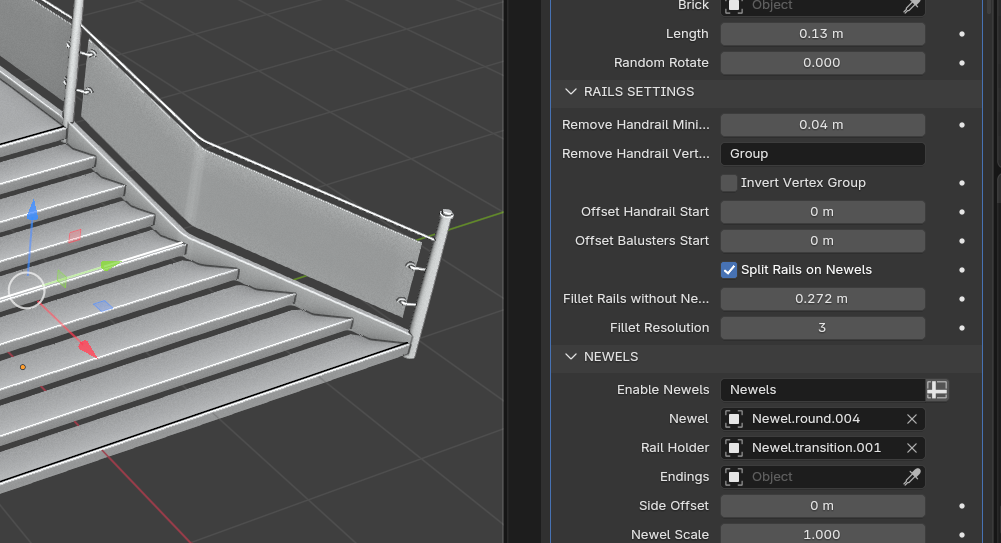
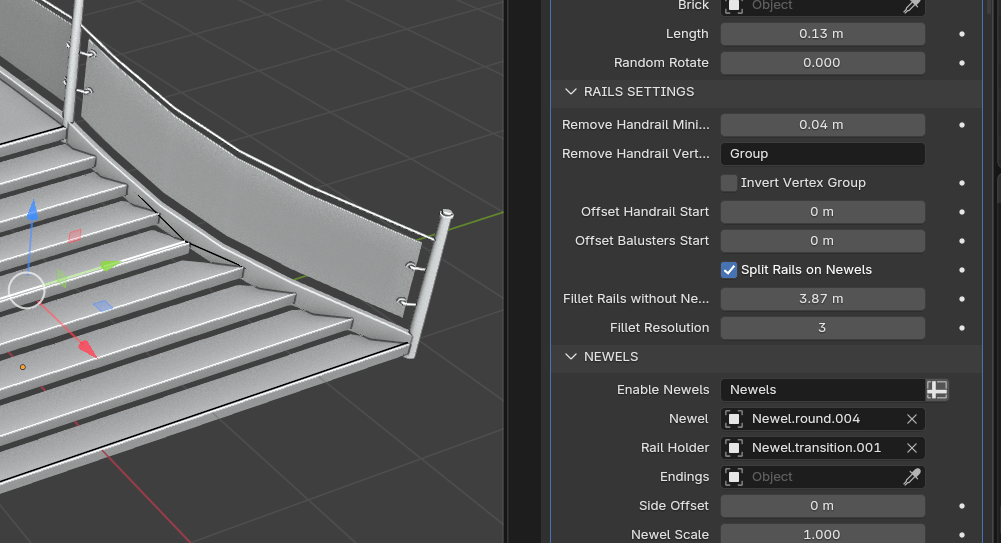
To make rails curved, like in the picture, hide newels on curved sections and then use this setting, which bevels rails in places where there are no newels:
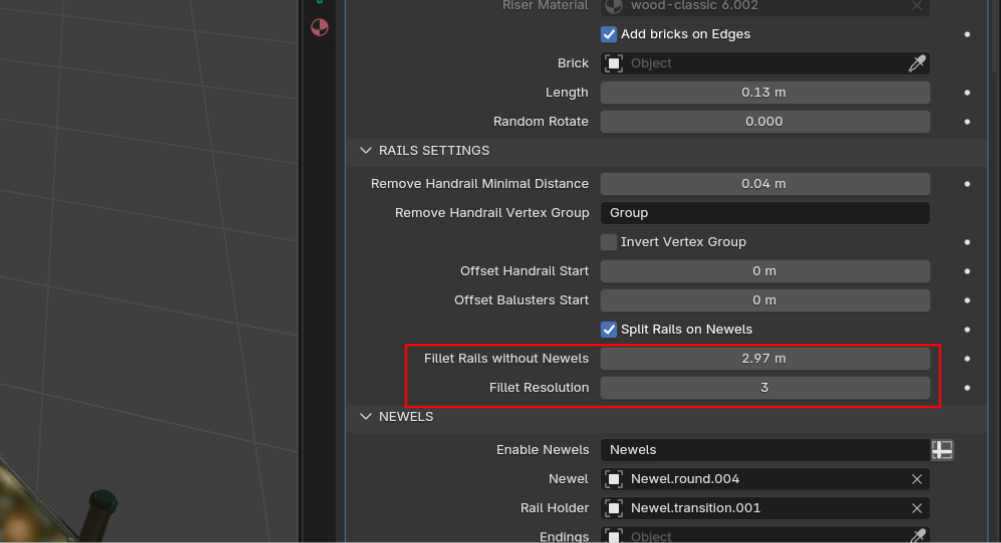
Use a different radius of your choice, but it will be limited by the distance between points.
Support post
You can add support post for your staircase, it consists of wall and support frame - vertical and horizontal parts.
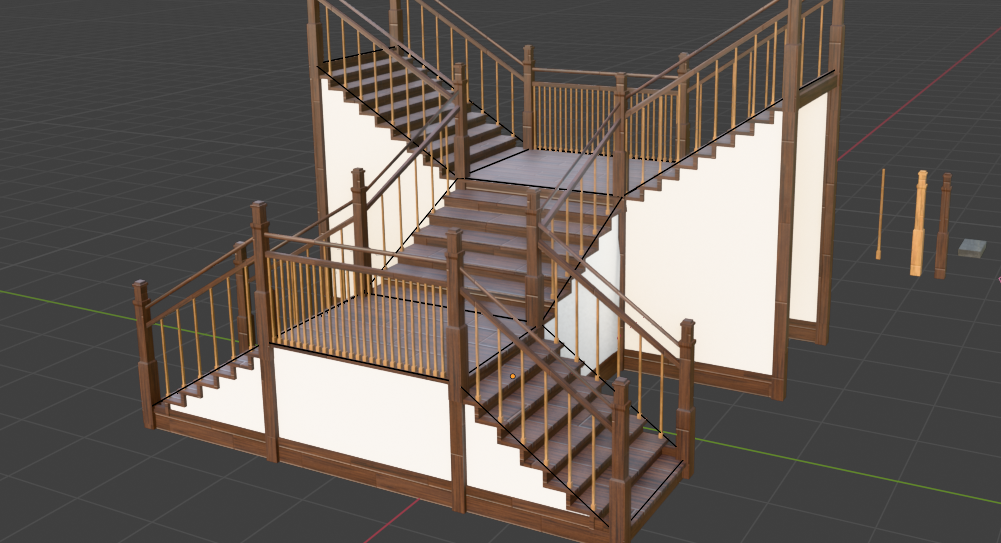
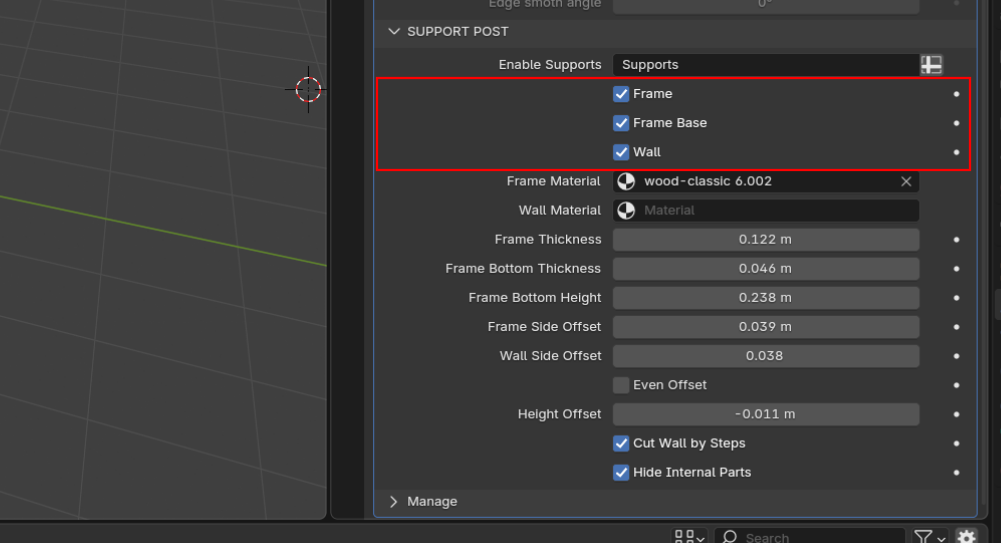
You can set support posts on specific parts of your mesh using a vertex group, like in this case:
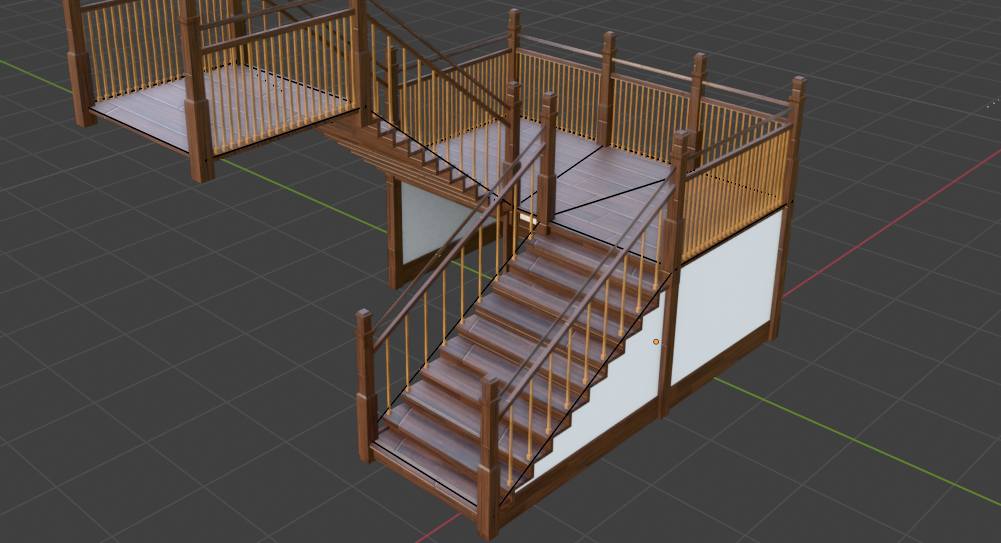
As you see, the wall inside is also removed. If you want to keep it, this option may help:
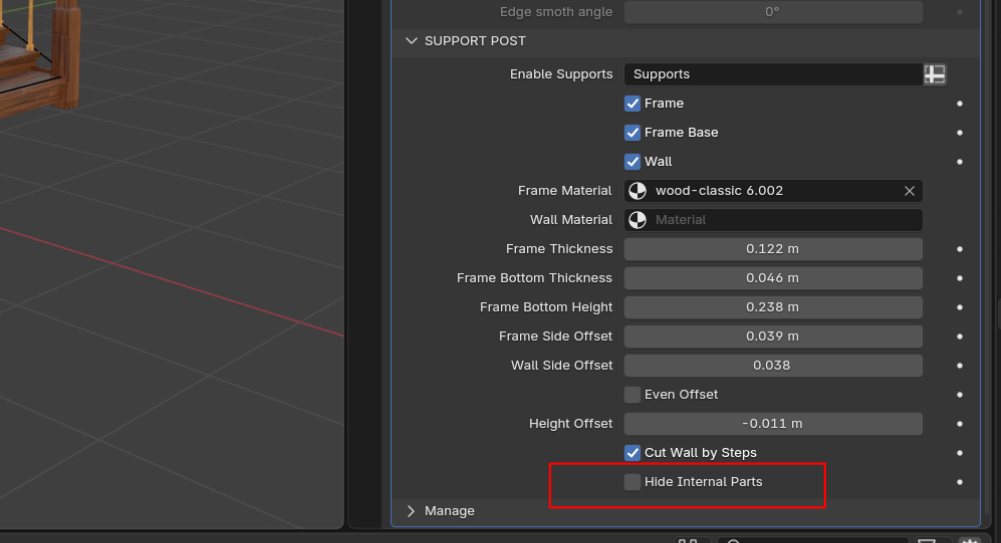
Result:
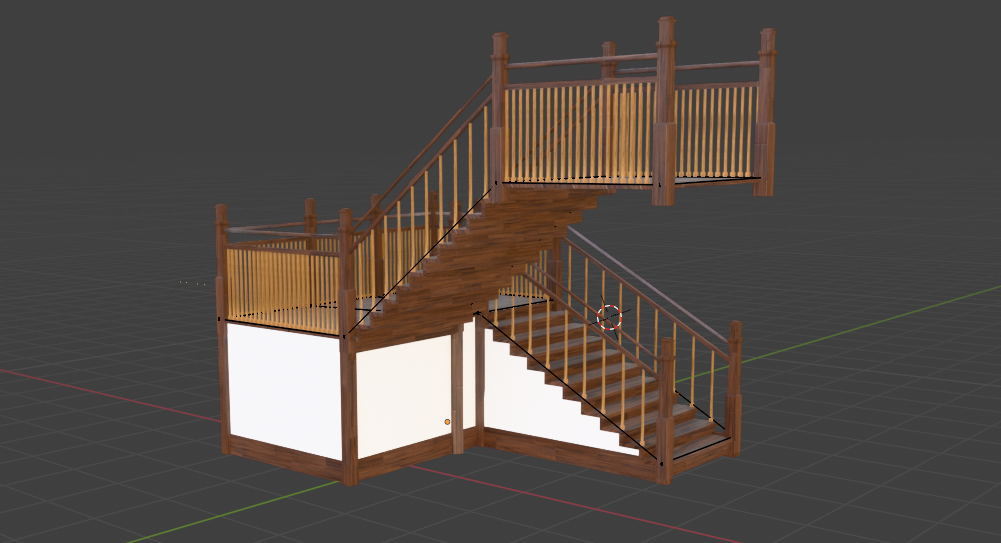
Important notes
Trim Option
Trim option is useful to create this kind of gaps between guardrails:
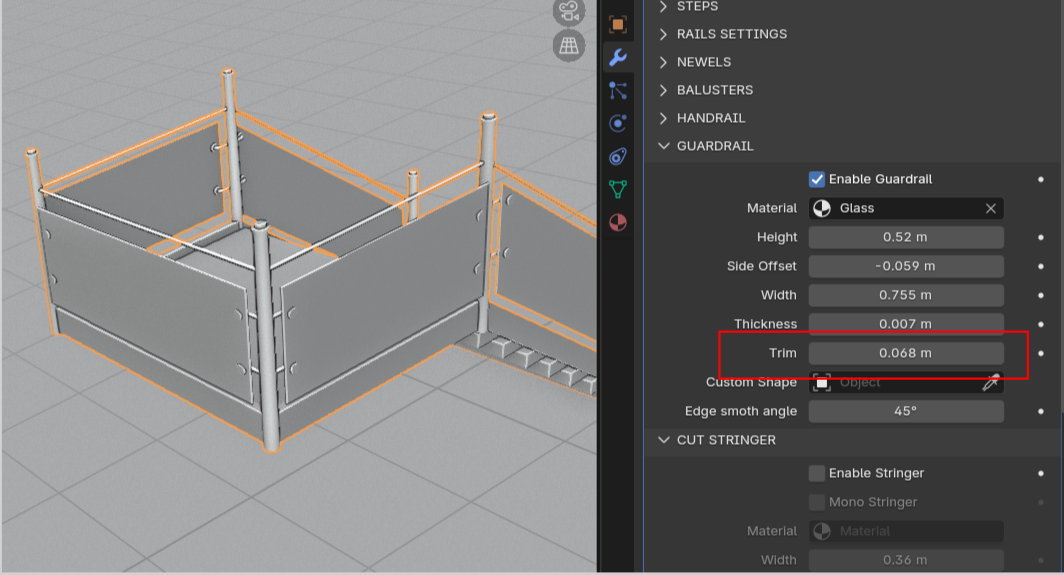
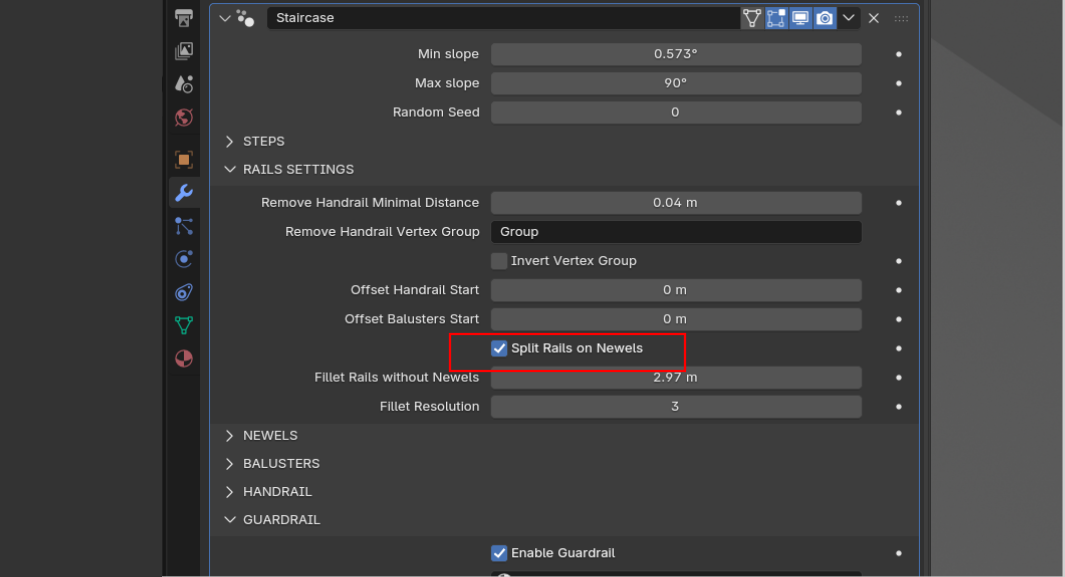
But it's worth noting, that it works in pair with Split Rails on Newels option:
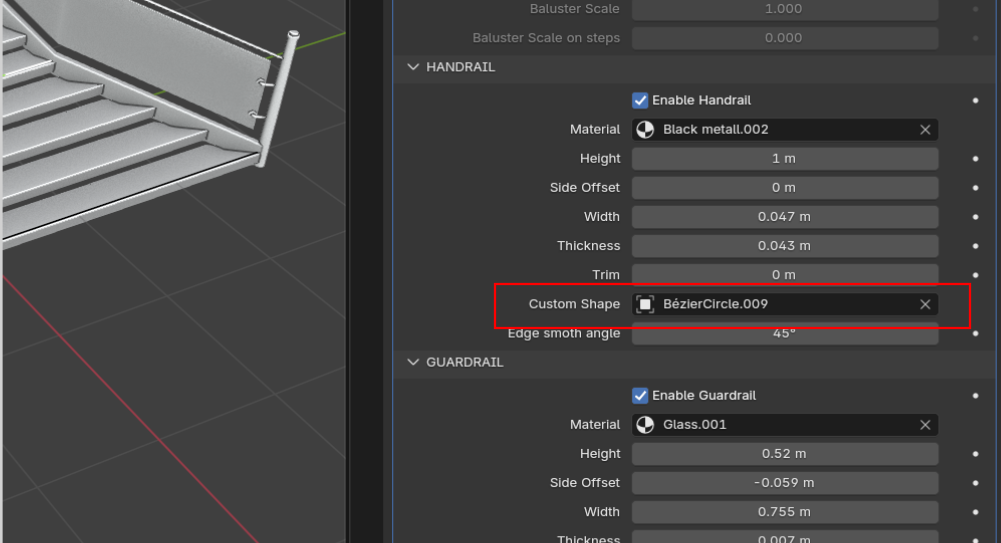
Railing shape.
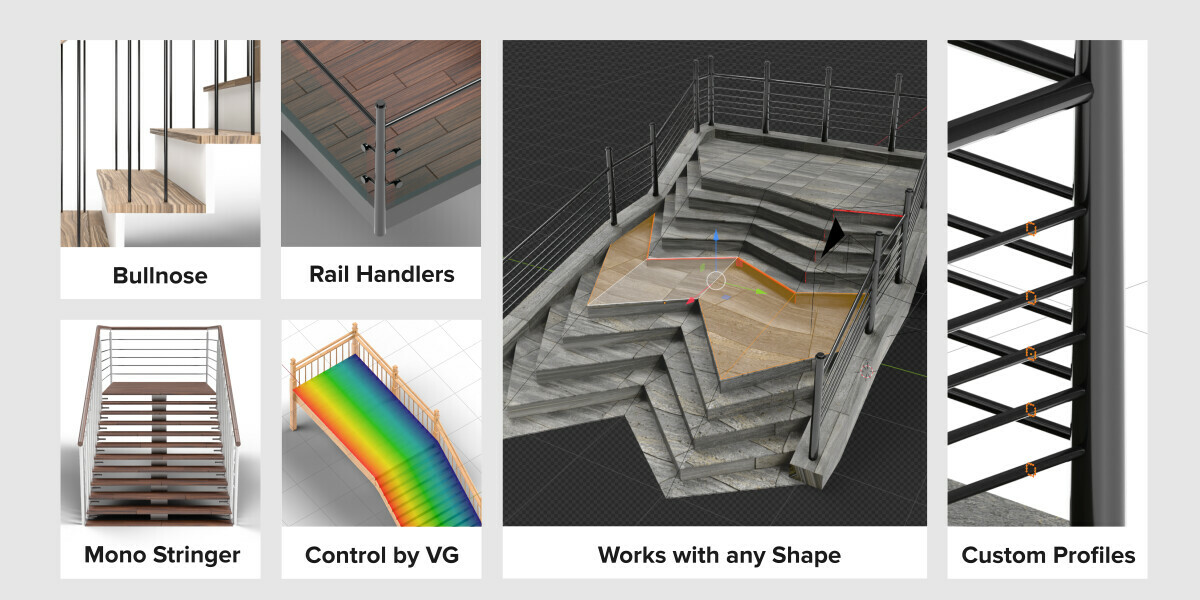
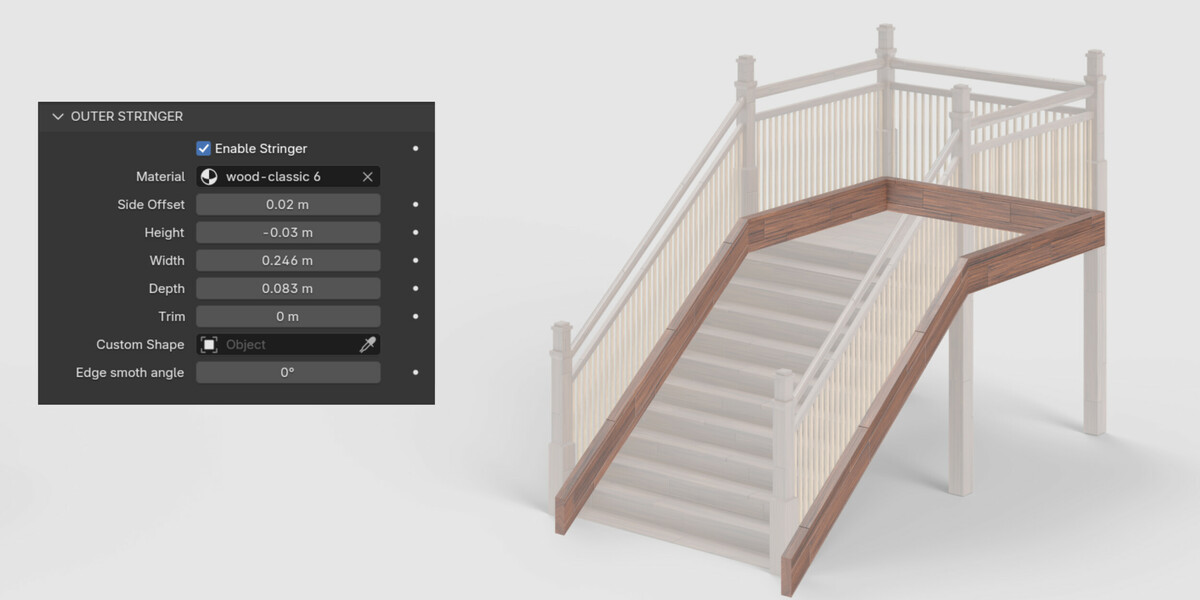
By default, the guard rail cross-section is a rectangle of the specified width and height. But you can make a cross-section of arbitrary shape. To do this, create a curve of the desired shape and select it in this field. The cross-section will be scaled to the size of the original rectangle.
Have questions about this product?
Login to message
Includes an Asset Library
11 drag-and-drop assets for Blender’s Asset Browser.
Browse included assets| Sales | 300+ |
| Rating | 3 ratings |
| Published | over 1 year ago |
| Blender Version | 4.3 - 5.2 |
| Render Engine Used | Cycles, Eevee |
| License | Royalty Free |
Discover more products like this
Customizable Staircase staircase stairwell decorative staircase 3d staircase 3D Generator 3d staircase model