STASH
Smart Asset Management
for Blender |
Stop Wasting time building your asset library manually.
Stash transforms Blender's Asset Browser into a real production-ready asset management workflow. |
|
| |
almost One click, to rule them all: |
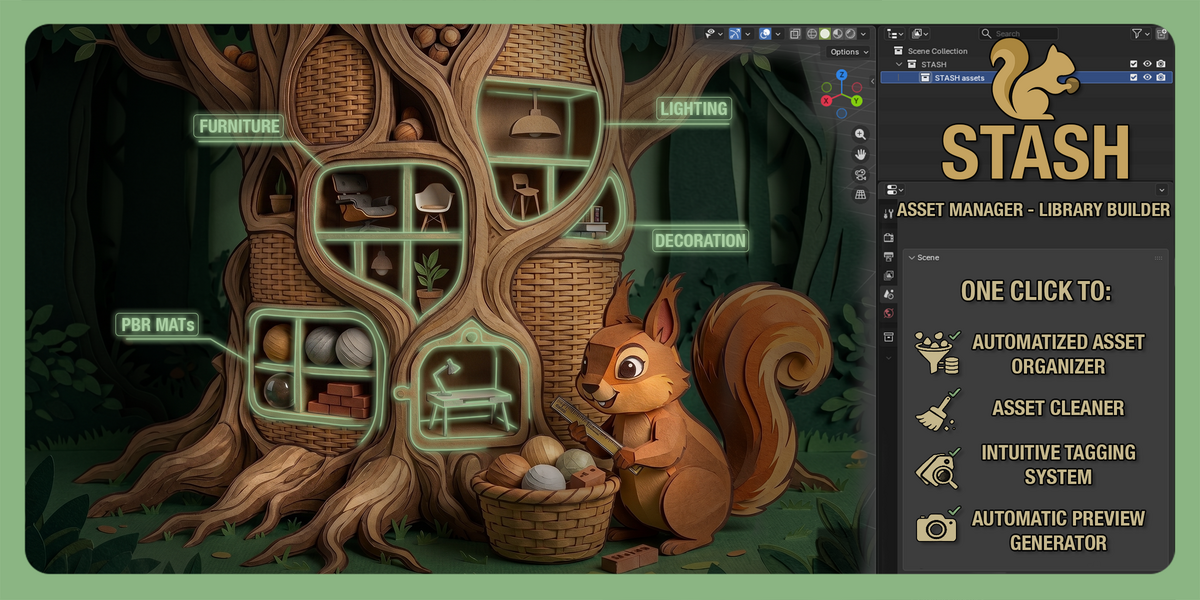


- Automatically add tags - Organize your library folder - Generate a clean preview - Clean the assets - Export various formats And more... |
The fastest system to build your Asset Libraries |
| |

It can be one or multiple objects, collection, material, etc... |
|
Select the library and catalog |
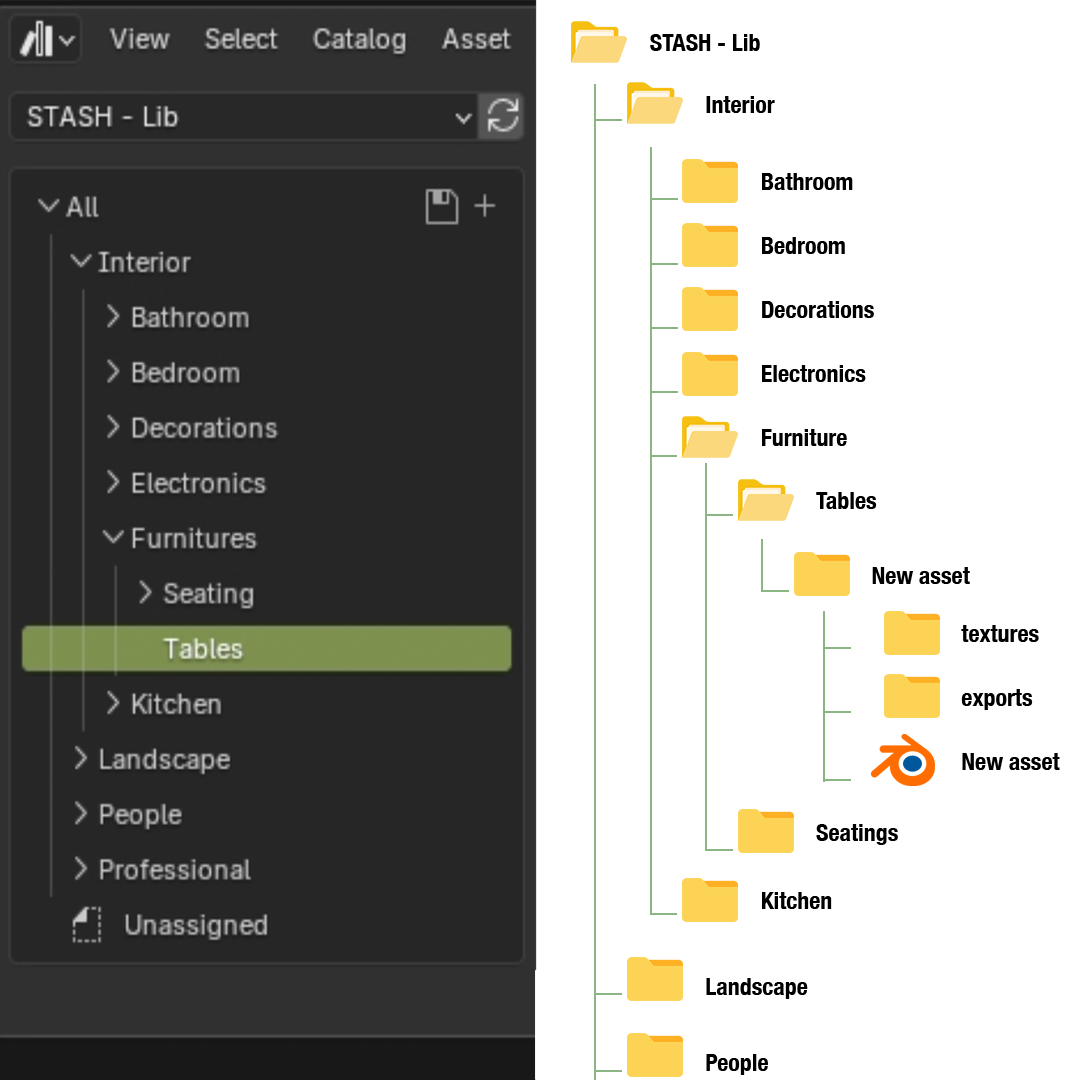
It will store the asset in it, and create the folder in a organized way following your Catalogs hierarchy. |
|
will use the active Object, Collection, Material, Group node or Geometry node.
For worlds you have to define. |
| | |
Stash will ask a few questions depending on the situation.
And apply all the linked actions. |
|
| |
Export directly from your work file |
No need to first save you asset file in the library's folder.
The Stash button will automatically create a new folder in the library's hierarchy, following the Catalogs/Subcatalogs of your library, to save the file with the asset and all the linked files.
You can also add it to the file of the active asset in the asset browser. |
|
When cleaning actions are toggled, "stash" will do those automatically.
It will be base on you point of view in the 3D viewport. |
|

By default, Stash will add the words of the catalog's hierarchy and the words of the asset's name as tags
You can also add manually more from your tag list. |
|
When cleaning actions are toggled, "stash" will do those automatically.
Be careful when automotizing cleaning actions, it can destroy some assets (by default merge vertices and fix normals are untoggled for that reason) |
| |
Clean the assets manually or automatize it
|
| |
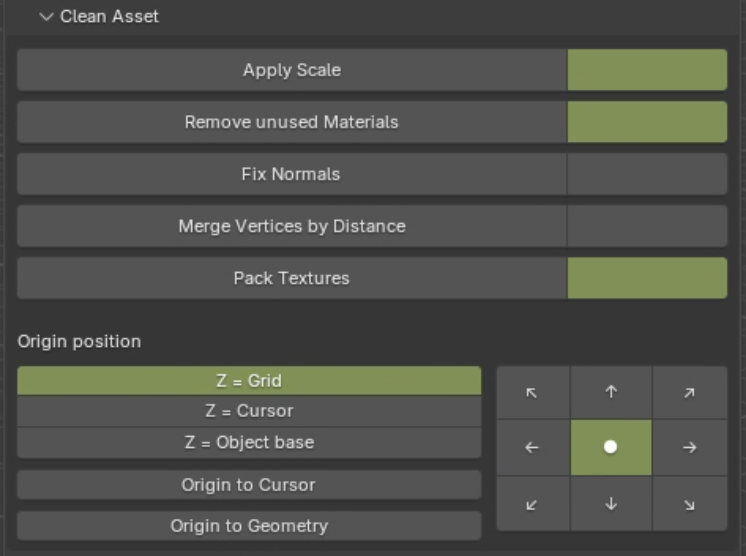

Prepare manually your asset, with tools like scale applying, Removing unused materials, fixing normals, etc.. |
Or link those actions to the Stash button to automatize it. |
The repositionning origin point system is easy to use, just toggle the Z axe you want then choose the X and Y axes on the grid. Or use the usual origin to cursor or to geometry. |
|
| | |
(be careful, some automatization can destroy some assets) |
|
| | | |
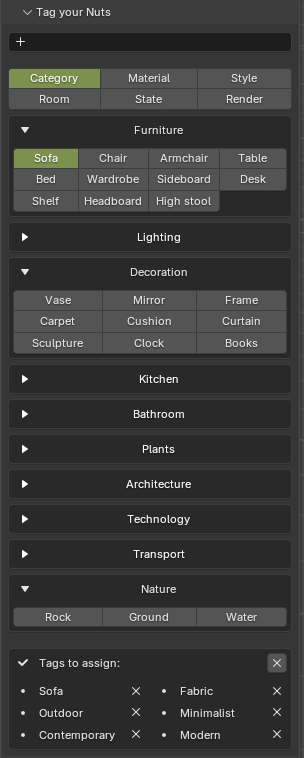
The addon will automatically add the words of the asset's name, the creator, and the words of the catalogs hierarchy as tags.
But you can add more by creating permanent tag library, for the tags that you use often, or by typing words in the text bar
(if you write multiple word, it will add them independently) .
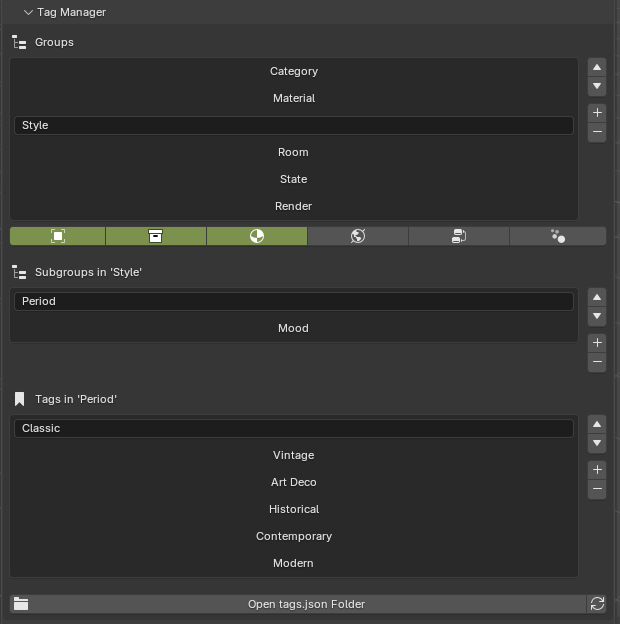
To create the tag library, juste go in the tag manager, create groups and define for which asset type they be useful, then create subgroups and tags. |
|
| |

The preview generator is based on the 3D viewport perspective, move around your asset to get the most descriptive preview. When hitting the Stash button It will automatically generate the preview. |
|
| |
Change the preview afterward by clicking "test preview" then either "Apply preview" if you are in the asset file or if you are not in the source file, selected the asset in the browser then hit "Apply to browser selection". |
|
| |
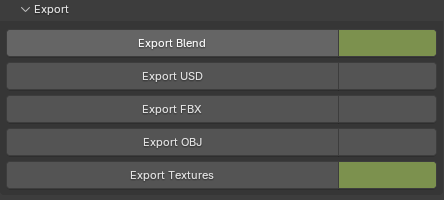
Export in OBJ, FBX, USD,...
|
| |
Toggle the file format you want to export to link it to the Stash button or just export it manually. |
|
| | |

Show only the asset type you want by click on a icon (ctrl+click to show multiple). |
|
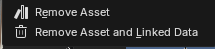
Right click on an asset in the browser will show a new button to delete the selected assets. |
|
| |
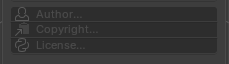
Add the name of the asset's creator, copyright and license
(make it remanent by doing it in the addon parameters directly). |
| |
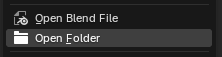
Right click on an asset in the browser will show a new button open the folder of the selected asset. |
|
| |
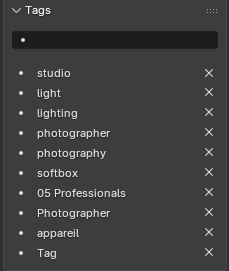
No need to open each files to add or remove tags, just select the asset you want in the asset browser and write the new tags in the text bar of the N panel
Or click on the cross to remove a tag. |
| | | | |
 The Frame - Models