Stash — Asset Library Builder - Automated Tags - Preview - Organizer
 The Frame - Models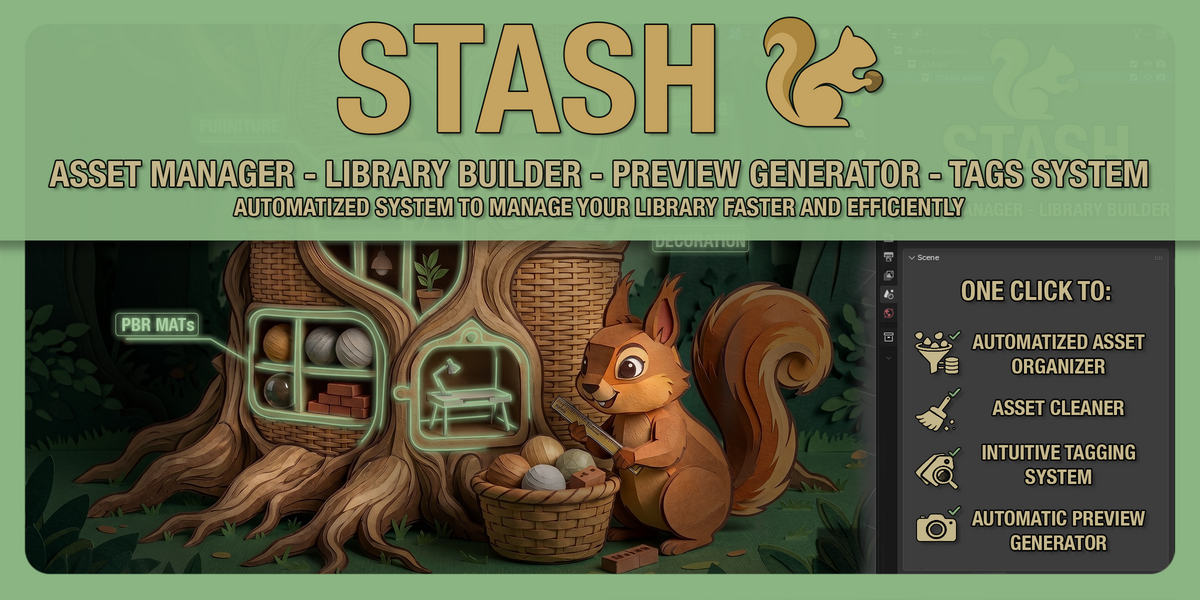
What is STASH ?
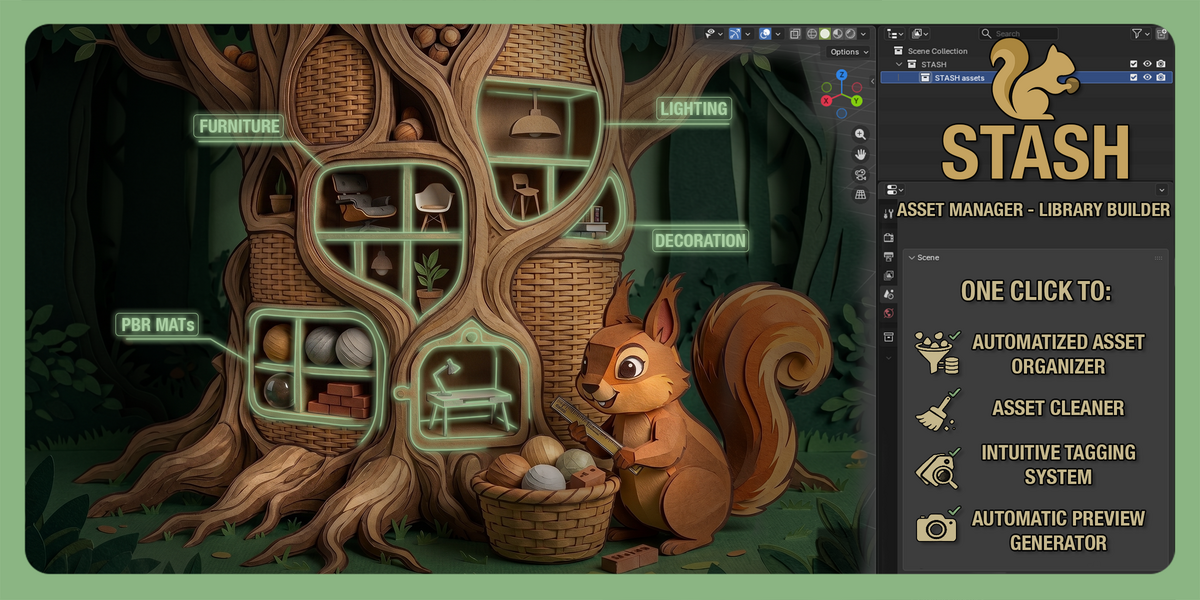
Stash is a Library Builder, Make the process to add your assets in your library faster, better, easier.
INSTALLATION:
Click and drop the zip file in blender.In Parameters > Addon > Stash, You can add a Hdri file, to use in your previews. and infos to put to your assets.
FIRST-TIME SETUP
Before stashing, point Stash to your asset library:
1. Open the Asset Browser and set an active library.
2. Select a catalog inside that library — Stash will place new assets inside it.
Stash reads the active library and catalog directly from the Asset Browser.
No extra configuration needed.
STASHING YOUR FIRST ASSET
1. Select one or more objects in the 3D Viewport.
2. In the Stash panel, choose the asset type (Object, Material, Collection, Geometry Nodes…).
3. Optionally add tags, an author name, or a license.
4. Press Stash.
Stash saves a copy into a new .blend file under:
///
It marks it as an asset and refreshes the Asset Browser automatically.
Your working file is never modified.
STASHING A COLLECTION
When multiple objects are selected, Stash will ask:
- Independent : one .blend file per object.
- Collection : all objects bundled into a single Collection asset
PREVIEWS
Use the Preview panel to render a Cycles thumbnail before committing:
- Test Preview: renders a quick preview in the viewport.
- Active / Selected: toggle between active object only or all selected objects together.
- Apply to Browser Selection: pushes the thumbnail to the selected asset in the Asset Browser.
ADDING AN ASSET TO AN EXISTING FILE
If you have an asset selected in the Asset Browser when you press Stash,
a popup will ask:
- Create a new file: standard behavior.
- Add to "[asset name]"'s file: appends your new asset into that existing .blend, links it into the scene, and saves.
TAGS
Tags are embedded in your asset's metadata when stashing. Stash comes with a full tag library system organized in three levels:
Group > Subgroup > Tags
Example:
Props
Type : Book, Candle, Vase, Painting
Style : Modern, Classical, Industrial
SETTING UP YOUR TAG LIBRARY (Tag Manager)
Open the "Tag Manager" subpanel (N-panel > Stash > Tag Manager).
1. Add a Group: name it after a broad category (e.g. "Props", "Characters") and optionally restrict it to a specific asset type (Object, Material, etc.) so it only appears when relevant.
2. Add a Subgroup: inside a Group, add subgroups for each attribute (e.g. "Style", "Position", "Material Type").
3. Add Tags: inside each Subgroup, add your tag values (e.g. "Modern", "Classical", "Industrial").
Your tag library is saved automatically to a JSON file and persists across Blender sessions.
APPLYING TAGS WHEN STASHING
Open the "Tag your Nuts" subpanel (N-panel > Stash > Tags).
Two ways to select tags:
1. Click buttons : select a Group at the top, then toggle individual tags inside each Subgroup. Active tags are highlighted. Only groups compatible with the current asset type are shown.
2. Quick-tag input : type any word(s) separated by spaces in the text field at the top of the panel, then press Enter. Each word becomes an active tag instantly — useful for one-off tags not in the library.
All active tags are displayed in a summary box at the bottom of the panel.
Press X next to any tag to remove it, or use "Clear All" to reset.
Tags are applied to the asset when you press Stash and are searchable and filterable directly in Blender's Asset Browser.
Have questions about this product?
Login to message
| Blender Extension Compatible | Yes |
| Published | 3 months ago |
| Blender Version | 5.1 |
| Extension Type | Add-on |
| License | GPL |

Discover more products like this
preview generator builder batch Asset Manager asset library Workflow organization Library tags asset-browser productivity tagging