Studio Lighting Pro — One-Click Professional Studios For Blender
 Mavorklith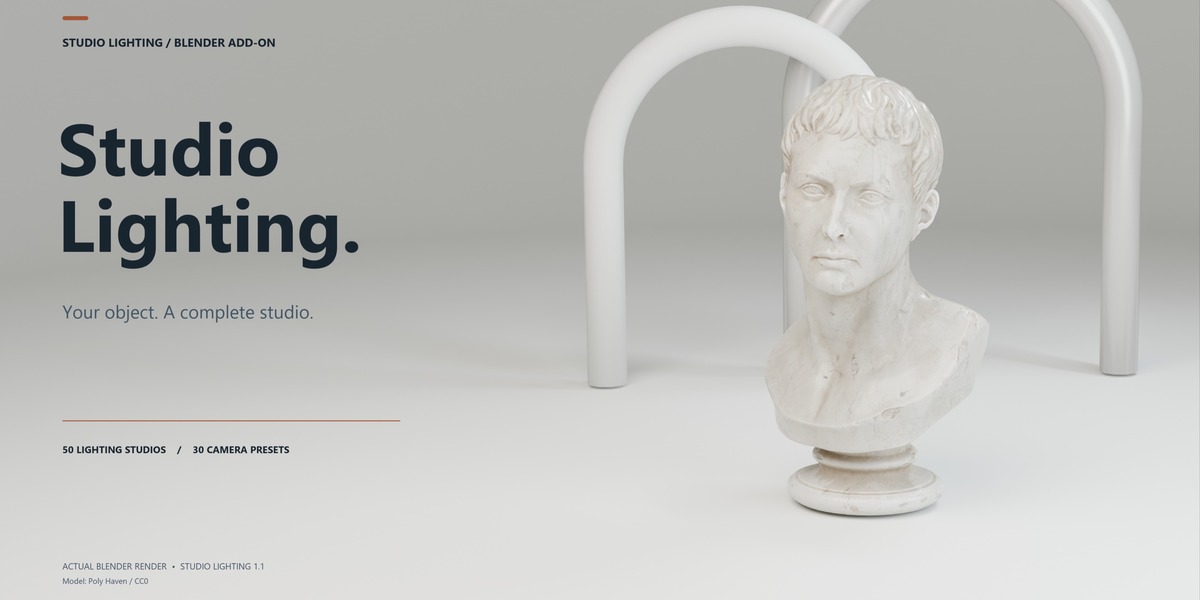



Studio Lighting Pro — Documentation
Thank you for using Studio Lighting. This guide covers installation and the basic workflow for creating and customizing a studio scene.
Installation
-
Download the Studio Lighting
.zipfile. - Open Blender.
- Go to Edit → Preferences → Add-ons.
- Click Install from Disk.
-
Select the downloaded
.zipfile. - Enable Studio Lighting if required.
- Return to the 3D Viewport.
- Press N to open the sidebar.
- Open the Studio Lighting tab.
Studio Lighting is now ready to use.
Quick Start
1. Select Your Subject
In Object Mode, select the object you want to place inside the studio.
Multiple objects can also be selected if your subject consists of several separate objects.
Studio Lighting uses your selection to determine the size and position of the subject when generating the studio.
2. Choose a Studio
Open the Studio Lighting panel and use the Studio dropdown.
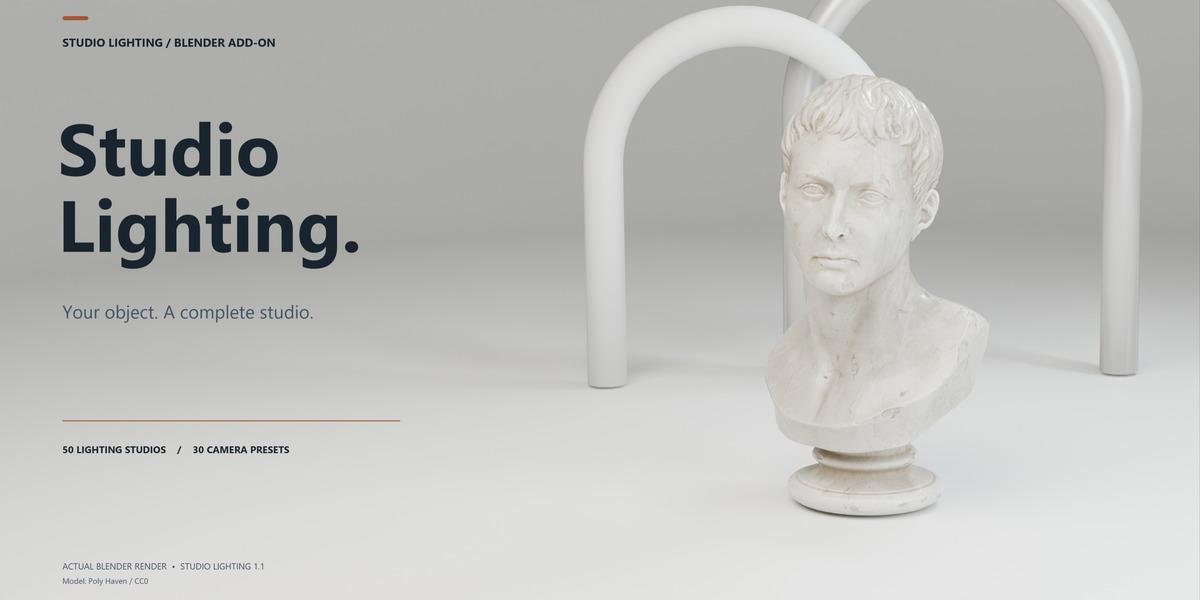
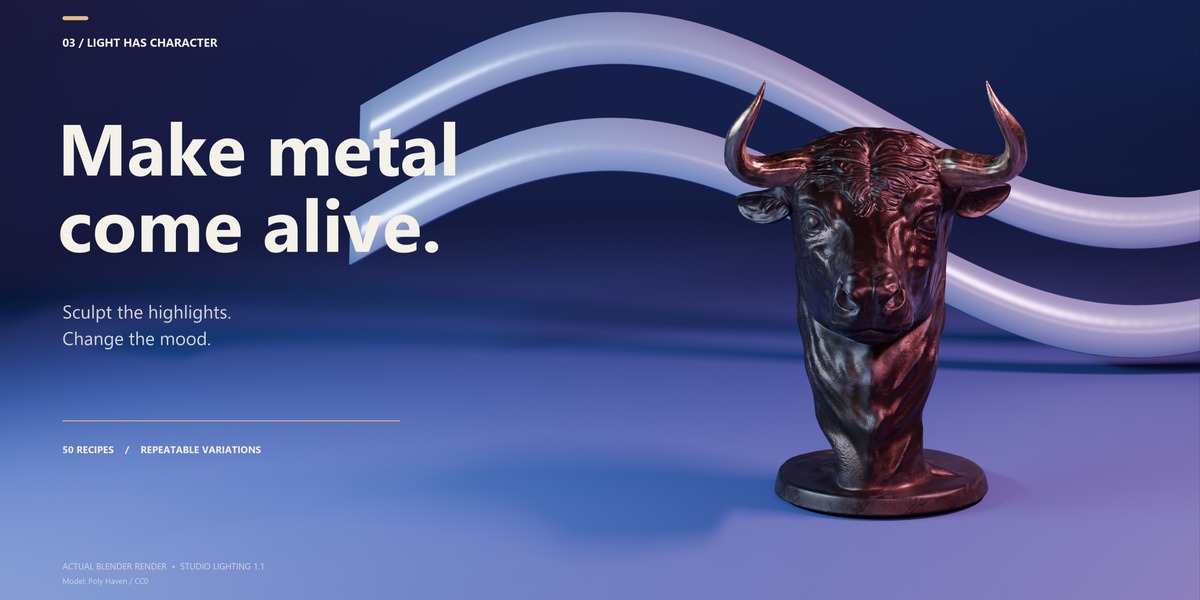
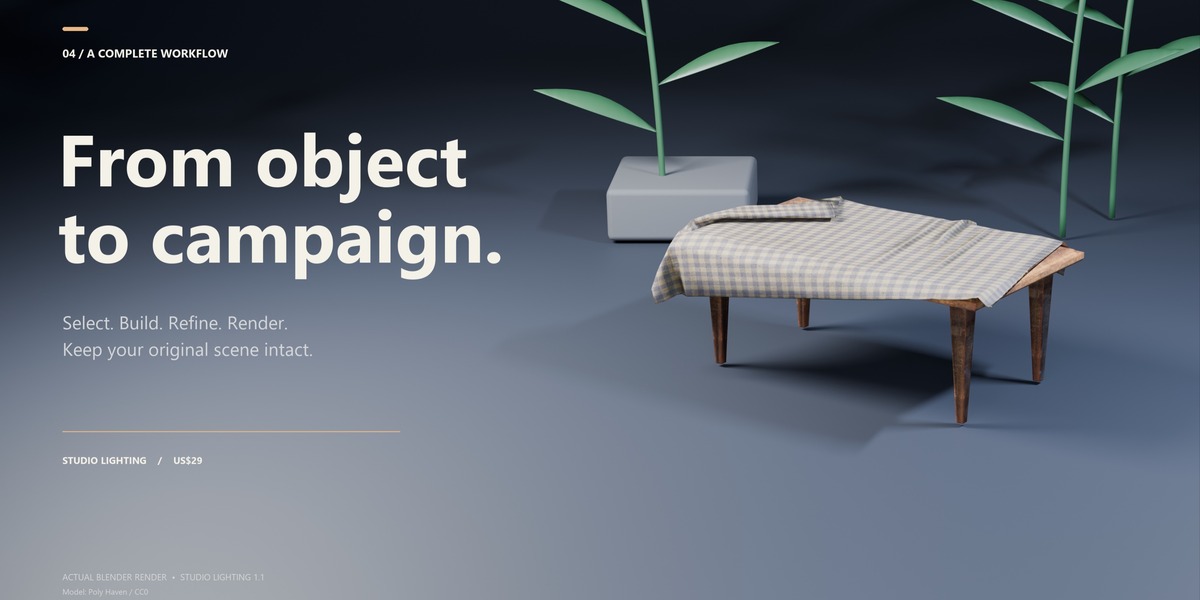
Studio Lighting includes 50 studio presets, each with its own rendered preview and visual style.
You can also use Previous and Next to quickly browse through the available studios.
3. Create the Studio
Once you've selected a preset, click:
Create Studio from Selection
Studio Lighting creates a separate studio scene containing your subject together with the required lighting, camera, backdrop, and set elements.
After creation, you can continue adjusting the studio from the Studio Lighting panel.
Light Shaping
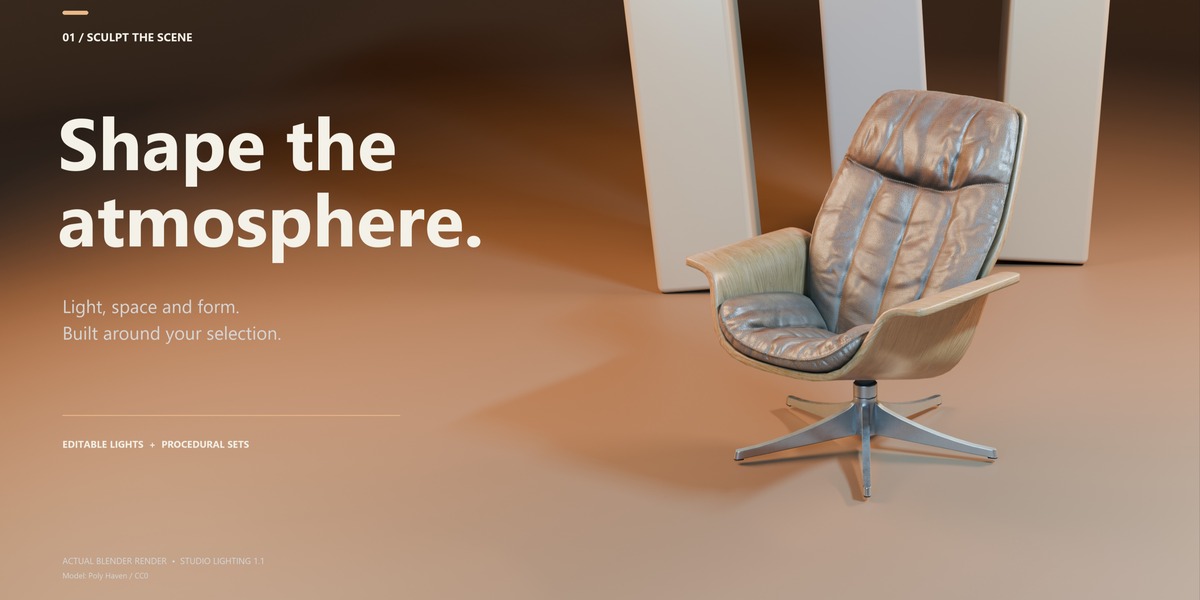
The Light Shaping section provides quick controls for modifying the lighting.
Light Power adjusts the overall strength of the studio lighting.
Softbox Scale changes the scale of the studio softboxes and affects the character and softness of the illumination.
Rig Rotation rotates the lighting setup around the subject.
Ambient Fill controls the amount of additional fill illumination.
Use Reset Light Shaping to restore these parameters to their default values.
The generated lights remain regular Blender objects and can also be manually edited for more advanced customization.
Backdrop & Set Design
Open Backdrop & Set Design to customize the environment surrounding your subject.
Depending on the selected studio, you can modify the backdrop, set design, decoration scale, backdrop distance, set rotation, variations, floor properties, and other available parameters.
Use these controls to create variations of the same studio without rebuilding the scene.
Generated background and decoration elements remain editable Blender objects.
Camera Composition
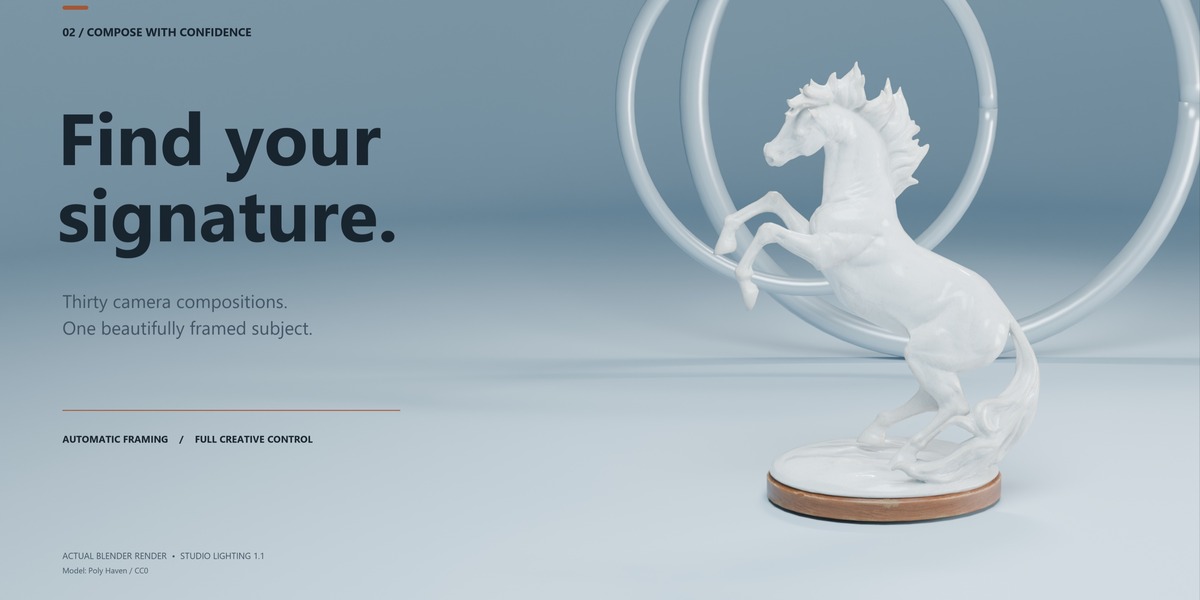
Studio Lighting includes 30 camera compositions.
Open the Camera Composition section and select a composition from the camera dropdown.
Available compositions include front, profile, three-quarter, elevated, isometric, long-lens, wide, portrait-style, overhead, and other presentation angles.
Click Apply Camera after choosing your composition.
You can additionally adjust options such as:
- Frame breathing room
- Orthographic camera
- Depth of field
- Camera variation
The generated camera is also a normal Blender camera and can be manually repositioned or modified.
Rendering
Once you're happy with the studio:
- Select your preferred camera composition.
- Adjust the lighting and backdrop if necessary.
- Configure your final render settings.
- Render your image normally from Blender.
Studio Lighting creates the studio setup, but Blender's standard render settings remain available for complete control over resolution, samples, output format, color management, and other rendering options.
Returning to Your Original Scene
Studio Lighting creates the studio separately so your original working scene remains available.
Use Return to Source Scene when you want to return to the scene containing your original setup.
This allows you to experiment with studio presentations without replacing your original scene.
Editing Generated Elements
Studio Lighting is designed to provide a starting point rather than a locked result.
Generated lights, cameras, backgrounds, decorations, and other studio elements remain editable inside Blender.
Advanced users can therefore use Studio Lighting to generate the initial setup and then manually modify individual elements using Blender's standard tools.
Recommended Workflow
Select Subject → Choose Studio → Create Studio → Shape Lighting → Customize Background → Choose Camera → Render
You can experiment with different studios and camera compositions to find the presentation that works best for each model.
Tips
For the best results, make sure your model has appropriate materials before creating the studio. Try multiple studio presets because different materials and shapes respond differently to each lighting setup.
After selecting a preset, use the Light Shaping and Set Design controls to personalize it rather than relying only on the default configuration.
For final-quality renders, adjust Blender's render samples and other render settings according to the requirements of your project.
Support
If you encounter a problem, please include the following information when requesting support:
Blender version · Studio Lighting version · Render engine · Description of the problem · Screenshot of the issue
Providing this information makes it much easier to identify and resolve problems.
Have questions about this product?
Login to message
| Blender Extension Compatible | Yes |
| Published | 1 day ago |
| Blender Version | 4.2 - 5.2 |
| Extension Type | Add-on |
| Render Engine Used | Cycles, Eevee |
| License | GPL |
Discover more products like this
blender Cycles Studio product-visualization Lighting product rendering Studio Lighting eevee camera photography product Design rendering