 Domenas


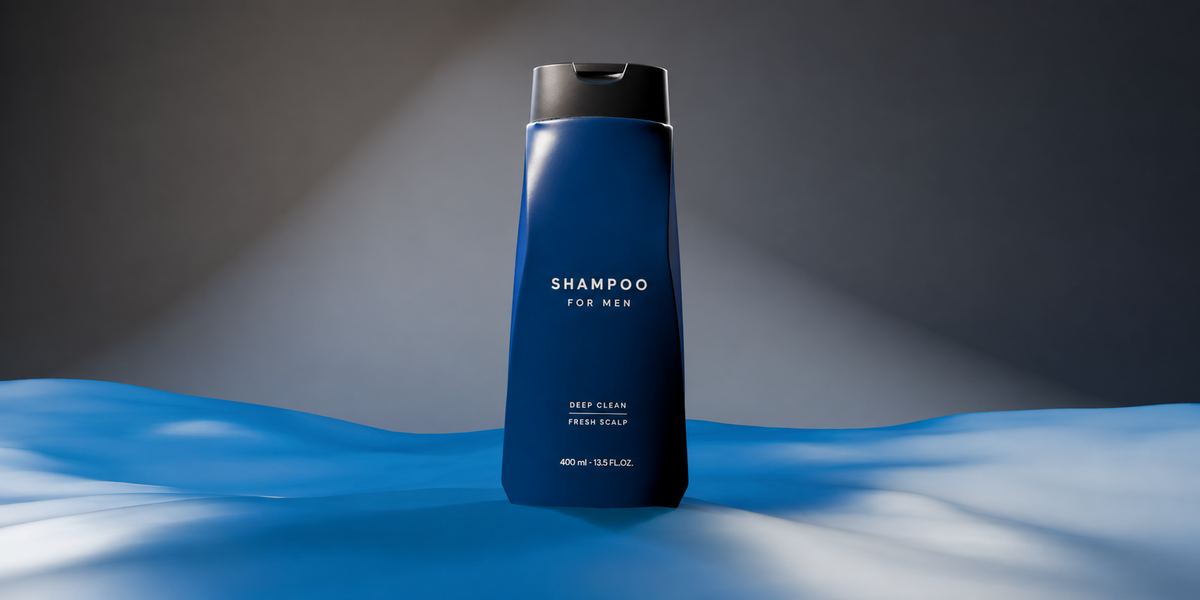
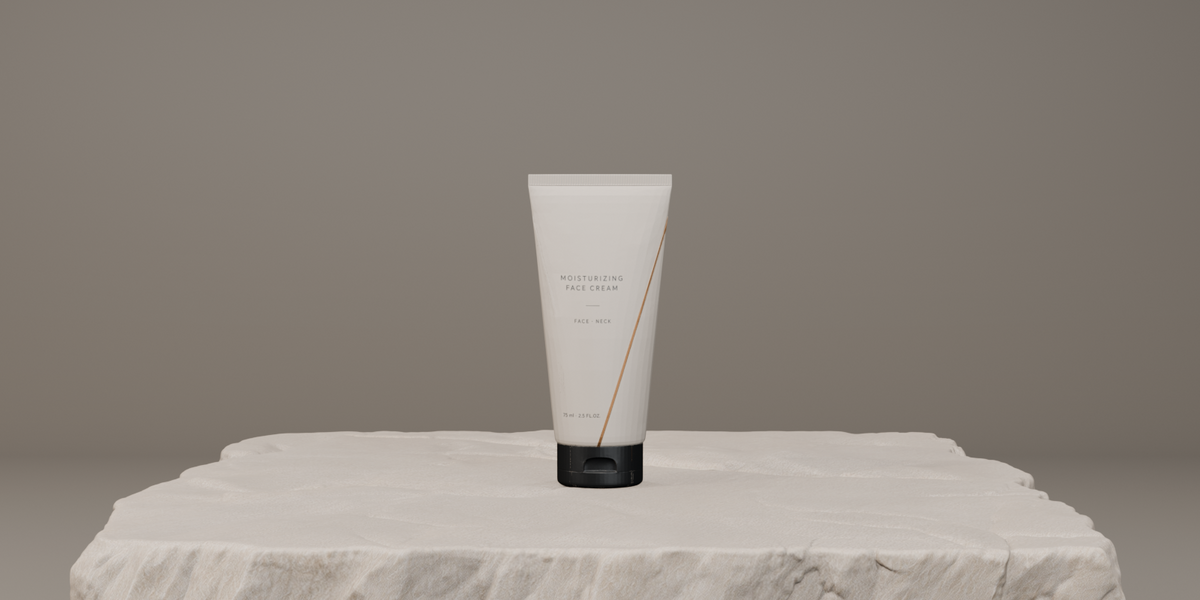


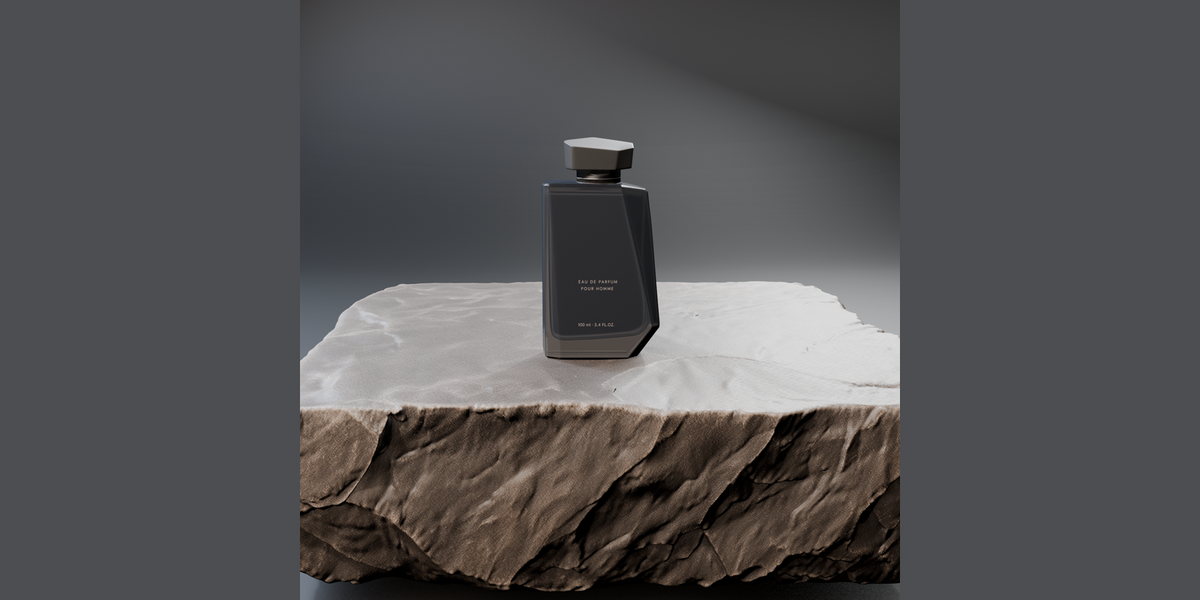
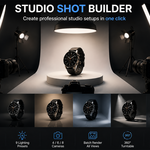
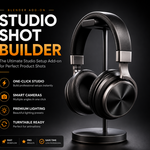

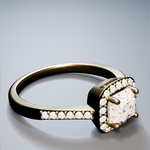
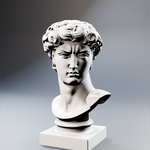
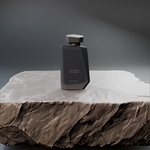
Studio Shot Builder – Quick Start
Installation
- Open Blender.
- Go to Edit → Preferences.
- Install the Studio Shot Builder ZIP file.
- Enable Studio Shot Builder.
- Open the 3D Viewport and press N to open the sidebar.
- Open the Studio Shot Builder panel.
Creating a Studio
- Select the object or objects you want to render.
- Choose a Lighting Style.
- Set the Studio Size.
- Choose a Backdrop Style.
- Enable Create Backdrop if you want the backdrop to be generated.
- Click Build Studio.
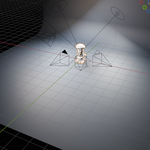
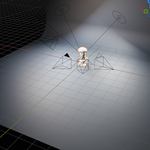
Studio Shot Builder automatically creates the studio around the selected objects. Generated studio elements are kept inside the SSB_Studio collection.
Lighting
Choose one of the available lighting styles:
- Clean
- Soft Commercial
- Dark Premium
- Dramatic
- Catalog
- Rim Light
- High Key
- Low Key
- Warm Product
Lighting can be adjusted using:
- Intensity
- Softness
- World Strength
- Light Rotation
After changing the lighting settings, click Update Lighting.
Cameras
Studio Shot Builder can create 4, 6 or 8 camera views.
Camera controls include:
- Focal Length
- Distance
- Elevation
- Camera Orbit
Change the settings and click Create Camera Set to generate the cameras.
Batch Rendering
Set the output width, height and output folder.
Enable Transparent Background if required.
Click Render Camera Set to render each generated camera as a separate PNG image.
360° Turntable
Select a duration of 5, 10 or 15 seconds and click Create Turntable.
Use Render Turntable to render the animation to H.264 MP4.
Removing the Studio
Click Remove Studio to remove the generated Studio Shot Builder setup from the scene.
Have questions about this product?
Login to message
| Published | about 2 months ago |
| Blender Version | 4.2 - 4.5 |
| Extension Type | N/A |
| Render Engine Used | Cycles, Eevee |
| License | GPL |

Discover more products like this
Studio Lighting backdrop cameras Lighting turntable Batch rendering product rendering product-visualization