 ZEG
Installation
In Blender open Edit, Preferences, Get Extensions, then use Install from Disk and pick the stylized_landscape_generator zip.
Create a landscape
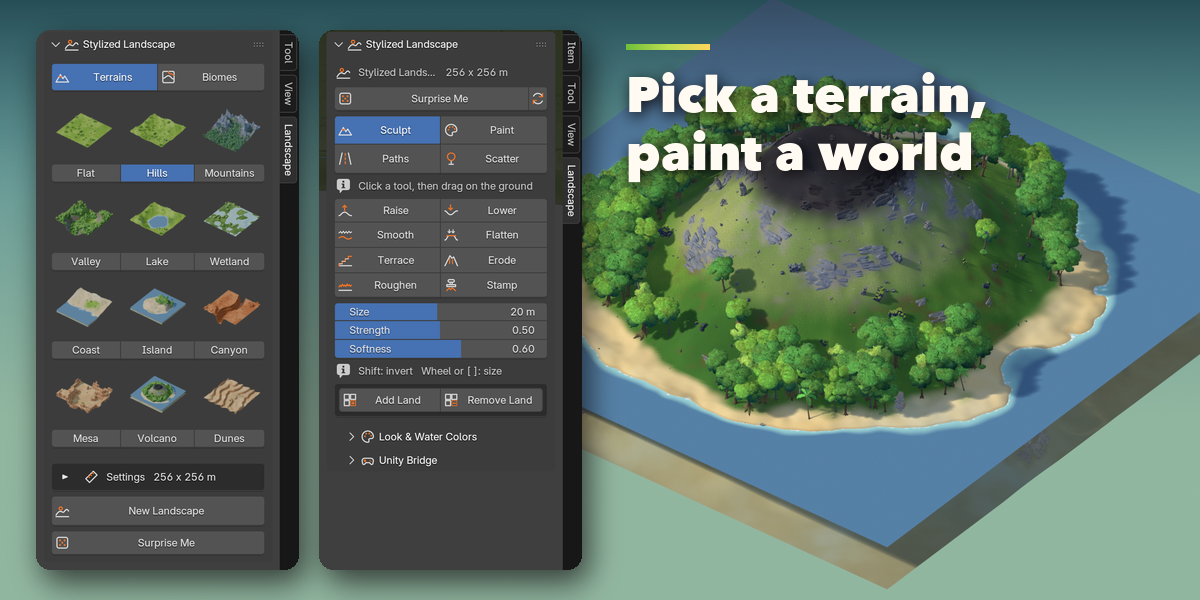
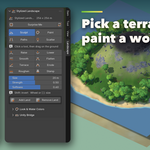
- Open the Landscape tab in the 3D viewport sidebar (N). With nothing selected you see the new screen.
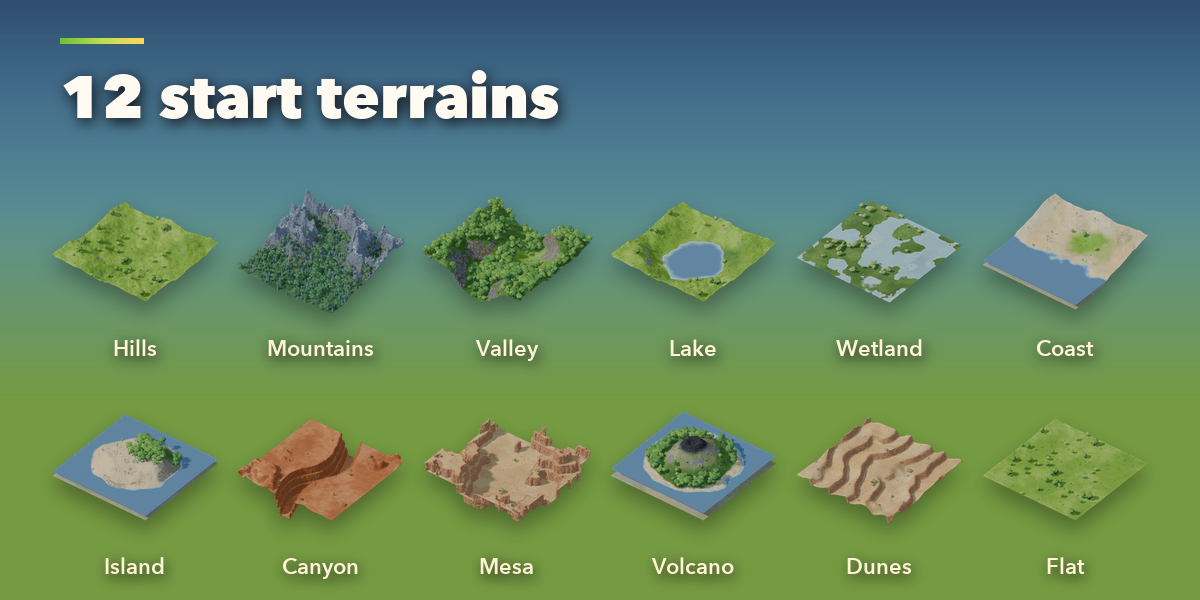
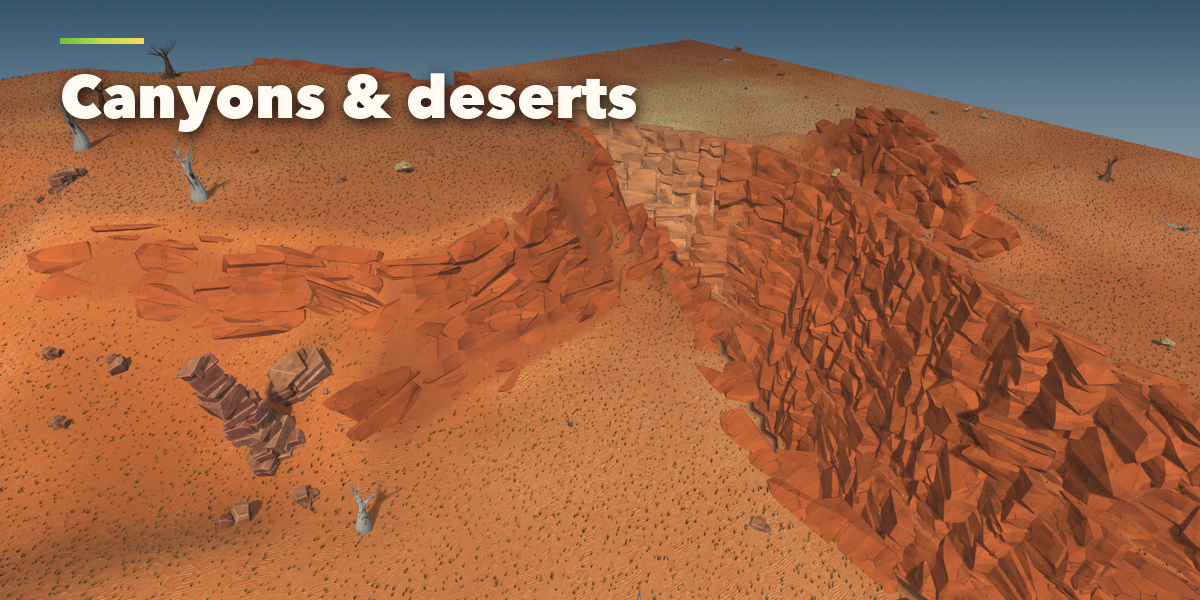
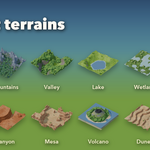
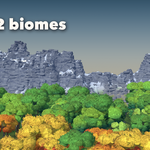
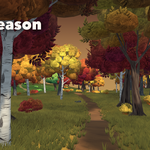
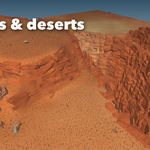
- On the Terrains tab click a terrain picture, or switch to Biomes for a flat field of one biome, and create the landscape. The surprise button makes a random world.
Edit it
- Select the landscape. The tabs Sculpt, Paint, Paths and Scatter appear.
- Sculpt: pick a brush or a stamp and drag on the ground. Add Land and Remove Land grow or shrink the map by chunks.
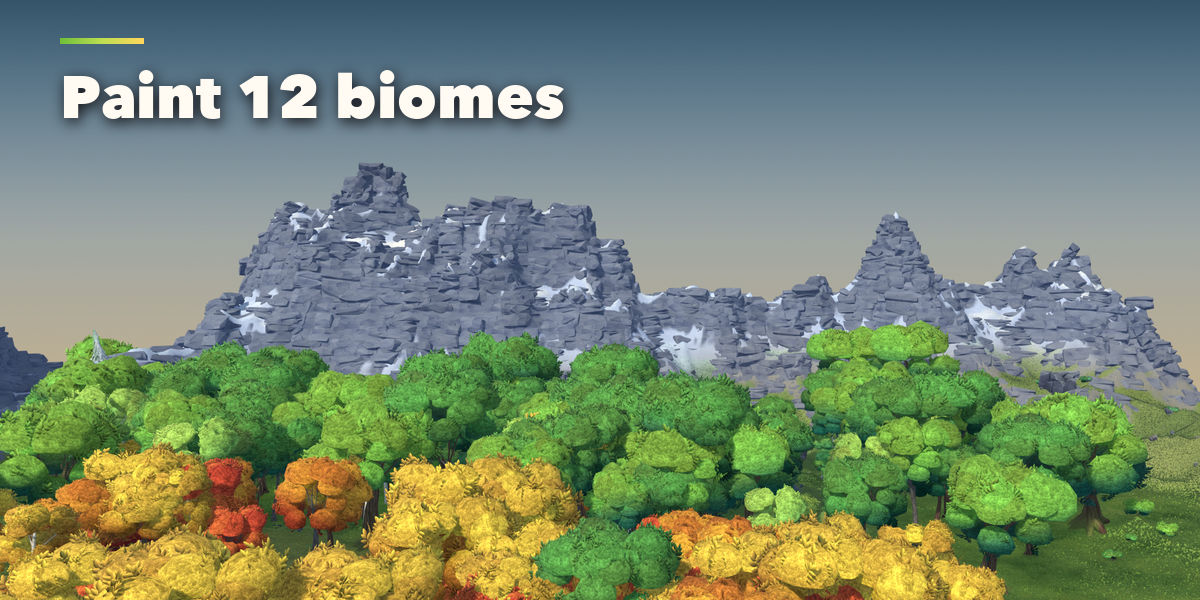
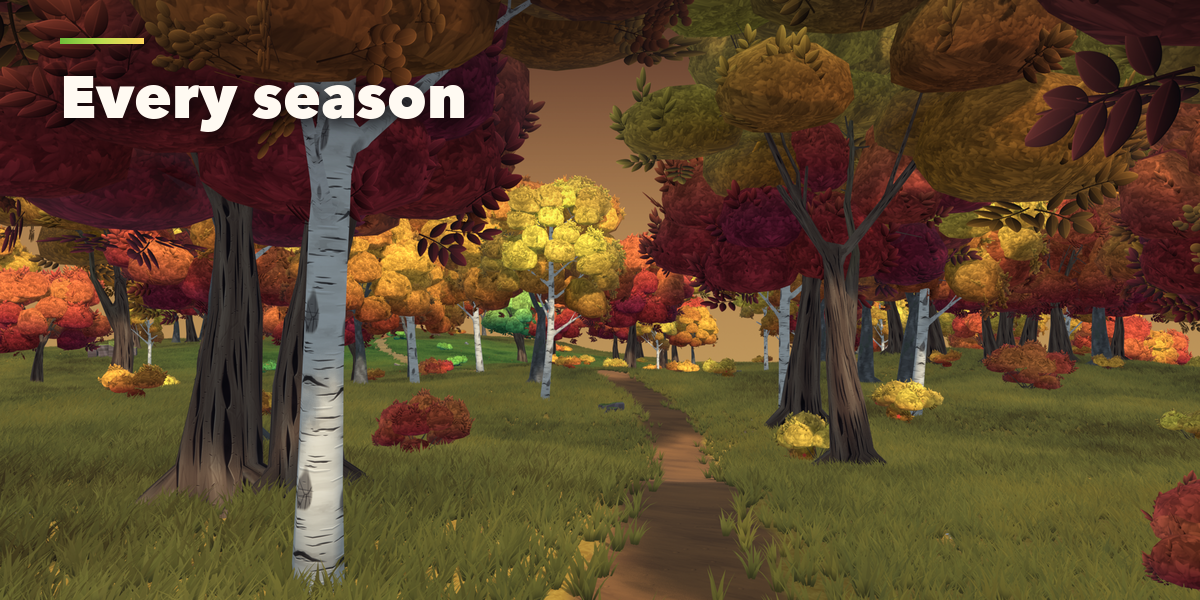
- Paint: click a biome picture and paint it. Trees, rocks and grass follow.
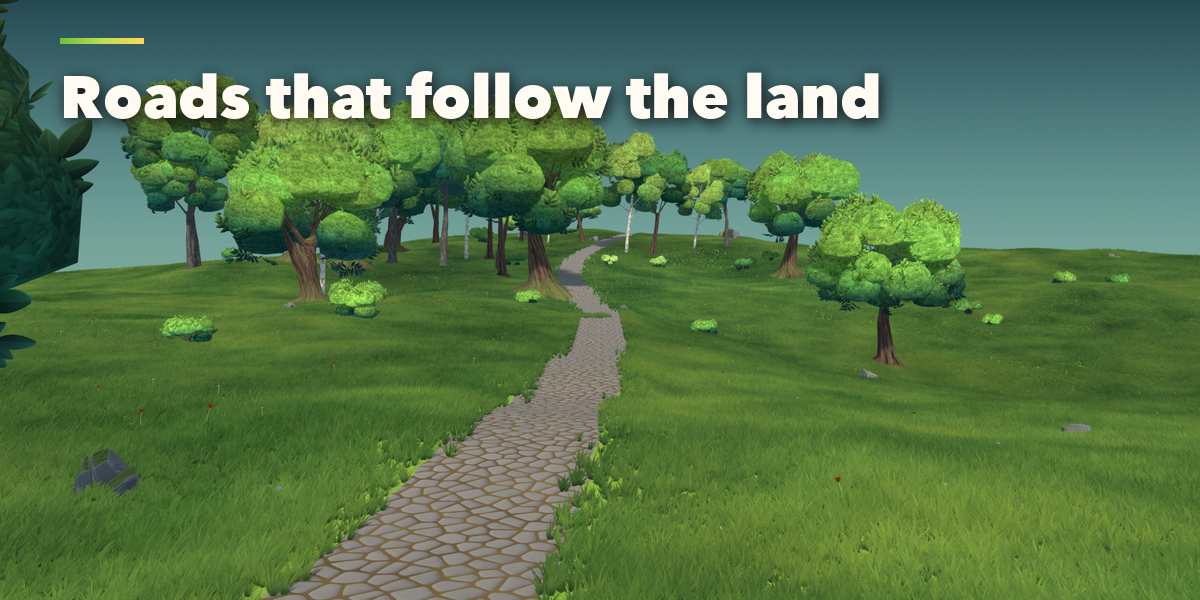
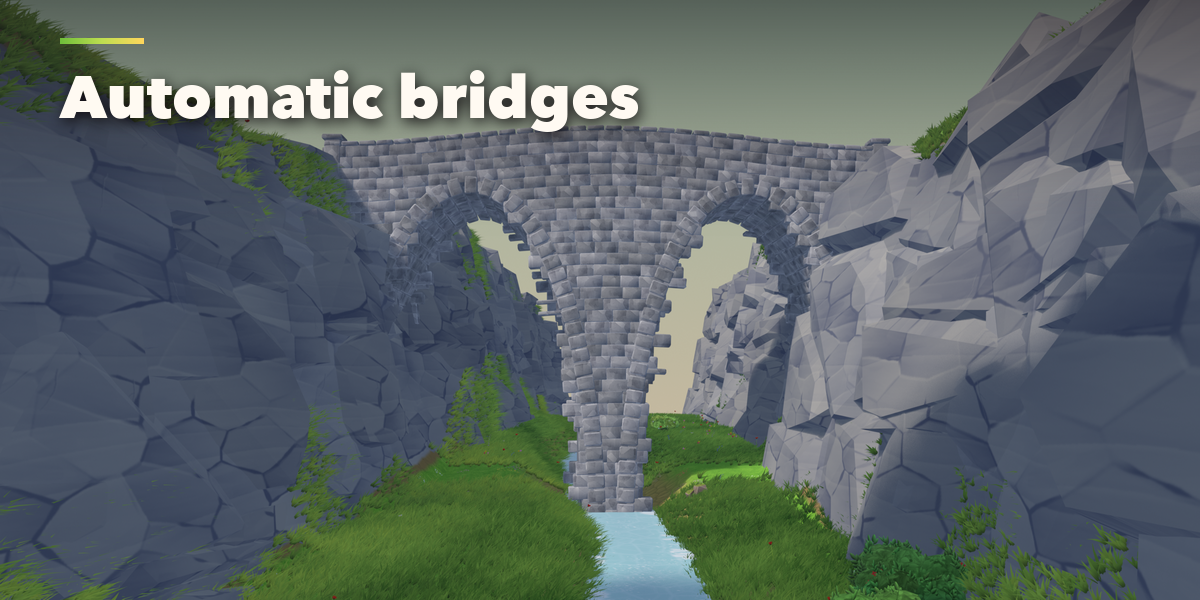
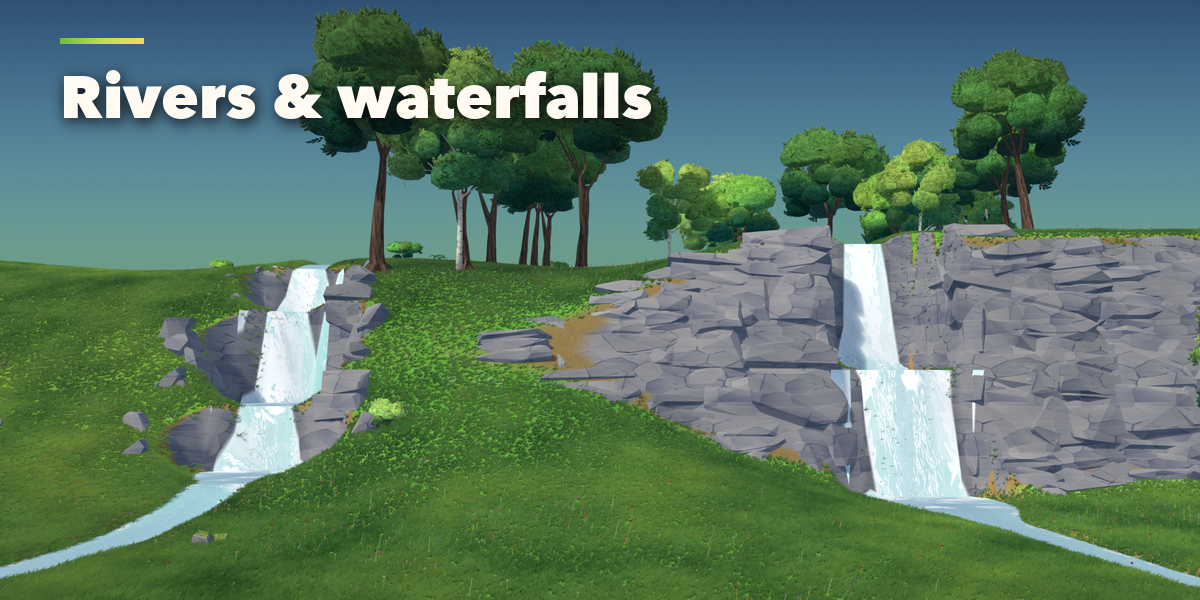
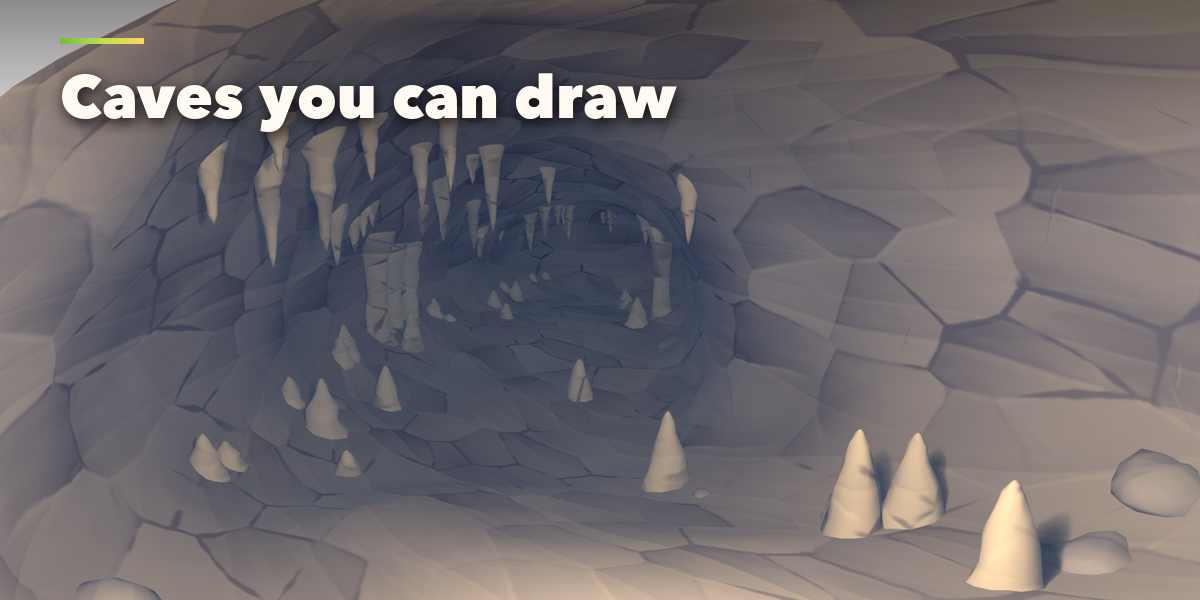
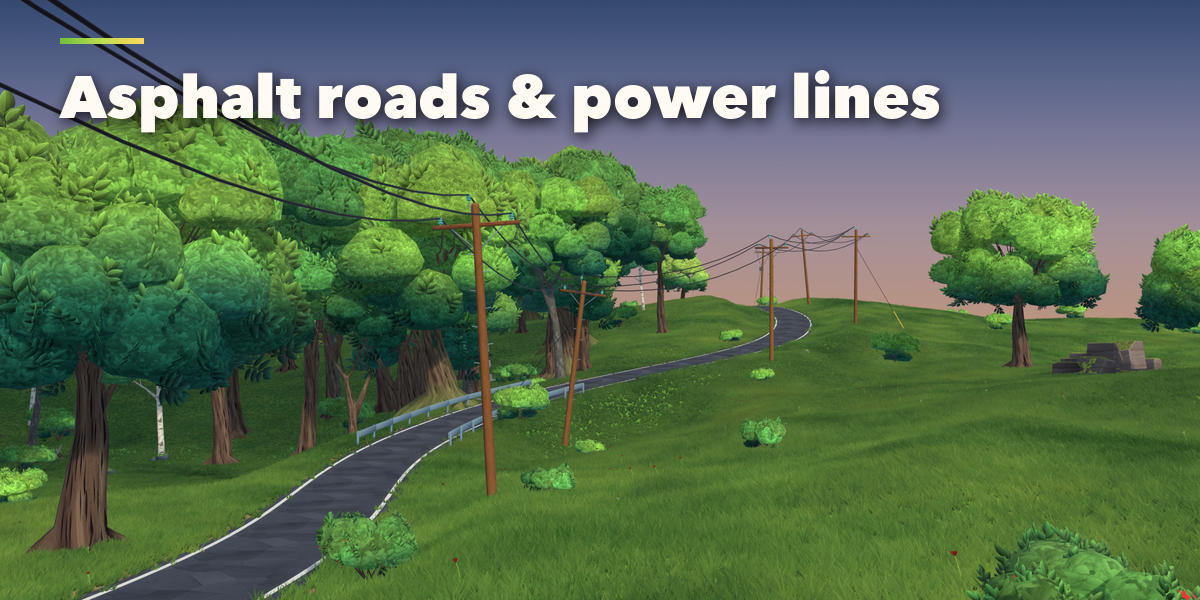
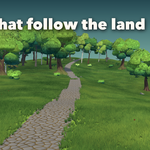
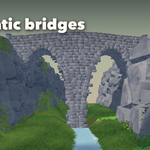
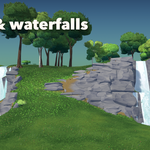
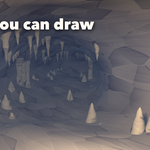
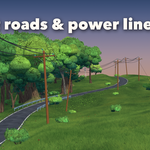
- Paths: pick a road type, River, a power line or Cave and drag on the ground; it is applied when you release. Edit the curve points later to move it. Per path you can switch bridges, stairs, waterfalls and the bridge style. The sea and painted ponds are here too.
- Scatter: set the amounts, paint more or fewer trees, rocks, grass and flowers, place single objects with Add, and tune the grass field and the wind.
Unity Bridge
- Open your Unity project, then open the Unity Bridge sub-panel in the Landscape tab and install the bridge into that project.
- Choose Unity Terrain or Meshes as the ground mode and sync, or switch on Live Sync to send every edit.
- After updating the addon, install the bridge again so Unity gets the new scripts and shaders.
Tips
- EEVEE ray tracing makes the thick grass look dark; switch it off for stylized renders.
- Press Play to see the wind and the flowing water.
Have questions about this product?
Login to message
| Blender Extension Compatible | Yes |
| Published | 1 day ago |
| Blender Version | 4.2 - 5.2 |
| Extension Type | Add-on |
| Render Engine Used | Cycles, Eevee |
| License | GPL |

Discover more products like this
Generator roads biomes rivers landscape stylized terrain world building unity environment game assets scatter