Stylized Sky
 GPolygon Design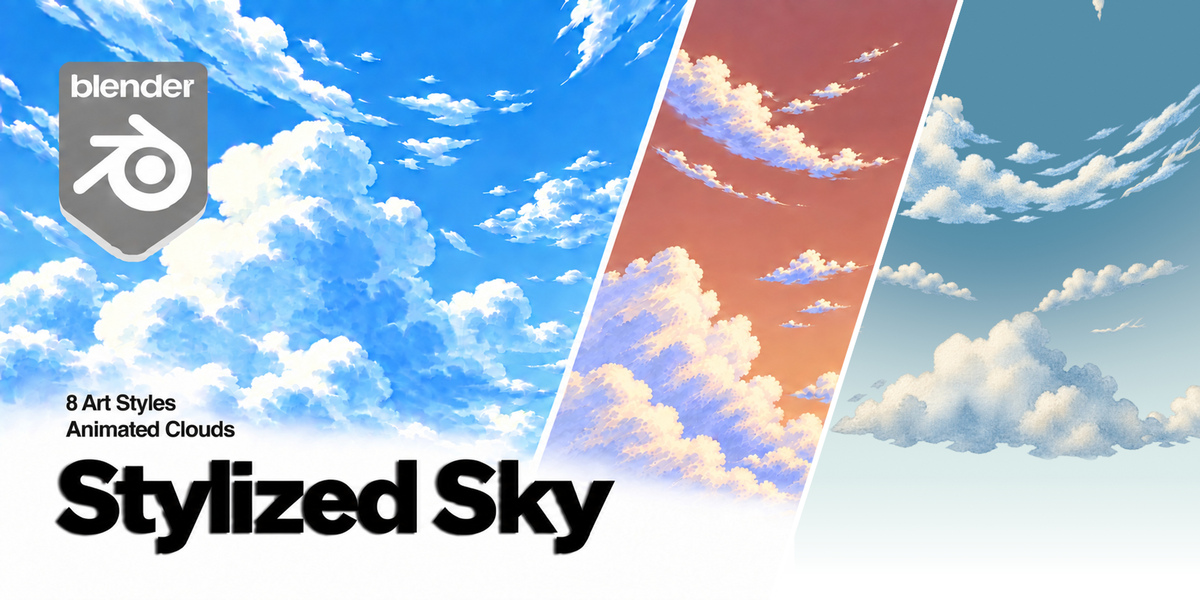

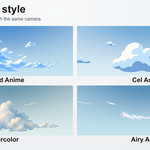
Stylized Sky v1.0.0 — User Guide
Requires Blender 4.2 or later. Tested on Windows with Blender 4.2.22 LTS, 4.5.2 LTS, 5.1.2 and 5.2.1 LTS.
1. Install and create your first sky
- Download the add-on ZIP and keep it zipped.
- In Blender, open Edit > Preferences > Get Extensions, open the menu and choose Install from Disk. Select the ZIP and enable Stylized Sky.
- In the 3D Viewport, switch to Object Mode, press N and open the Sky tab.
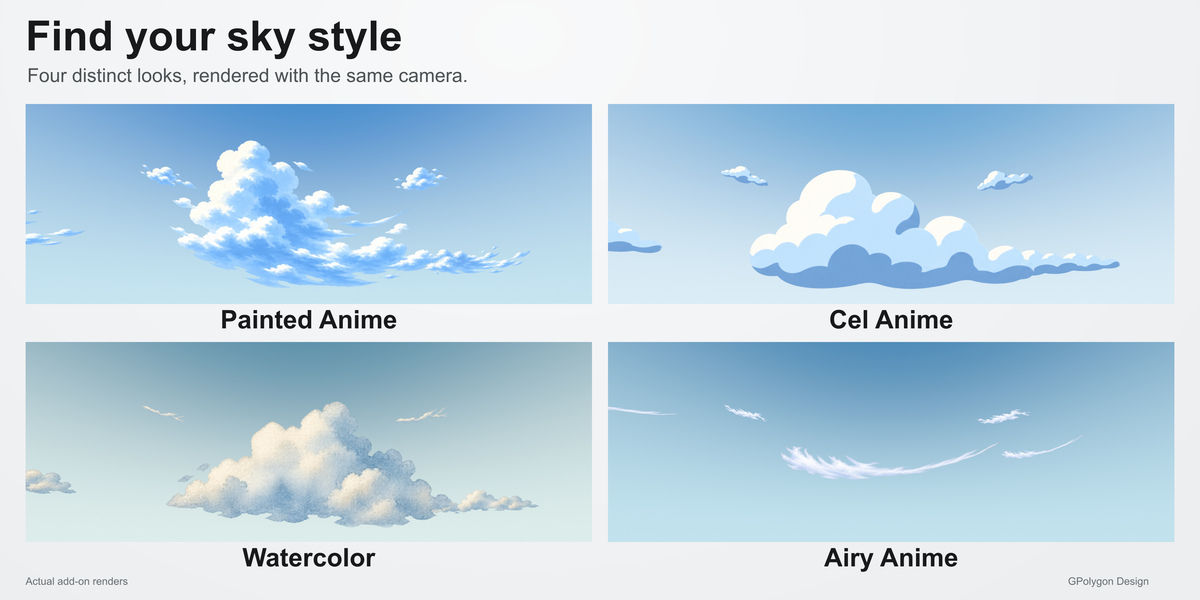
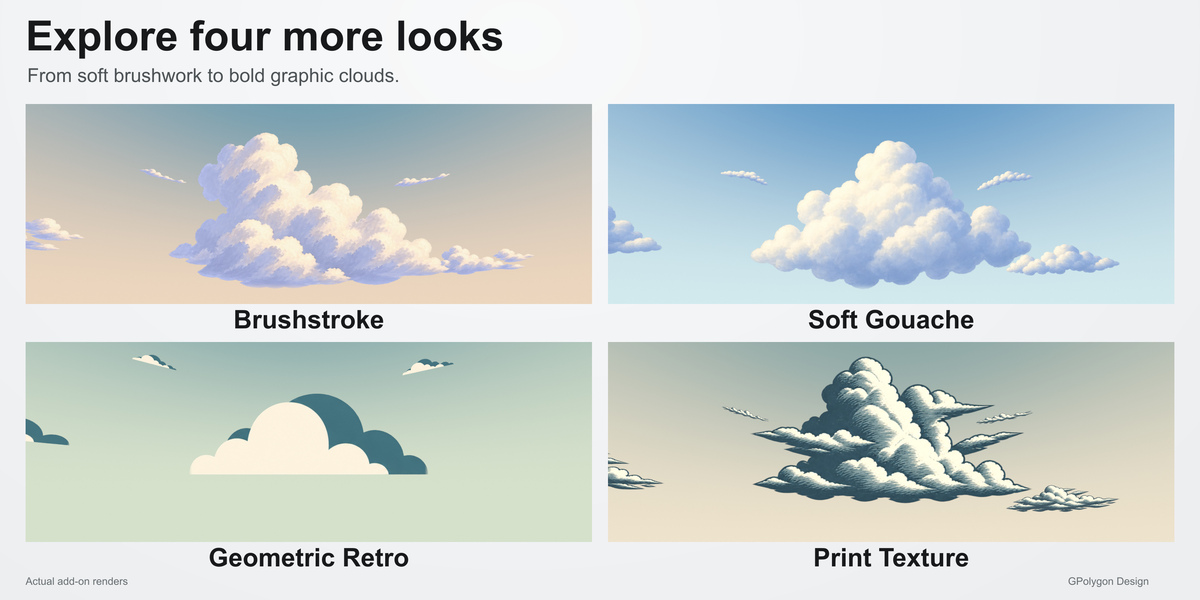
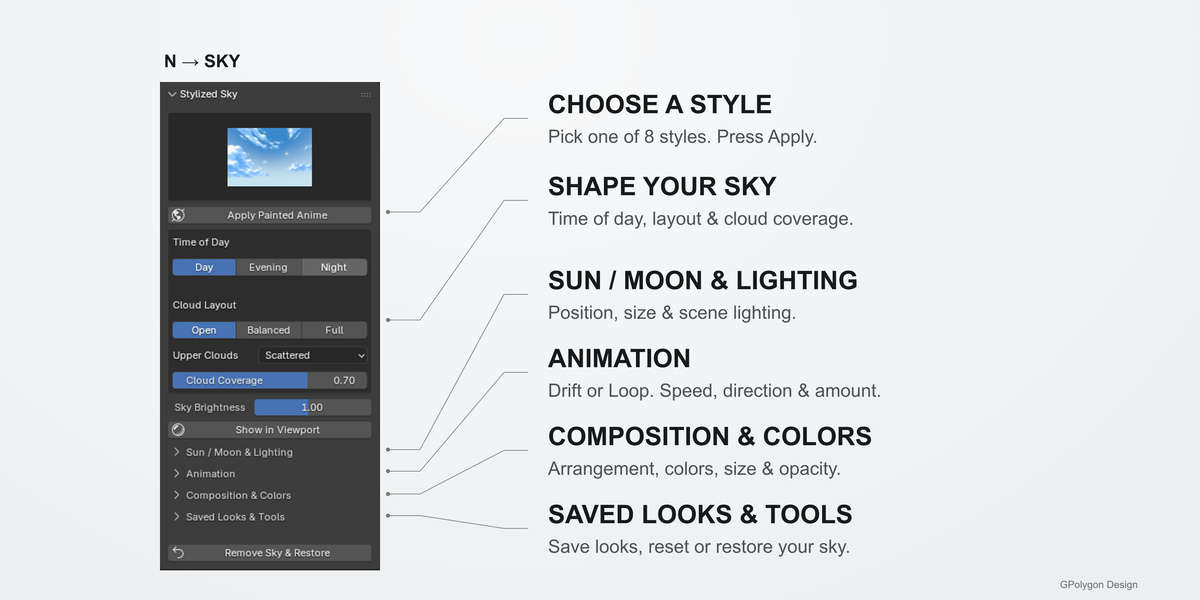
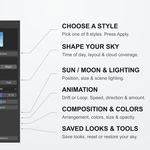
- Choose a style thumbnail and press Apply. Selecting a thumbnail alone does not change the active sky.
- Press Show in Viewport. In Material Preview, enable Scene World. Use a perspective view or perspective camera.
The initial combination is Painted Anime / Day / Balanced / Scattered.
2. Compose your sky
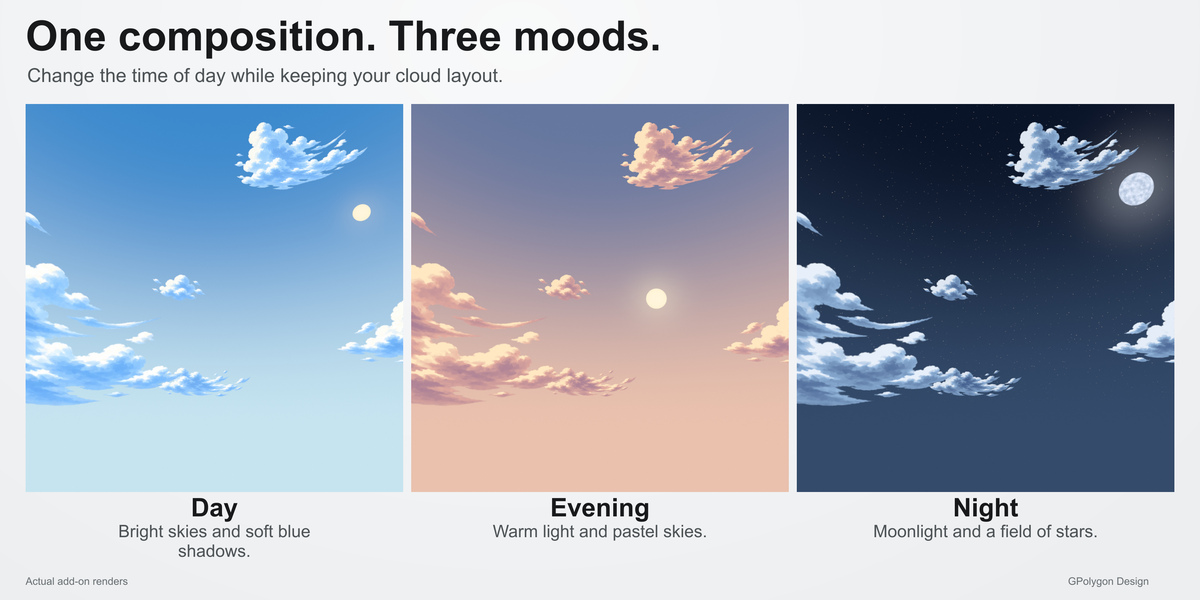
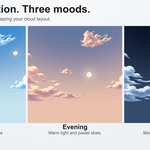
Time of Day: Day, Evening or Night changes the sky and cloud palette, sun or moon, stars and default lighting. Cloud positions, layout, rotation, upper-cloud mode and animation are preserved. Custom sky and light colors are replaced by the time palette; Cloud Tint is retained. Body placement and moon phase return to the chosen time preset. Custom Ambient and Direct lighting multipliers are retained; untouched defaults follow the preset.
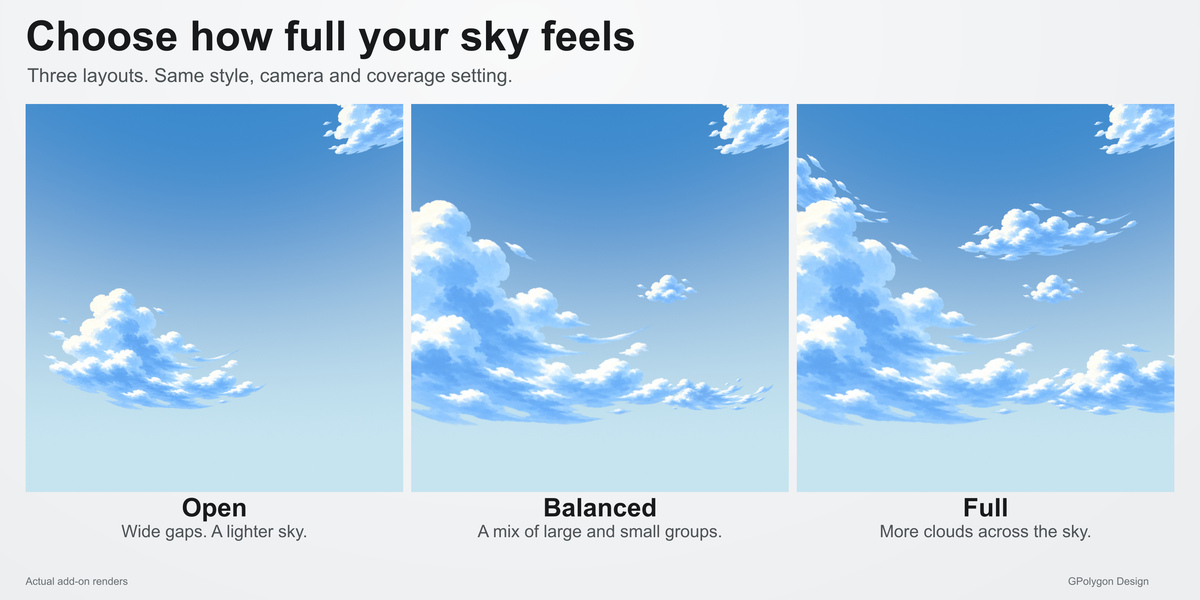
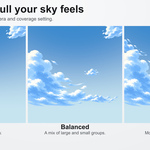
Cloud Layout: Open uses fewer, smaller main clouds and sparse upper groups. Balanced keeps a composed mix of main and supporting clouds. Full adds more middle and horizon groups while retaining gaps.
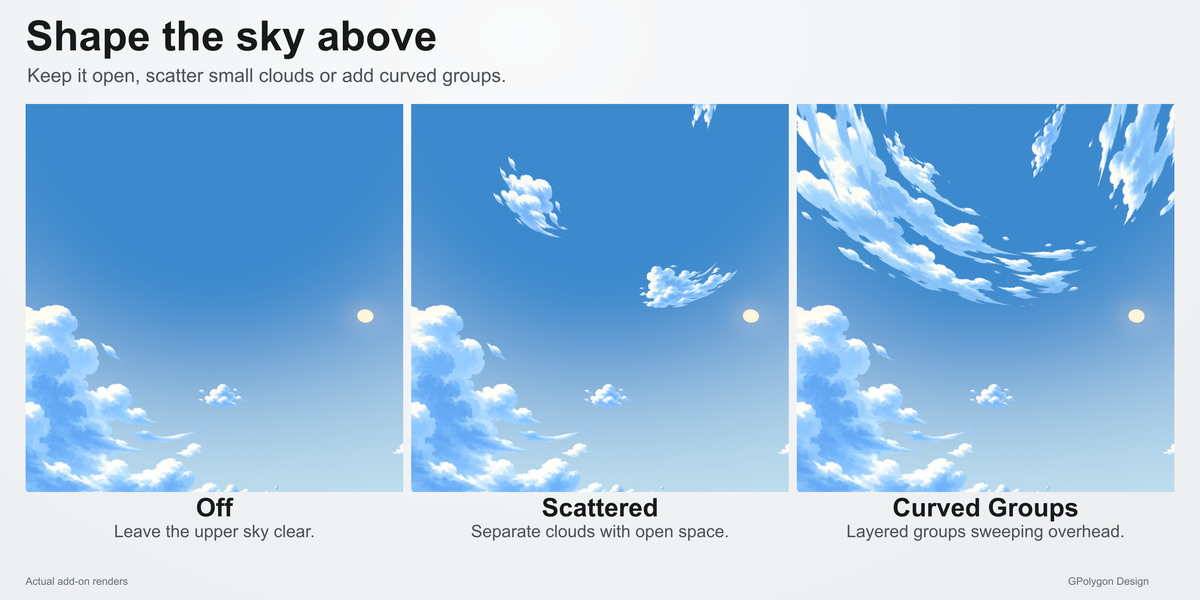
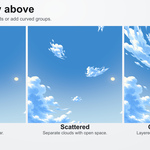
Upper Clouds: Off leaves the upper sky clear. Scattered adds separate groups. Curved Groups adds layered, sweeping cloud artwork with varied sizes, heights and gaps. At maximum coverage, Open / Balanced / Full provide 3 / 6 / 9 upper groups. Lower-cloud counts are independent. Off remains off when changing layout or time.
Cloud Coverage: adds or removes whole cloud groups in steps. Zero clears the clouds; the maximum reveals all groups in the selected arrangement. Existing groups retain their size and opacity. This is not a measured percentage of the screen. For smooth movement, use Animation rather than animating coverage.
Sky Brightness: adjusts the sky's brightness. Scene exposure and color management also affect the final appearance.
3. Light and animate
Expand Sun / Moon & Lighting to position and resize the visible body, adjust moon phase and stars at night, or control Direct Lighting and Ambient illumination. Hiding the disk does not disable Direct Lighting. Reset Sun / Moon restores the current time preset.
Expand Animation and choose Drift for continuous movement or Gentle Loop for repeating motion. Adjust Speed, direction and Amount. At speed 1, Gentle Loop repeats after 20 seconds. Speed 0 freezes cloud motion; star twinkle is independent. Preview the full range before rendering. For a seamless repeating clip, avoid exporting the duplicate ending frame.
4. Customize and save
Composition & Colors: rotate the sky, generate a New Arrangement, adjust the seed, sky colors, cloud tint, cloud size and opacity. Painted cloud highlights remain part of the artwork.
Saved Looks & Tools: save and reload looks within the current blend file, open the built-in example scene or use Illustration Colors. The color-management tool affects the whole scene and can restore the previous settings.
Reset Style Settings retains the chosen time of day and restores other defaults. Save a look first if you want to keep your adjustments. Remove Sky & Restore restores the previous World and preserves user-added objects. Keep the add-on enabled when working with scenes that use its controls.
5. Troubleshooting
- No sky visible: apply a style, use Show in Viewport or enable Scene World in Material Preview. Disable Film > Transparent for a visible background in the final render.
- Clouds look sparse or missing: check Cloud Coverage, Cloud Opacity, Upper Clouds and camera direction. Rotate the composition to frame a cloud group.
- A style did not change: press Apply after choosing its thumbnail. Time, layout and upper-cloud controls affect the currently active sky immediately.
- Colors differ from the previews: check exposure and color management. Try Use Illustration Colors; this changes scene-wide color settings.
- A style or layout takes time to load: these operations rebuild the sky. Fuller arrangements may take longer. Let the operation finish before making another change.
6. What this sky is designed for
Stylized Sky uses direction-projected illustrated artwork in the World. It is not a volumetric cloud simulator: there is no positional parallax, moving cloud shadow on the ground or physical relighting of painted highlights. Scene objects receive actual directional light and shadows. Time of day is selected manually, not an automatic day/night cycle. Source textures do not gain detail at higher render resolutions.
For support, contact GPolygon Design through Superhive with your Blender version, operating system, selected style and settings, and a screenshot of the issue.
Artwork and saved file size
The bundled cloud artwork is AI-generated. Applying a style packs large artwork images into the .blend file, so saved files can grow substantially depending on the artwork retained in the scene.
Have questions about this product?
Login to message
| Blender Extension Compatible | Yes |
| Dev Fund Contributor | |
| Published | 1 day ago |
| Blender Version | 4.2 - 5.2 |
| Extension Type | Add-on |
| Render Engine Used | Cycles, Eevee |
| License | GPL |
Discover more products like this
stylized environment animation night sky Lighting clouds anime watercolor