Šime Bugarija


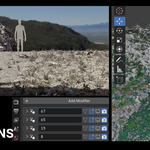
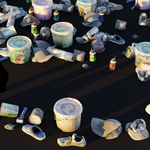
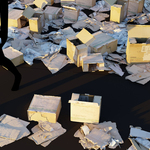
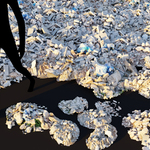
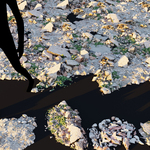
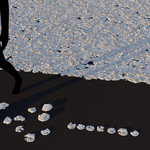
Scatter on Surface is a new modifier that has become Blender’s primary scattering tool since Blender 5, replacing the old particle system and complex manual Geometry Nodes setups. However, it comes with one drawback — it’s empty by default.
But it doesn't have to be like that...
By simply adding the Super Scatter on Surface node group to your default Blender startup file (video instructions are available in the Documentation tab), you get the same modifier but fully populated with high-quality photoscan assets covering over 20 categories..


Super Scatter on Surface includes all options as the standard Scatter on Surface modifier, with one key difference - the option to select an object or collection has been replaced by an index value ranging from 0 to 79.
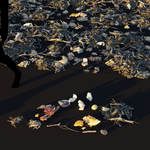
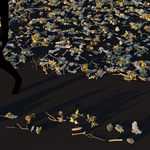
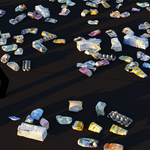
Each index corresponds to a pre-prepared collection of high-quality Photoscan assets. These assets are stored locally on your computer after download and are linked into your working Blender file, so they don’t increase memory usage.

In the Asset Browser, you’ll find thumbnail previews labeled with index numbers from 0 to 79, making it easy to see what each collection contains before importing it.
For example, if you’re looking for grass, try values between 4 and 15 and choose what works best for your scene.
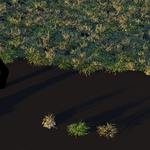
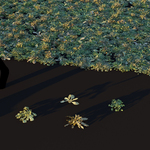
You can also stack multiple asset layers to achieve a more natural and realistic result (see example below). You can also combine with the regular Scatter on surface modifier, of course.

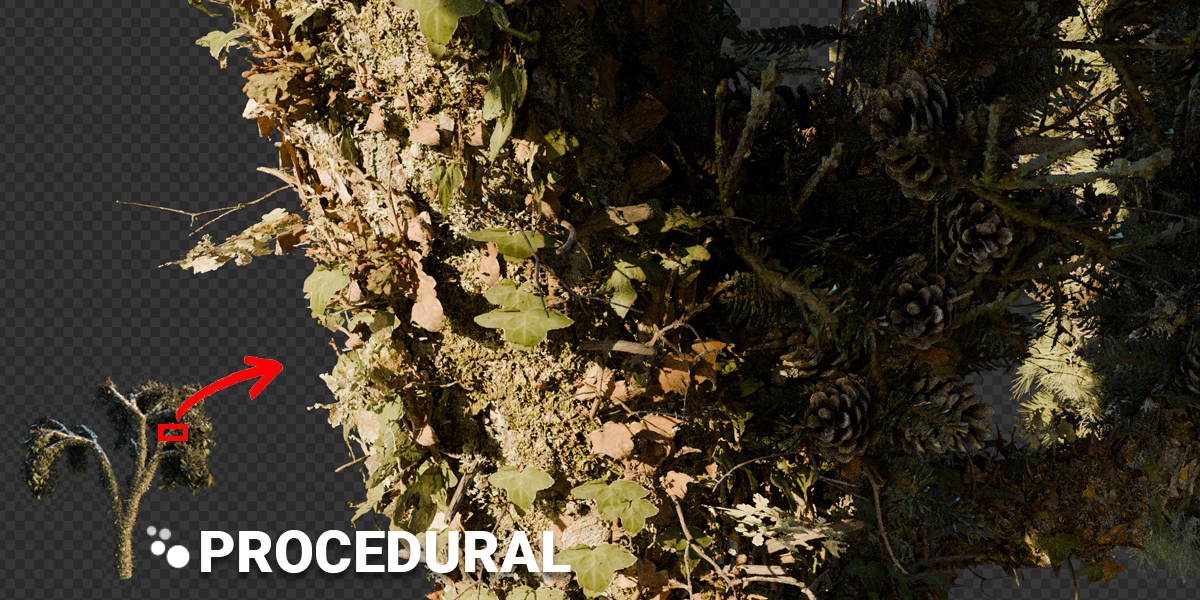
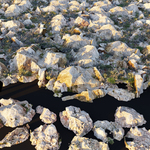
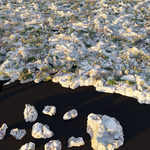
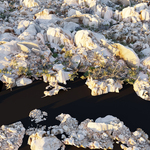
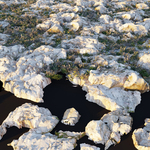
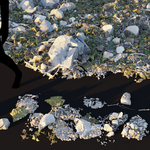
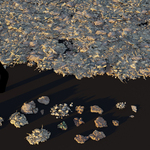
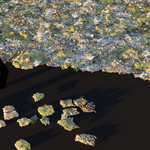
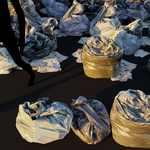
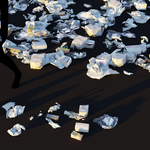
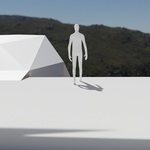
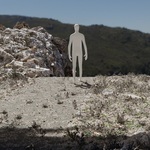
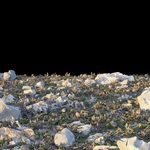
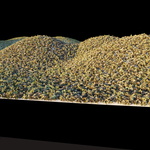
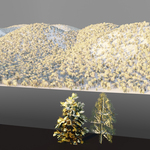
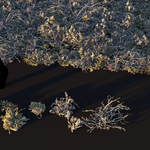
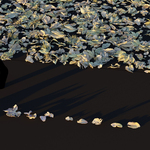
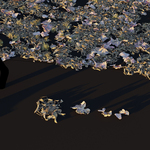
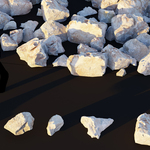
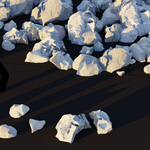
Cliff example (image below)
- Real-world cliffs captured through photogrammetry
- Splitted into smaller pieces and optimized for scattering
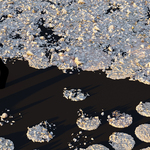
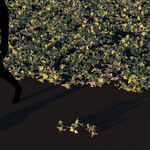
- When combined with other assets (in this case grass, soil, ivy), we get fully procedural and highly realistic cliffs (this is just a cliff example — the possibilities are endless)


All assets are thoroughly optimized.
The number of faces and vertices has been minimized to keep the mesh as lightweight as possible without compromising quality — but that’s not all.
You can enable this version simply by unchecking the HQ checkbox.

But it’s not just the mesh — the shader is also optimized in the low-poly version.

When you turn off the HQ option, it’s not just the mesh density that changes — the shader is optimized as well.
Organic materials switch to a simpler shader without SSS or Translucent effects, letting you choose between faster performance and more realistic light response.

In nature, objects occupy different spaces, and sometimes they don’t quite feel like they belong together.
That’s why the DUST option is here.

A touch of dust helps blend the objects, making them appear as if they’ve always belonged together.
The dust shader is a complex shader that combines four effects — AO, camera-facing, world-Z, and randomness — mimicking the behavior of dust in the real world.
I explain it in more detail in this video. (for those who want to know more)
Paint using a curve or a brush (Texture Paint)
If you want to place assets in specific locations (paint) instead of scattering them randomly, there are two options:
-
Paint with brush — draw directly with a brush using Texture Paint and Masking option.
-
Paint with curve — a node group included with the product that works with a curve object.
For detailed instructions on how this works, check out the video in the Documentation tab.

Super Scatter on Surface imports assets as linked objects.
This means they aren’t stored directly in your Blender file — Blender loads them from files on your computer.
This approach allows your Blender file to contain thousands of assets while keeping its size effectively 0 MB. The objects only occupy memory once and are never duplicated. (unless you set it differently).


There are also Plane Scatter and Curve scatter always at hand because you will most often want to scatter.

All assets from my Low Poly Trees pack are fully integrated into this product, so you get the entire pack completely free.
Find out more about the pack at the link
(Note: These are the trees for the background, if you want trees for the foreground, check out my Smart trees).

|
|