 NicoHartl
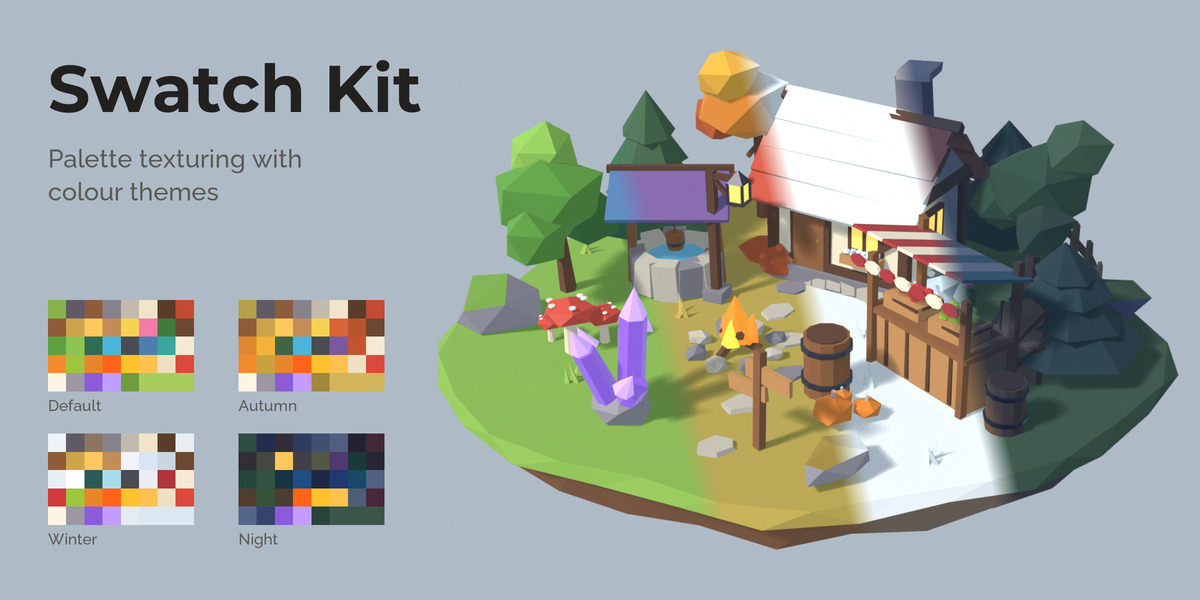
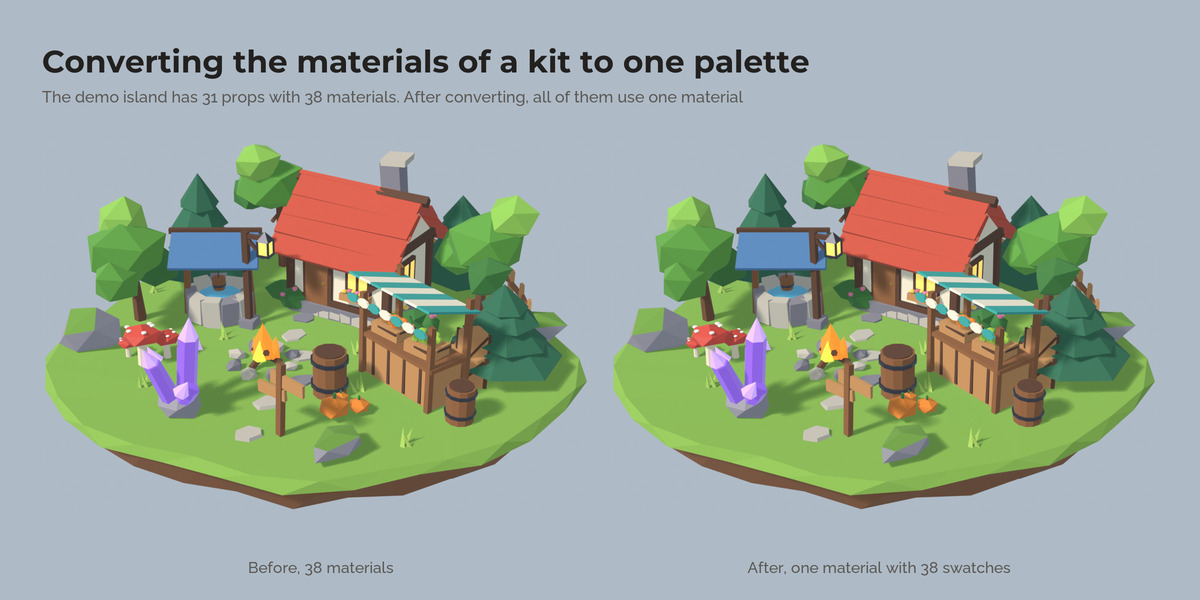
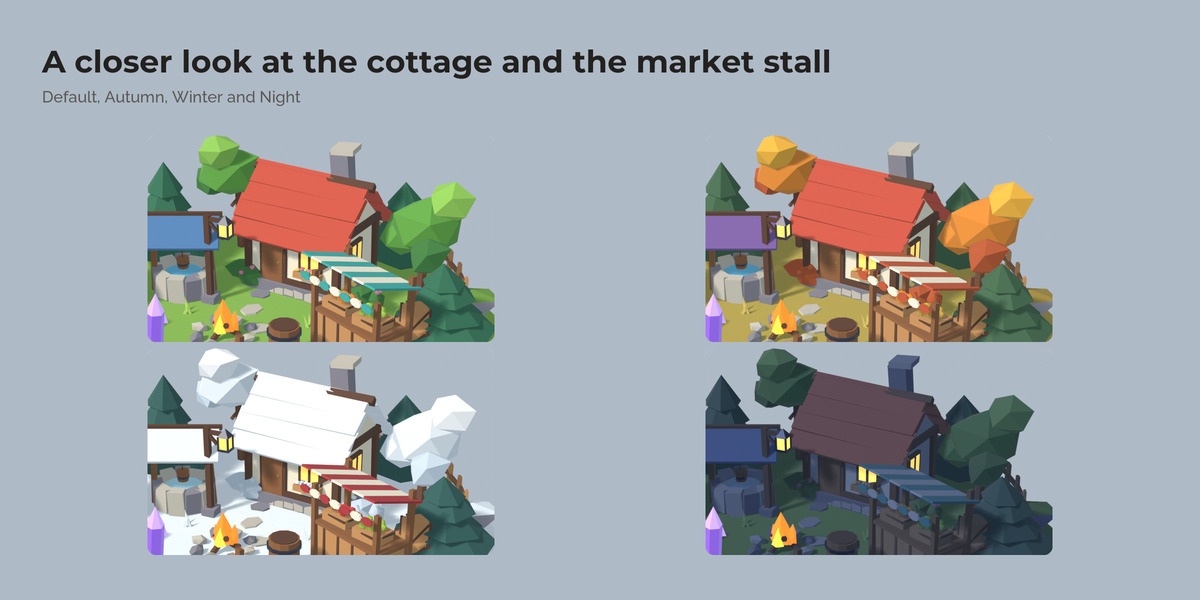
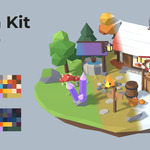
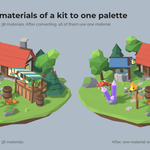
Swatch Kit textures low poly and stylized models with one small colour atlas. Every face sits on a colour cell, so a whole kit needs one material and one image. You pick the colours in Blender, assign them with a click, and keep several colour themes for the same kit, each saved as its own image.
Why
The usual palette workflow means painting colour strips in an image editor, importing them, and dragging UV islands onto the right cell by hand. Every colour change means another round trip. Kits that grew with one material per colour end up with dozens of materials, which is slow in game engines and tedious to recolour.
What it does
Building the palette in Blender
Add flat or gradient swatches and pick their colours in the sidebar. The atlas image is built for you and updates while you drag the colour picker.
Assigning colours
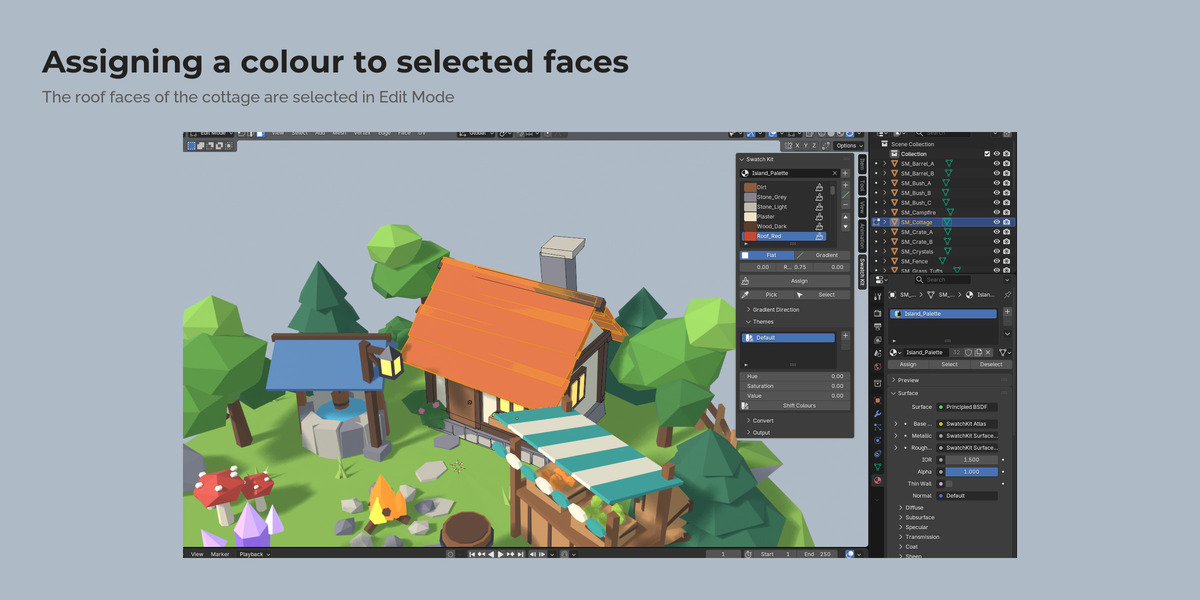
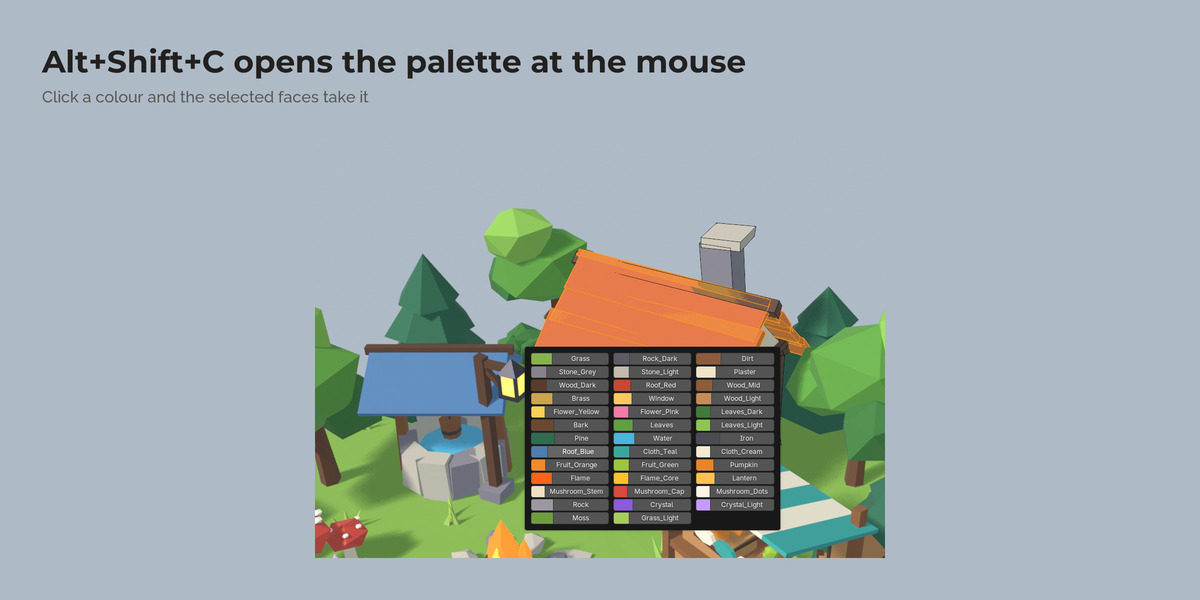
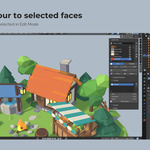
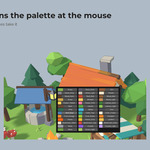
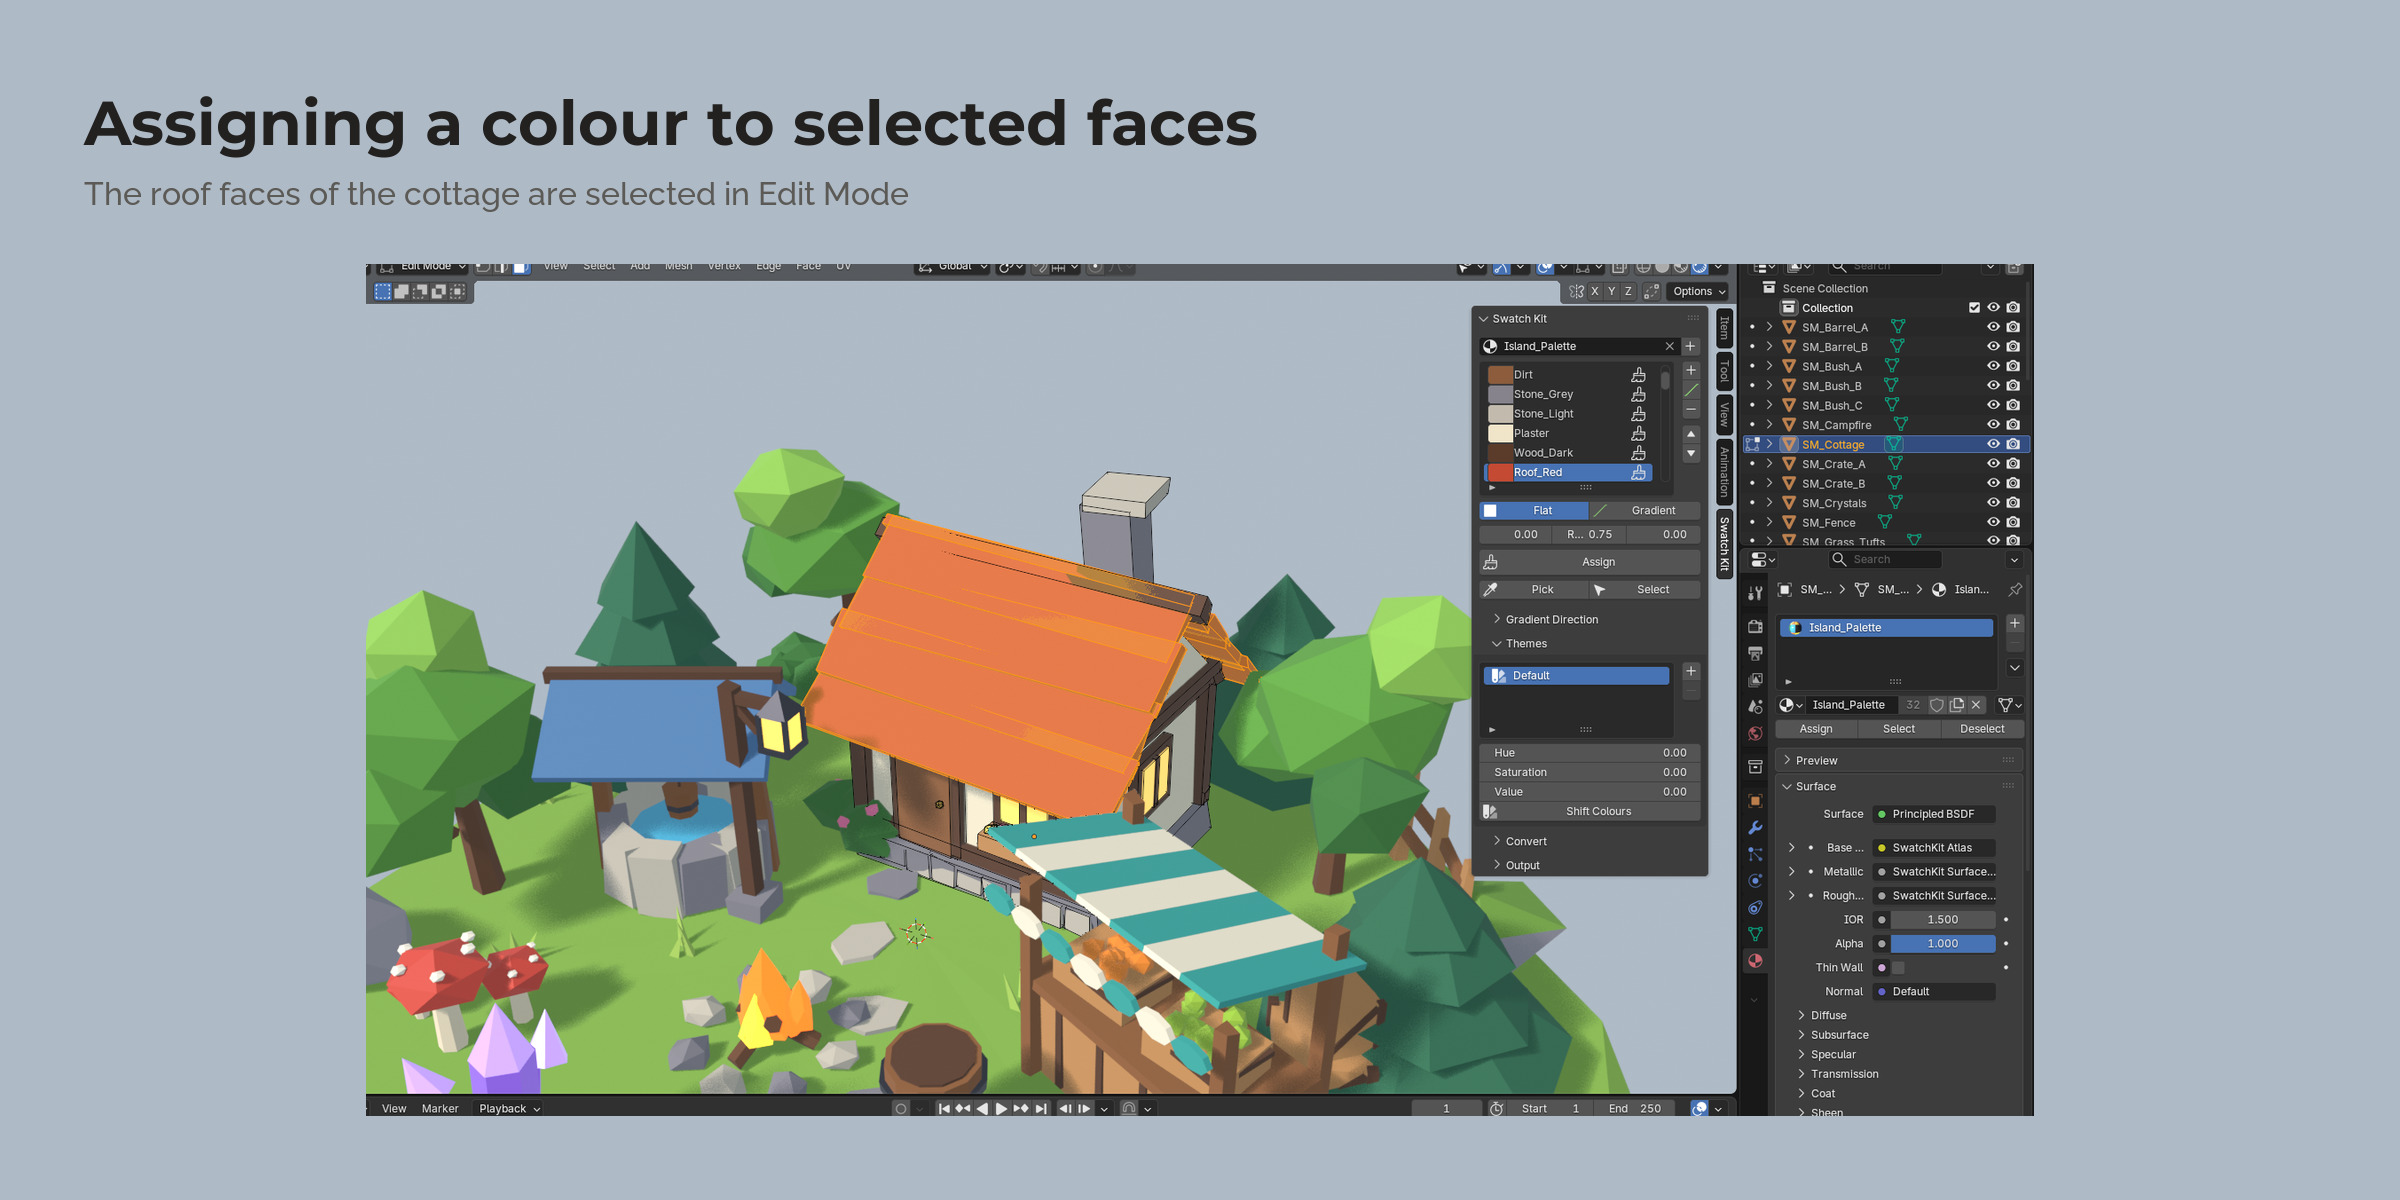
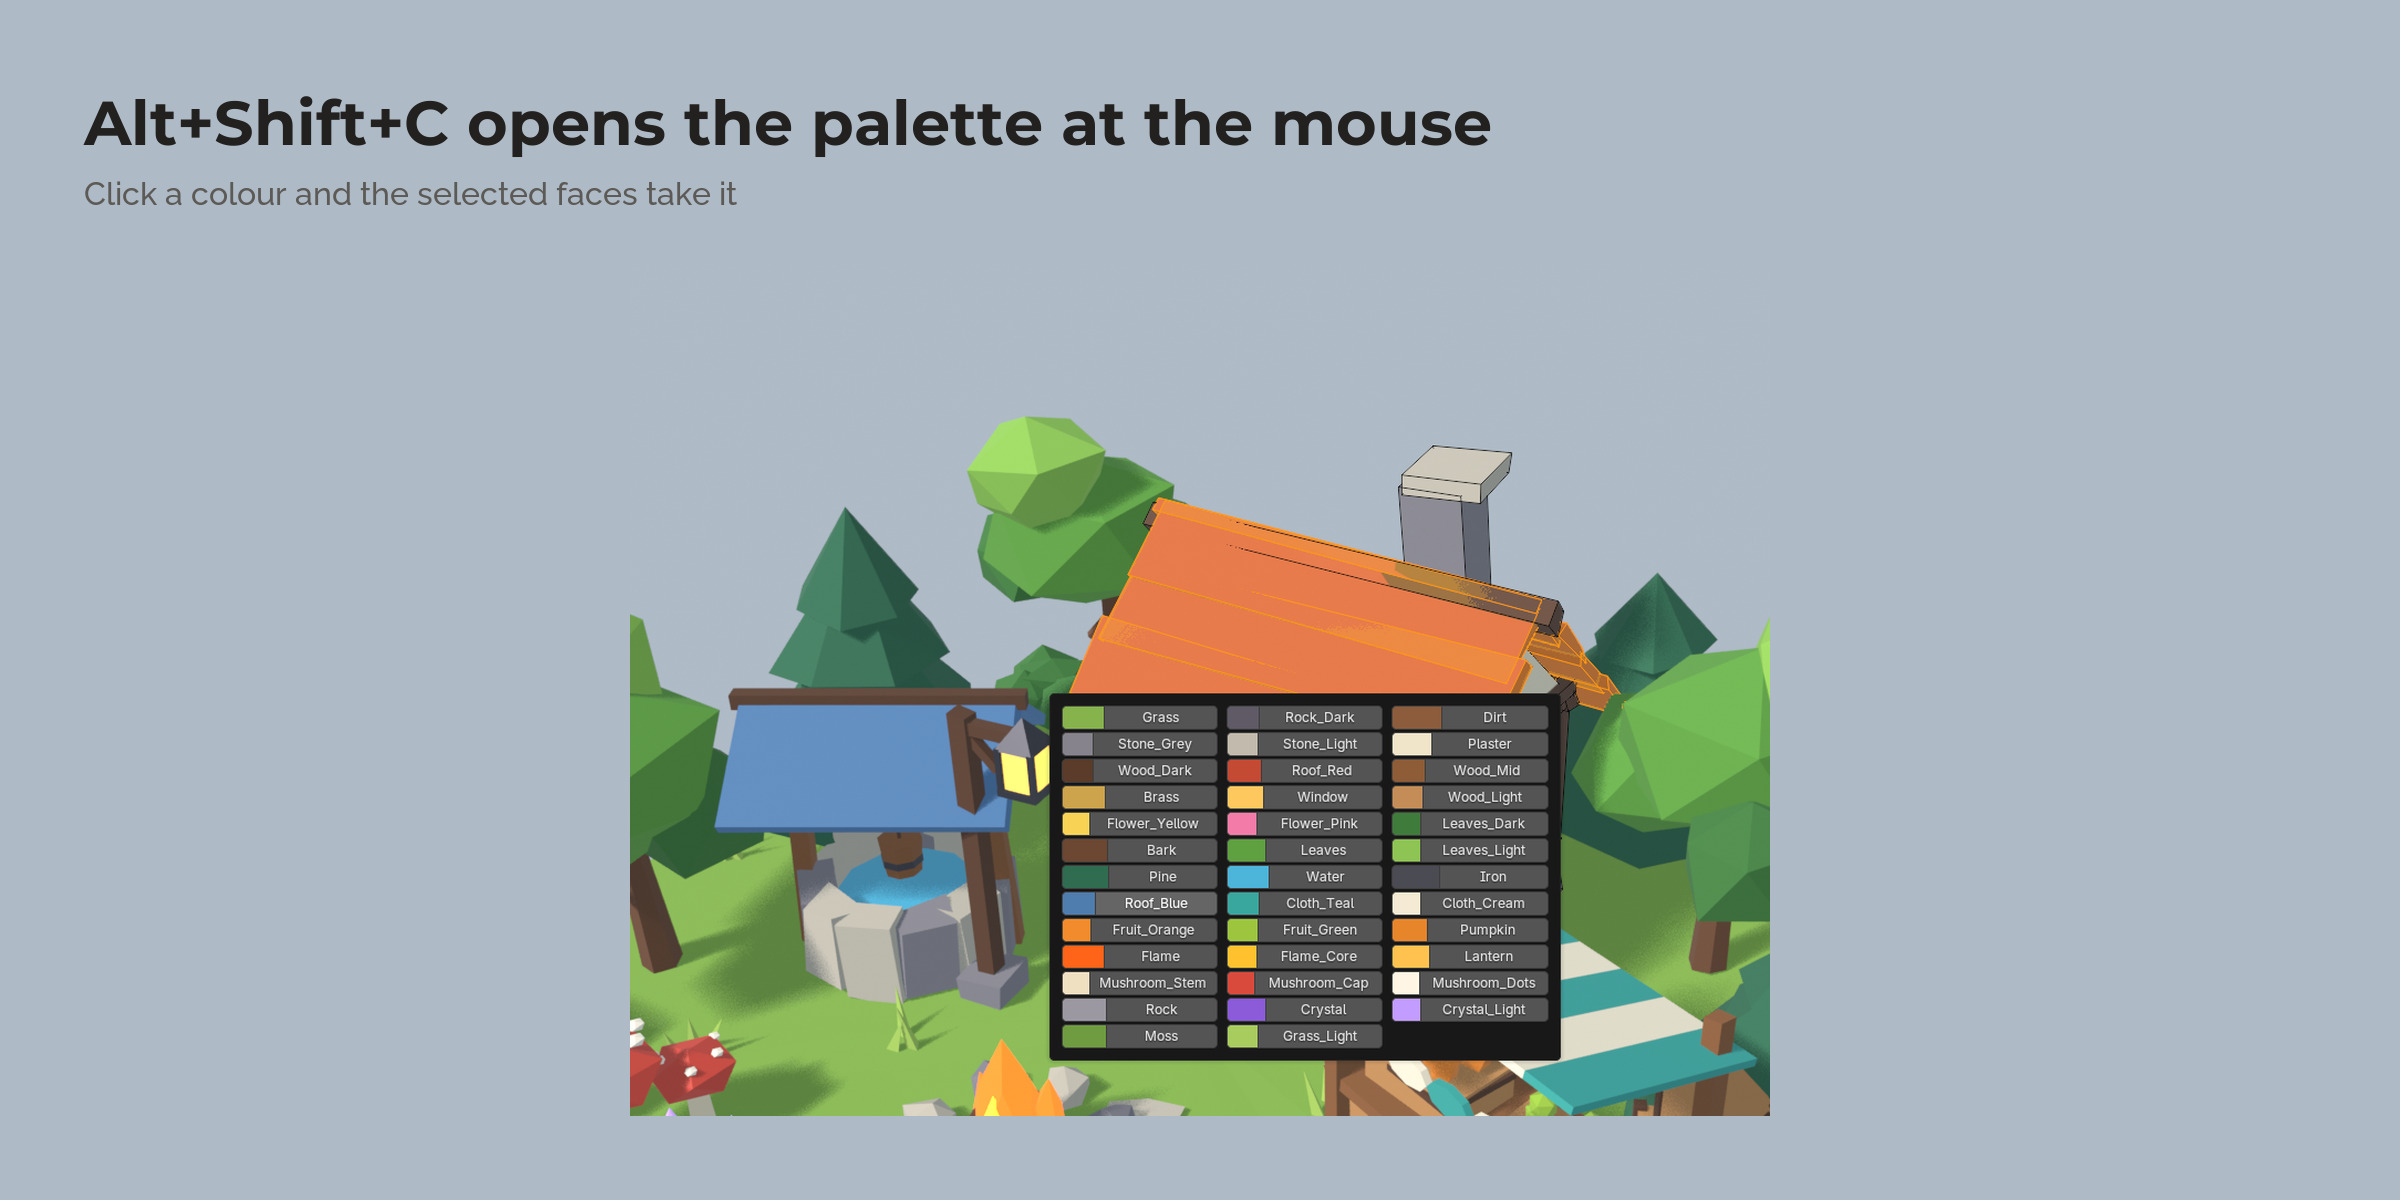
Select faces in Edit Mode, or whole objects in Object Mode, and click a swatch. Swatch Kit writes the UVs. Gradients run along an axis, the view, or out from the 3D cursor. Alt+Shift+C opens all swatches under the mouse.
Colour themes
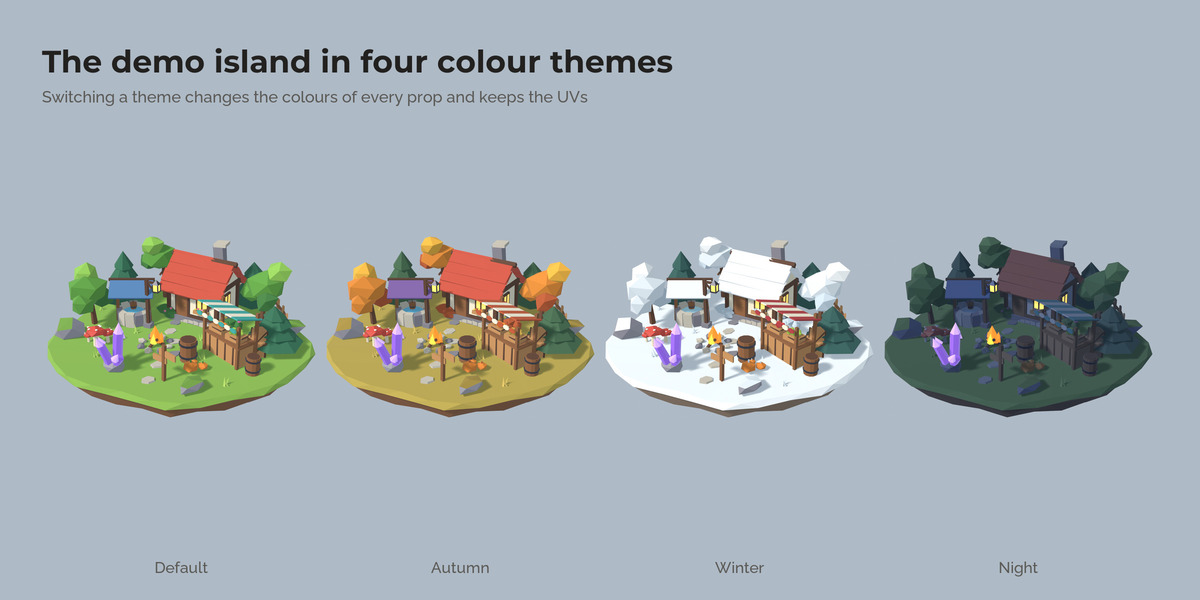
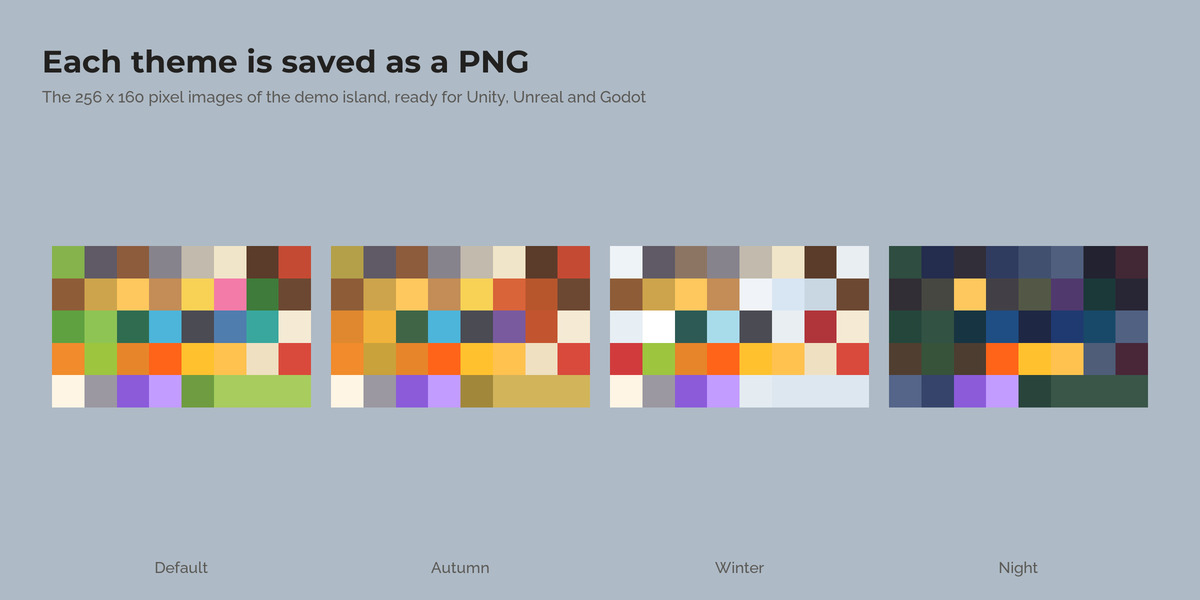
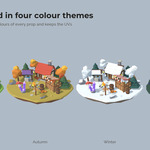
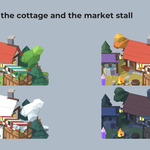
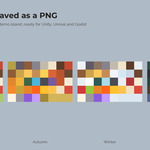
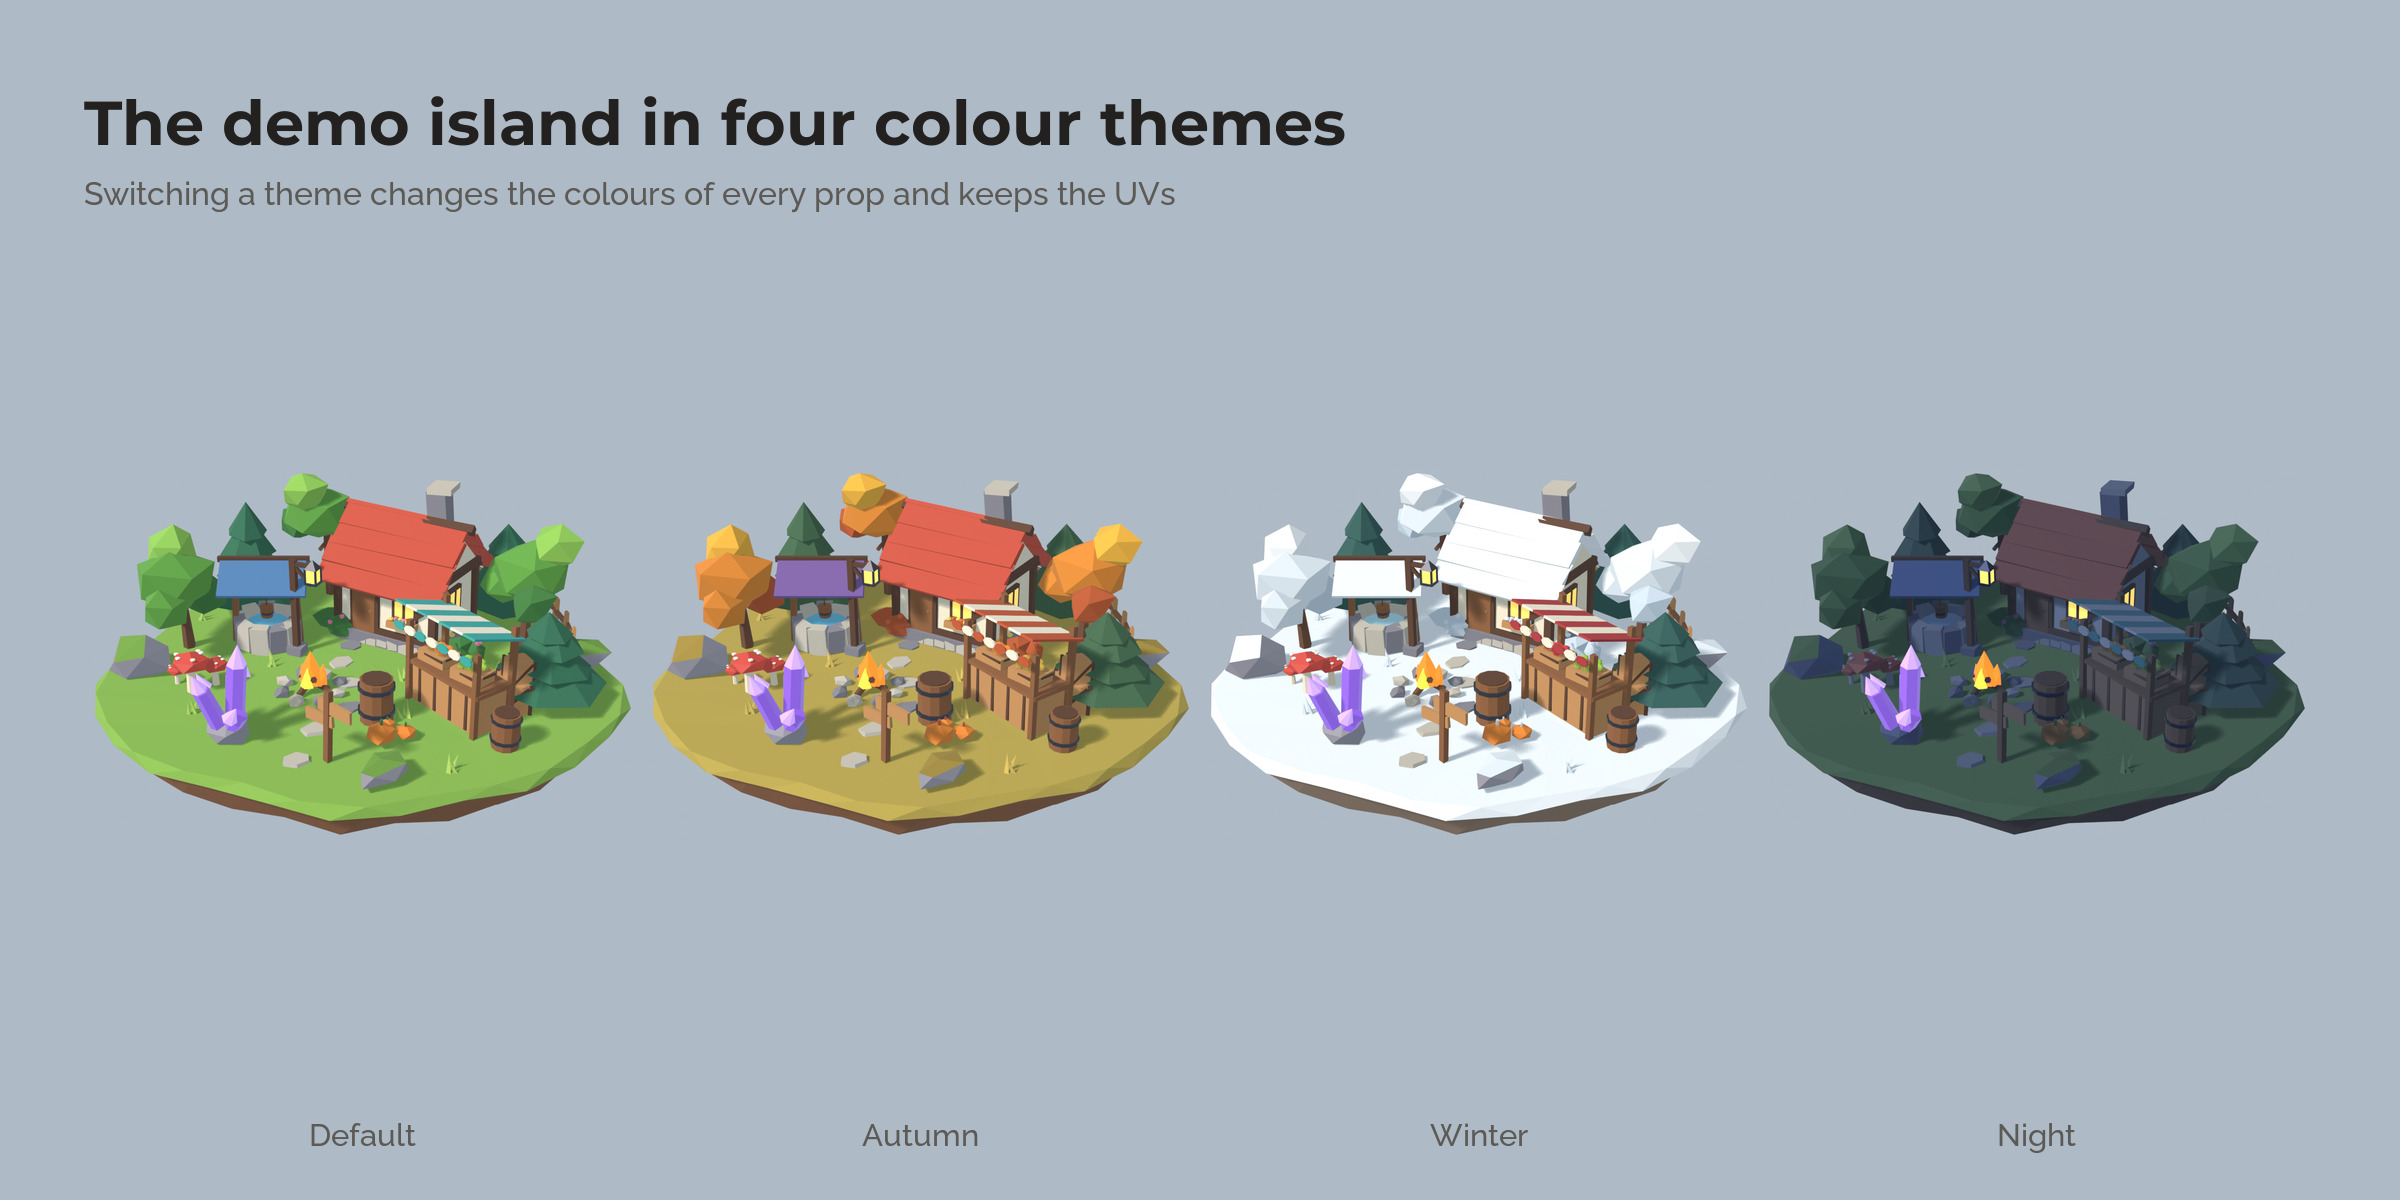
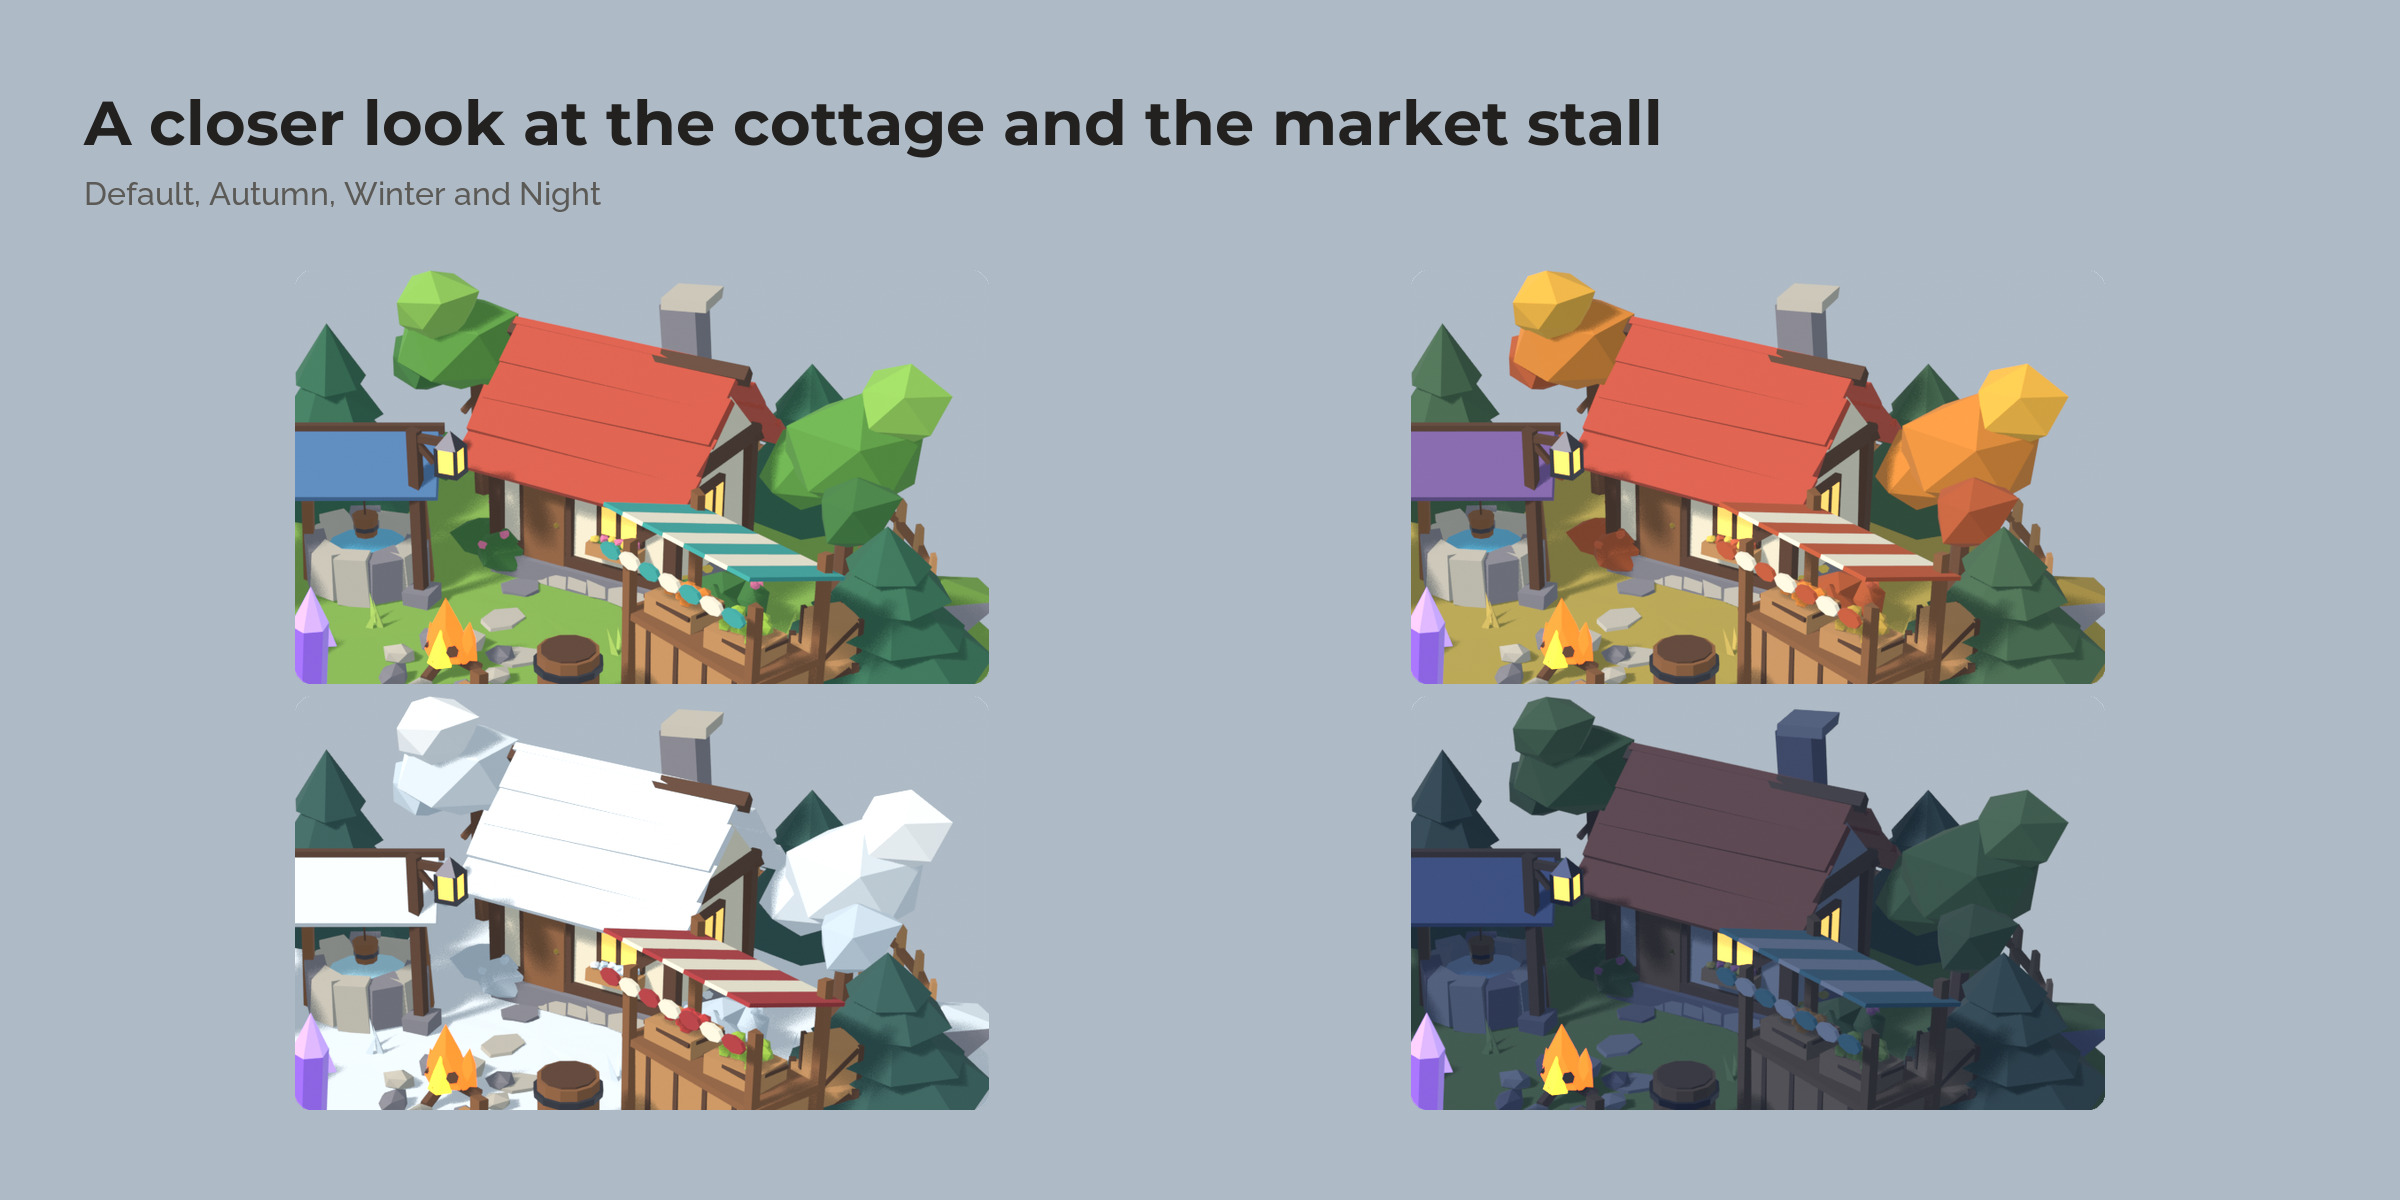
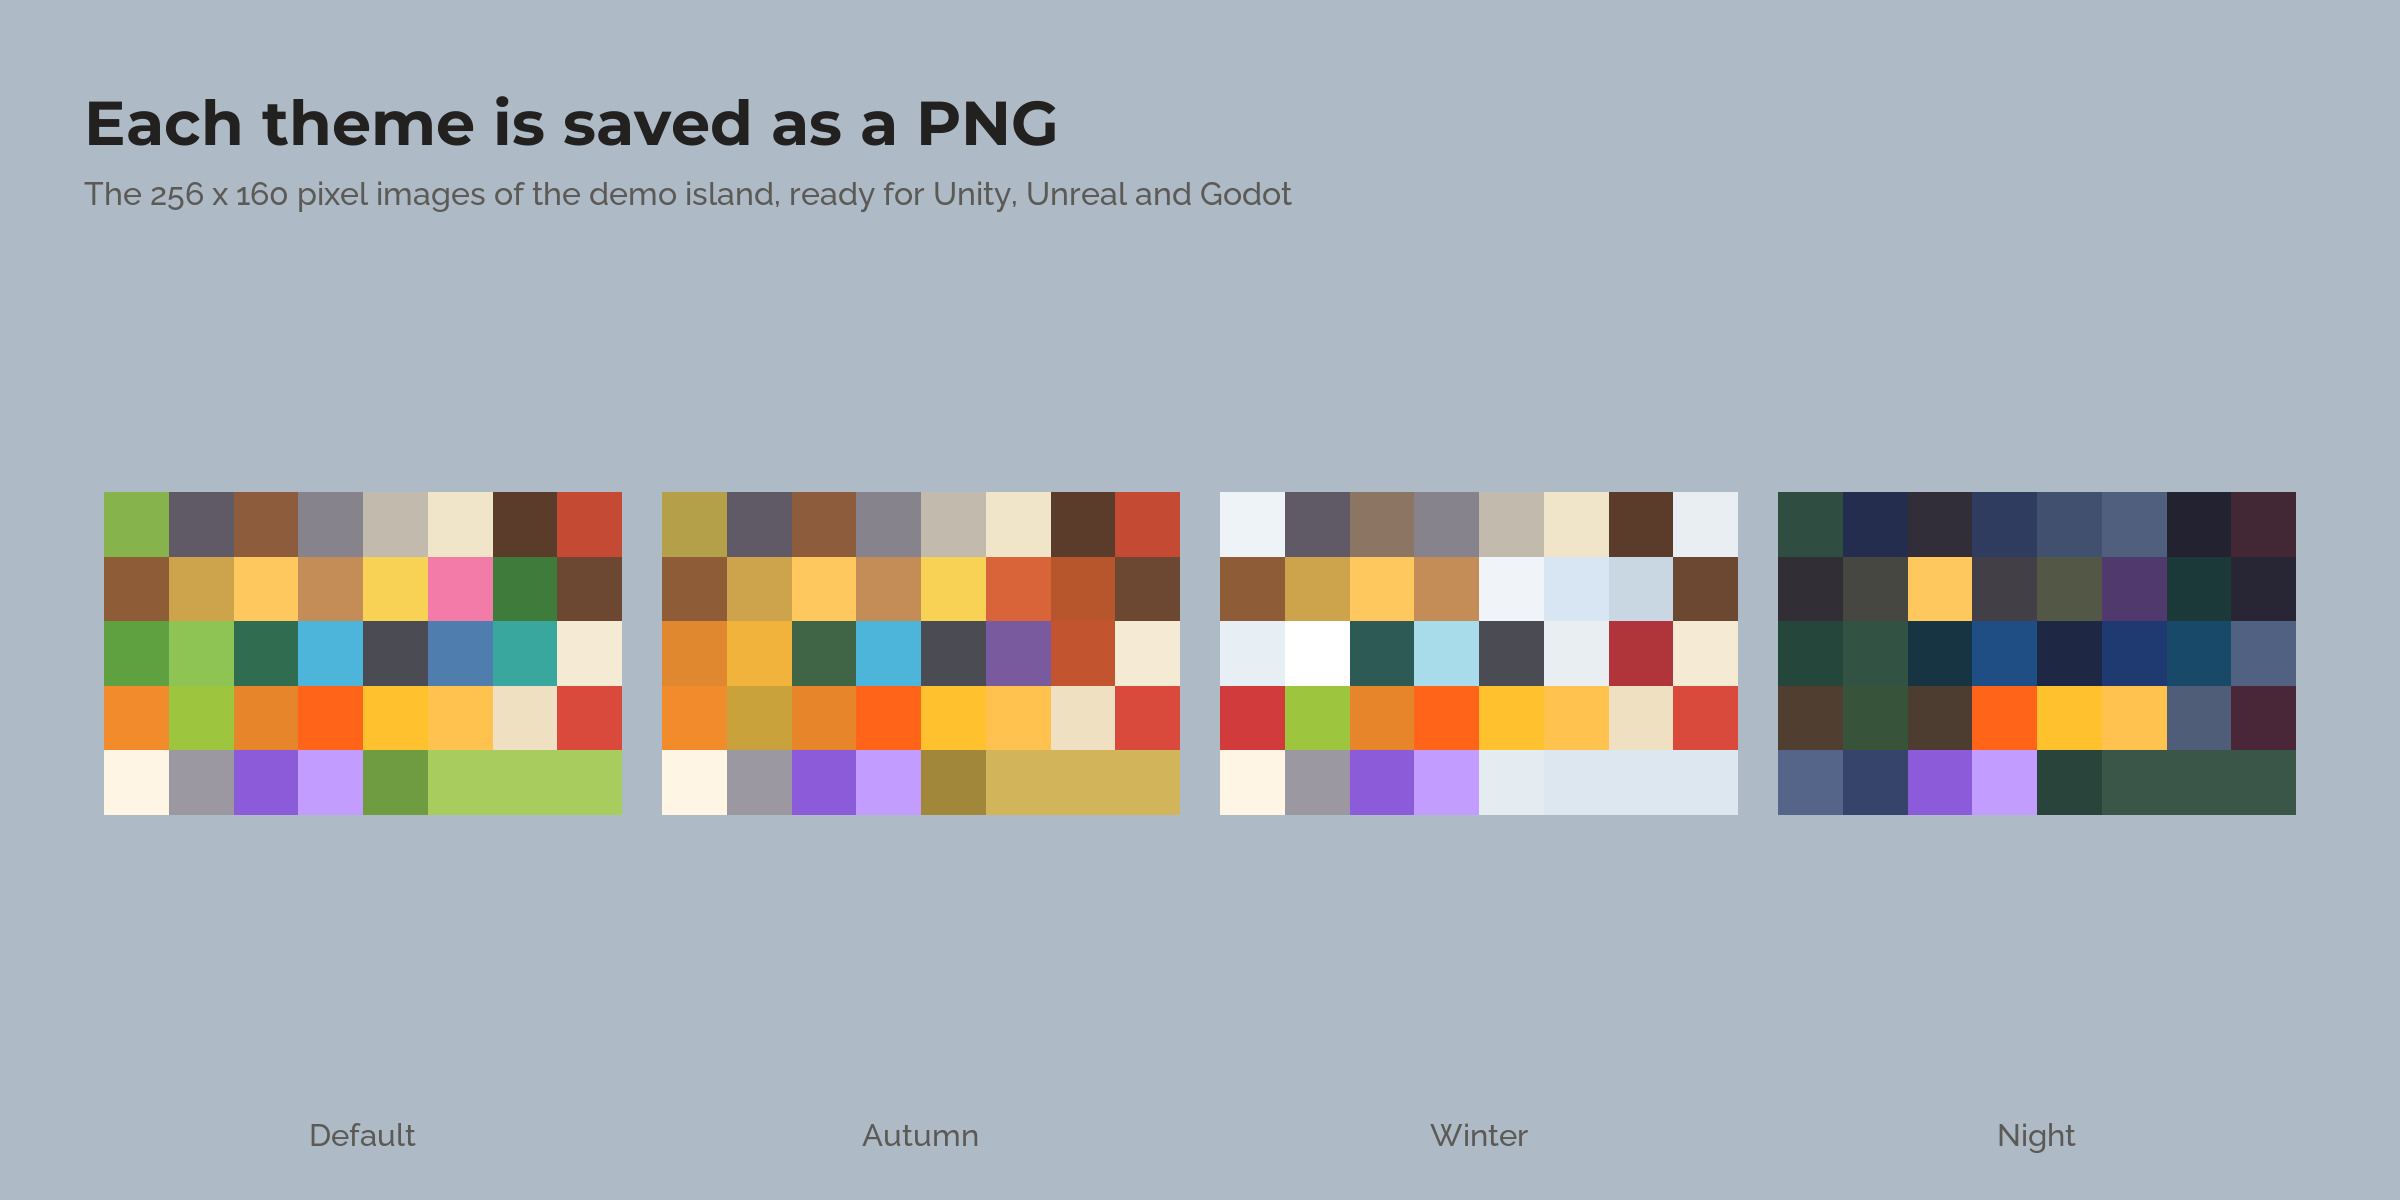
Keep summer, autumn, winter or night versions of the same kit. All themes share the UVs, so a theme switch only swaps the image. Save every theme as a PNG, or create one material per theme for engines and asset packs.
Converting existing materials
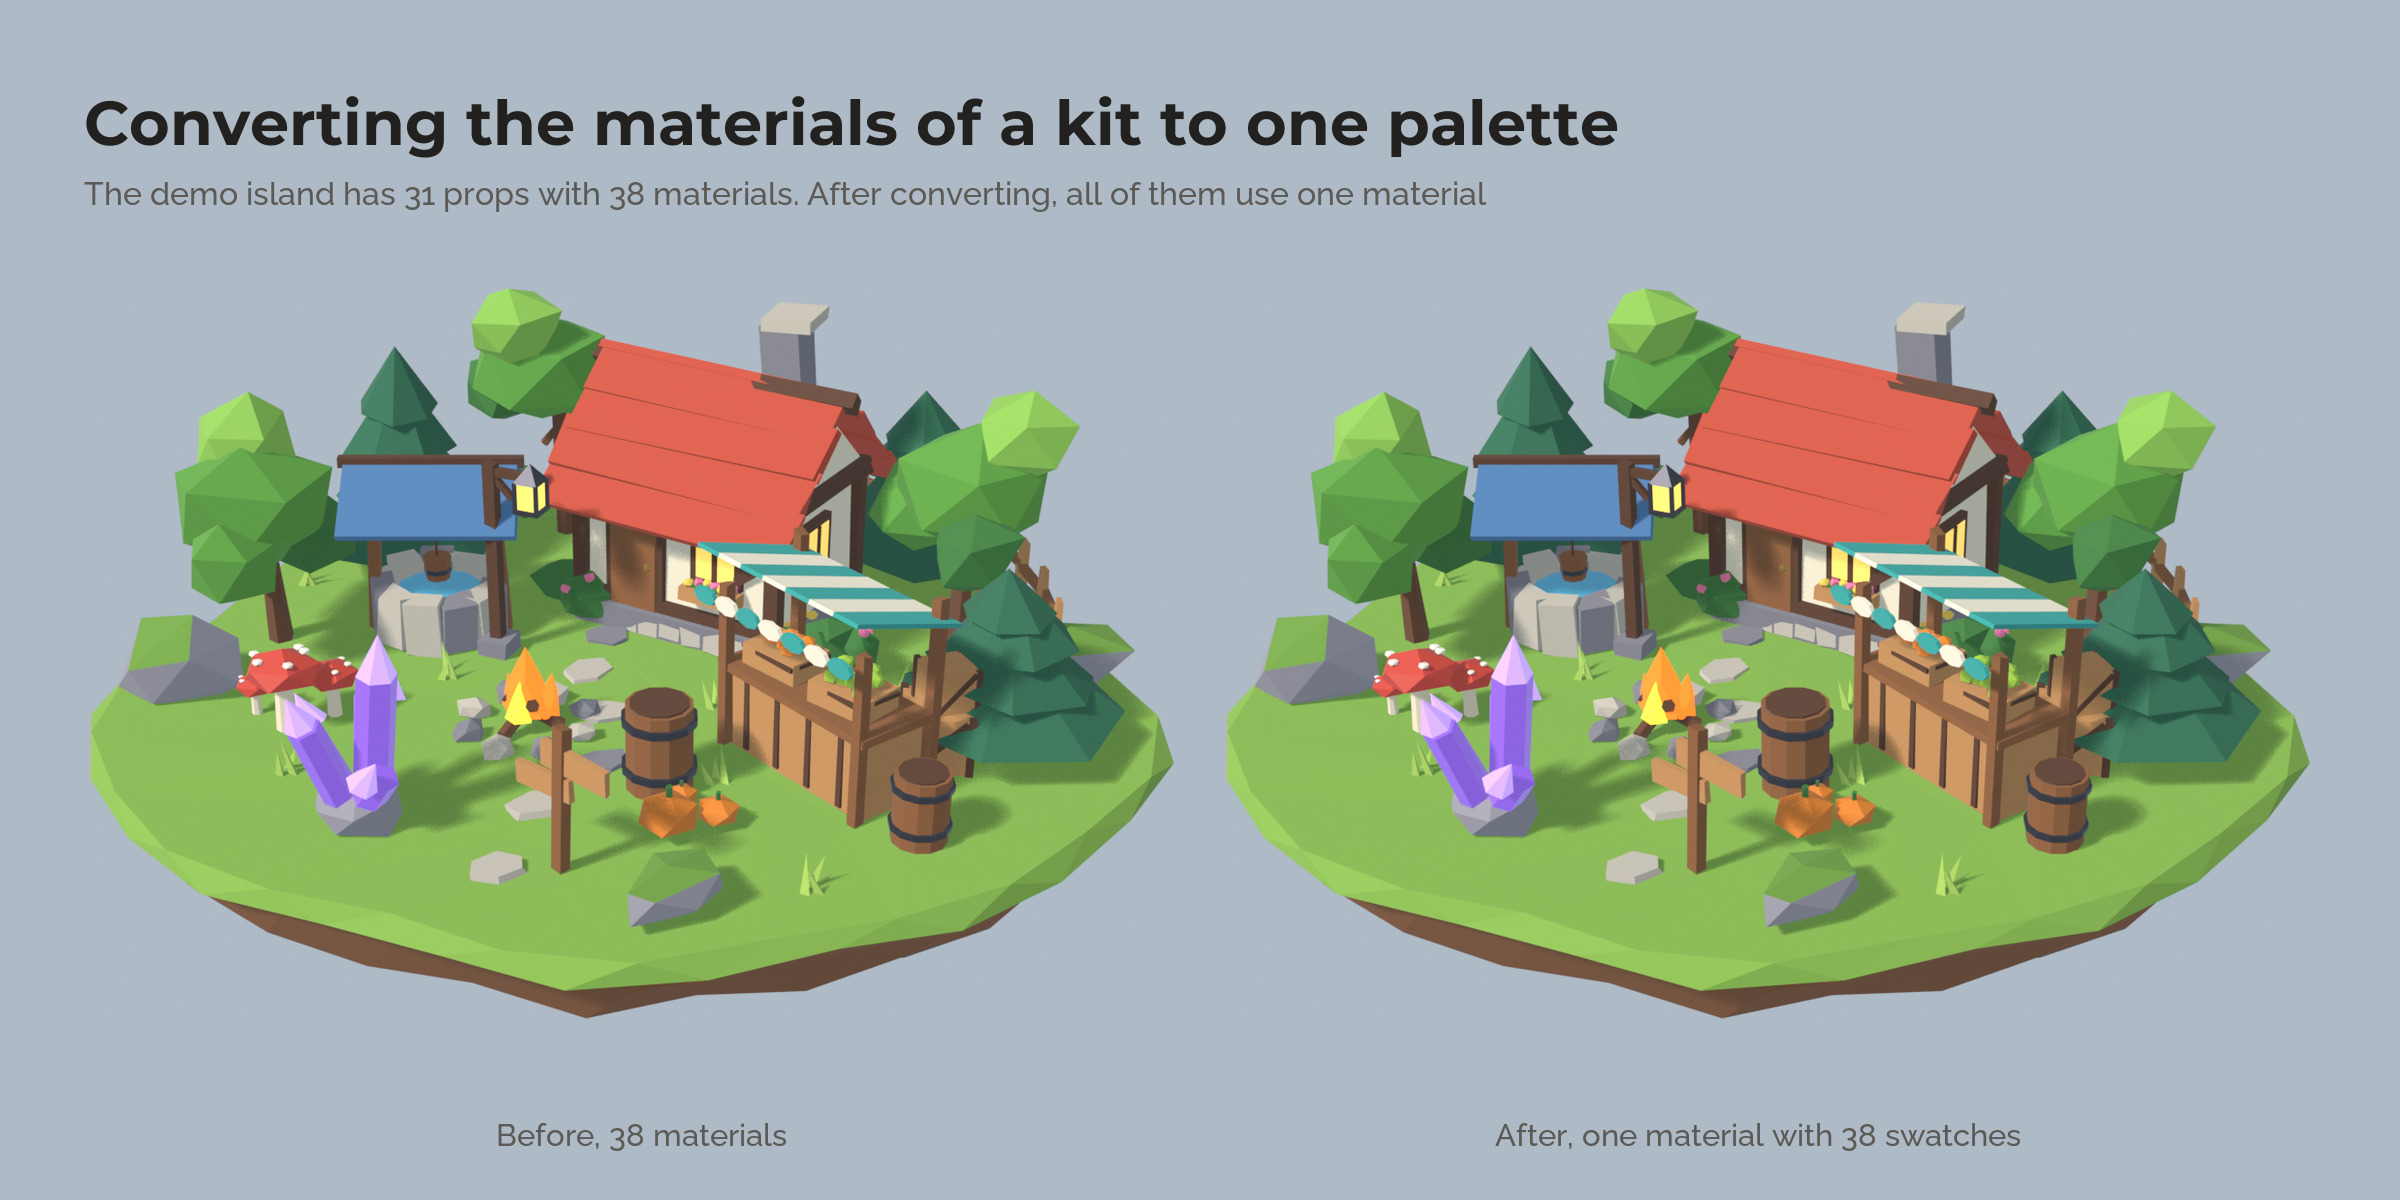
Select models that use one material per colour and press one button. Every face lands on a matching swatch and each object ends up with the palette material, looking the same as before. Colour times vertex colour setups are read correctly, including simple math on the vertex colour, so baked shading stays. Textured materials such as wood grain stay as their own material.
Metal, roughness and glow
Every swatch has its own metallic, roughness and glow, stored in a second small map with the same layout. Converted brass stays metal and lanterns keep their glow.
Vertex colours
Turn vertex colour models into a palette, or write the palette colours into a colour attribute for shaders that read vertex colours.
Changing the layout
Add, remove or reorder swatches, or change the number of columns: the UVs of every model that uses the palette move with it, so no face changes colour.
Importing palettes
GIMP .gpl files (for example from Lospec), hex lists and palette images.
How it works
- Select your models and press the plus button next to the palette field.
- In Edit Mode select faces, click a swatch, press Assign.
- Change colours in the list, add a theme, recolour it.
- Export the theme images and use them in Blender, Unity, Unreal or Godot.
What's included
- The extension (install from disk in Blender 4.5 or newer)
- Two demo files: the island with its original 38 materials, and the same island on one palette with four themes
- User guide as README.pdf with every button, engine tips and a troubleshooting table
- Changelog and licence
Good to know
- Swatch Kit colours with flat colours and gradients. Image textures and procedural detail such as wood grain become one colour when you convert them, so they stay as their own material unless you choose otherwise.
- The atlas uses Closest filtering. In engines set the texture filter to Point or Nearest.
Compatibility
Blender 4.5 LTS, 5.0, 5.1, 5.2 LTS and 5.3. Tested on Windows in 4.5.15, 5.2.3 and 5.3.0. Works in every render engine, since it only writes UVs, one material and an image.
Support and updates
Updates are free for buyers. Every new Blender version is tested before it is listed as supported. Questions through the store messages, answered within 72 hours.
AI disclosure
Designed with Claude. Code written with AI assistance, then reviewed, tested and integrated by a 3D artist.