 Mulk
Mulk




Install
- In Blender, open Edit › Preferences › Get Extensions.
- Click the arrow menu (top right) › Install from Disk… and pick the Tabby .zip. Or simply drag the .zip into the Blender window.
- Tabby is enabled automatically.
Open Tabby
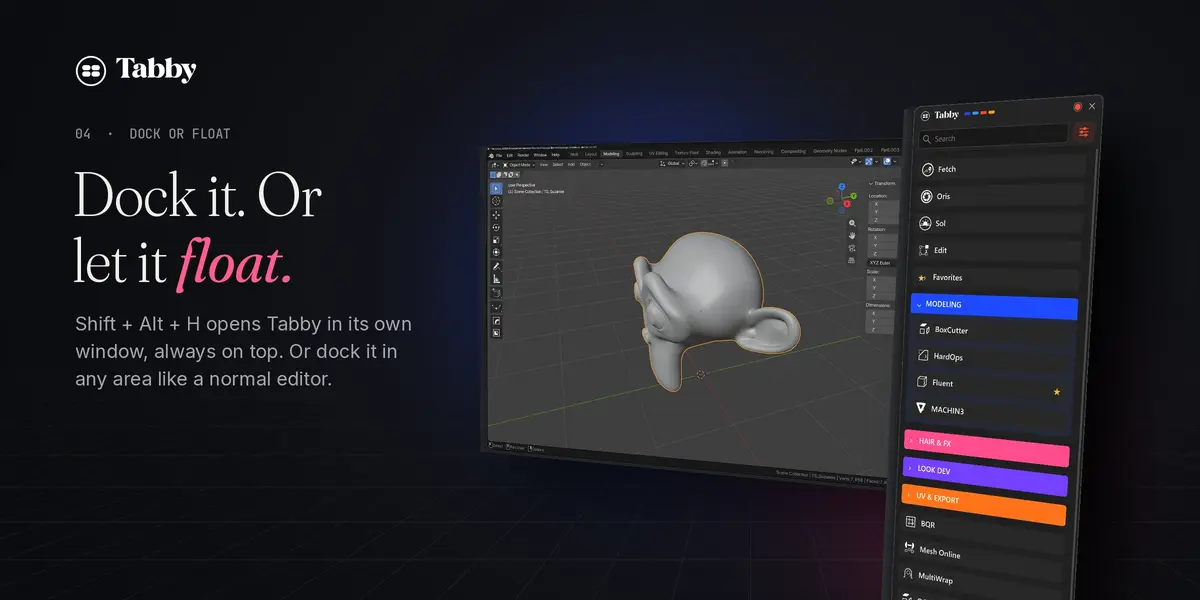
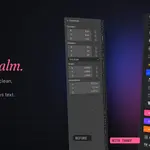
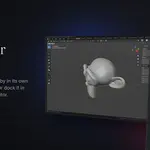
- Shift + Alt + H opens Tabby in its own window, always on top. Perfect for a second monitor.
- Ctrl + Shift + Alt + H docks Tabby in the area under the mouse, like a normal editor.
- Or use Window › Tabby Window / Tabby in This Area. Any Python Console header also has a Tabby button.
Use it
- Click a card to open an add-on right inside Tabby. All its controls work as usual.
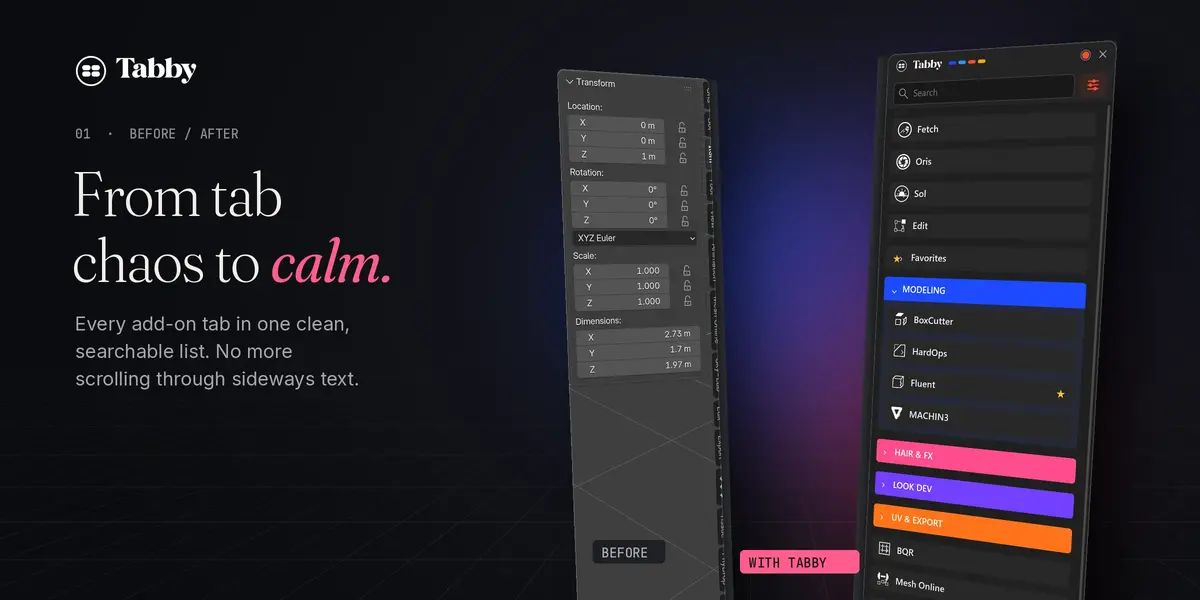
- Type in the search field to find any add-on or panel.
- Click the star on a panel to add it to Favourites.
Customise
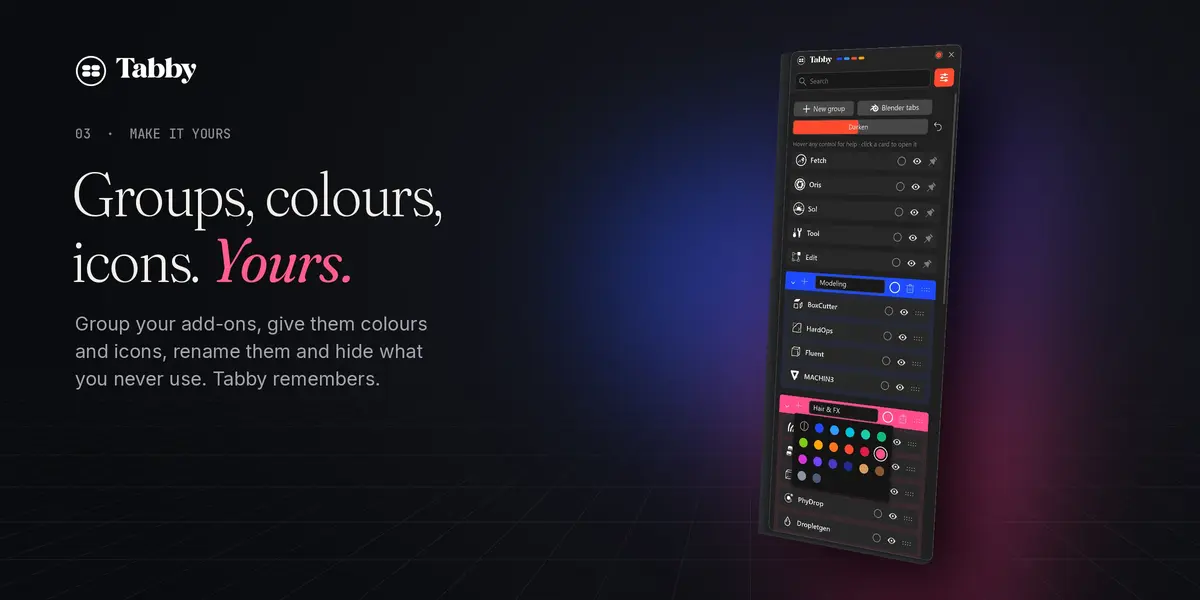
Click the settings button next to the search field:
- New group creates a group. Drag add-ons into it and drag groups anywhere in the list.
- The dot sets a colour, the icon opens the icon gallery, the eye hides an add-on.
- Click a name to rename it. The reset button brings the original back.
- Blender tabs shows or hides Item, Tool, View and Animation. Darken sets the contrast. The accent colour is in the add-on preferences.
- Hover any control for a short explanation.
Your settings
Groups, colours, hidden add-ons and window/dock position are saved automatically to Blender's config folder (tabby_config.json). Nothing is stored in your .blend files.
Questions or ideas? [email protected]
Have questions about this product?
Login to message
| Blender Extension Compatible | Yes |
| Published | 2 days ago |
| Blender Version | 5.0 - 5.2 |
| Extension Type | Add-on |
| Render Engine Used | Cycles |
| License | GPL |
Discover more products like this
ui productivity Addon manager interface tabs Workflow Sidebar hub organizer n-panel