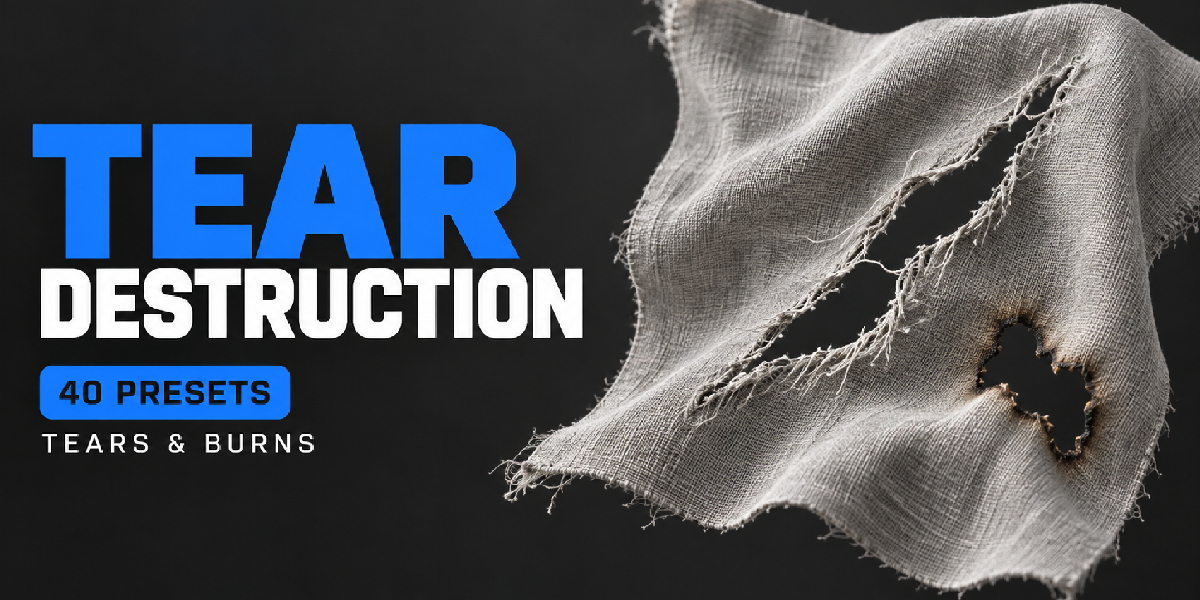
Tear Destruction: Editable Cloth Tears, Burns and Fraying
 Salman Animator
Requirements
Blender 4.2.0 or newer. A cloth mesh in Object Mode. Use Material Preview or Rendered view to see scorch and wear.
Install
- Keep the ZIP as it is. Do not unzip it.
- Open Edit > Preferences > Add-ons and choose Install from Disk.
- Pick Tear-Destruction-0.5.0-SalmanAnimator.zip and enable Tear Destruction.
- In the 3D Viewport press N and open the Tear Destruction tab.
Remove any older copy first to avoid duplicate panels.
First tear
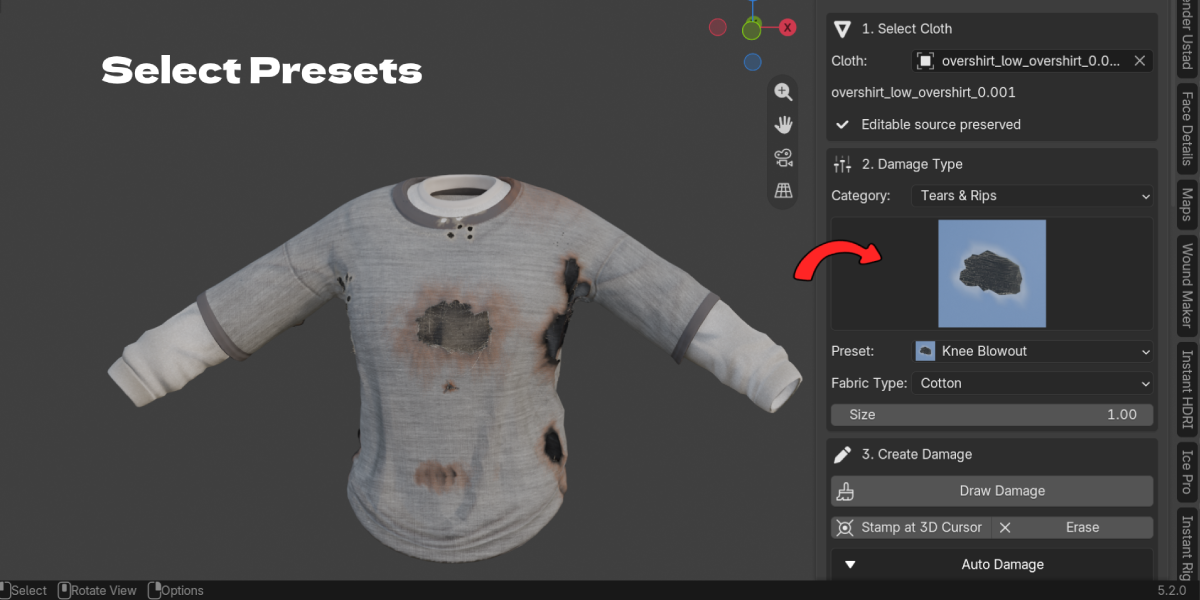
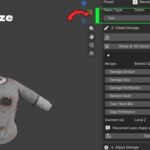
- Select Cloth: select a cloth mesh and click Prepare Cloth. A plain plane works too.
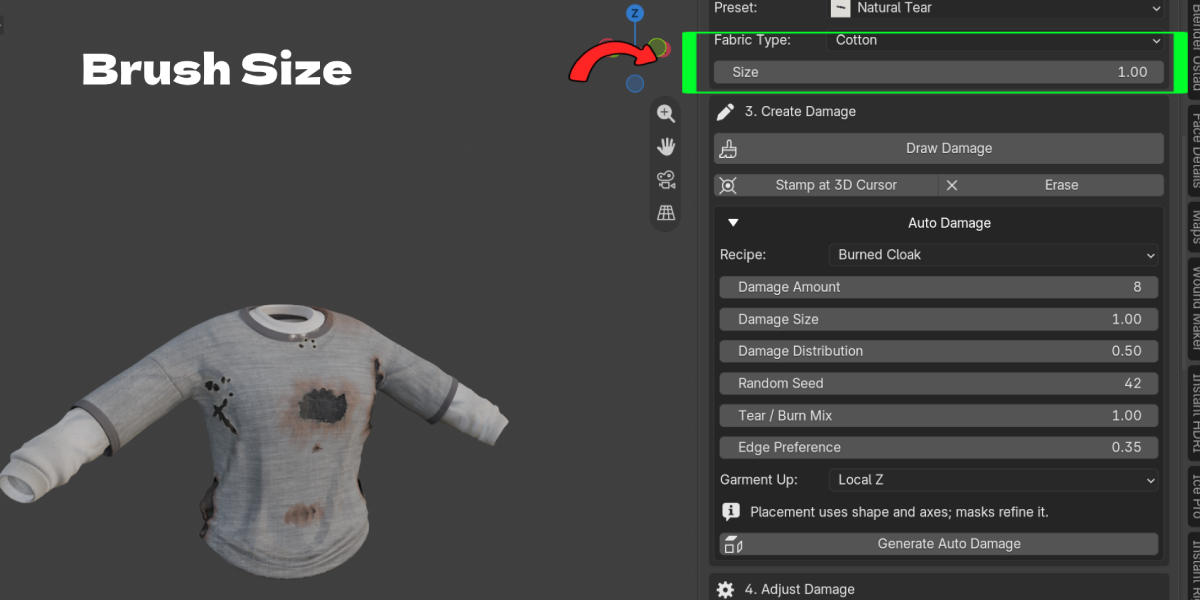
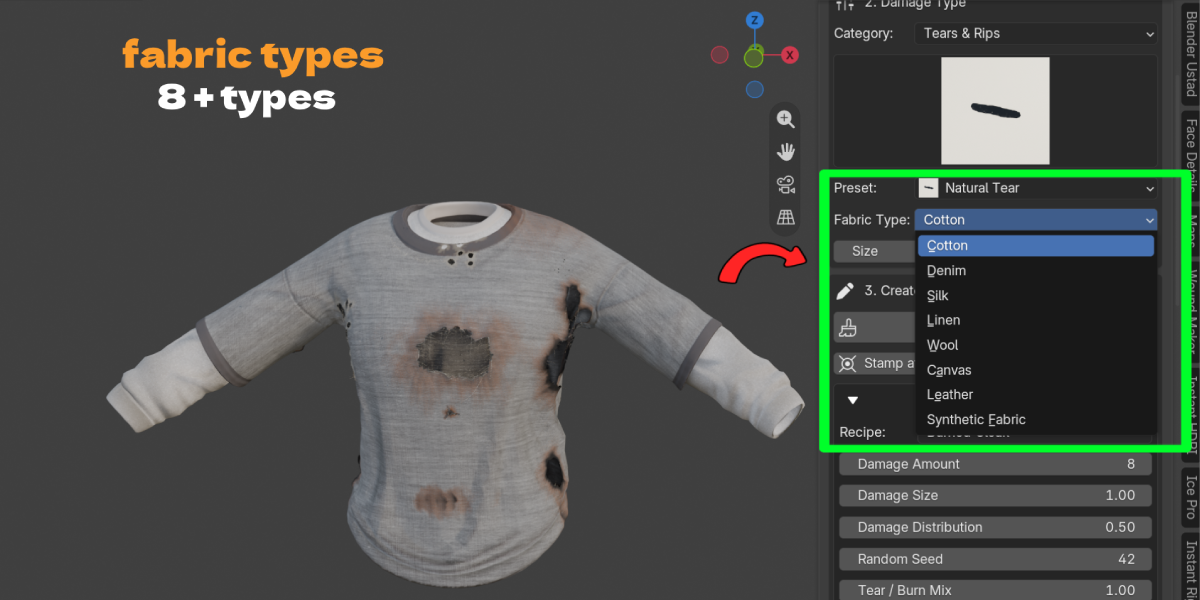
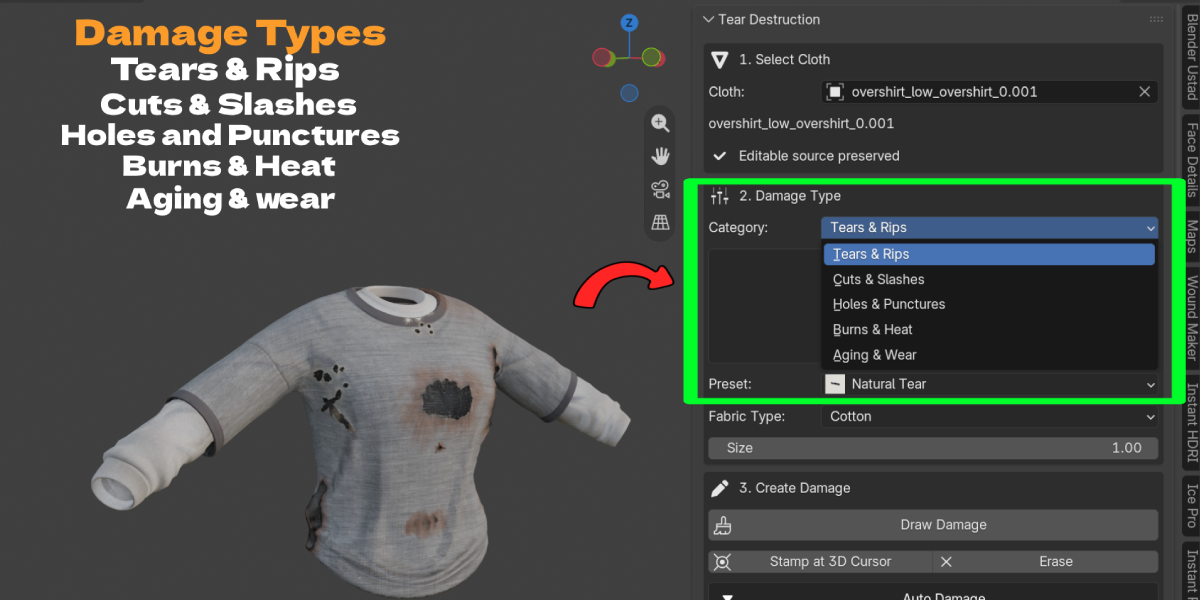
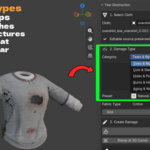
- Damage Type: choose a Category, Preset and Fabric Type.
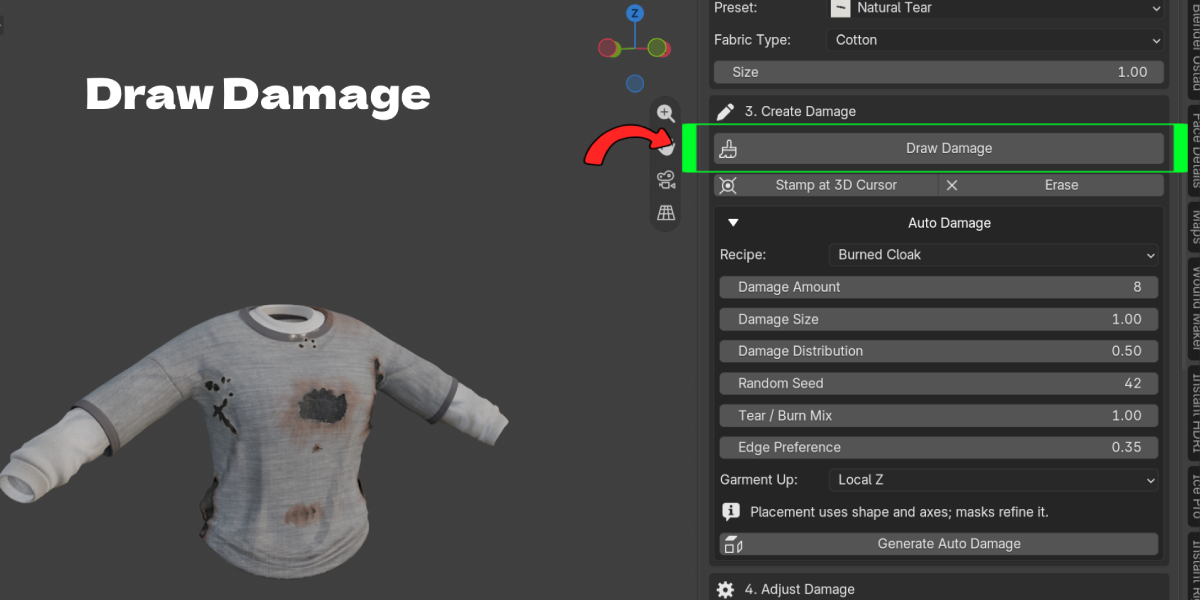
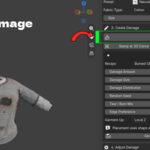
- Create Damage: click Draw Damage and drag on the cloth. Release to commit the stroke. A single click places a spot. The mouse wheel changes size while drawing. Esc or right click cancels.
- Adjust Damage: Size, Opening, Roughness, Fray Amount and Burn Amount.
- Manage Damage: each stroke appears in the list. Select Controller to move it with G, R and S. Duplicate, hide, show or delete entries.
Stamp at 3D Cursor places the current preset at the cursor location.
Damage categories
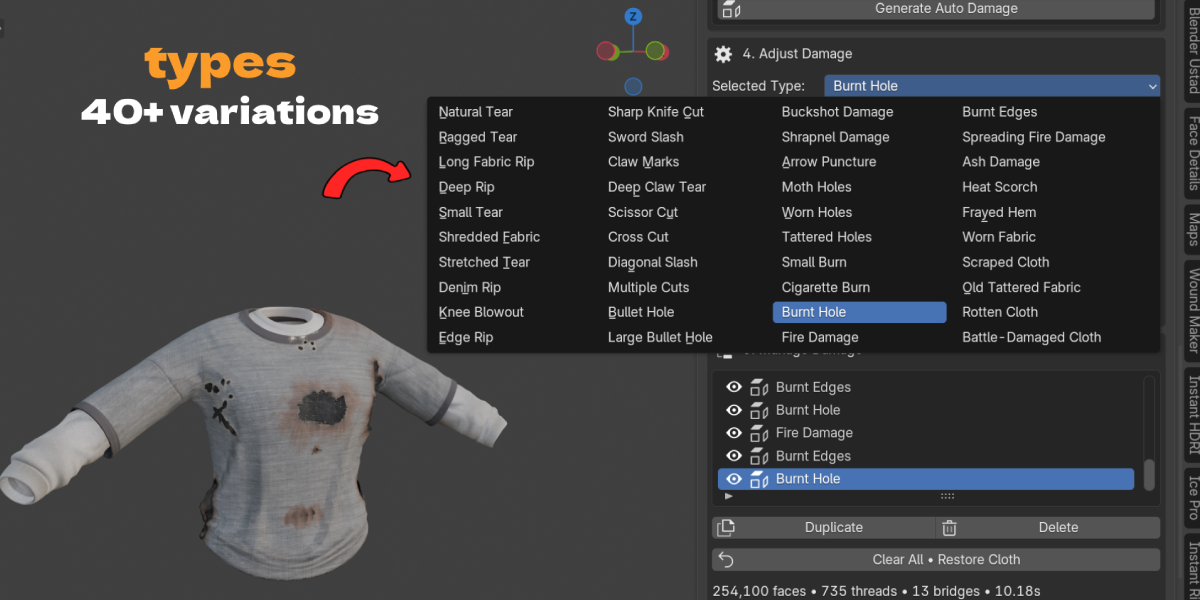
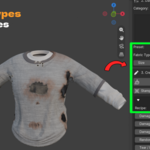
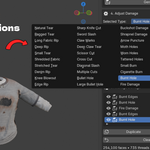
Tears and Rips, Cuts and Slashes, Holes and Punctures, Burns and Heat, Aging and Wear. Change Selected Type to swap the preset of an existing damage.
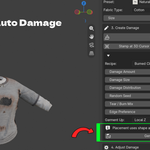
Auto Damage
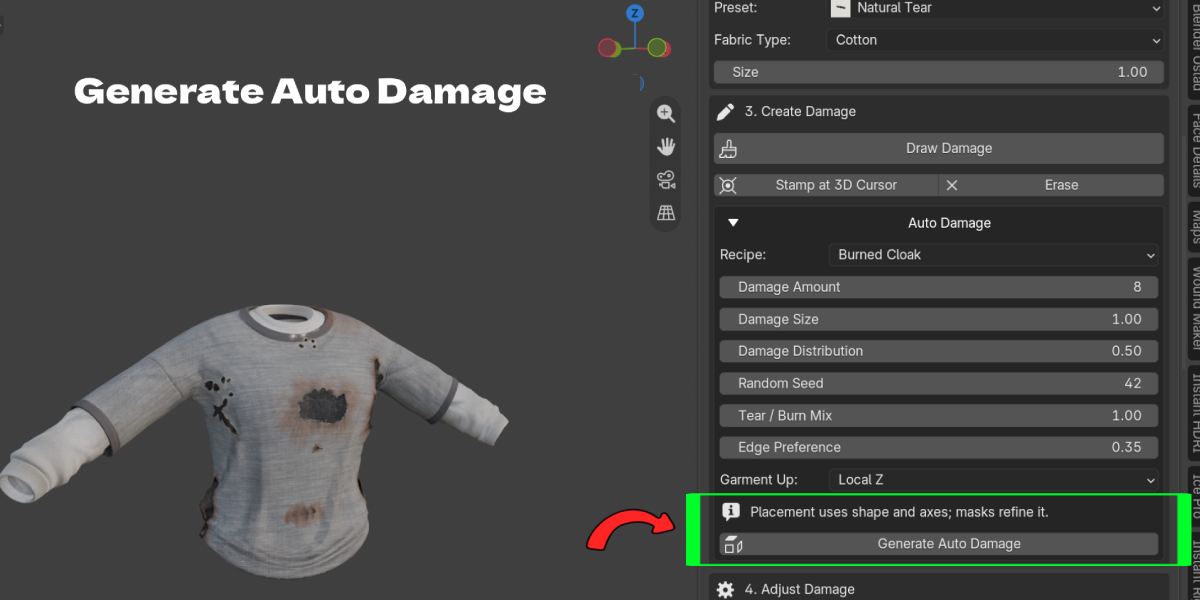
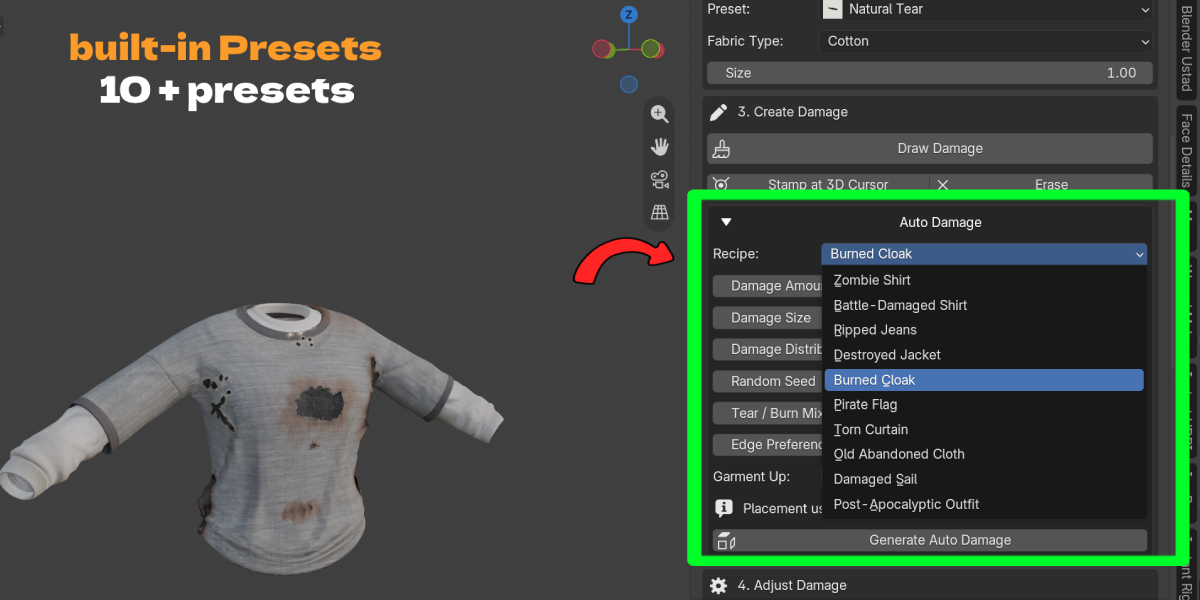
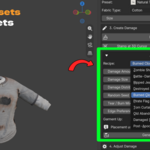
Choose a Recipe (Zombie Shirt, Battle Damaged Shirt, Ripped Jeans, Destroyed Jacket, Burned Cloak, Pirate Flag, Torn Curtain, Old Abandoned Cloth, Damaged Sail, Post Apocalyptic Outfit). Set Damage Amount, Damage Size, Damage Distribution, Random Seed, Tear / Burn Mix, Edge Preference and Garment Up, then click Generate Auto Damage. Placement uses shape and axes, it does not recognize knees or elbows by itself, so use a mask for exact placement.
Masks
White allows damage, black protects fabric. Paint Allowed or Forbidden areas in Weight Paint, then click Finish Painting Mask. Boundary and Fold masks are computed from the mesh. You can also import a grayscale image through the UV map. Mask precision follows mesh vertex density.
Burns
Burn Amount goes from color change to scorch, char and burnt hole. Burn Details include Burn Radius, Spread, Intensity, Randomness, Direction, Char Darkness, Ash Amount, Scorch Width and Burn Color Variation.
Thread details
Thread Bridges, Density, Length, Thickness, Droop, Variation and Color control the fibers across openings.
Quality
- Full: refined real openings, curled lips and tapered fibers.
- Optimized: real openings with less local detail.
- Texture: keeps the original topology and uses transparency maps, no real holes or fibers.
Detail changes local refinement. Face Safety Budget and Fiber Strand Budget stop oversized operations.
Animation
In Advanced > Animation set Start Frame and End Frame and enable Animate Growth. Growth, Opening Growth and Directional Pull shape the result. Static FBX and GLB exports capture the current frame only.
Rigs, modifiers and shape keys
Damage is built on the rest mesh before existing modifiers. Armature, Lattice and simple deformers follow the result. Relative shape keys are supported. Live Cloth, Soft Body, Multires and mesh caches are not supported in geometry mode; use Prepare Evaluated Copy for a static snapshot.
Baking and export
Set an Output Folder, Map Resolution or Texture Resolution, then bake maps or use Export FBX and Export GLB. Texture baking needs non overlapping UVs in one 0 to 1 tile.
Restore
Clear All restores the original mesh and materials. Remove Setup and Restore Source also removes the backup. Apply Damage Permanently removes editability after a confirmation.
Limits
This is authored geometry, not a physics tearing or fire solver. Very small cuts on low poly meshes need more resolution. Do not edit the generated mesh topology in Edit Mode; restore first.
Troubleshooting
- No hole appears, only a dark mark: check the Quality is Full or Optimized and Opening is above zero. Texture mode makes transparency, not real holes.
- Scorch is not visible: switch to Material Preview or Rendered view.
- Damage update stopped: the Face Safety Budget was reached. Lower Detail or raise the budget.
- Damage goes to the wrong place with Auto Damage: set Garment Up to the right axis or use a mask.
- The cloth uses a Cloth or Soft Body modifier: use Prepare Evaluated Copy, then damage the copy.
- Panels appear twice: an older copy is still installed. Disable it and restart Blender.
Have questions about this product?
Login to message
| Blender Extension Compatible | Yes |
| Published | about 11 hours ago |
| Blender Version | 4.2 - 5.2 |
| Extension Type | Add-on |
| License | GPL |
