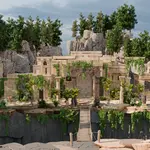
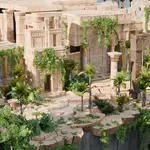
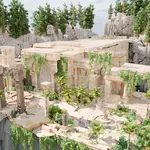
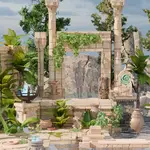
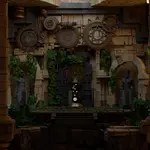
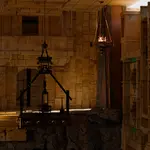
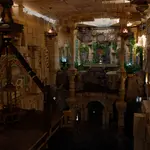
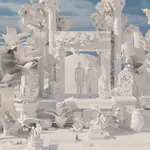
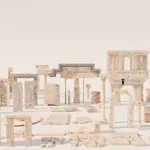
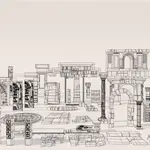
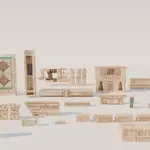
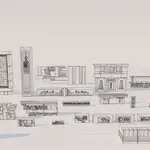
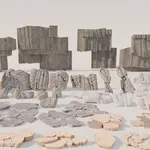
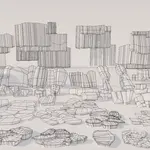
Temple Ruins Kit
 inLite Studios


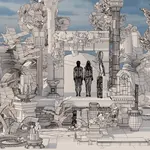
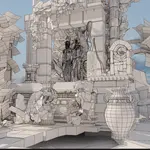
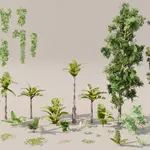
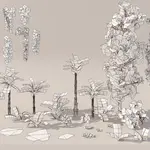
To Install:
Unzip the downloaded file and place the contents wherever you'd like to store it (keep it all together in one folder). In Blender, go to Edit> Preferences and under the Asset Libraries click the "+" button and Add a Local Asset Library. Choose the folder that has all the unzipped contents. From there you can choose if you want to import the items as:
"Linked". Meaning a linked copy to the original so it can't be edited or moved around but perfectly matches the way it is in the original file.
"Append". Independent copy that can be completely changed from the original. (The original won't be affected by your changes.)
"Pack". Recommended! A hybrid of the above where the object is linked to the original but is also able to be moved, resized and rotated. (Note that you have the option to "make local" in the data tab of the object to manipulate it any way that you want.
To use the product as loose assets:
Split the 3D viewport window by moving the mouse to any corner until the cursor changes to a + sign. Then click and drag to get a new area. From the Editor (first button in the header) choose the Asset Browser. You can also press "A" when viewing the editor options or just Shift+ F1 in any window (keep pressing it if not right)
From there, look for the "Temple Ruins".
If you use the scene file and make changes:
Goes without saying but, SAVE AS! Or you'll overwrite the original. Unless that's intentional, then go ahead.
Tips for some objects:
The bridge and the platform have movable components on them, so even though they are available as assets, it's best to append the collection into your scene as you can move each part. For the bridge, there is a curve that allows you to swing the bridge for those heart-pumping moments!
HDRI generously provided by Polyhaven!
Have questions about this product?
Login to message
| Dev Fund Contributor | |
| Published | 2 months ago |
| Blender Version | 5.2 |
| Render Engine Used | Cycles, Eevee |
| Misc Data | Uvs-Unwrapped, Textured |
| License | Creative Commons |
