 Rekanyx
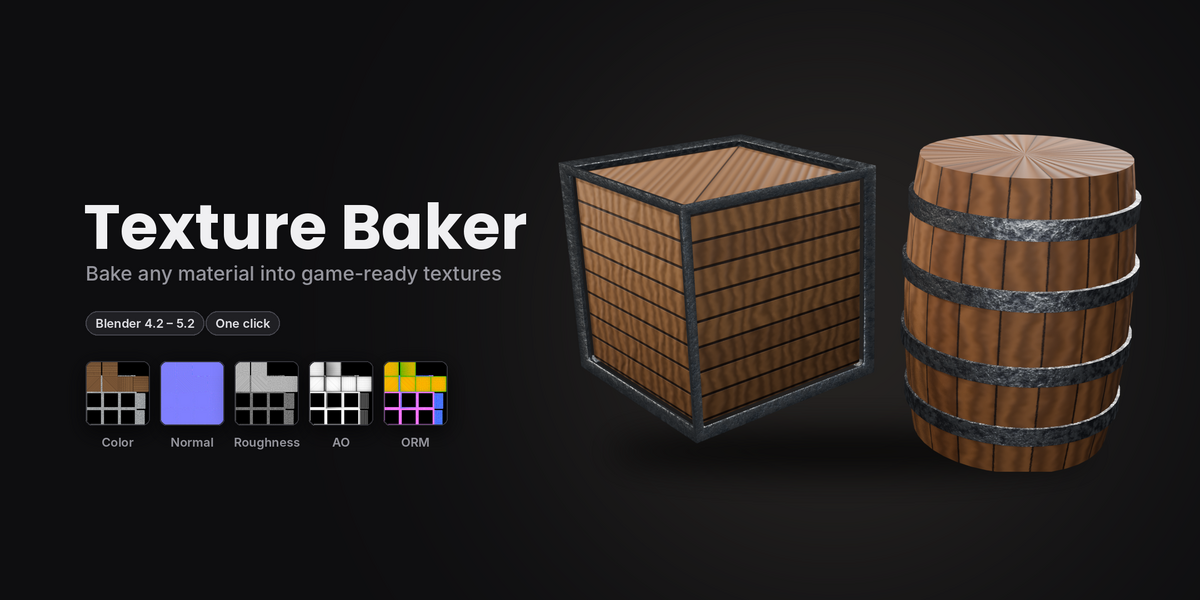
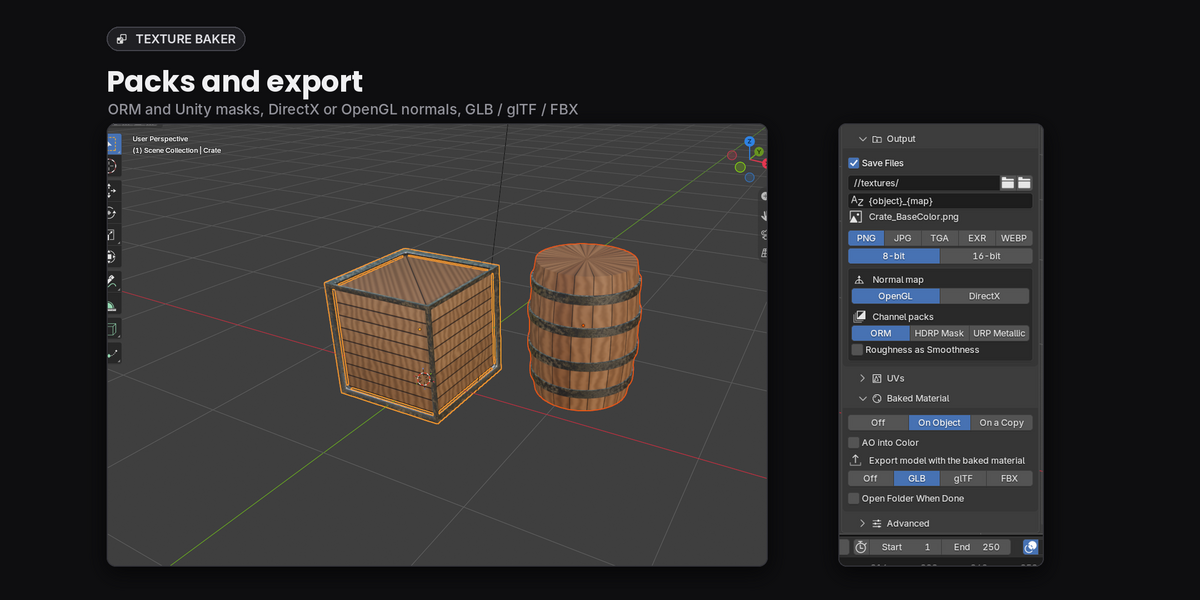
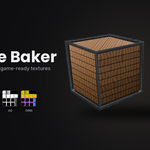
Bake any material into game-ready textures
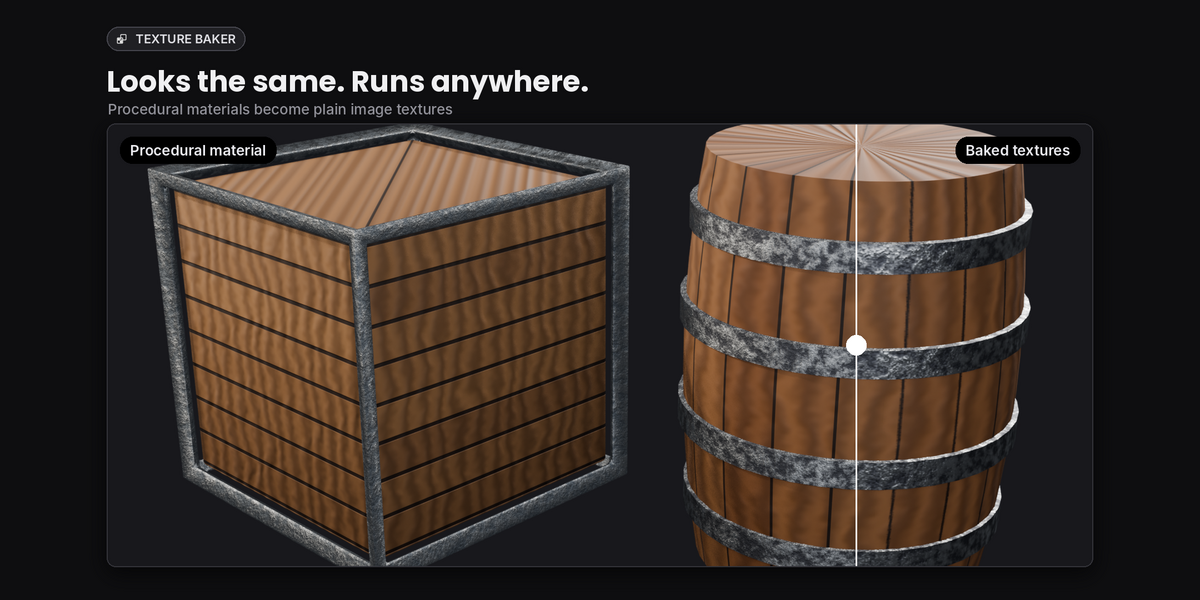
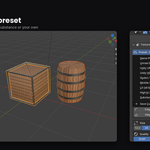
Texture Baker turns any Blender material, including procedural node setups, into clean image textures ready for Unity, Unreal, Godot, glTF or Substance Painter. Pick a preset, press Bake, and get a full texture set plus a new material that uses it.
Features
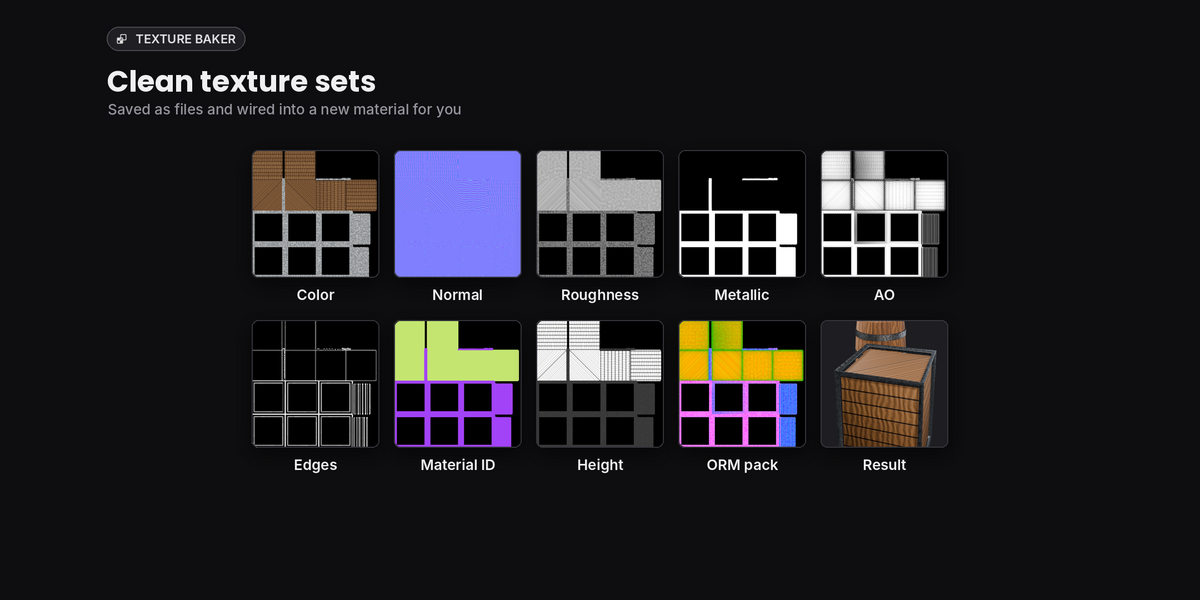
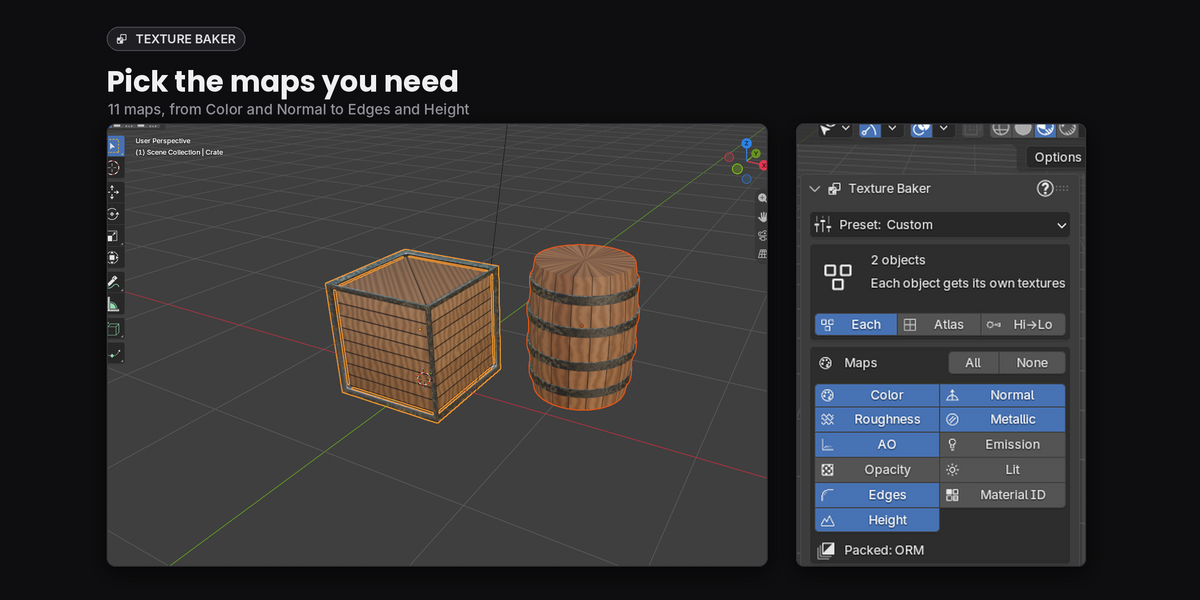
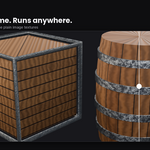
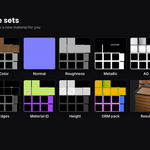
- 11 maps: Color, Normal, Roughness, Metallic, AO, Emission, Opacity, Lit (Combined), Edges (curvature), Material ID and Height
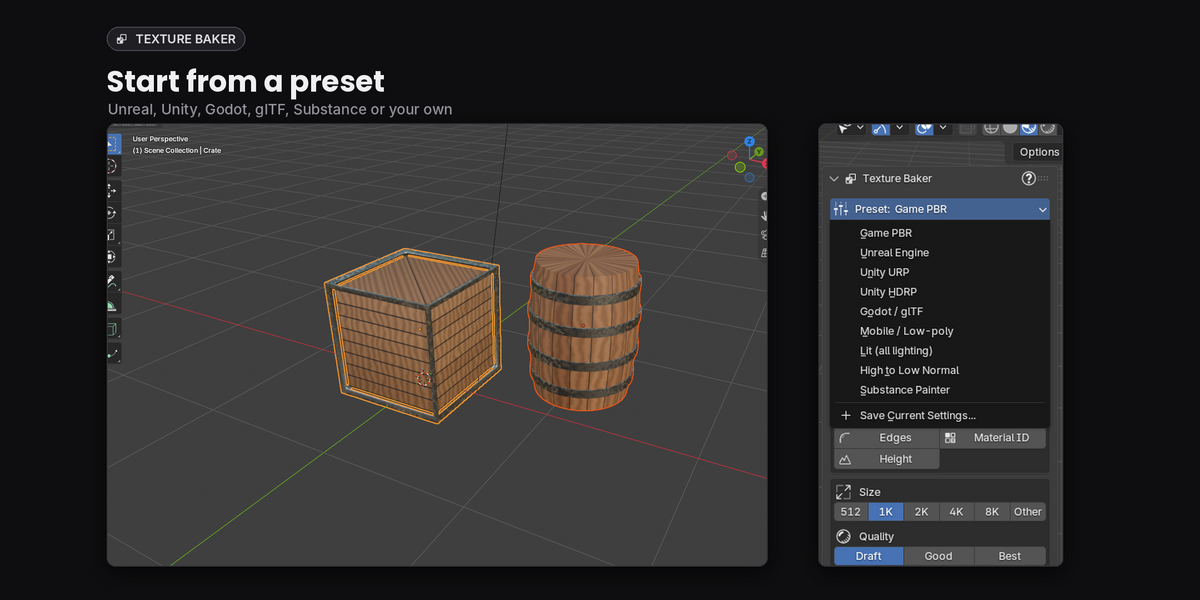
- Presets for Game PBR, Unreal, Unity URP / HDRP, Godot / glTF, Mobile, Lit, High to Low and Substance Painter, plus your own saved presets
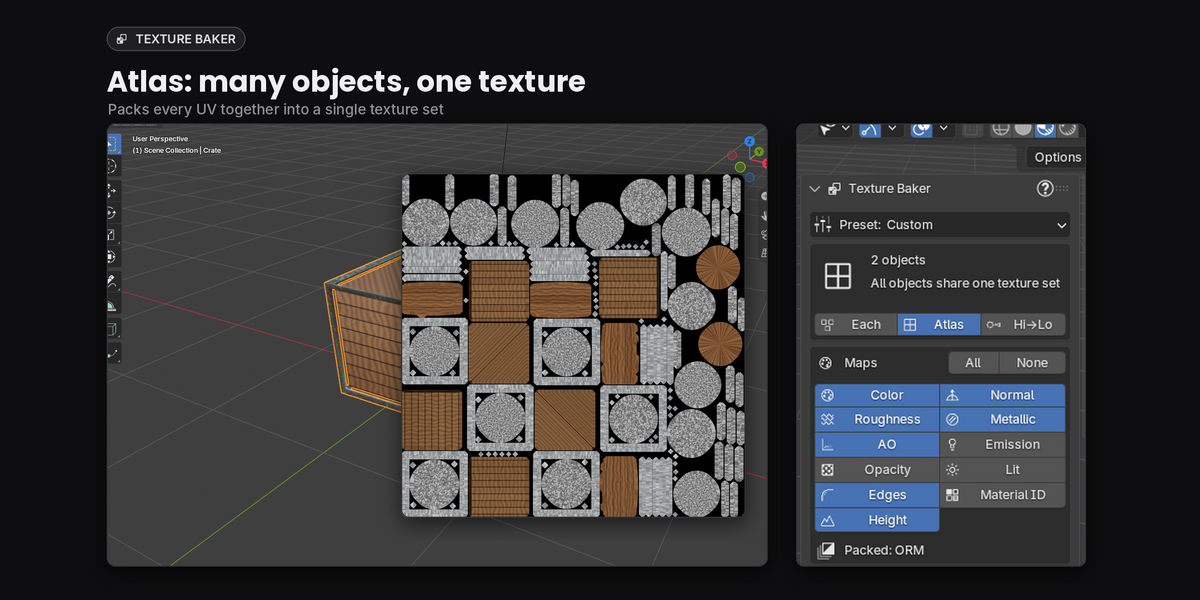
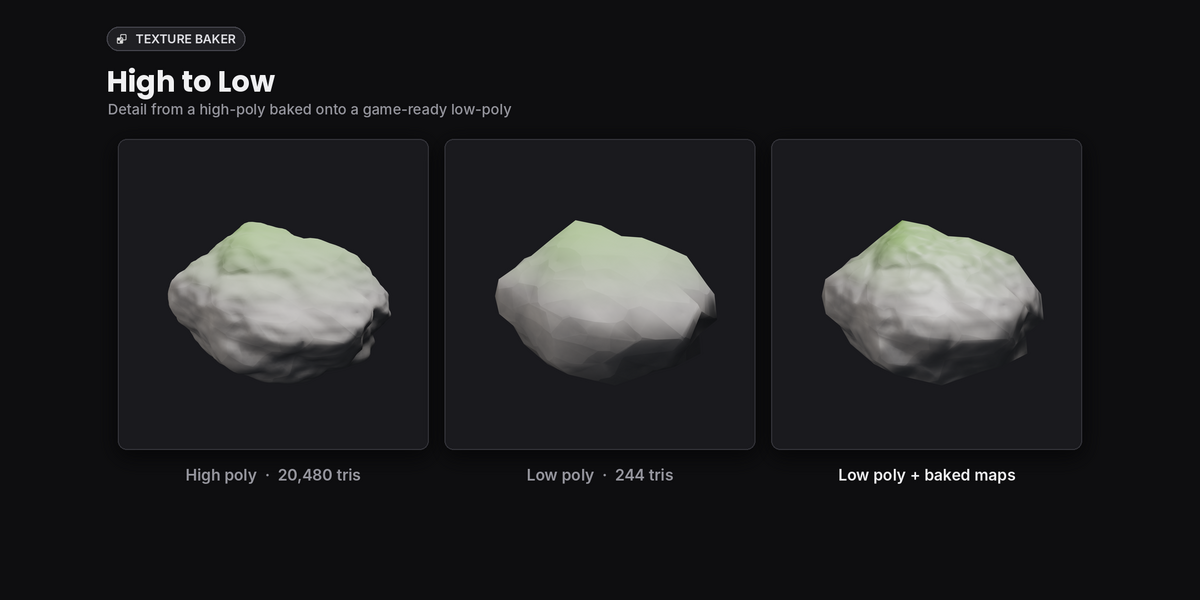
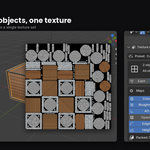
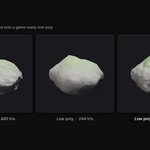
- Three modes: Each (every object gets its own textures), Atlas (many objects share one texture set) and High to Low (bake detail from a high-poly onto a low-poly, with cage control)
- Channel packs: ORM, Unity HDRP Mask, Unity URP Metallic/Smoothness, and OpenGL or DirectX normals
- Baked material: builds a new material from the textures and swaps between original and baked with one click
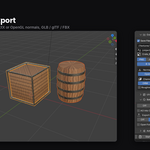
- Export a GLB, glTF or FBX with the baked textures
- Auto UVs, anti-aliasing, 512 to 8K, PNG / JPG / TGA / EXR / WEBP, 8 or 16-bit
- Progress bar with cancel, checks before baking, results list with thumbnails
- Your original materials are always put back exactly as they were
Installation
- Download texture_baker-1.0.1.zip (don't unzip it).
- In Blender go to Edit > Preferences > Get Extensions (Blender 4.2+), open the drop-down in the top right and choose Install from Disk..., then pick the zip.
- Open the sidebar in the 3D Viewport (press N) and click the Bake tab.
How to use
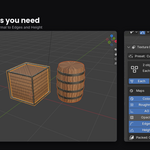
- Select the objects you want to bake. For High to Low, select the high-poly first and the low-poly last (active).
- Choose a Preset, or pick a Mode (Each / Atlas / Hi→Lo) and tick the maps you want.
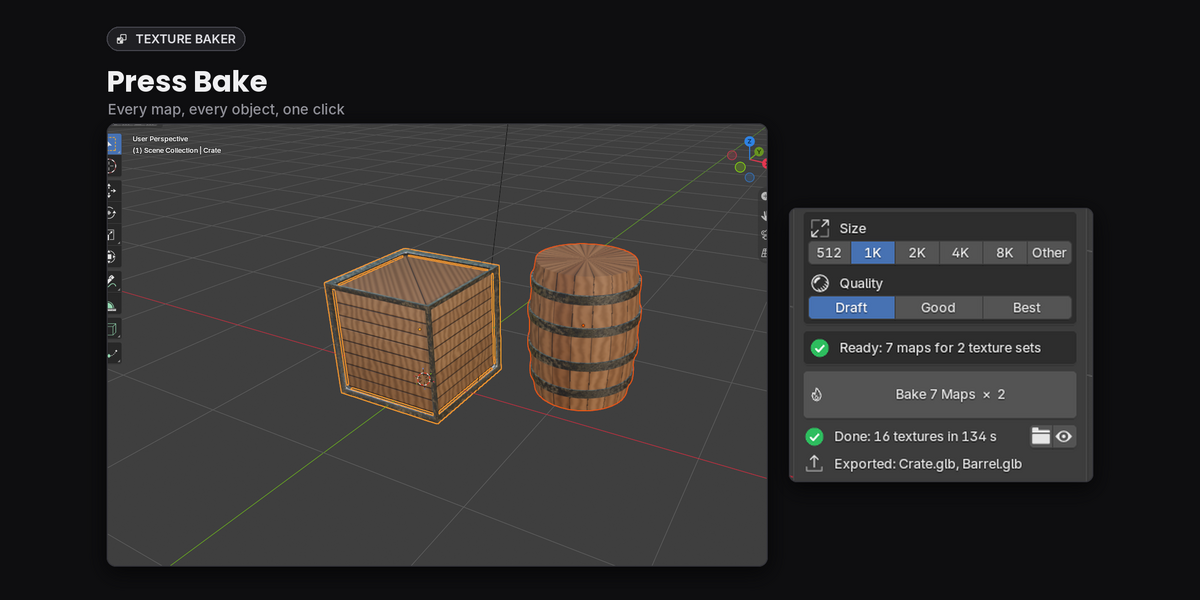
- Set the Size and Quality (Draft is fast for testing, Best for final textures).
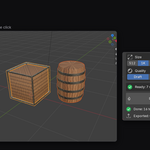
- Check the status line. It warns you about missing UVs (use Make UVs), objects with no material and other problems before you bake.
- Press Bake. Textures are saved to the output folder (default //textures/ next to your .blend file; if the .blend isn't saved yet, a "TextureBaker" folder in your system temp folder, shown in the panel).
- Under Baked Material choose Off, On Object or On a Copy. Use the toggle button to switch between the original and the baked look.
- Under Output set the file format, bit depth, normal map style (OpenGL / DirectX) and channel packs. Pick GLB, glTF or FBX to also export the model.
- Use Save Current Settings... in the preset menu to keep your own presets. Press the ? button in the panel header to open the full guide.
Tips
- Height needs a Displacement or Bump node in the material. In Blender 5.x the Bump node's default Distance is very small, so raise it if your height or normal looks flat.
- Bakes use Cycles. Turn on your GPU in Preferences > System for much faster bakes.
- A full README is included in the add-on.
Requirements
Blender 4.2 to 5.2. Tested with 148 automated tests.
Texture Baker is also available for free on Gumroad. Buying it here is a nice way to support development.