 Rekanyx
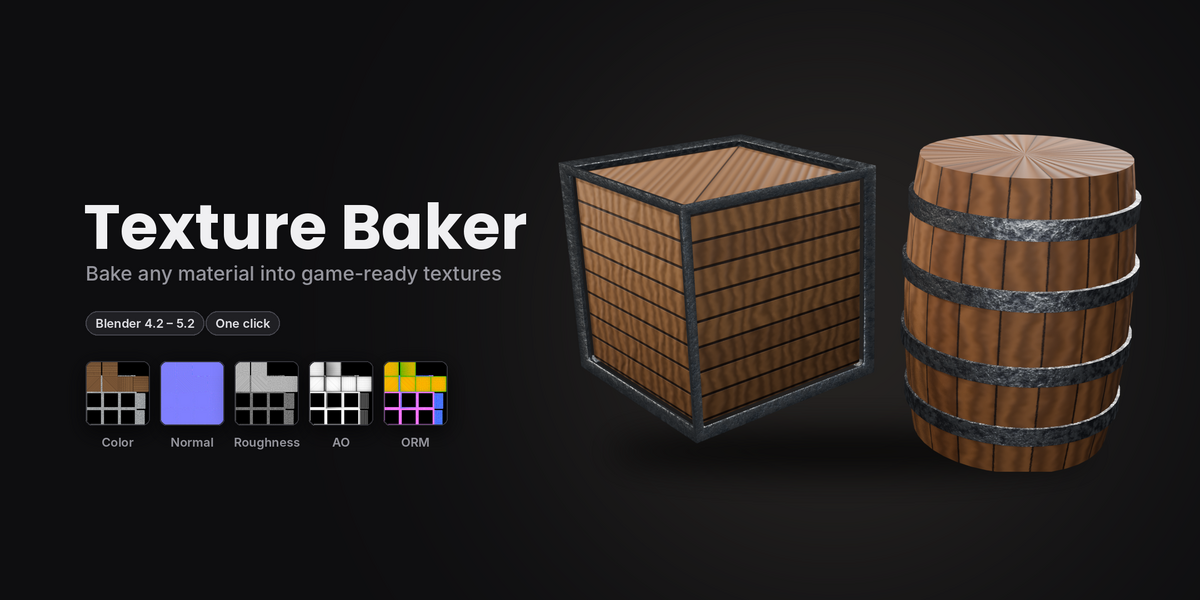
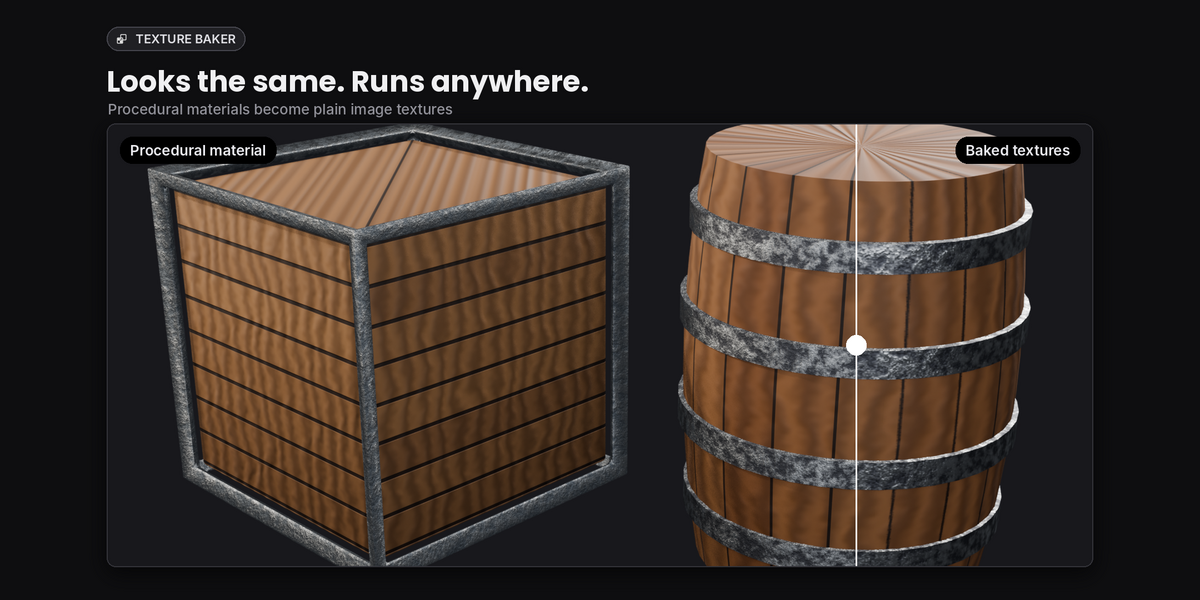
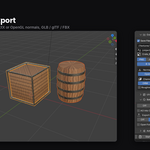
Installation
- Download texture_baker-1.0.1.zip. Don't unzip it.
- In Blender 4.2 or newer open Edit > Preferences > Get Extensions, click the drop-down arrow in the top right and choose Install from Disk..., then pick the zip.
- In the 3D Viewport press N to open the sidebar and click the Bake tab.
Quick start
- Select the objects to bake.
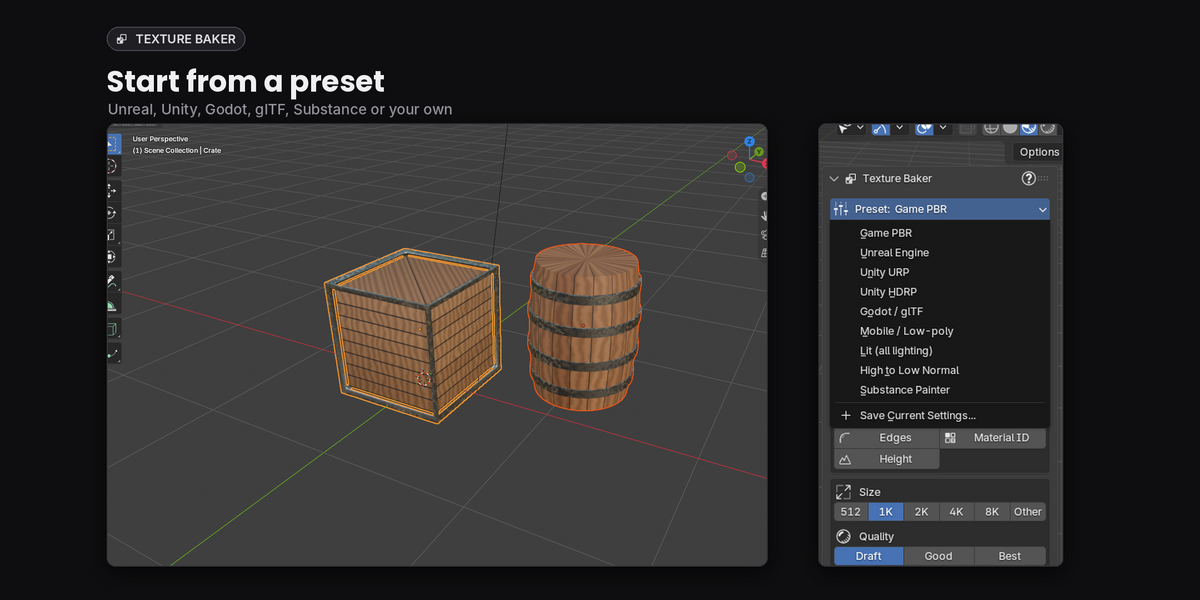
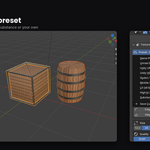
- Pick a Preset (for example Game PBR or Unreal Engine).
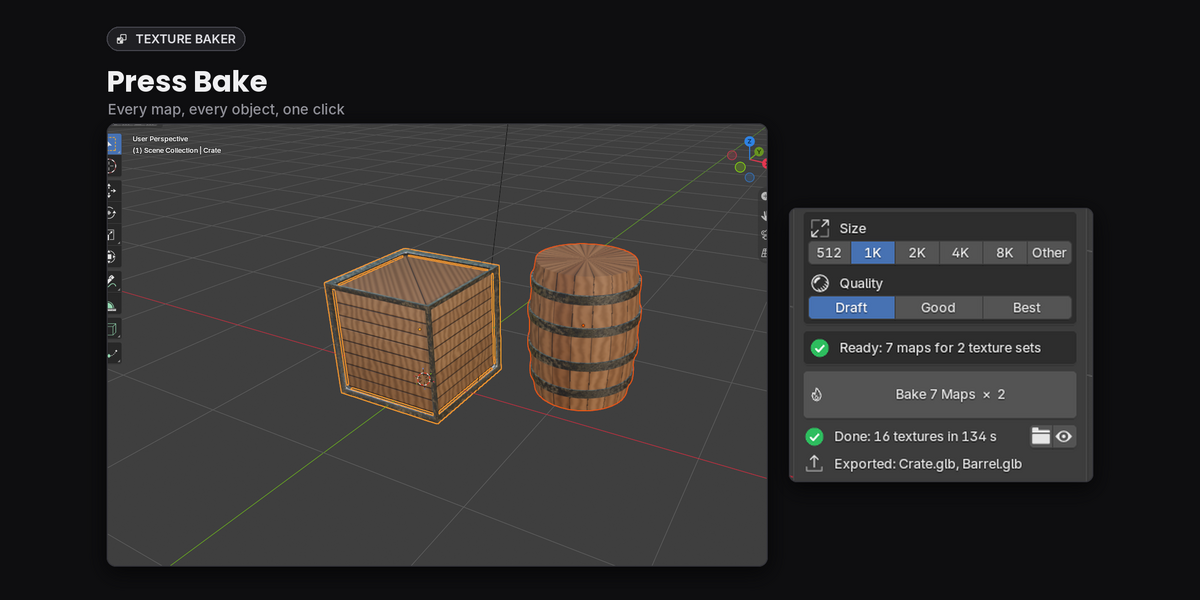
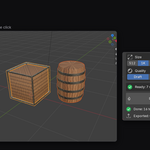
- Press Bake. The textures are saved to //textures/ next to your .blend file and a baked material is applied. If the .blend isn't saved yet, they go to a "TextureBaker" folder in your system temp folder (the panel shows the full path), so save the .blend first if you want them next to it.
Modes
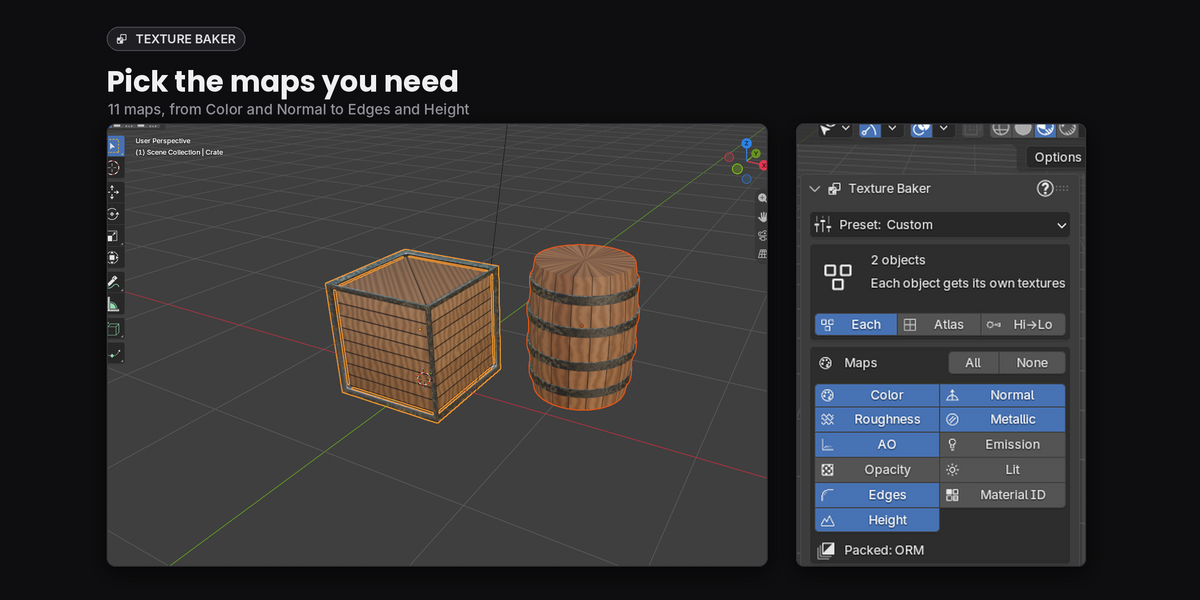
- Each: every selected object gets its own texture set.
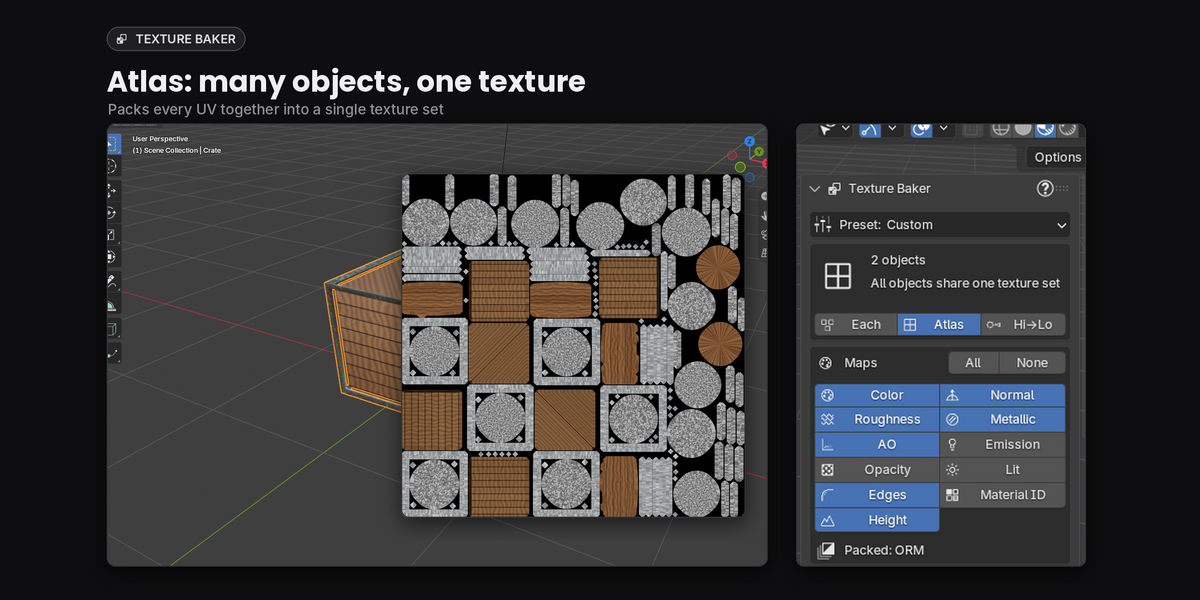
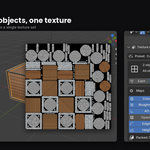
- Atlas: all selected objects share one texture set. Give it a name in the Atlas Name field.
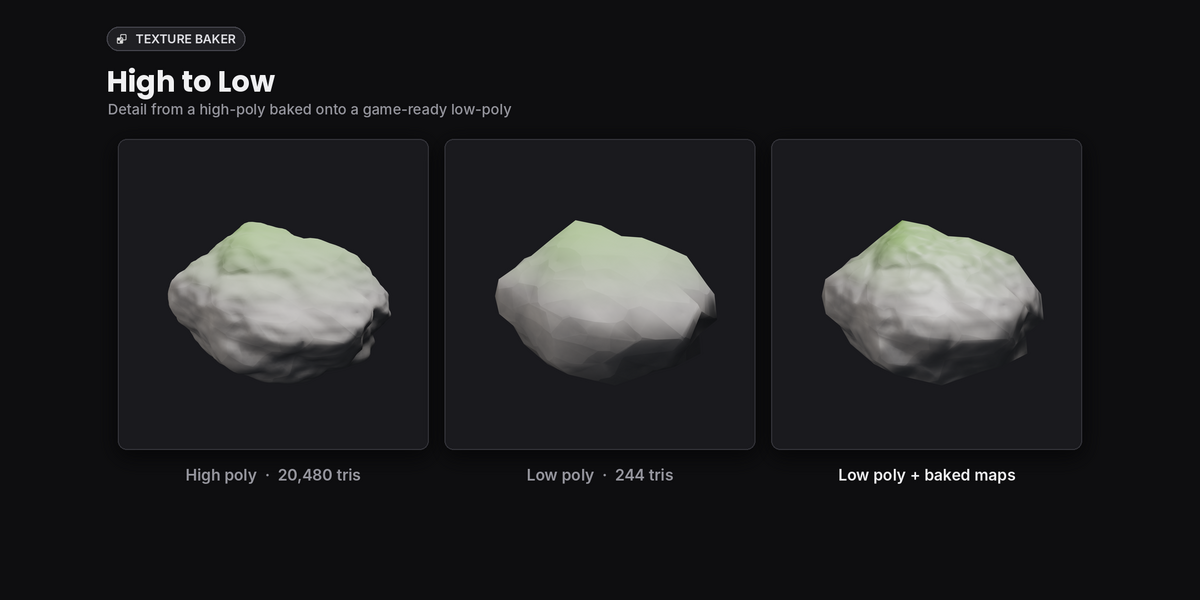
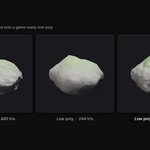
- Hi→Lo: bakes detail from high-poly objects onto the active low-poly object. Select the high-poly first, then the low-poly last. Use Cage Extrusion if you see holes or artifacts.
Maps
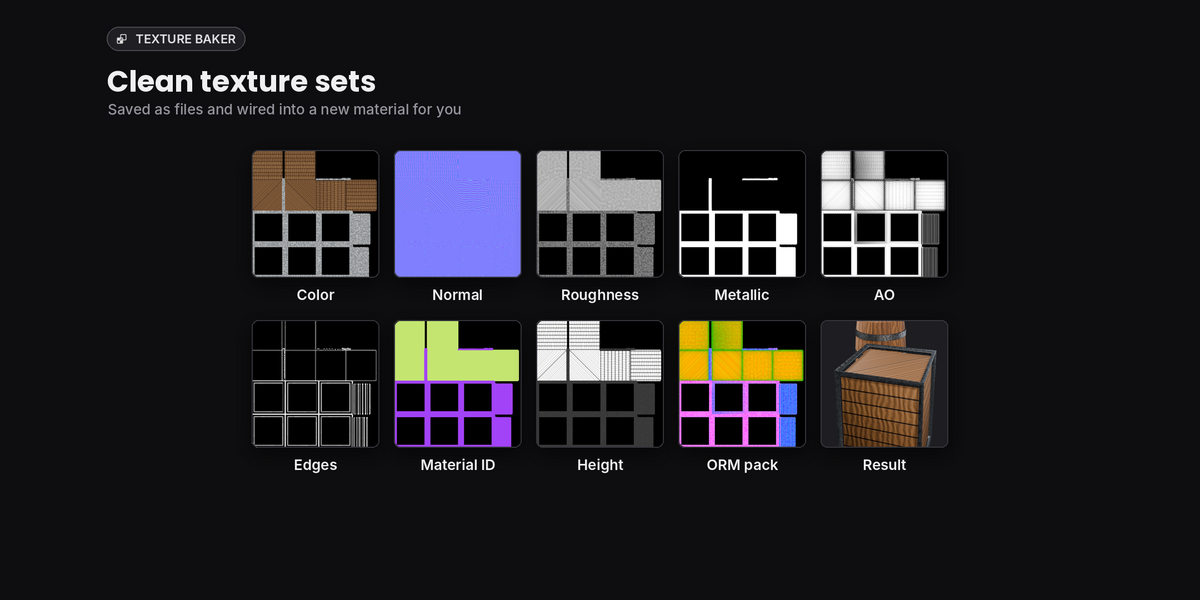
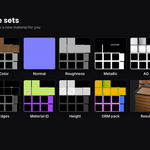
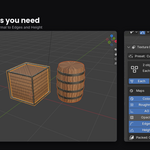
Tick the maps you want: Color, Normal, Roughness, Metallic, AO, Emission, Opacity, Lit (full lighting), Edges (curvature), Material ID and Height. All and None toggle every map.
Size and quality
Choose 512 to 8K, or Other for a custom size. Draft is fast for testing, Good is a balanced default, Best uses more samples and anti-aliasing for final textures.
Output
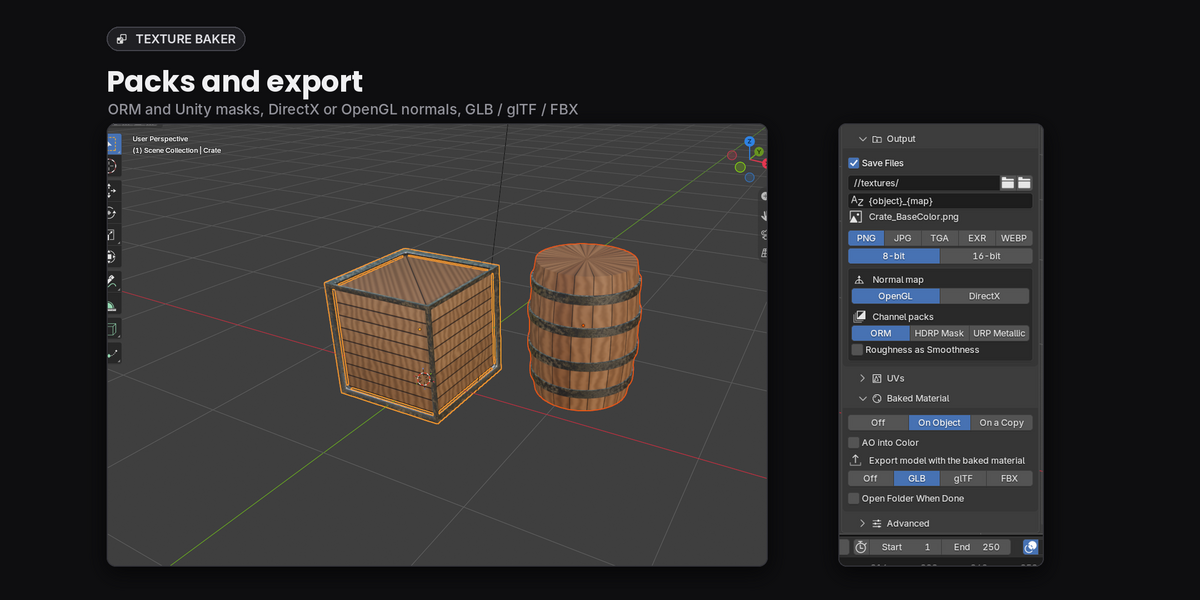
- Folder and file name pattern, for example {object}_{map}.
- File format (PNG, JPG, TGA, EXR, WEBP) and 8 or 16-bit.
- Normal map style: OpenGL (Blender, Unity, Godot) or DirectX (Unreal).
- Channel packs: ORM (Unreal / glTF), HDRP Mask, URP Metallic/Smoothness.
Baked material and export
Under Baked Material choose Off, On Object (replace) or On a Copy. The toggle button switches each object between its original and baked material. Pick GLB, glTF or FBX to export the model with the baked textures after the bake.
Presets
Open the preset menu and choose Save Current Settings... to keep your own presets. They show up under My Presets and can be deleted from the same menu.
Checks and results
Before you bake, the panel shows warnings for missing UVs (fix with Make UVs), objects without materials, Height with no Displacement or Bump node and other problems. After baking, the Results panel lists every texture with a thumbnail. Click one to open it in the Image Editor, or open the output folder.
Tips
- Enable your GPU in Preferences > System > Cycles Render Devices for much faster bakes.
- In Blender 5.x the Bump node's default Distance is very small. Raise it if your normal or height bake looks flat.
- Your original materials are always restored after a bake, even if you cancel.
- Press the ? button in the panel header to open the full README.
Your textures are safe
- Texture Baker only replaces images, materials and files it made itself.
- If one of your own images or materials already has the output name (for example Crate_BaseColor), the bake uses a new name (Crate_BaseColor_1) and leaves yours alone.
- If the output folder already has a file with that name that Texture Baker did not write, you are asked first: Keep Both or Overwrite.
- When the baked material replaces your originals, they get a fake user so they survive saving and reopening, and the eye button can always switch back.
Changes
- 1.0.1: never replaces your own images, materials or files with the same name; asks before overwriting files it did not write; original materials kept safe with a fake user.
- 1.0.0: first release.
Have questions about this product?
Login to message
| Blender Extension Compatible | Yes |
| Published | 10 days ago |
| Blender Version | 4.2 - 5.2 |
| Extension Type | Add-on |
| Render Engine Used | Cycles |
| License | GPL |
Discover more products like this
Atlas ambient occlusion game assets normal map baking bake high-to-low texture-baking gltf orm PBR unity