Texturology™ a I | Image to Materials With Artificial Intelligence
 Giambattista Von Nettesheim


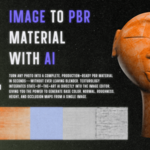
Texturology Addon Documentation
Welcome to the official documentation for Texturology, the AI-powered addon for Blender that streamlines the creation of high-quality PBR materials from a single source image. This guide will walk you through every feature, setting, and concept to help you get the most out of Texturology.
Quick Navigation
- What is Texturology?
- Installation
- System Requirements
- Input Image
- Generation Settings
- Generated Textures
- Advanced Features
- Image Preparation
- Step-by-step Process
- All Map Types
- When to Use Each
- AI Upscaling
- AI Inpainting
- Common Issues
- FAQ
1. Getting Started
1.1. What is Texturology?
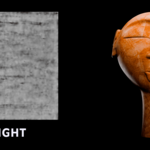
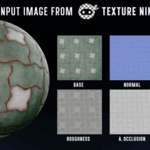
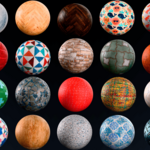
Texturology uses a suite of advanced AI models (ONNX) to analyze a source image and generate a complete set of Physically Based Rendering (PBR) texture maps. This allows you to create realistic materials for your 3D models quickly and efficiently, all within Blender's Image Editor. Additionally, it includes powerful AI tools for upscaling and inpainting textures.
1.2. Installation
Texturology is packaged as a standard Blender addon. To install it:
- Open Blender (version 4.2 or newer is required).
- Go to
Edit > Preferences > Extensions. - Click the
Install...options from the Dropdown menu at the top-right. - Navigate to the
Texturology.zipfile you downloaded and select it. - Click
Install Add-on. - Find "Texturology" in the Extensions list.
The Texturology panel will now be available in the Image Editor's UI Shelf (press N to toggle).
⚠️ 1.3. CRITICAL: System Requirements
Before you begin, it's crucial to ensure your system meets the following requirements for the addon to function correctly.
1. Blender Backend: OpenGL is Mandatory
This is the most critical requirement. The AI models used by Texturology are only compatible with Blender's OpenGL graphics backend. Using the Vulkan backend will cause errors or prevent the addon from working entirely.
To set your backend to OpenGL:
- Go to
Edit > Preferences > System. - Under GPU Backend, select OpenGL.
- You must restart Blender for this change to take effect.
2. Hardware Specifications (Very Important)
Texturology performs complex AI calculations (inference) that are computationally intensive. For the best experience, we strongly recommend the following hardware:
GPU: A dedicated graphics card is highly recommended.
- VRAM: Minimum of 6 GB of VRAM.
- Compatibility: Must be DirectX compatible.
- Vendor: While not mandatory, NVIDIA GPUs are preferred and have been tested extensively. The addon was personally tested on an NVIDIA GeForce RTX 3050 with 6GB of VRAM.
CPU: CPU Fallback Available
If a powerful GPU is not available, a modern, high-performance CPU can run the inference, but processing times will be significantly longer.
2. The Texturology Panel: An Overview
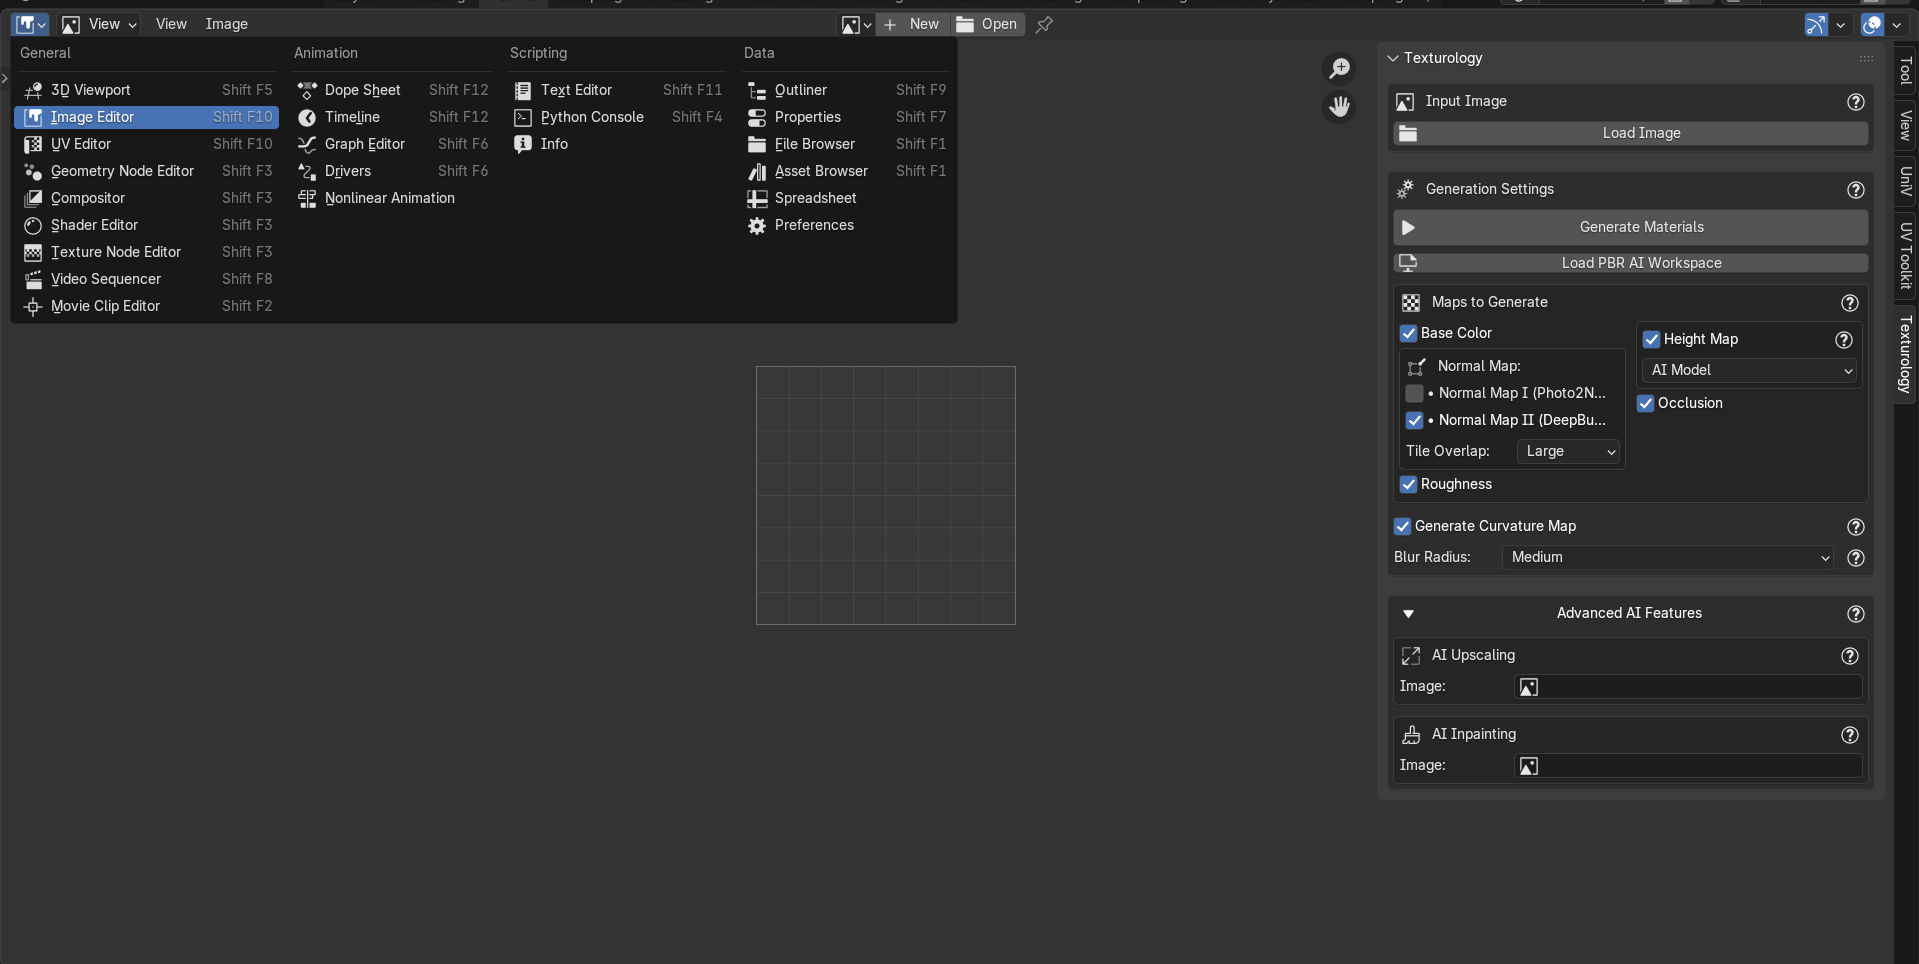
You can find the main Texturology panel in the Image Editor. Press N to open the side panel, and click on the "Texturology" tab. The UI is divided into several key sections.
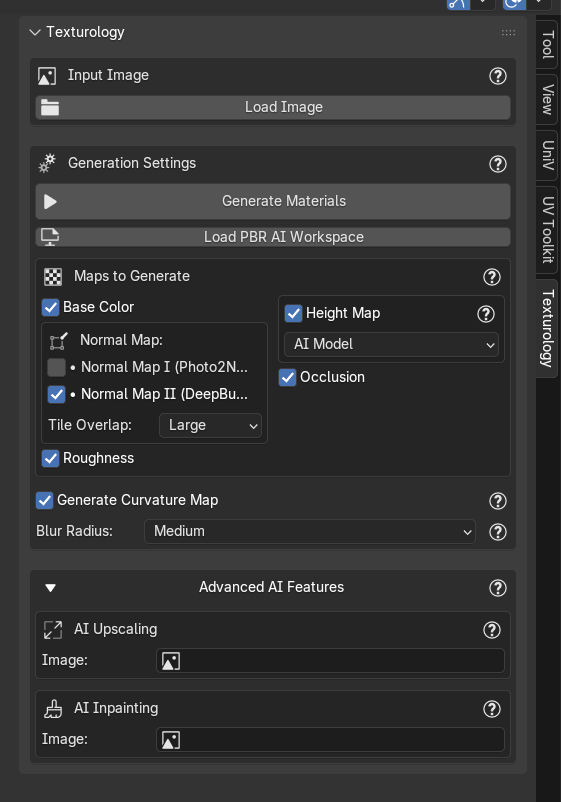
2.1. Input Image
This is where your journey begins. This section is for loading and viewing your source texture.
- Load Image: Click this to open Blender's file browser and select the image you want to process.
- Image Info: Once loaded, this area displays the image's name, dimensions, format, color space, and channel information.
- View in Image Editor: A handy button to ensure the input image is the one currently active in the main editor view.
2.2. Generation Settings
This section contains the main controls for the PBR material generation process.
- Generate Materials: The main operator button. Click this to start the AI inference process based on your selected maps.
- Load PBR AI Workspace: This button loads a custom Blender workspace preset designed for PBR texture viewing and material setup, helping you visualize your results.
- Maps to Generate: This is a crucial area where you select which PBR texture maps the AI should create. Check the boxes for the maps you need for your material. (More on what each map does in Section 4).
- Generate Curvature Map: An additional, non-AI process that generates a curvature map from the normal map. This requires the "Normal Map" to be enabled.
- Blur Radius: (Only visible when Curvature is on) Controls the softness of the curvature map.
2.3. Generated Textures
After the generation process is complete, this gallery will appear, listing all the texture maps you created.
- Texture List: Each generated map is listed with an appropriate icon.
- View Button (Eye Icon): Click the eye icon next to any texture to view it in the Image Editor.
- Export Textures: This button opens an export dialog, allowing you to save all the generated textures to a folder on your computer in various formats (PNG, JPEG, etc.) and bit depths.
2.4. Advanced AI Features
This collapsible section provides access to powerful, standalone AI tools that complement the main PBR workflow.
- AI Upscaling: Enhance the resolution of any image in your Blender project. You can select an image, choose a 2x or 4x scale factor, and the ESRGAN AI model will intelligently add detail to create a larger, clearer version.
- AI Inpainting: A tool for removing or replacing parts of a texture. You can paint a mask over an area, and the addon's texture synthesis algorithm will fill it in based on the surrounding context.
3. Workflow Guide
Follow these steps for the best results with Texturology.
Step 1: Prepare Your Input Image (The Most Important Step!)
The quality of your final PBR material is 90% dependent on the quality of your input image. Garbage in, garbage out. Please read this section carefully.
Image Dimensions & Aspect Ratio
- Aspect Ratio: For seamless tiling, a 1:1 square aspect ratio is strongly recommended.
- Dimensions: Use textures with power-of-two dimensions. The addon is optimized for tiles of 2048x2048 pixels. Good sizes include:
1024 x 1024-
2048 x 2048(Optimal) 4096 x 40968192 x 819216384 x 16384
Making Your Texture Seamless (Mandatory for Tiling)
This is a critical point. For a material to tile correctly across a large surface without visible seams, the final material must be seamless.
Why is this so important? Many textures, especially photos of real-world surfaces, are not naturally tileable. They don't have repeating patterns. Traditional algorithms that try to make an image seamless often fail on such textures, producing blurry edges or unrealistic artifacts. Texturology's AI interprets the image as it is; it does not automatically make it seamless.
You have several options to achieve seamless tiling, depending on your workflow:
1. Photoshop (Pre-Processing):
The most reliable method is to use Photoshop's Offset filter and manual tools like the Clone Stamp or Healing Brush to create a perfectly seamless texture before loading it into Texturology. Numerous tutorials are available online for this process. This ensures your input image is already seamless.
2. Blender's Shader Editor (Post-Processing):
You can create seamless textures using node setups in the Shader Editor after generating your materials with Texturology. This approach allows you to work with non-seamless input images and make them tileable through procedural nodes. Search for tutorials on this topic.
3. Use Another Addon (Post-Processing):
Addons like Hex Scatter can be powerful tools for creating seamless materials from non-seamless sources after you've generated your PBR maps with Texturology.
Important Note: Only the Photoshop method requires your texture to be seamless before generation. The Blender Shader Editor and Hex Scatter approaches work with your generated materials after the fact. Choose the workflow that best suits your needs and skills
Step 2: Load the Image
In the Input Image section of the Texturology panel, click Load Image and select your prepared, seamless texture.
Step 3: Configure Generation Settings
In the Generation Settings section, choose which PBR maps you want to create. Texturology now offers multiple methods for generating certain maps, giving you control over quality and processing approach.
Core PBR Maps Selection
For a standard material, Base Color, Normal Map, and Roughness are essential. Add Height and Occlusion for enhanced detail and realism.
🔵 Normal Map Options (Choose One)
Texturology provides two distinct methods for normal map generation:
• Normal Map I (Photo2Normal)
- Best for: General photographic textures, everyday materials
- Processing: Uses an AI model
- Characteristics: Broad dataset training, good for varied surface types
- Speed: Fast, uses standard ArmorLab tiling approach
- Note: May produce less optimal results for materials with strong directional lighting
• Normal Map II - Recommended
- Best for: High-detail surfaces, technical accuracy
- Processing: Uses specialized alternative AI model
- Characteristics: Enhanced detail detection, superior edge preservation
- Speed: Moderate (uses 256x256 tiles with overlap processing)
- Parameters: Tile Overlap - Small (faster), Medium (balanced), Large (best quality)
- Note: Default selection due to consistently superior results
Only one normal map method can be selected at a time.
⛰️ Height Map Options (Choose One)
Texturology offers two approaches for height/displacement map generation:
• AI Model (Default)
- Best for: Creative interpretations, general textures
- Processing: Uses an AI model
- Characteristics: Fast GPU-accelerated processing
- Independence: Works directly from input image (no normal map required)
- Quality: Good general results with creative interpretation
• Kernel Integration (Mathematical)
- Best for: Technical accuracy, hard surfaces, scientific applications
- Processing: Mathematical gradient field integration (CPU-based)
- Requirements: Requires Normal Map I or II to be generated first
- Characteristics: Mathematically consistent with normal map data
- Quality: Smoother, more uniform results that perfectly match normal map
- Based on: "Surface-from-Gradients without Discrete Integrability Enforcement: A Gaussian Kernel Approach" (Ng et al., 2010)
Kernel Integration Parameters (when selected):
- Kernel Size (3-9): Gaussian kernel size - smaller preserves detail, larger smooths
- Sigma (0.5-2.0): Smoothing strength - lower for sharp details, higher for soft results
- Lambda (0.001-0.1): Smoothness regularization - affects detail preservation
- Mu (0.1-2.0): Curvature control - affects surface transitions
- Feature Preservation (0.0-1.0): Adaptively preserves sharp edges and discontinuities
- Detail Enhancement (0.0-1.0): Controls enhancement of fine surface details
- Height Scale (0.1-1.0): Overall depth scaling factor
Additional Maps
Roughness
Surface smoothness control
Occlusion
Ambient shadow details
Curvature Map
Edge highlighting (requires either Normal Map option)
Step 4: Generate Materials
Click the big Generate Materials button. The process is asynchronous, meaning it will not freeze Blender's UI. You can monitor the progress in the status bar at the bottom of the panel. The time this takes will depend on your hardware and the resolution of your input image.
Step 5: Review and Export
Once finished, the Generated Textures gallery will appear. Click the eye icon on each map to inspect the results.
Flexible Export System
When you click Export Textures, you'll access Texturology's granular export control system:
Global Export Settings
- Global Format: Default format for all textures (PNG, JPEG, TIFF, OpenEXR)
- Global Bit Depth: Default bit depth for all textures (8-bit, 16-bit, 32-bit)
Individual Texture Control
(appears when you have multiple textures)
- Checkbox System: Each texture has a checkbox to enable individual format override
- When checkbox is OFF: Texture uses global settings
- When checkbox is ON: Texture gets its own format and bit depth options
- Smart Validation: Automatically prevents incompatible combinations (e.g., EXR 8-bit)
Format Compatibility:
PNG
8-bit, 16-bit (supports transparency)
JPEG
8-bit only (no transparency, smallest files)
TIFF
8-bit, 16-bit (professional workflows)
OpenEXR
16-bit, 32-bit float (maximum precision)
Example Use Case:
Export normal map as OpenEXR 32-bit for maximum precision, while base color as PNG 8-bit for efficiency, and height as TIFF 16-bit for professional workflows - all in a single export operation.
4. Understanding PBR Maps
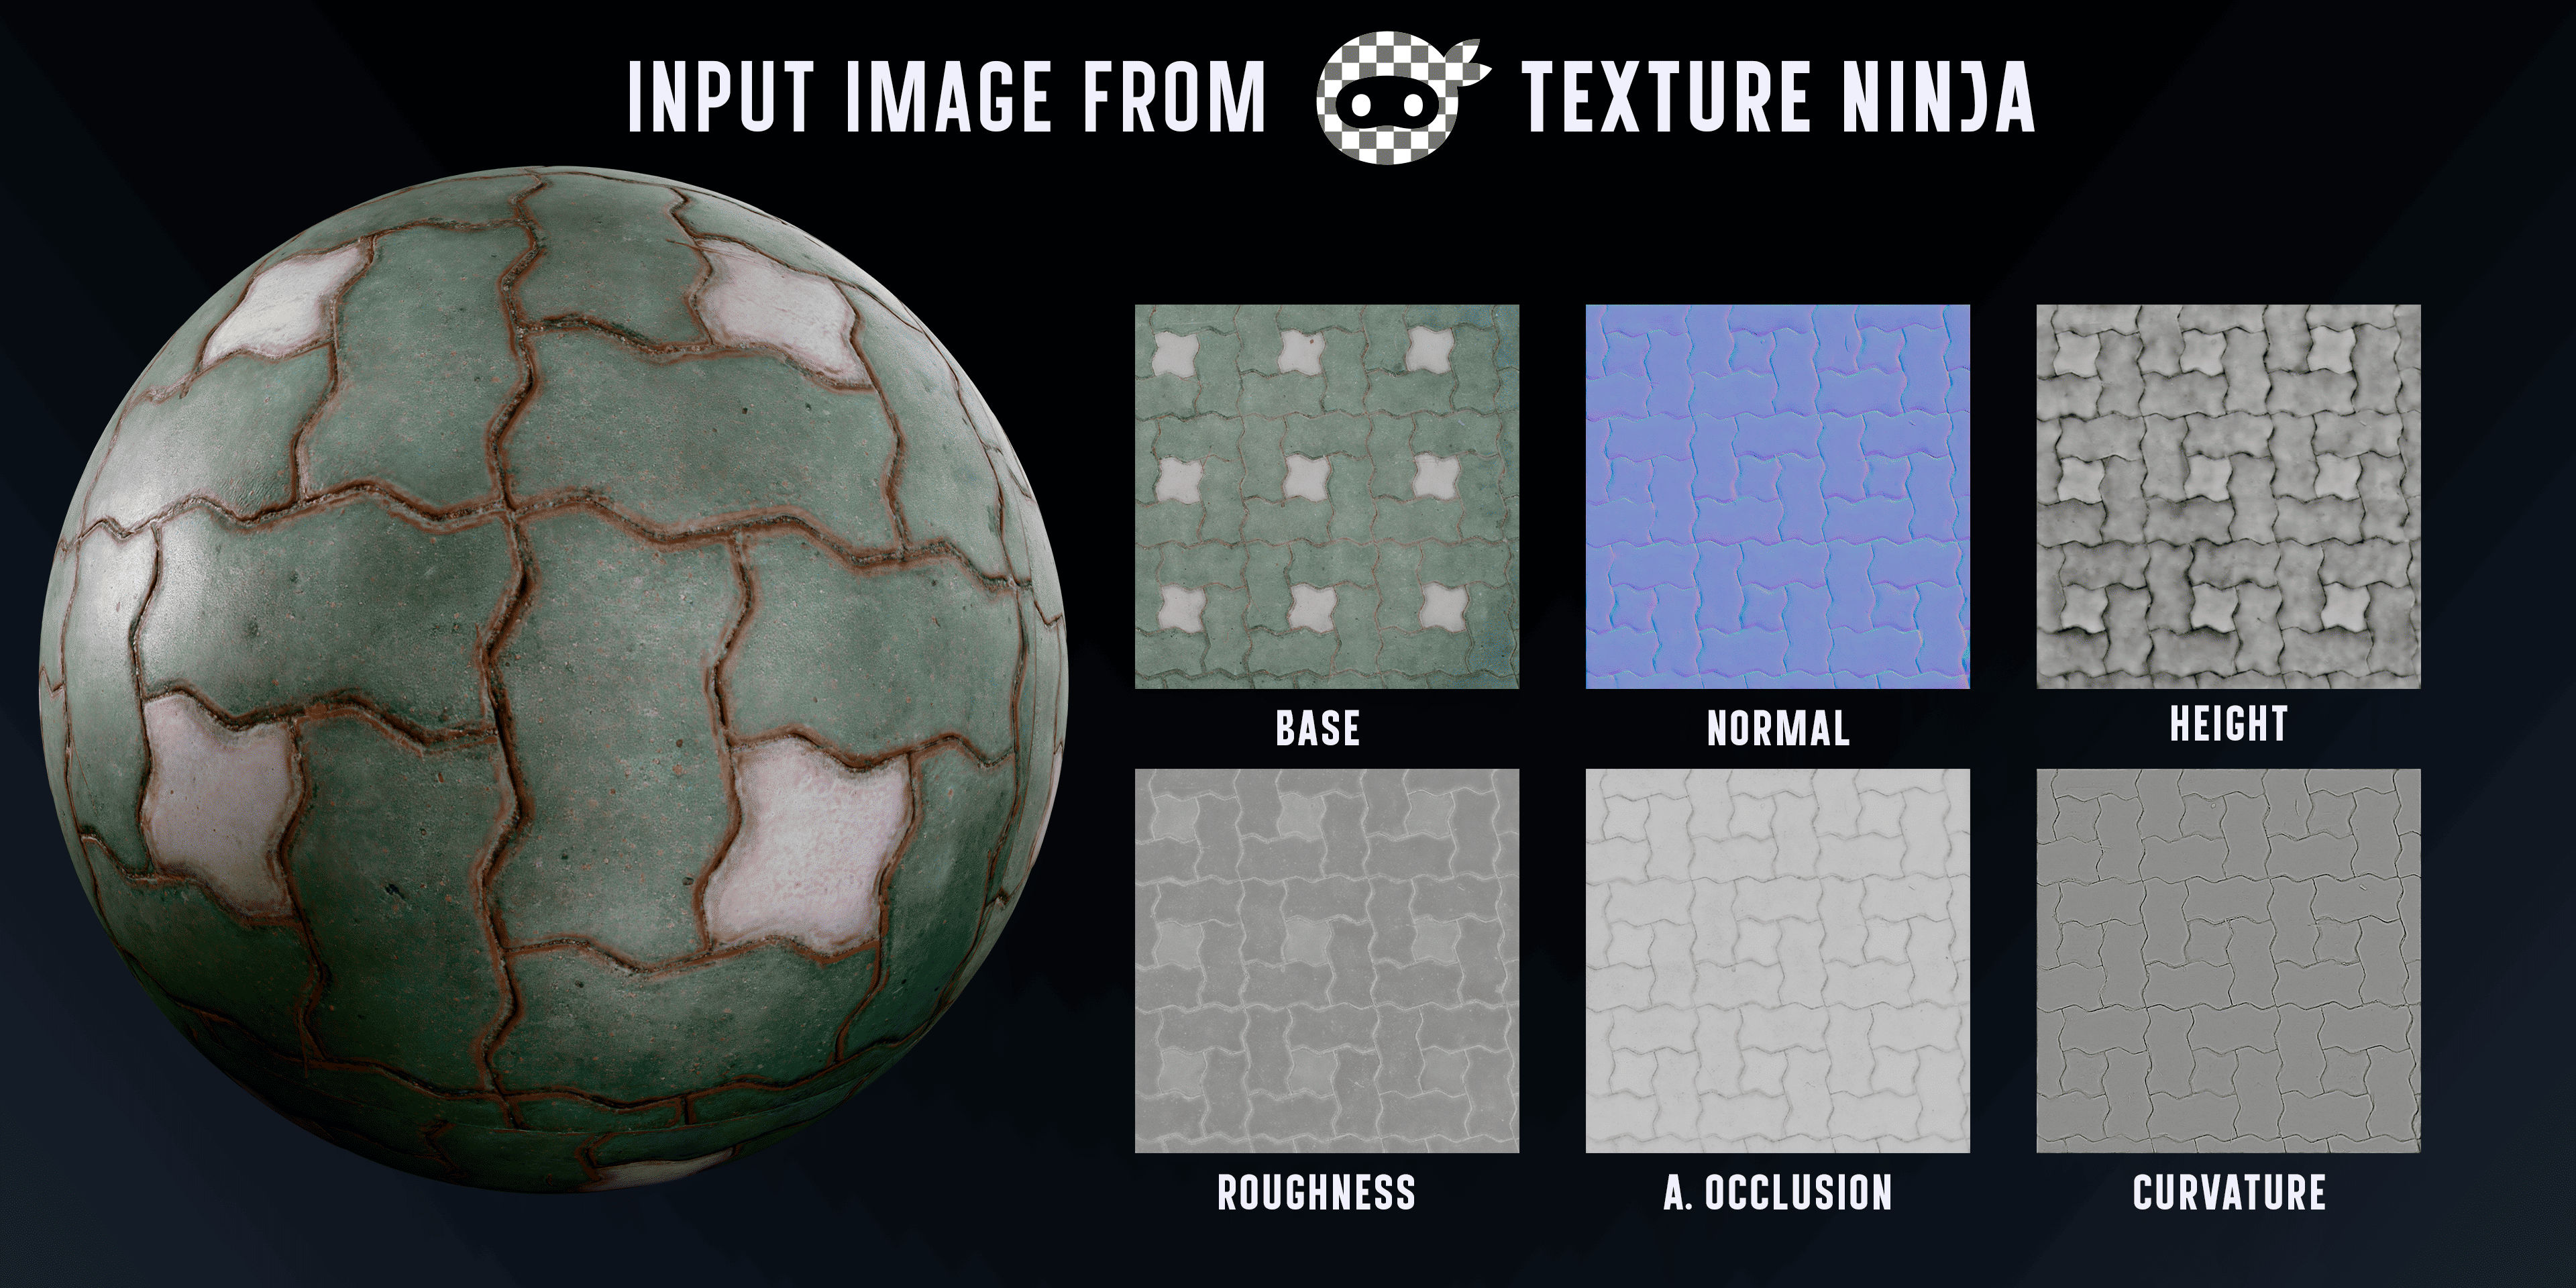
Texturology can generate several types of PBR texture maps. Understanding what each one does is key to creating believable materials.
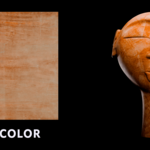
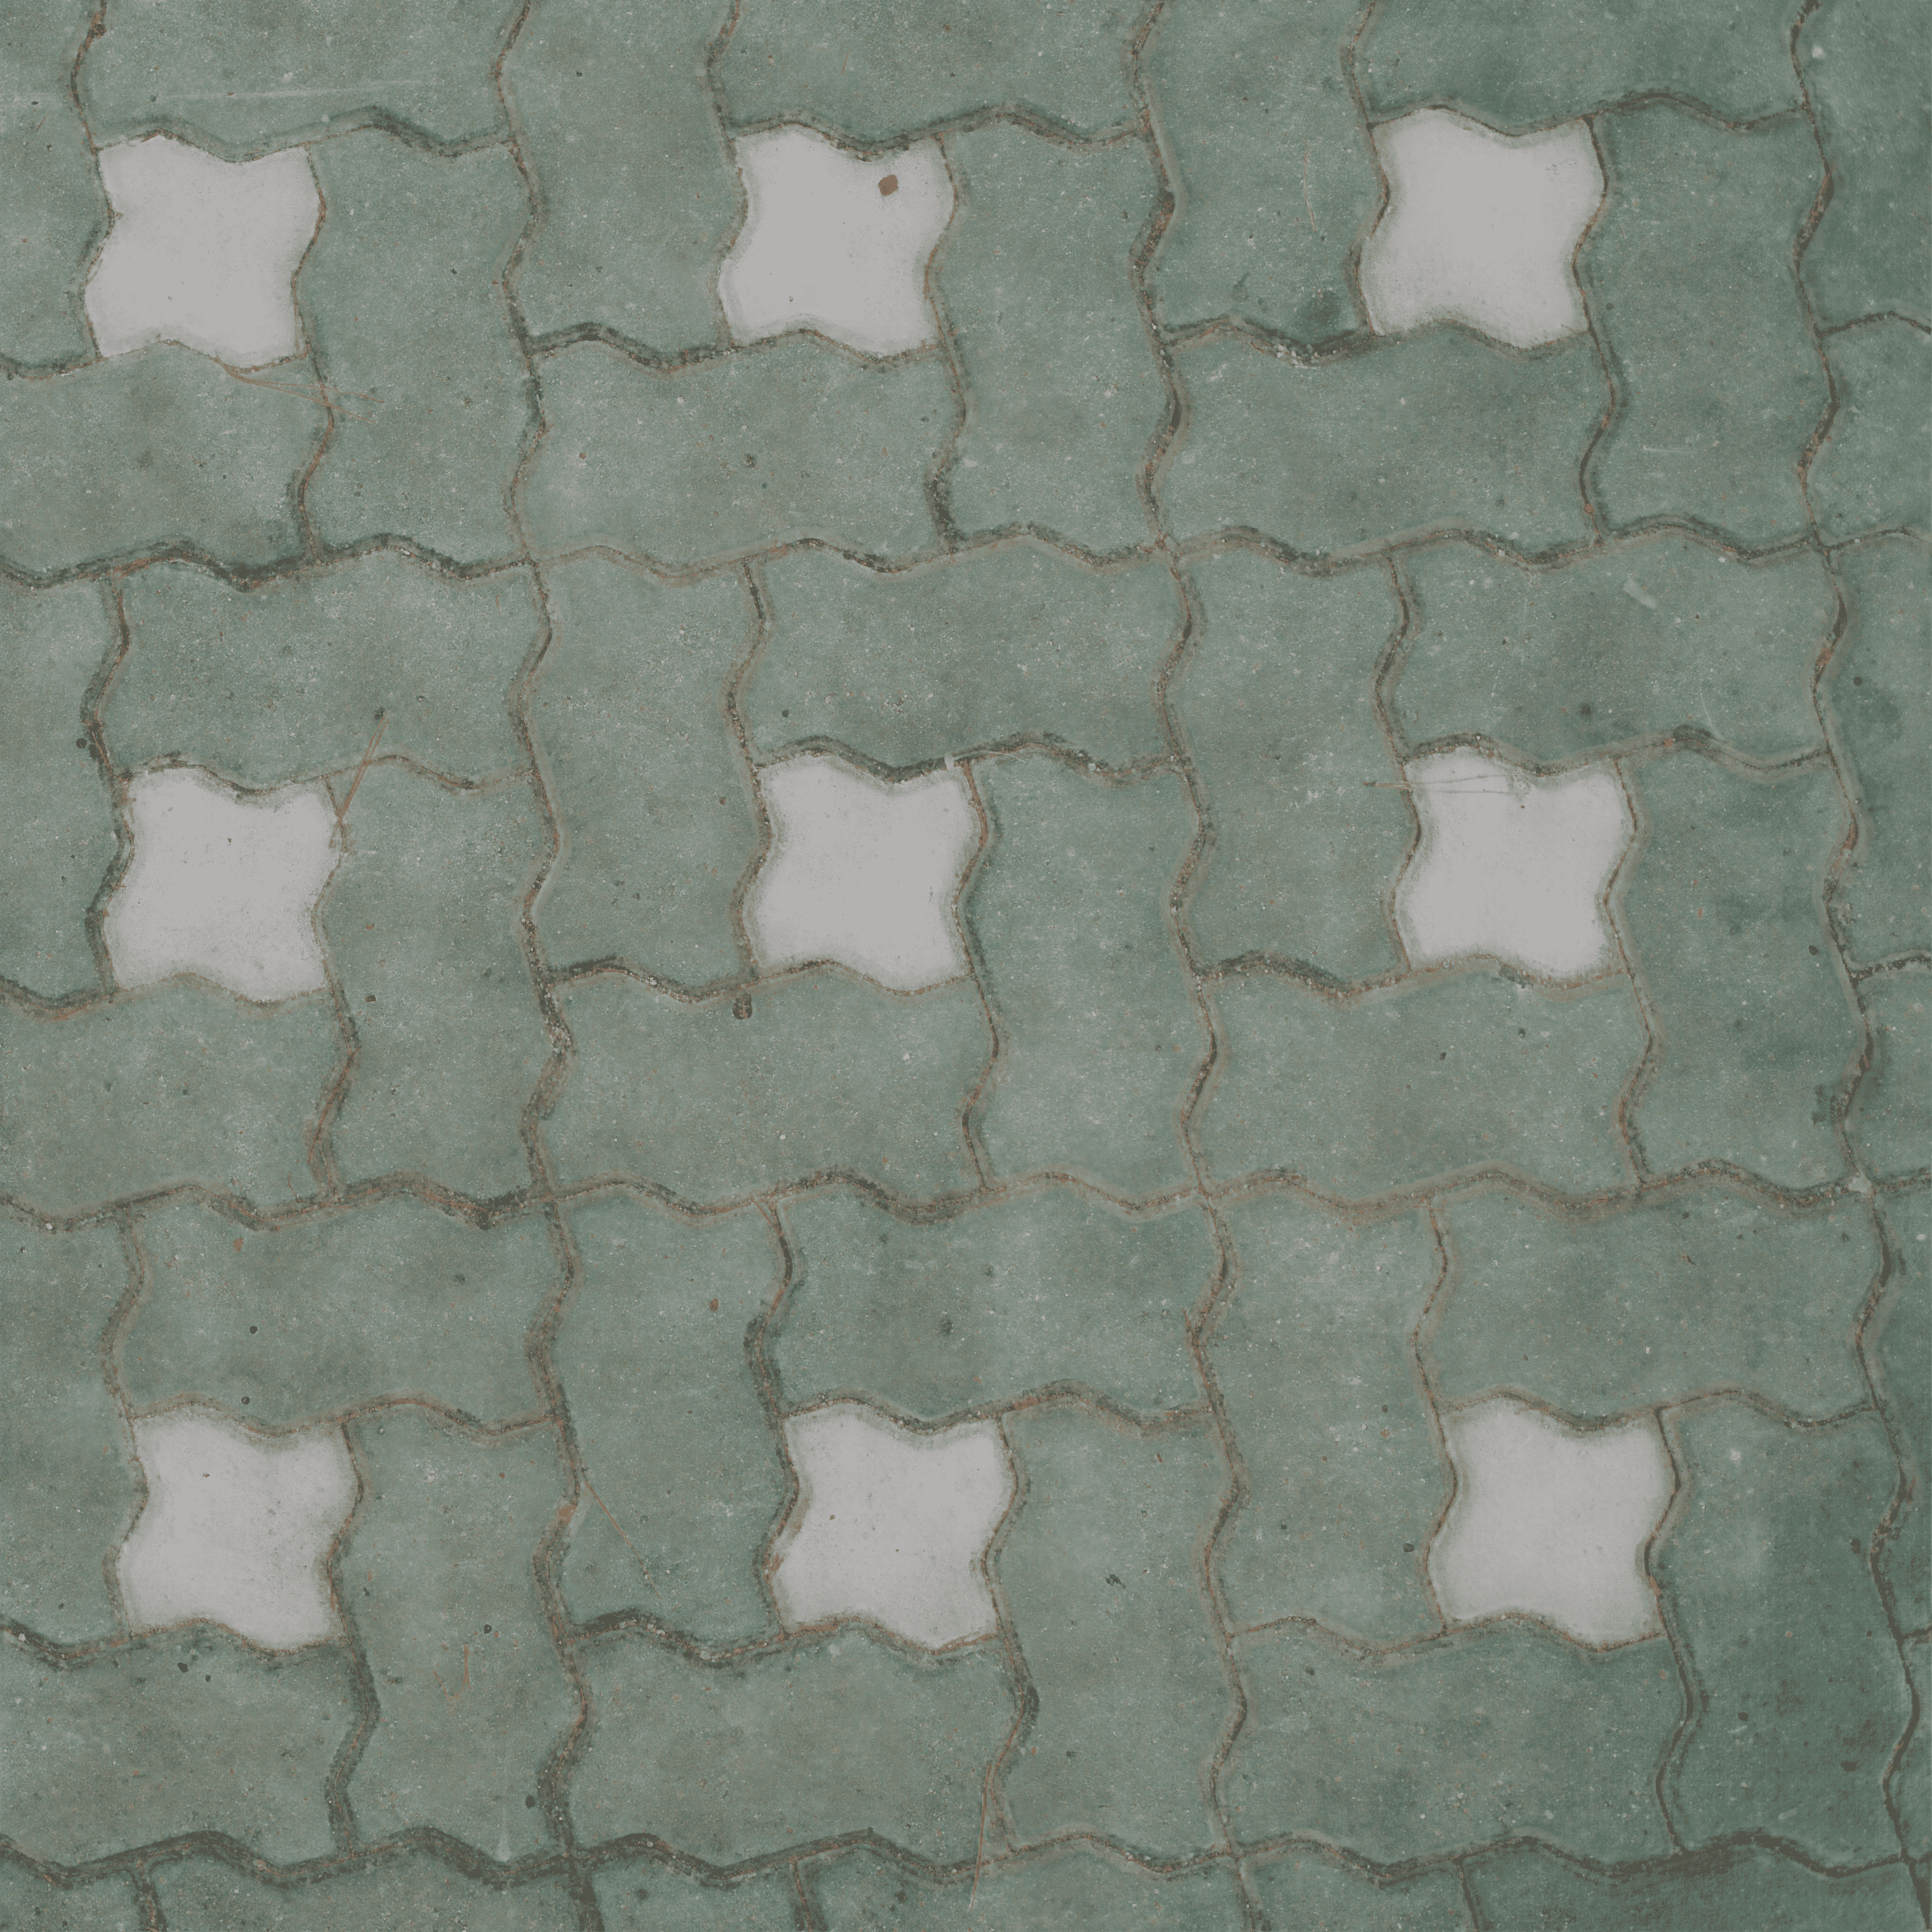
🎨 Base Color (Albedo)
This map defines the pure, diffuse color of a surface without any lighting or shadow information. It's what the material looks like under flat, neutral lighting.
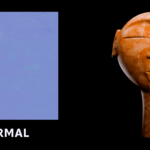
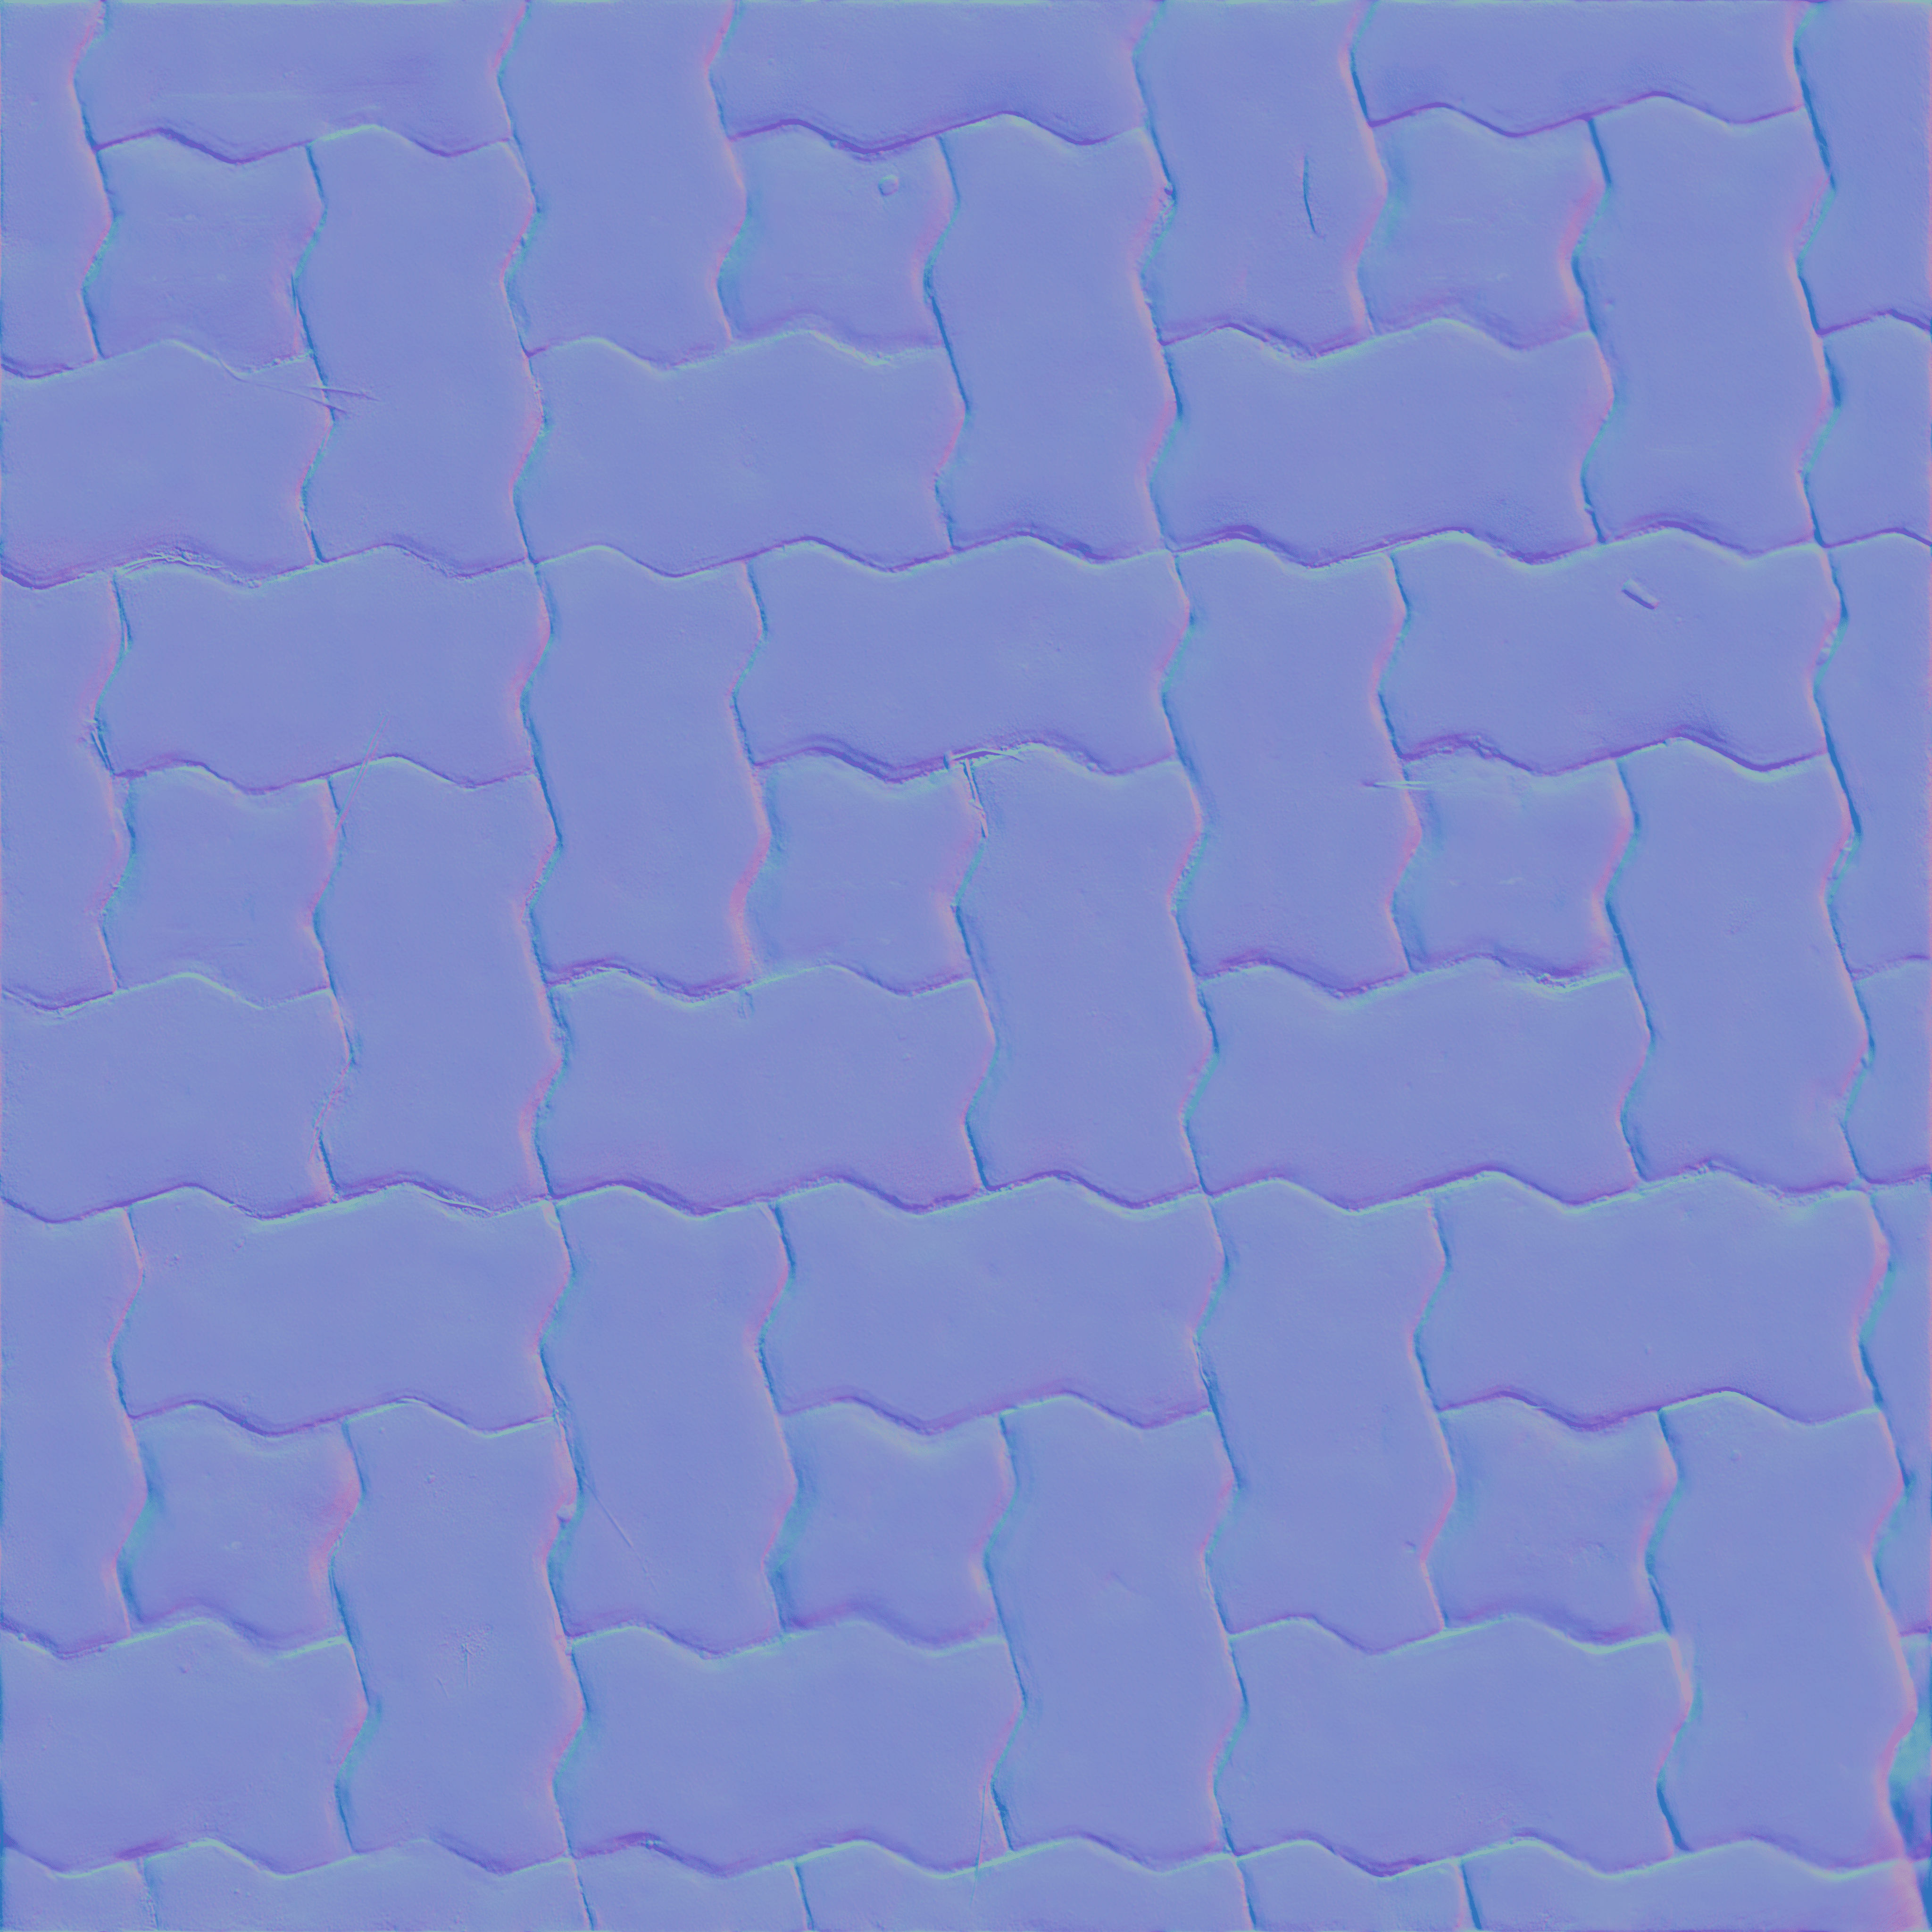
🔵 Normal Map
This is one of the most important maps for adding detail. It's an RGB texture where each color channel corresponds to an X, Y, or Z direction. The renderer uses this information to simulate bumps, cracks, pores, and other fine surface details by changing how light reflects off the surface. It adds complexity without adding extra geometry.
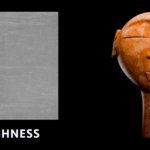
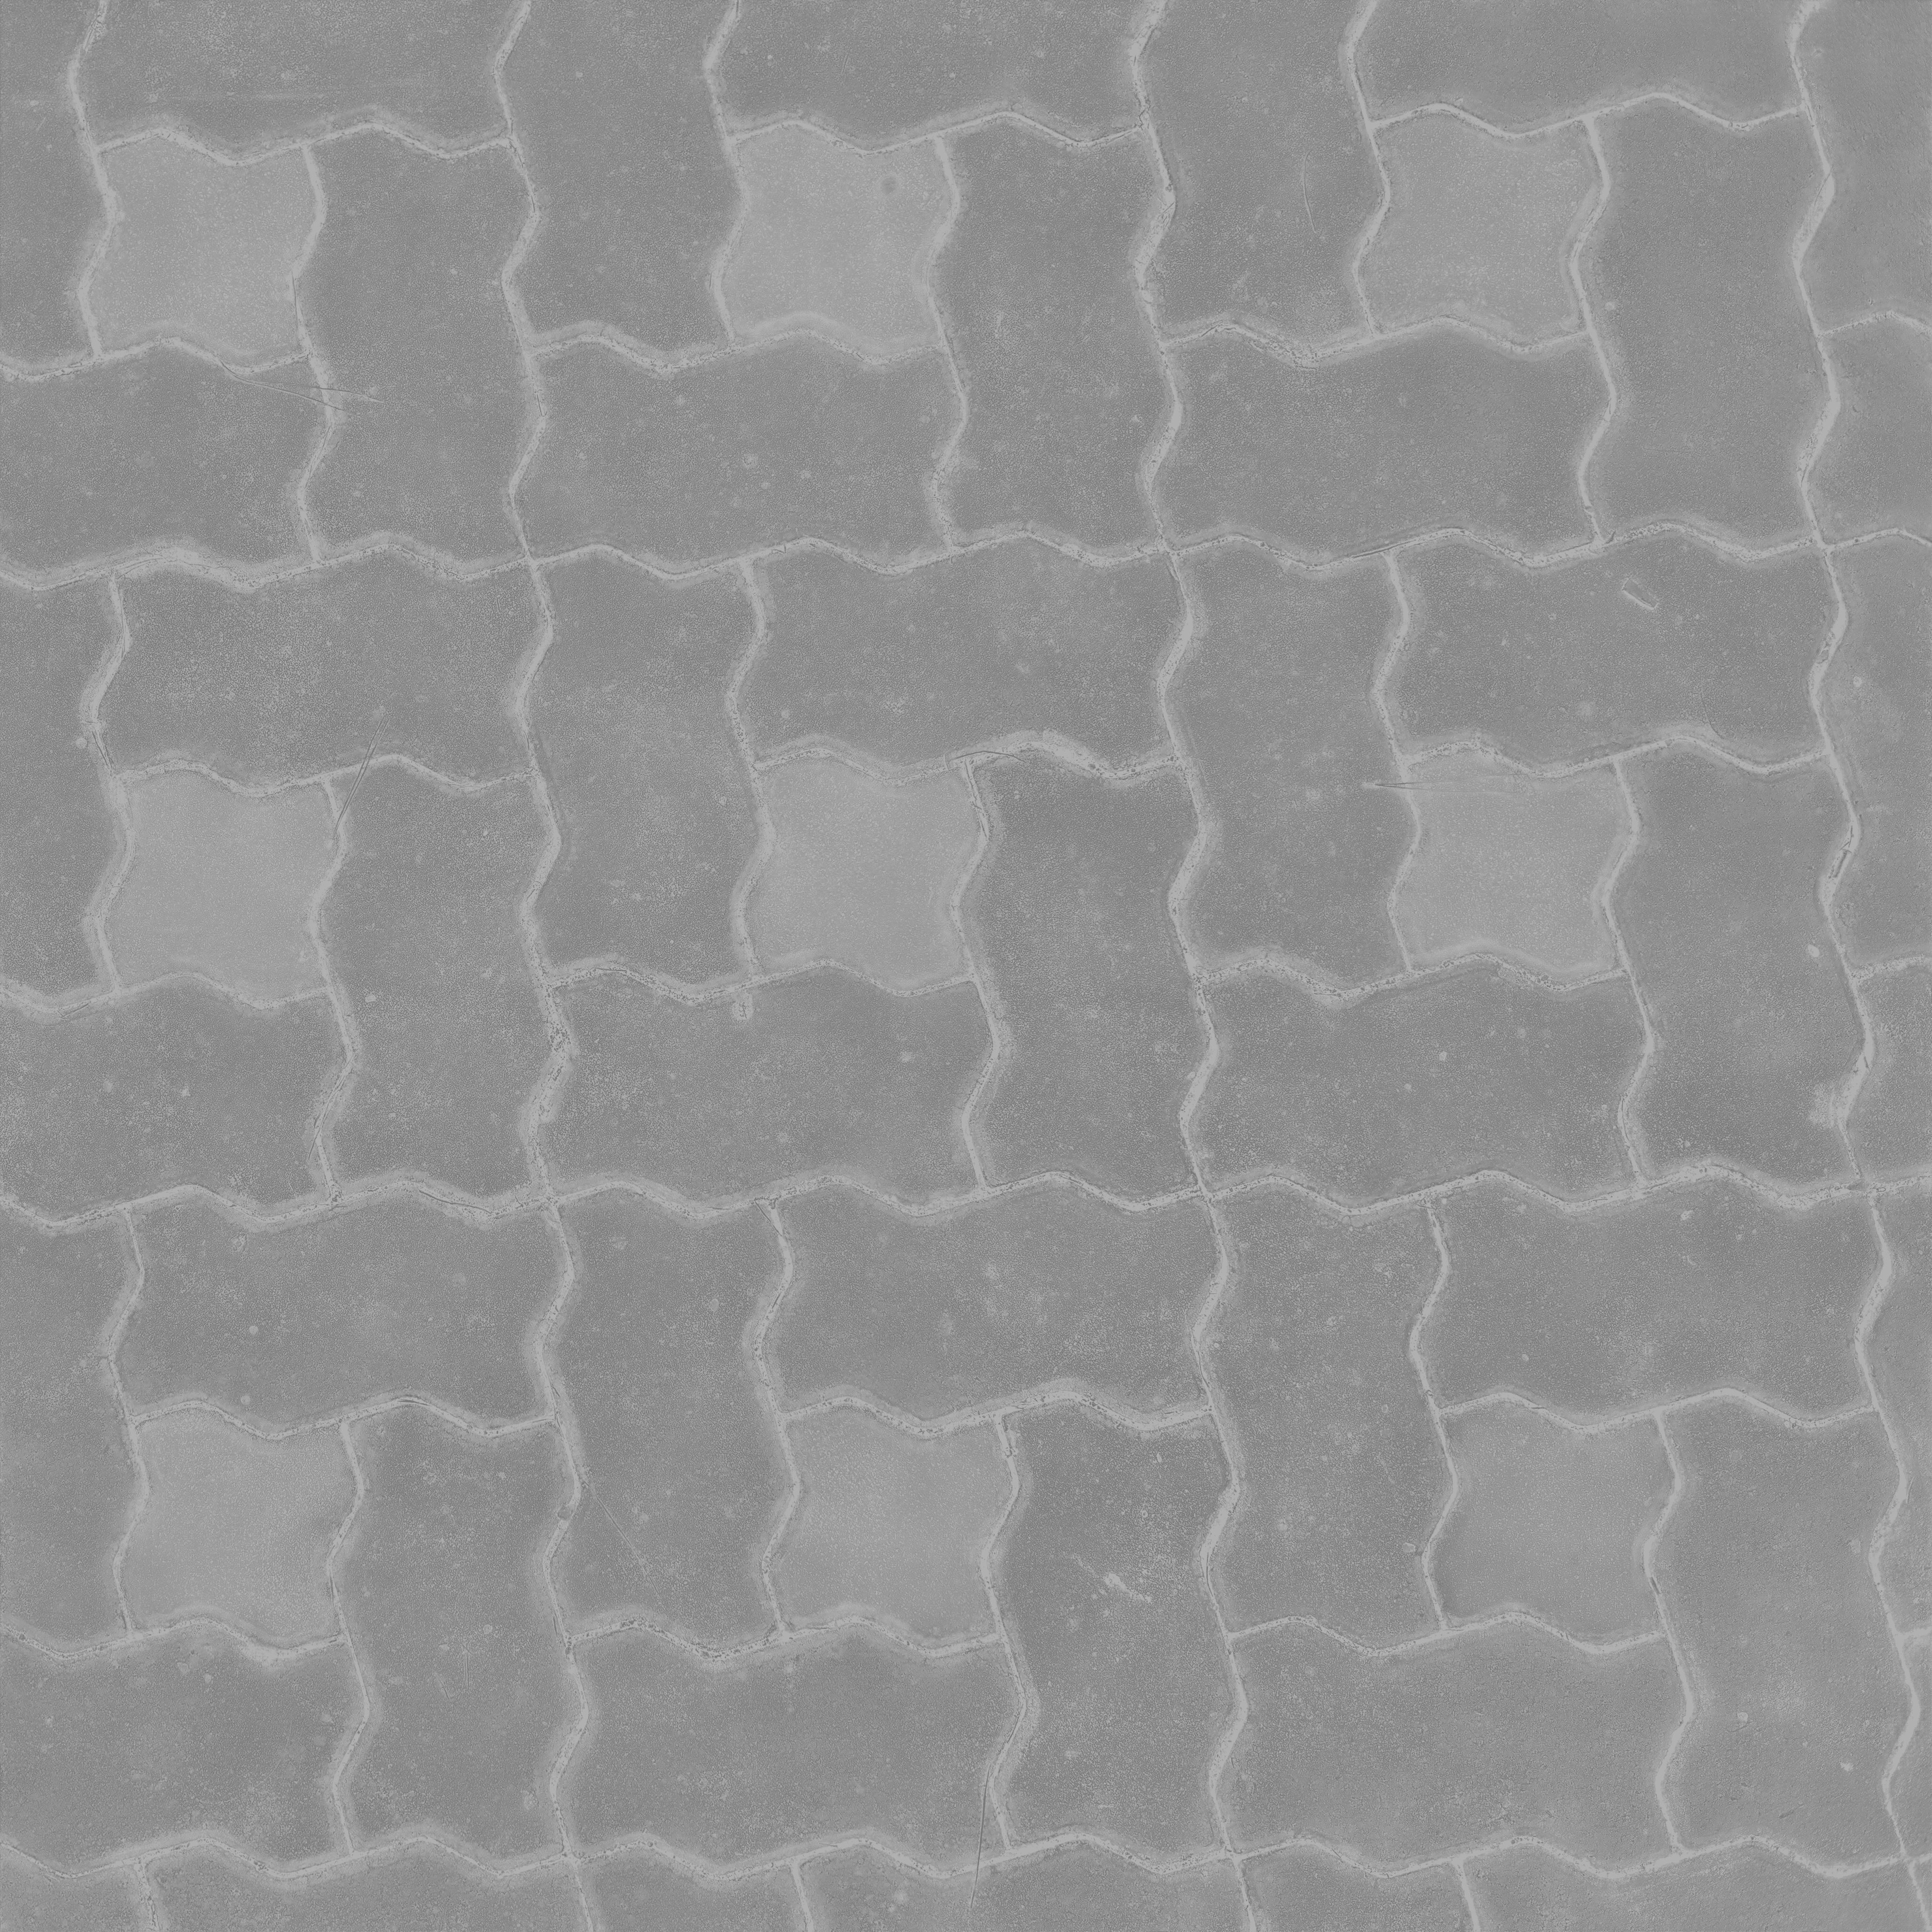
⚪ Roughness
This grayscale map controls how rough or smooth a surface is. A black value (0.0) represents a perfectly smooth surface (like a mirror), resulting in sharp, clear reflections. A white value (1.0) represents a very rough surface (like concrete), resulting in diffuse, scattered reflections.
⛰️ Height Map (Displacement)
This grayscale map provides information about the surface's height. Black areas are low, and white areas are high. It can be used for parallax effects or, with adaptive subdivision, to physically displace the geometry of your mesh, creating real shadows and silhouettes.
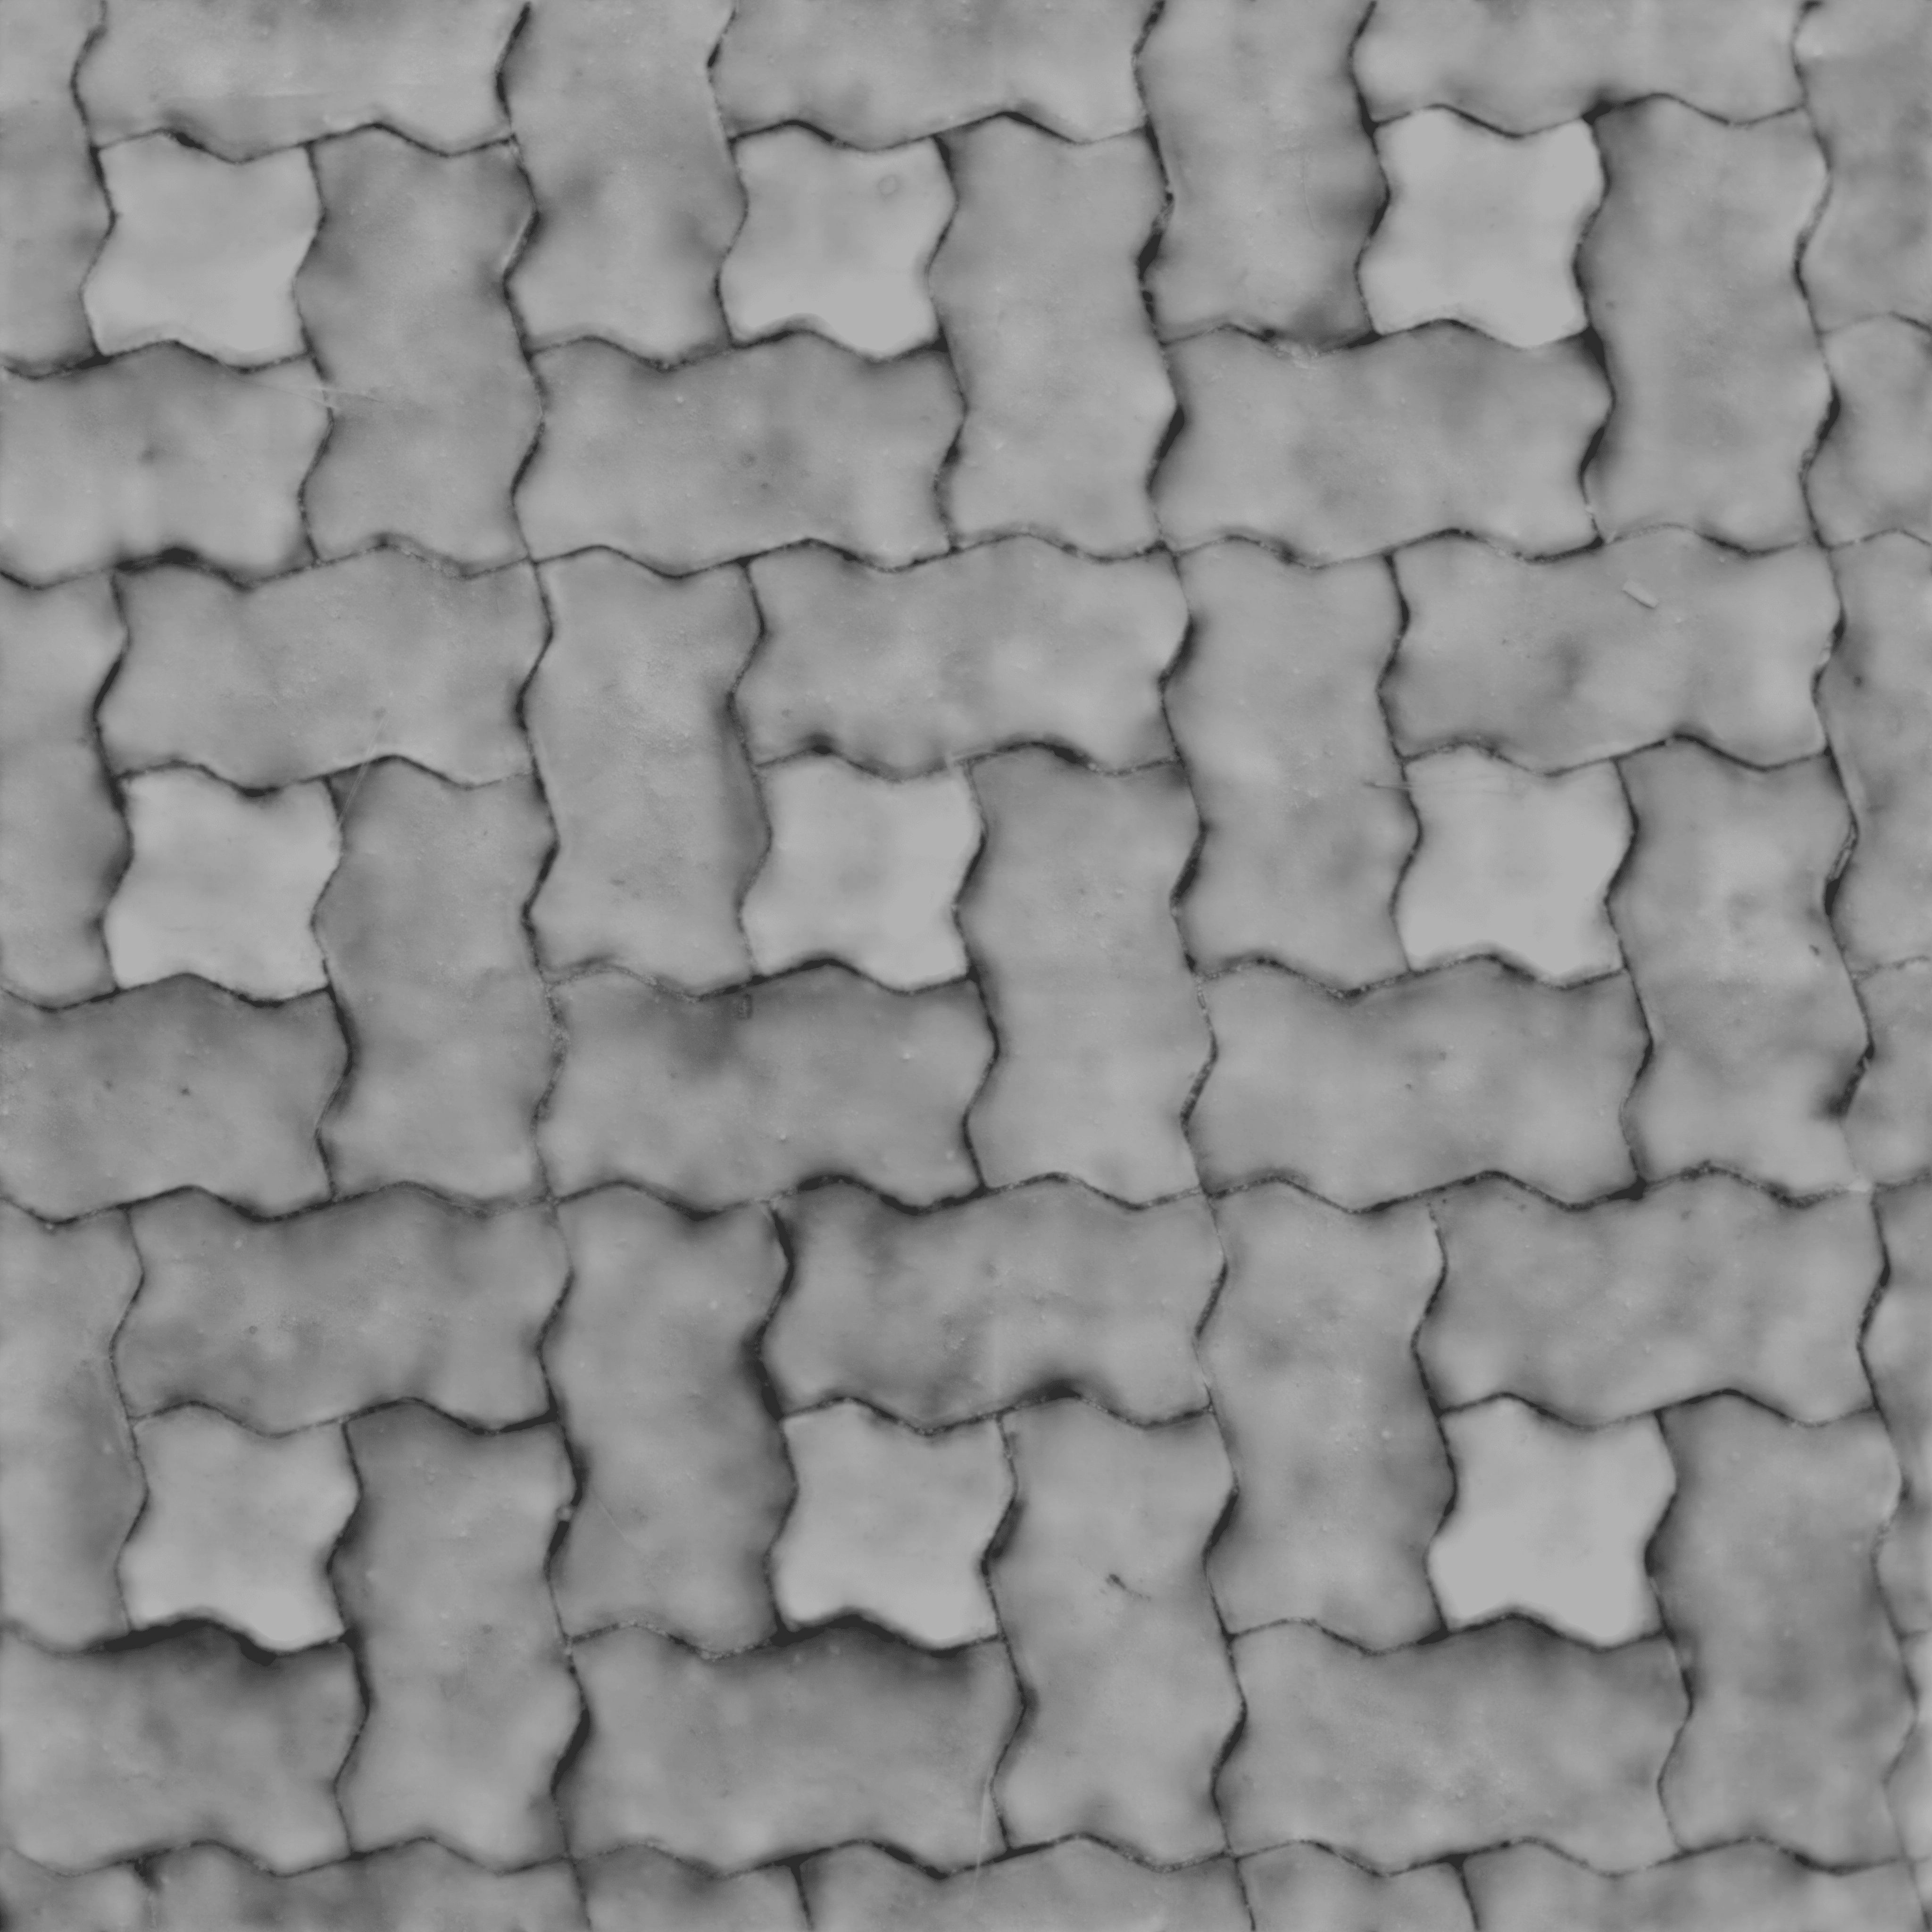
🌑 Ambient Occlusion (AO)
This map simulates the soft, ambient shadows that appear in crevices, corners, and areas where objects are close together. It adds a subtle sense of depth and realism by darkening areas that ambient light would have trouble reaching.
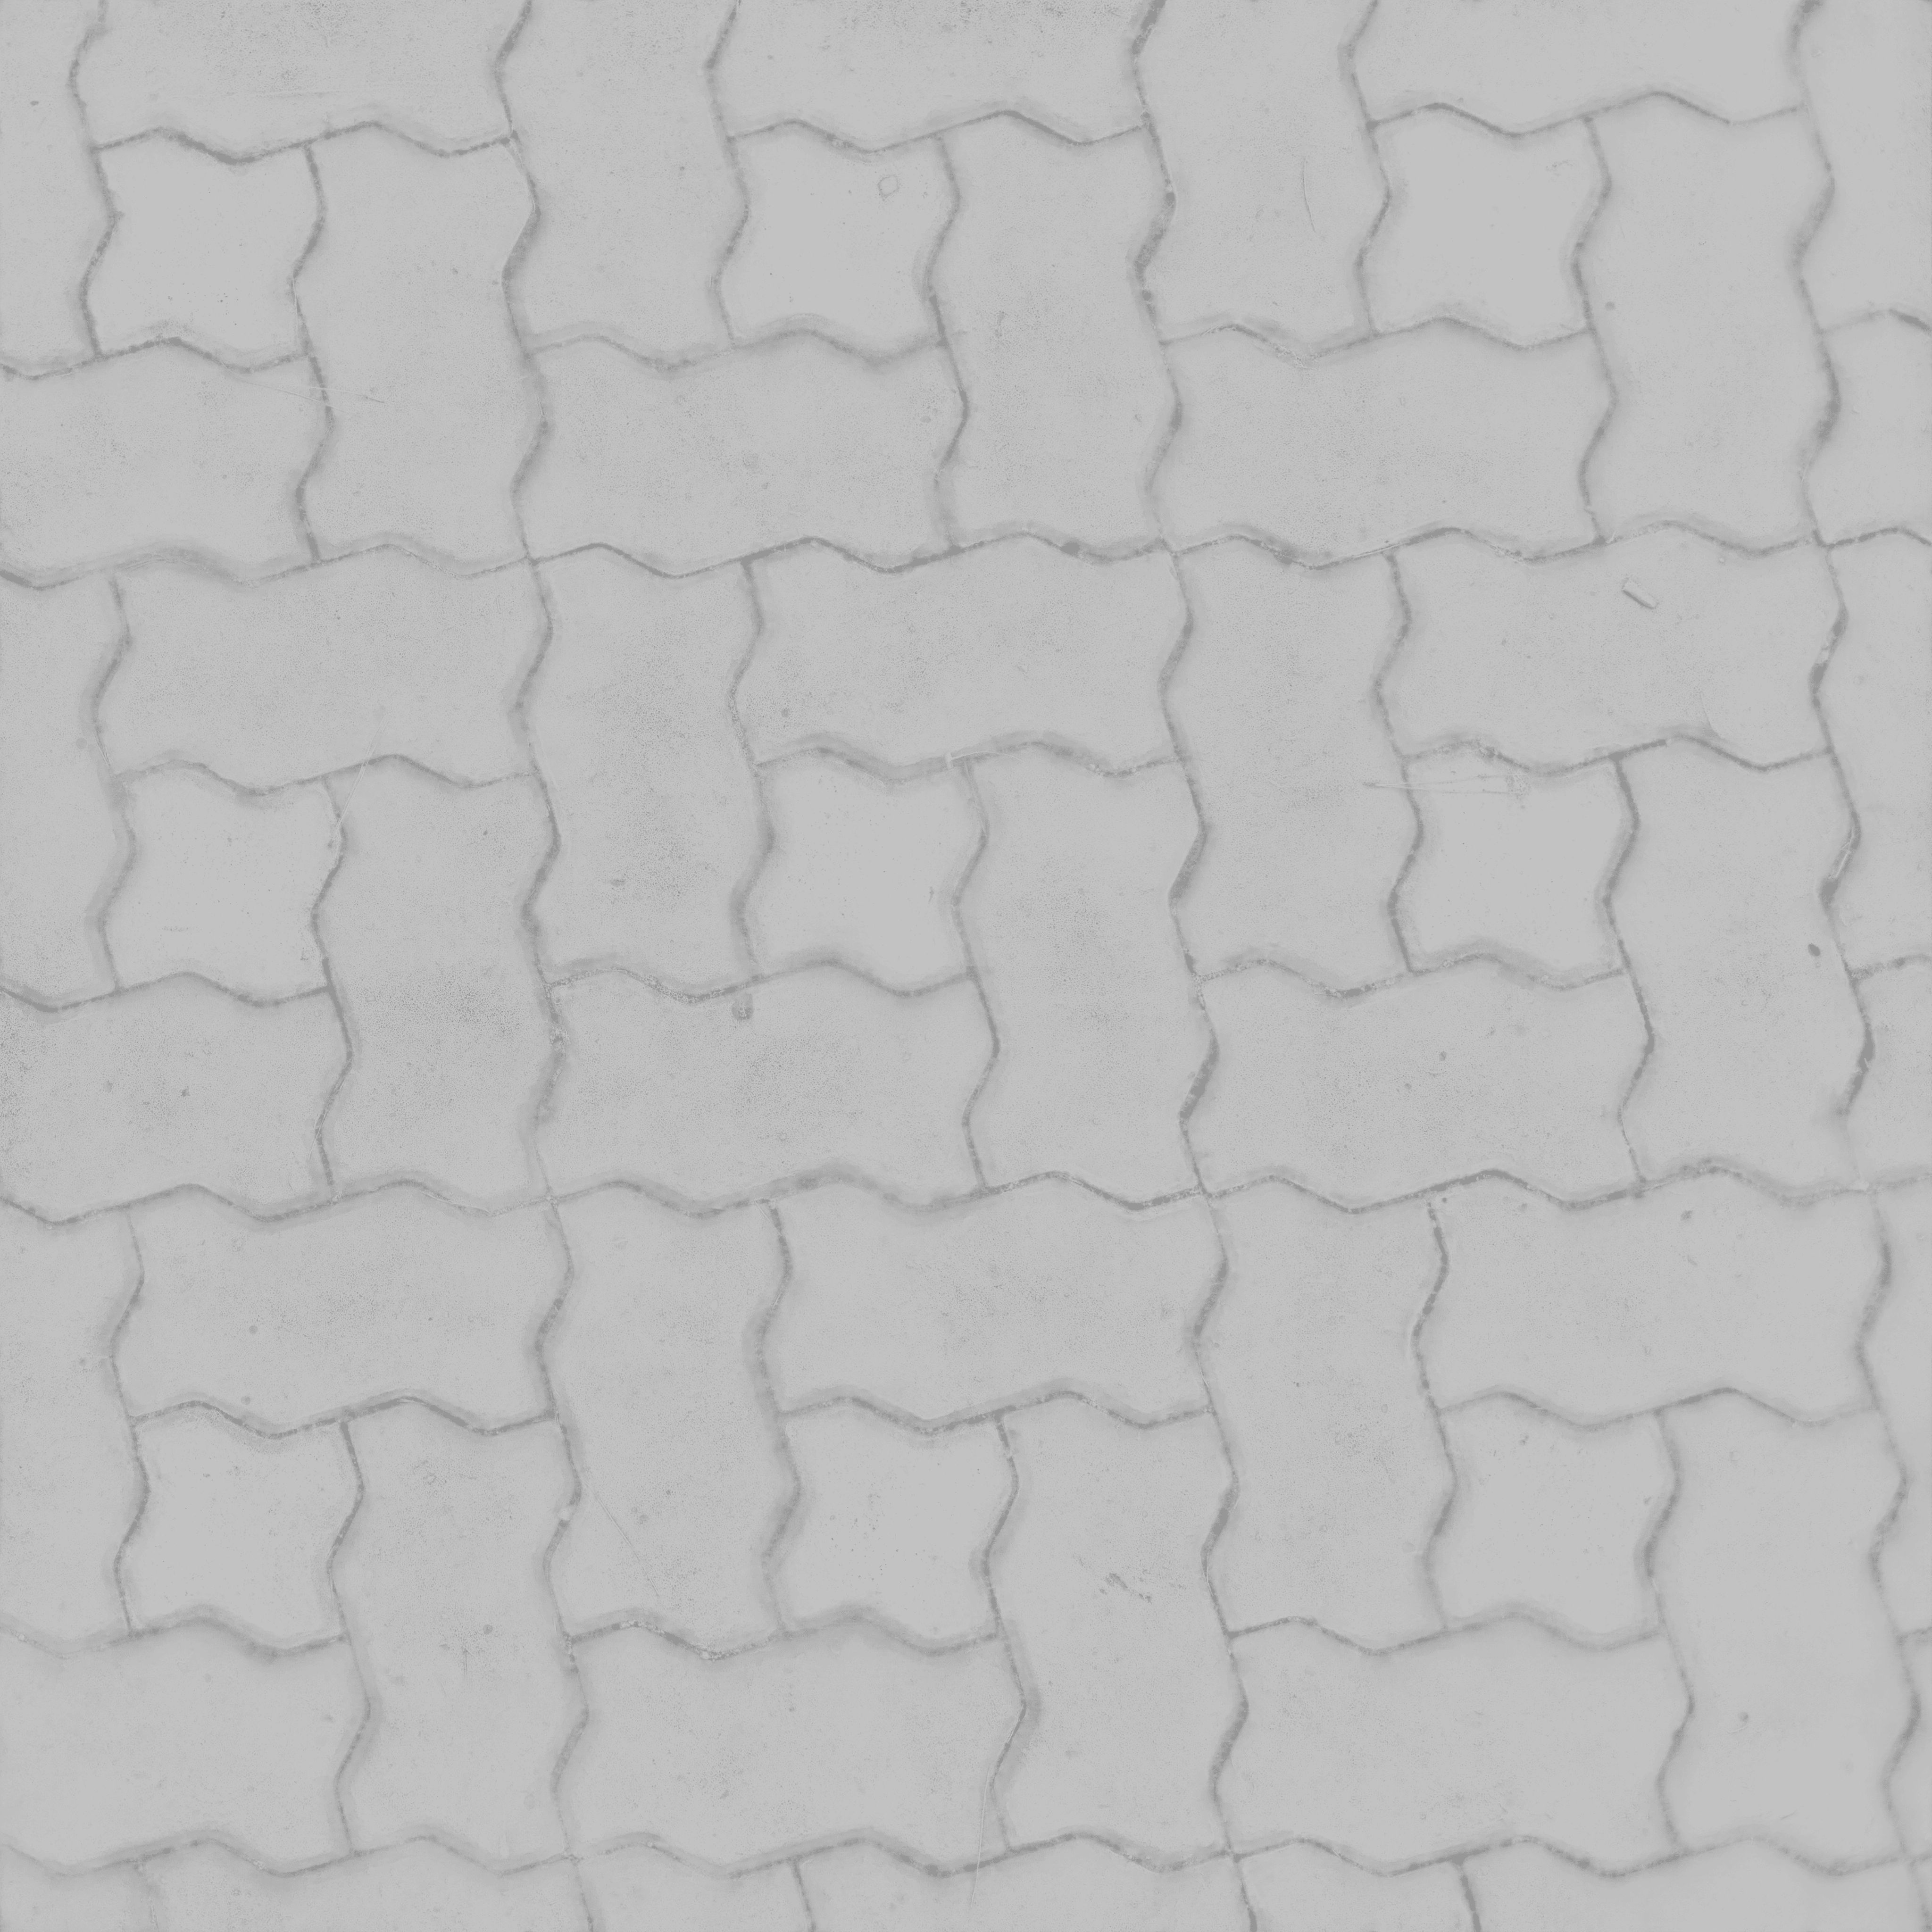
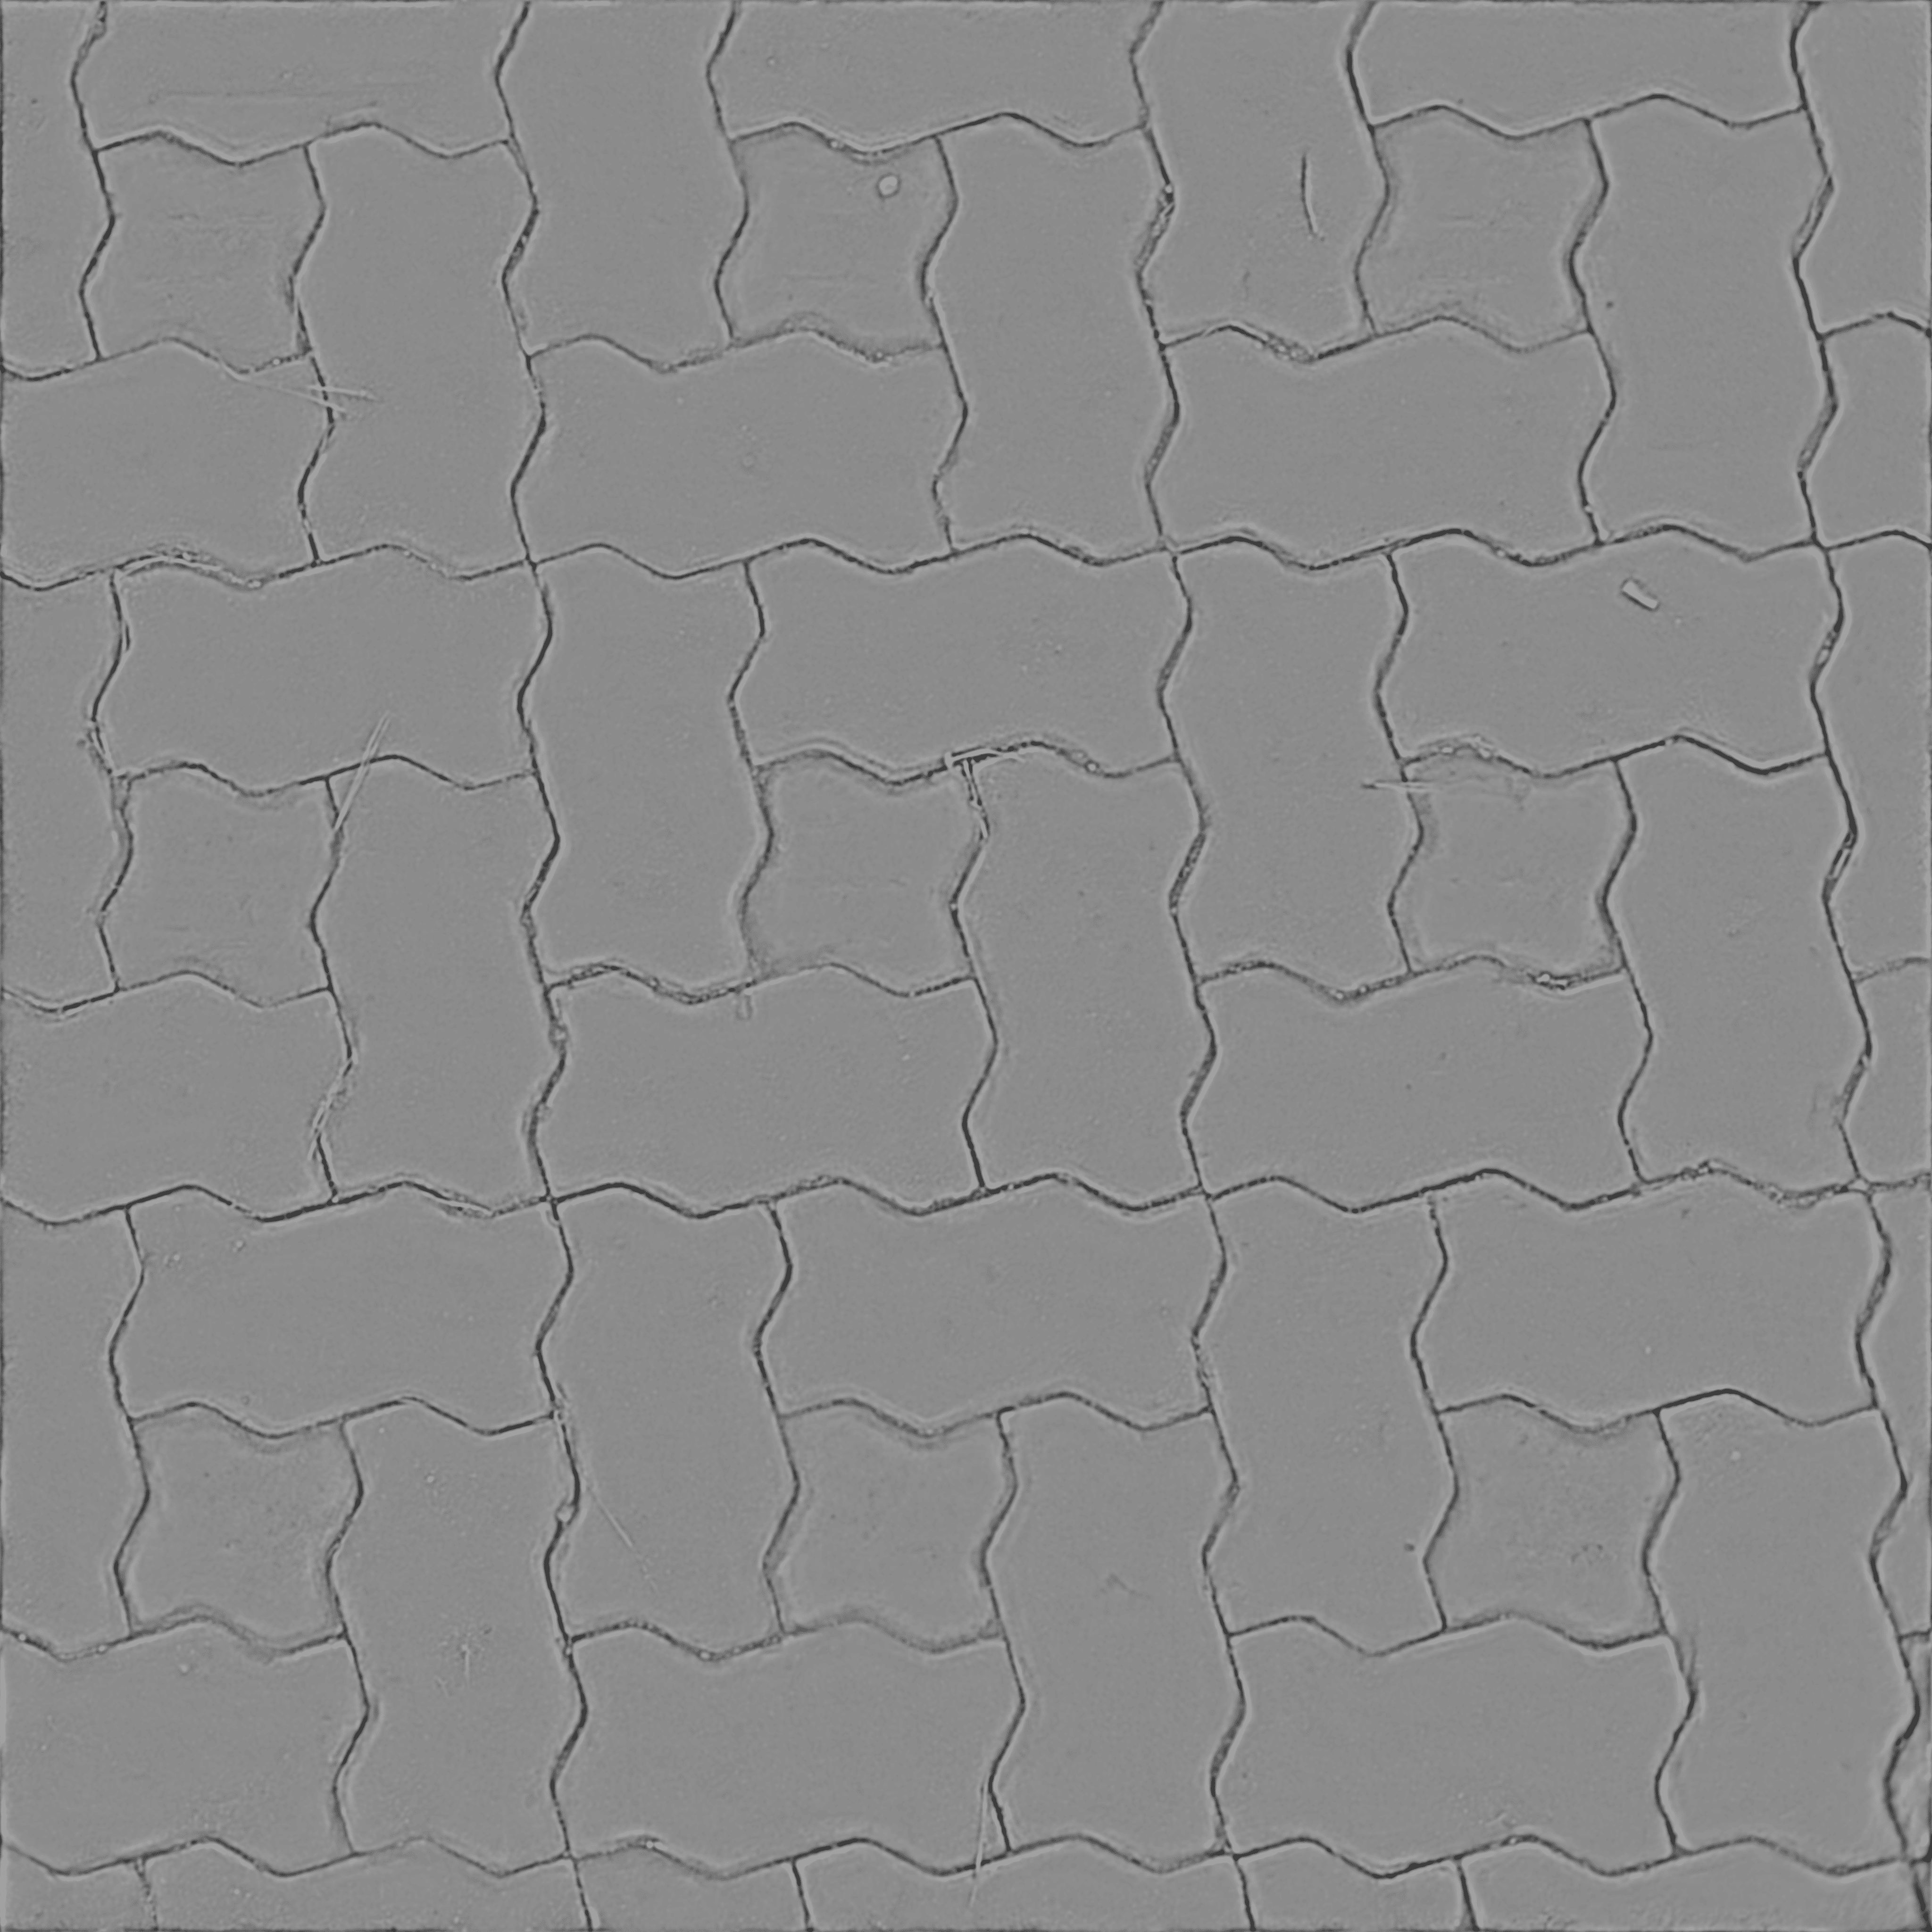
📐 Curvature Map
A grayscale map that highlights the edges and cavities of a surface. Convex edges are typically lighter, while concave crevices are darker. It's extremely useful in procedural texturing workflows for adding effects like edge wear, dirt accumulation, or rust. It is generated from the Normal Map.
5. Advanced AI Features
5.1. AI Upscaling
The upscaler uses an ESRGAN model to increase the resolution of an image by 2x or 4x. It's more intelligent than a standard resize, as it tries to predict and generate new detail. This is useful for improving the quality of lower-resolution source textures.
5.2. AI Inpainting
Inpainting is the process of filling in a selected part of an image. Texturology uses a texture synthesis method that analyzes the surrounding pixels and generates new content to fill the masked area.
How it works:
- Select an image to modify.
- Click "Start Mask Painting".
- Paint (in white) over the areas you want to remove or replace.
- Click "Finish Painting".
- Click "Apply Automatic Inpainting".
This feature works best on textures with repeating or uniform patterns (like fabric, sand, or asphalt), as the algorithm can more easily find source information to create a seamless patch.
6. Important Considerations & Limitations
Please keep the following points in mind to set the right expectations.
📊 Result Quality
The materials generated by Texturology are AI interpretations and are not a substitute for professionally scanned textures from photogrammetry workflows. The results are very good but may not reach the fidelity of dedicated scanning hardware and software.
🖼️ Input Image Quality (Upscaling)
Often, a texture that has been upscaled can become blurry and lose detail, which results in lower quality PBR maps. We strongly recommend using images at their original resolution (directly from a camera or AI generation). If you need to increase the resolution, use an upscaling tool that enhances details rather than blurring them, such as Magnific AI.
🎨 Base Color Map
The AI model for the Base Color map is designed to remove lighting and shadow information. However, if your original input image is already a high-quality albedo (flatly lit), the AI might misinterpret it. In some cases, your original input image may be a better Base Color map than the generated one. Always compare them.
🚫 Unsupported Materials
The addon is not designed to work with materials that are translucent, transparent, or require an alpha channel (like glass, water, or leaves on a plane). If you need an alpha channel, you must create it manually in an external program like Photoshop and combine it with your material in Blender's Shader Editor.
⚡ Performance
The time it takes to generate materials is directly proportional to the resolution of your input image and the power of your hardware. A 4096x4096 image will take significantly longer than a 1024x1024 image.
⚠️ Normal Map I (Photo2Normal) Caveat
The AI model for Normal Map I was trained on a broad dataset and may produce inverted or unnatural results for certain materials, particularly those with strong directional lighting or clear height differences like stone walls. For most cases, we strongly recommend using Normal Map II (DeepBump), which is the default selection, as it often provides more accurate and physically correct results.
7. Troubleshooting & FAQ
Q: My generated material has a visible seam when I tile it!
A: This is almost always because your input image was not seamless. Please re-read Section 3, Step 1 carefully. The input image must be perfectly tileable for the output maps to be tileable.
Q: The addon is running very slowly or crashing.
A: First, double-check that your Blender backend is set to OpenGL as described in Section 1.3. Second, check your hardware against the recommended specifications. AI inference is demanding, and insufficient VRAM or a slow CPU can cause issues.
Q: Why does the addon panel not appear?
A: Make sure you are in the Image Editor window, not the 3D Viewport or Shader Editor. Press N to toggle the side panel's visibility. Also, ensure the addon is enabled in Edit > Preferences > Extensions.
We hope this documentation helps you create amazing materials with Texturology.
Happy blending! 🎨
Discover more products like this
addon Inpainting 3D AI tool blender materials AI Upscaler ai addon Substance Alternative advanced shading AI Texture Generator 2025 Texturing Photo to Material