 CG Cookie
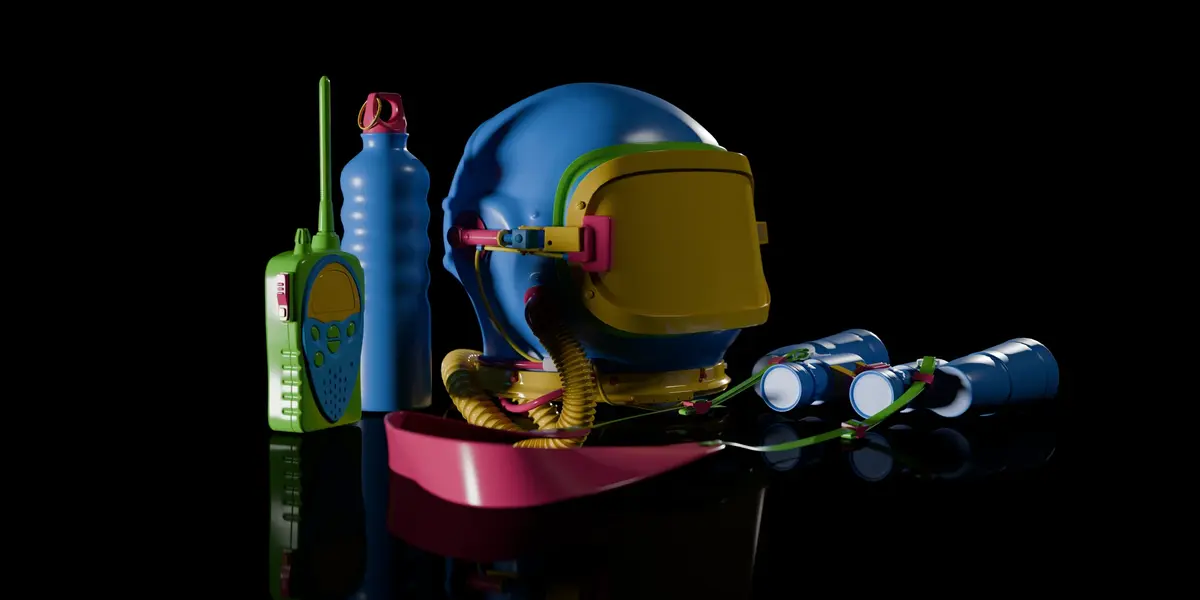

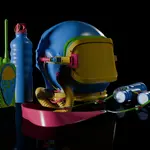
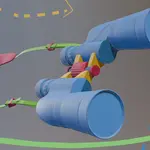
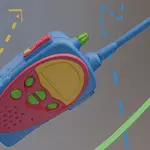
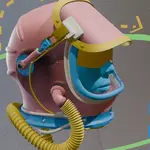
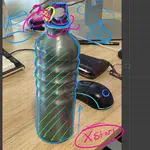
Through November 26, the whole journey is $51.35 instead of $79. That's all four objects as downloadable videos, with every project file.
Every Model Is a Journey.
Most modeling tutorials cut out the mistakes, so everything works the first time. Then you open Blender on your own, look at a new object, and freeze. Real modeling is a lot messier than that.
The Modeller's Journey keeps the dead ends in.
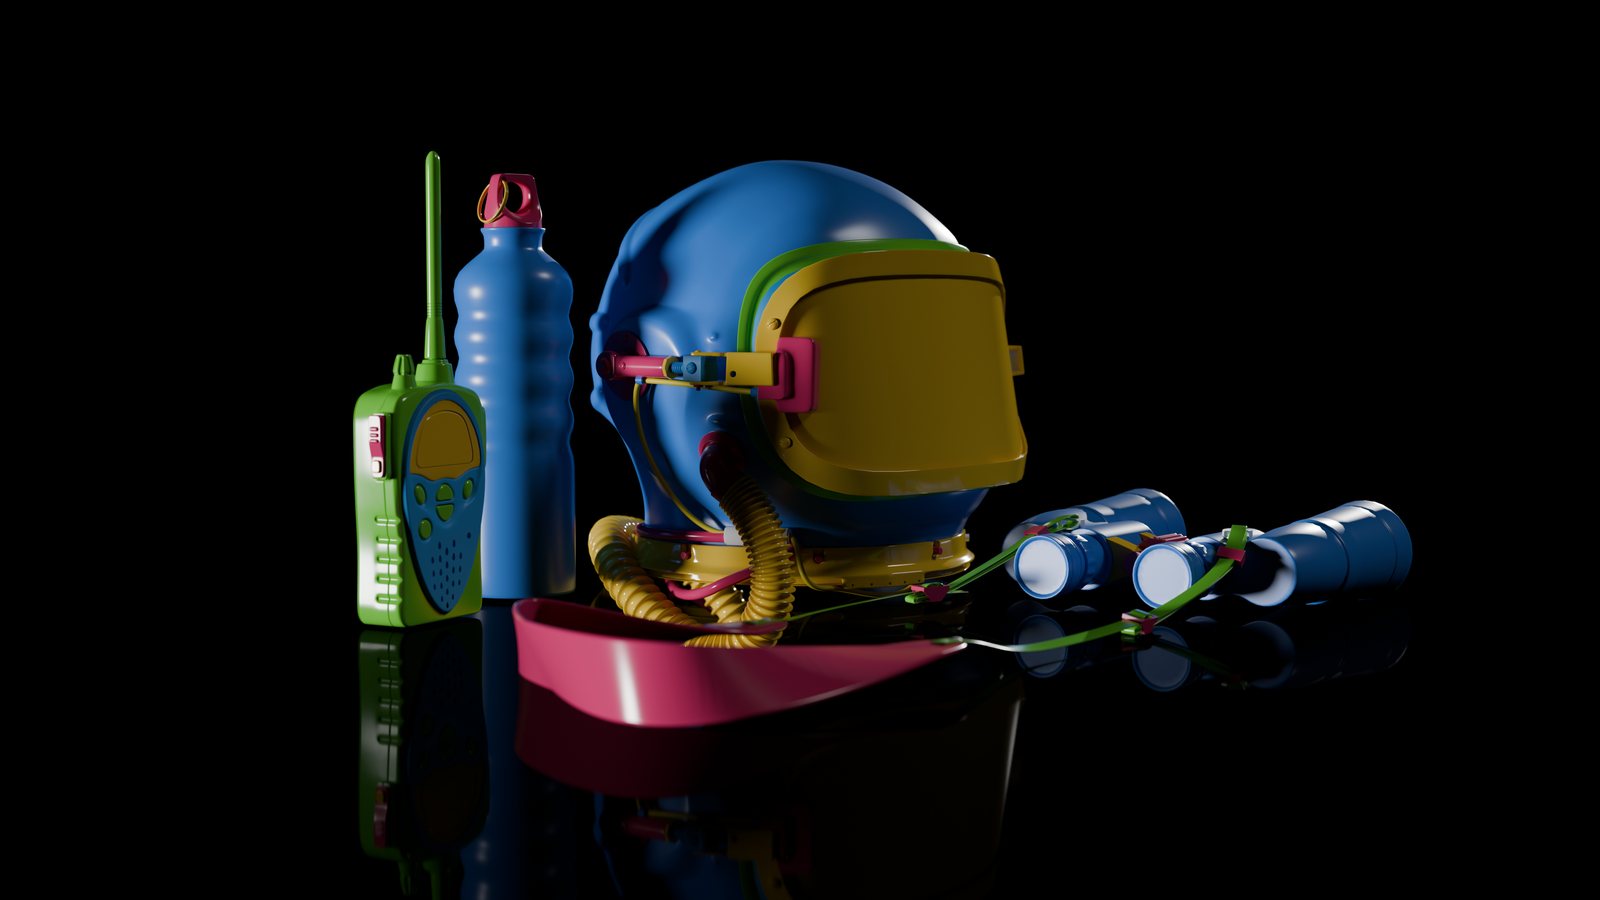
Chris Bailey models four objects in Blender, each one harder than the last. Each object starts with a map. Chris draws directly onto the reference image, charting a course and planning the approach to the model. Then, he takes you step by step following the map to model each component. He explains his thinking and decision making process every step of the way. He'll show you the wins but also the mistakes and wrong turns and how to fix them.
The idea is to think along, not just follow along.
By the time you reach the helmet, you'll have a way to approach objects you've never modeled before.
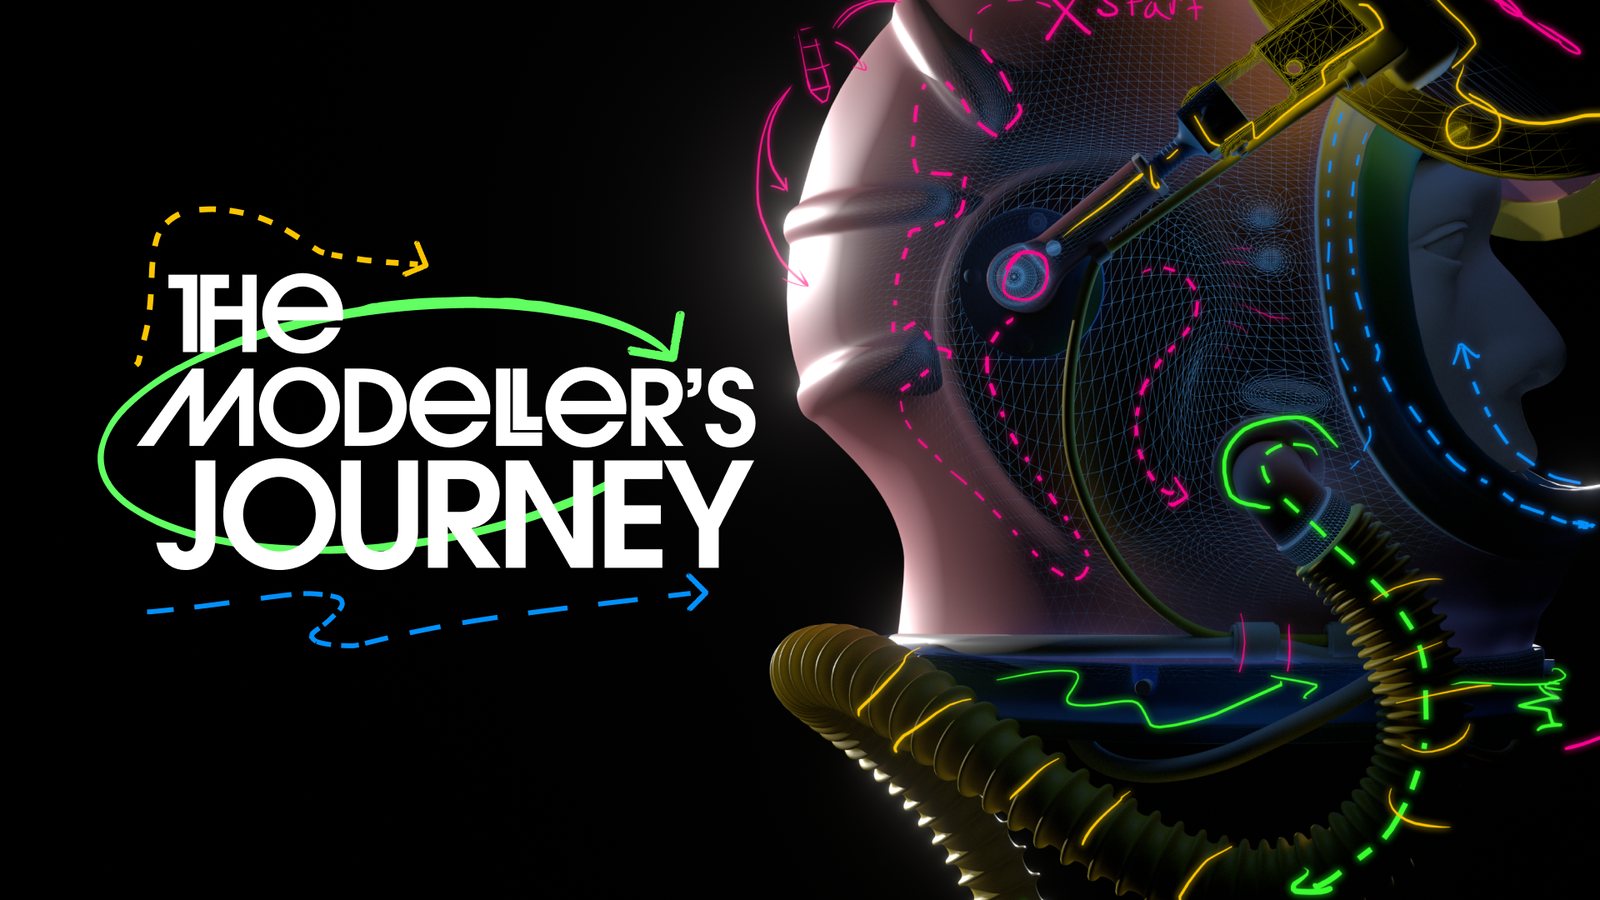
▶ Watch the trailer on YouTube
How the Journey Works
Chris uses the same approach on every object. You'll learn it on the water bottle and use it all the way to the helmet.
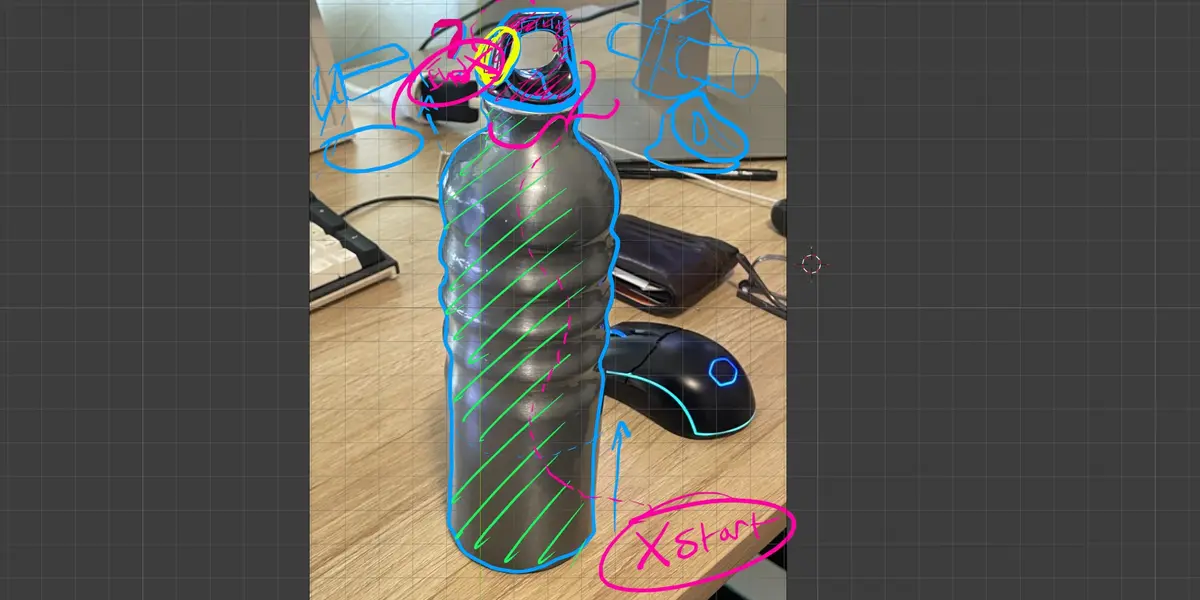
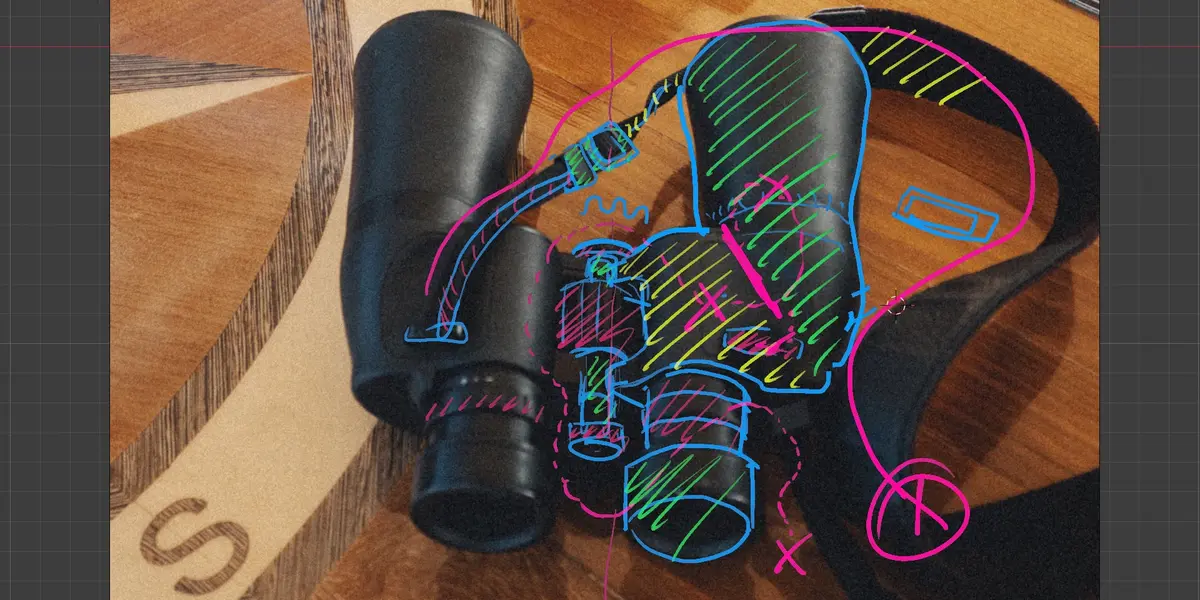
Before he models anything, Chris draws on the reference with Grease Pencil and breaks the object into key shapes. If he can't see a way into a shape yet, it gets a question mark.
Each shape gets a route. When there's more than one way to go, Chris lays out the options and explains why he picks the one he does.
Some paths don't work out. When that happens, Chris backs up and tries again, and you see all of it. On the helmet, he even rebuilds a bracket after modeling it too small the first time.
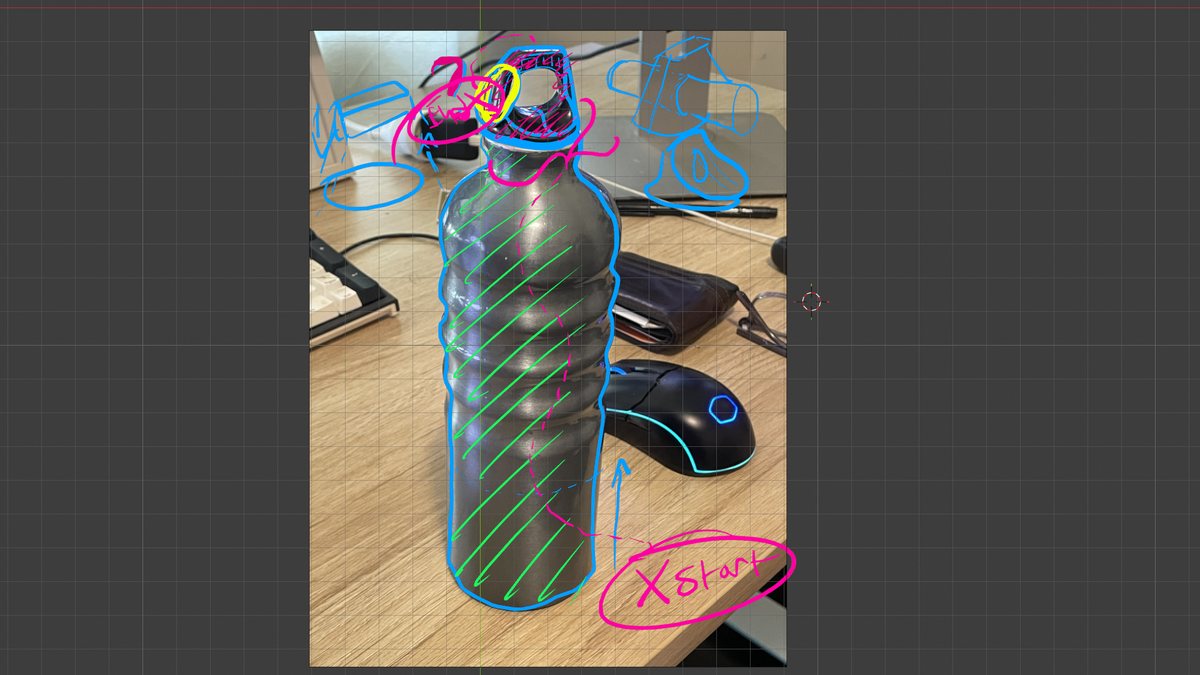
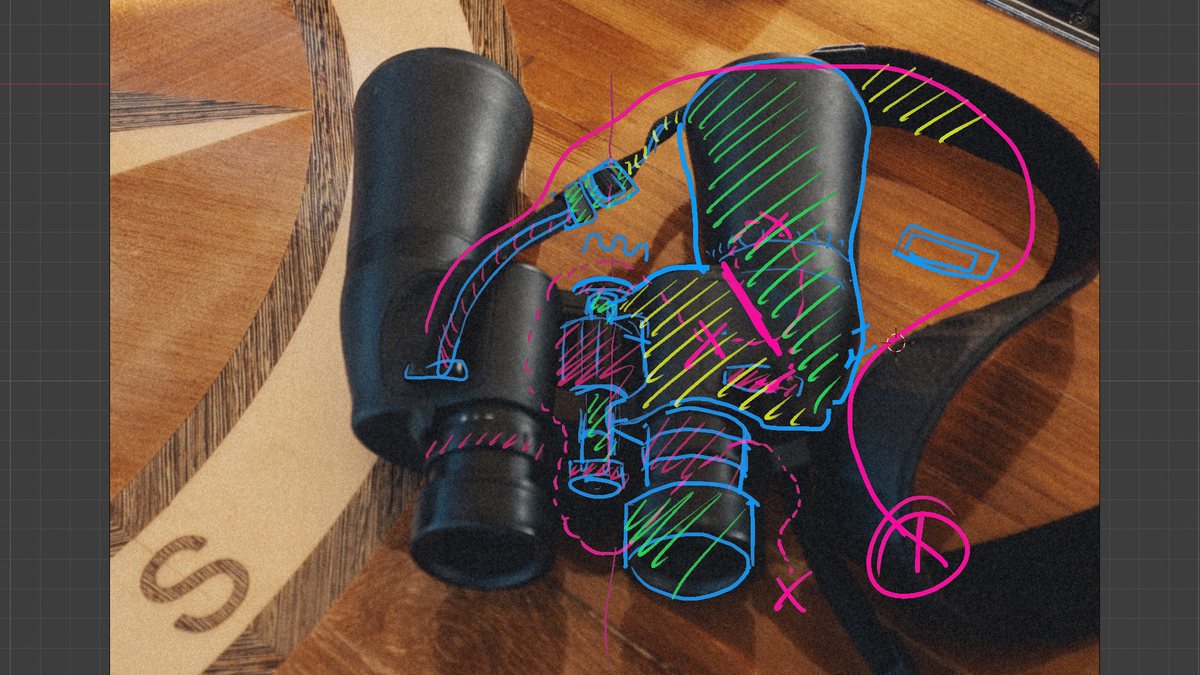
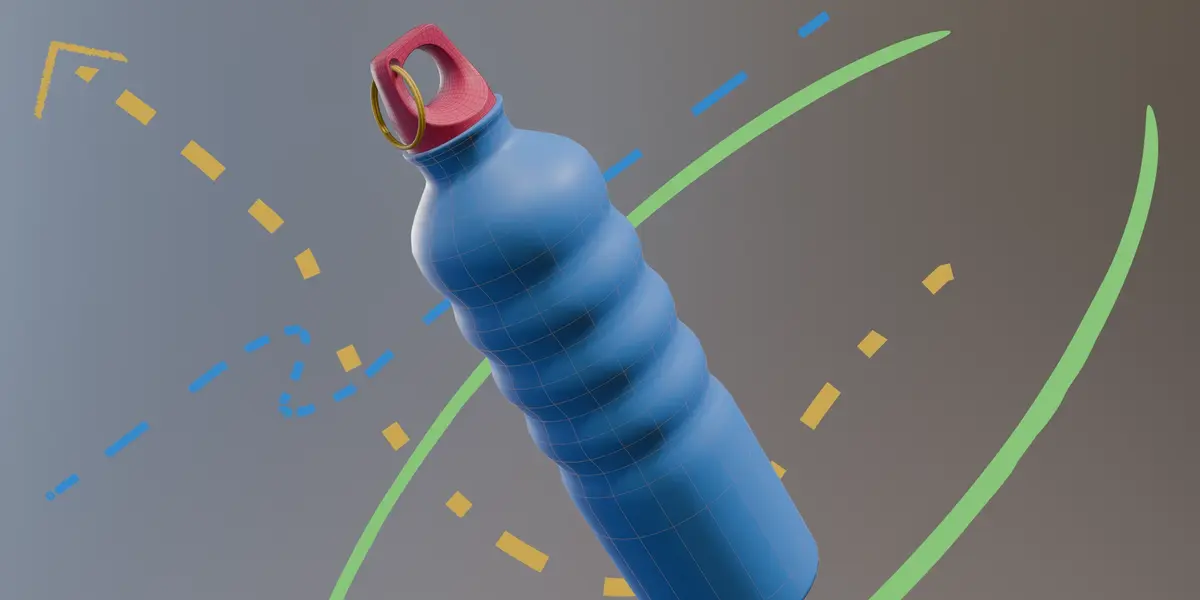
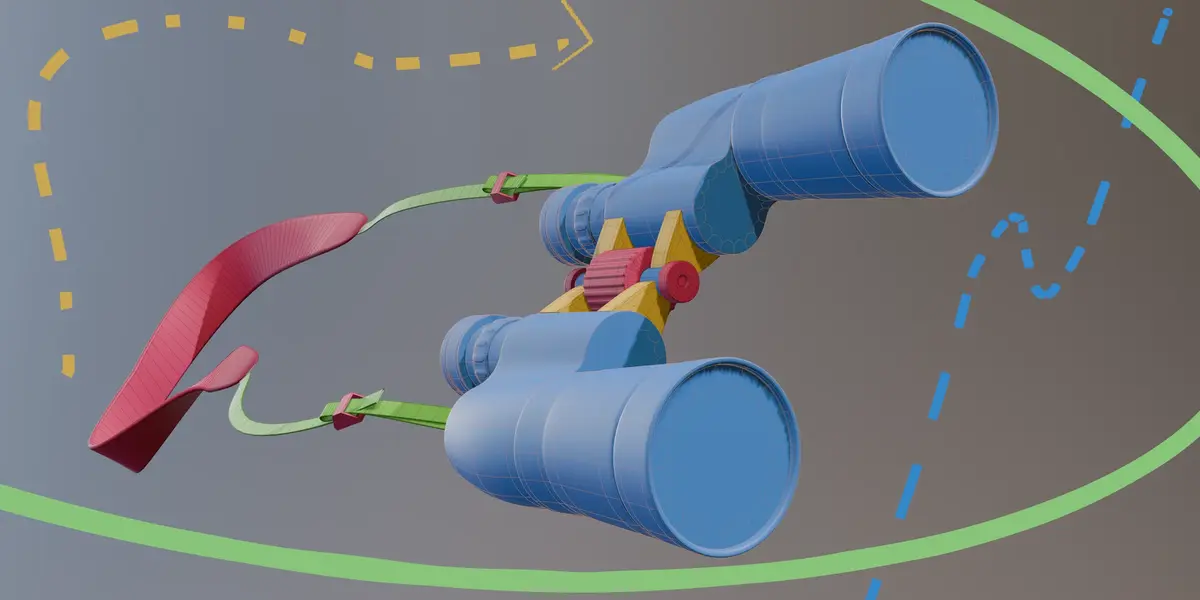
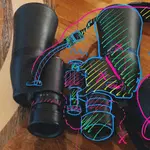
Chris's actual maps for the water bottle and the binoculars. Every map is in the project files.
The Route: Four Stops
Each object is harder than the one before. Every one has its own map lesson and project files, so you can jump in wherever you like. That said, the helmet is a lot easier if you've done the others first.
The Water Bottle - Hey, we need to hydrate on our adventure! :)
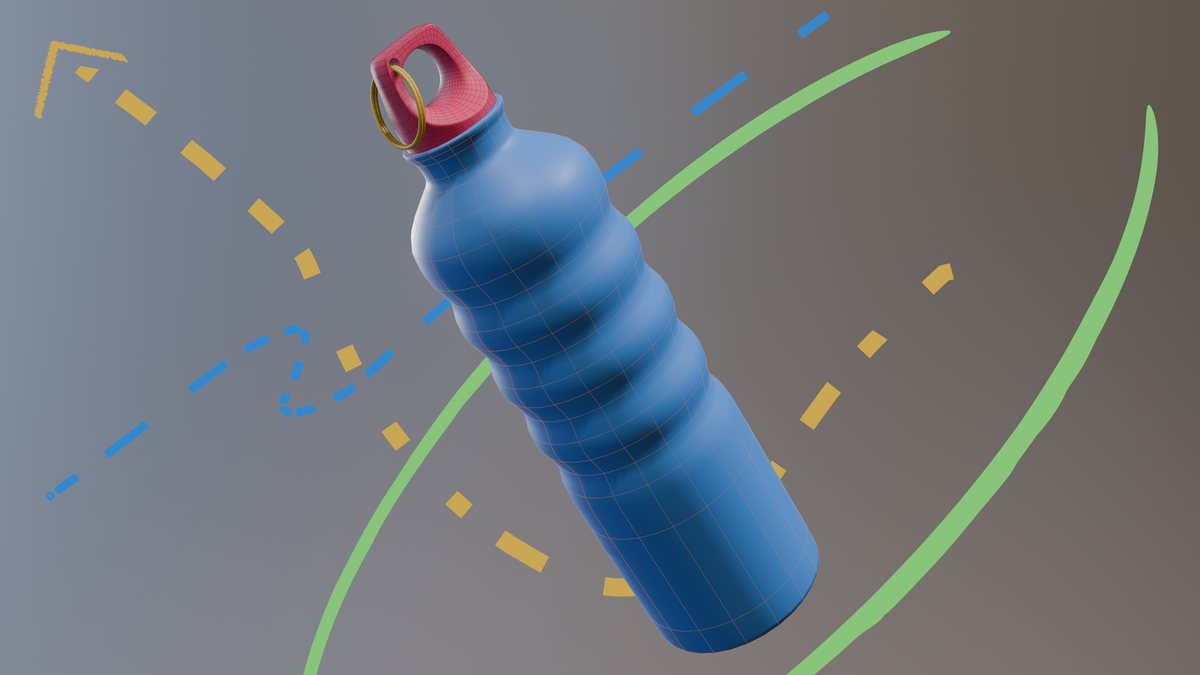
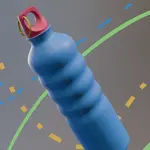
Looks simple... until you get to the cap. The body starts as a 16-vertex circle at real-world scale, and loop cuts and holding edges control how it rounds off. The cap is the first fork in the road, with three ways into it. Chris builds one with you and shows you where the other two go. A Boolean and two curve circles finish it off.
The Binoculars - Things are getting real
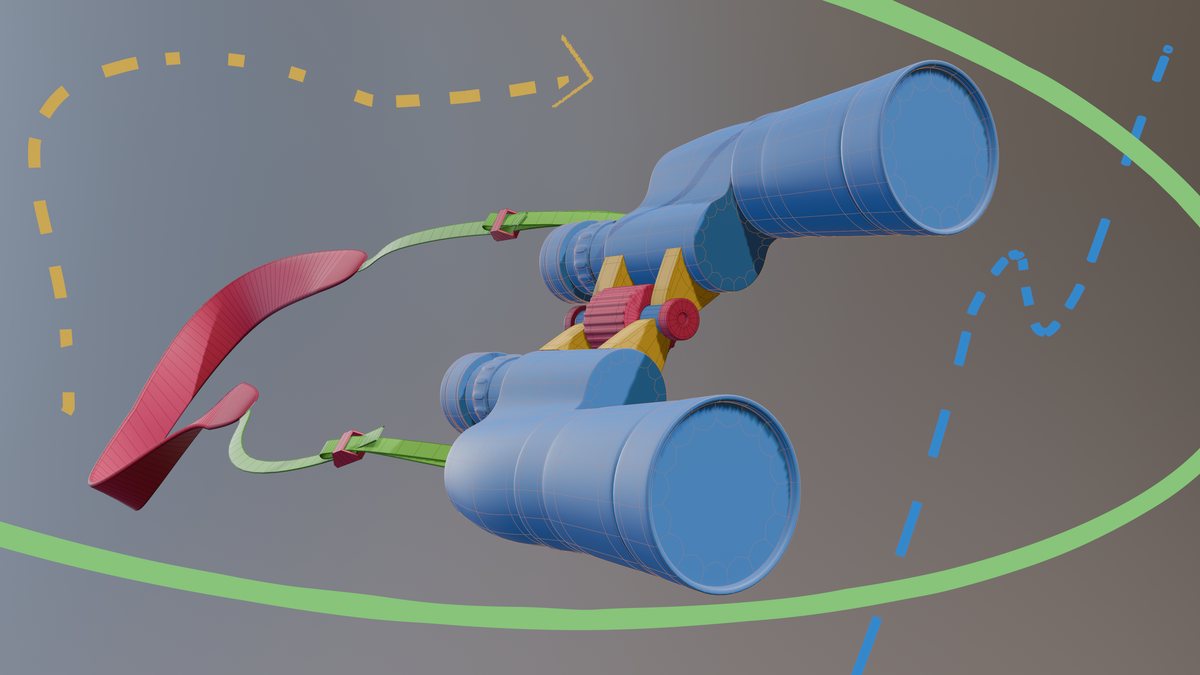
The shapes on these flow into each other, with some sharp edges mixed in with the smooth ones. The lens body is built in two parts and bridged together. The ridges on the eyepiece come from a Checker Deselect and Alt+S trick. The strap is a curve, posed into place with hook modifiers.
The Handheld Radio - Just in case we need help
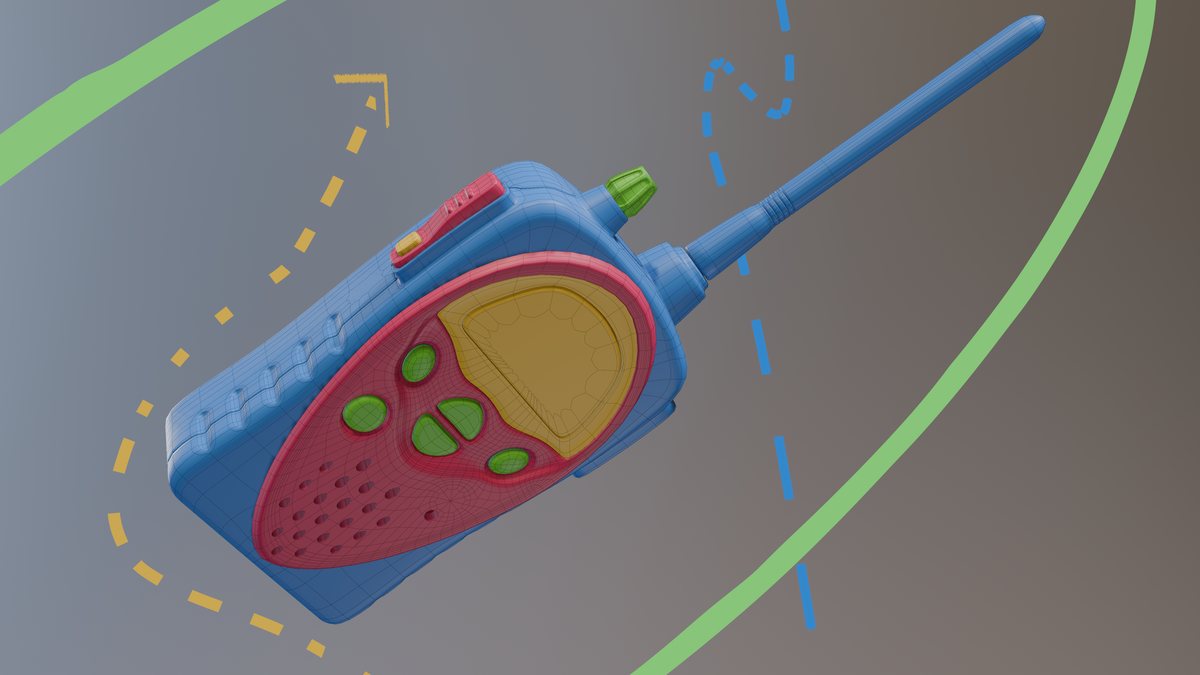
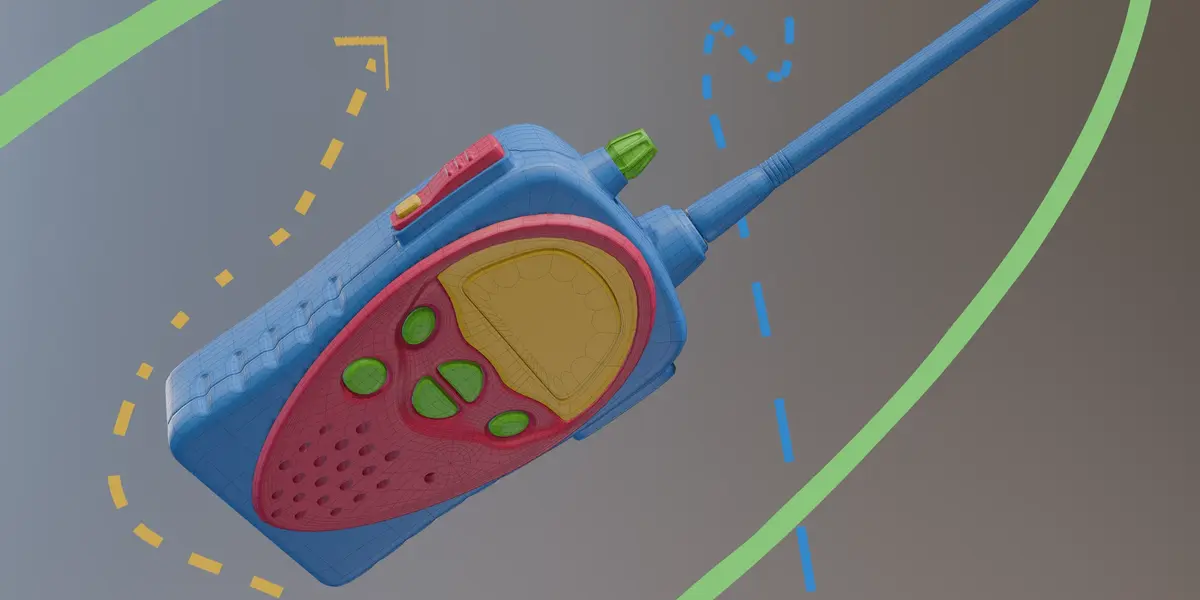
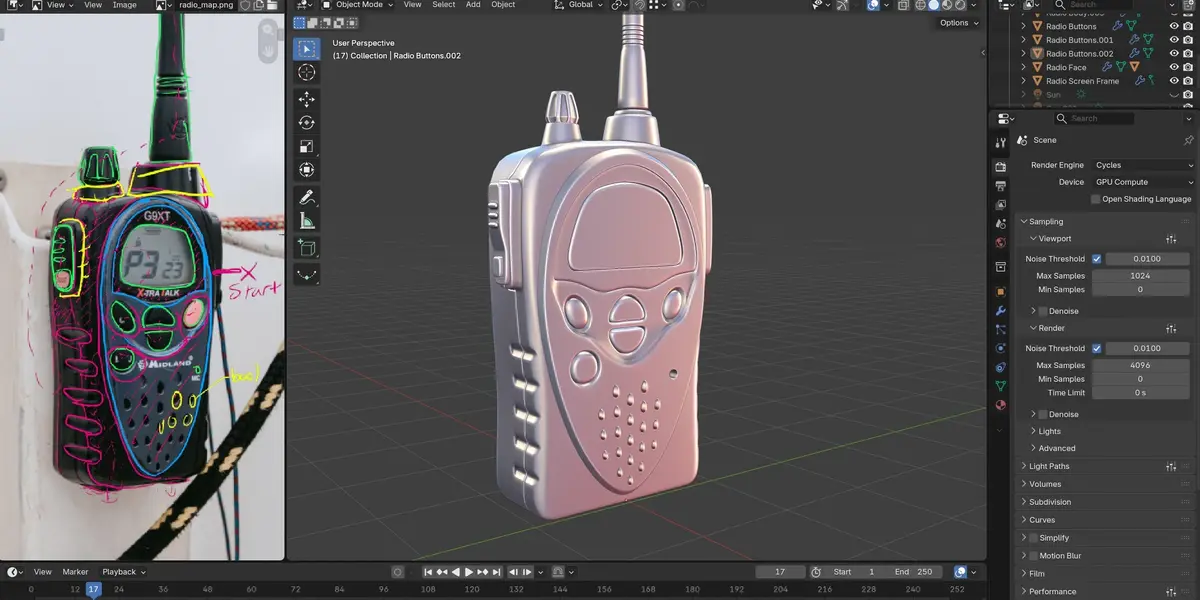
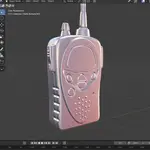
This is a real step up, and it's mostly about edge flow. The hero edges go down first, then the loops get routed around the buttons and the screen. Boolean cutters punch the speaker holes. The dial is built on its own and then joined into the top. There's another fork in the road at the housing.
Chris also runs the same reference photo through a 3D generative model and compares the best result with his own. It looks fine from a distance. Up close, the topology breaks down. That's why edge flow still matters.
The Soviet Helmet - Let's go to space
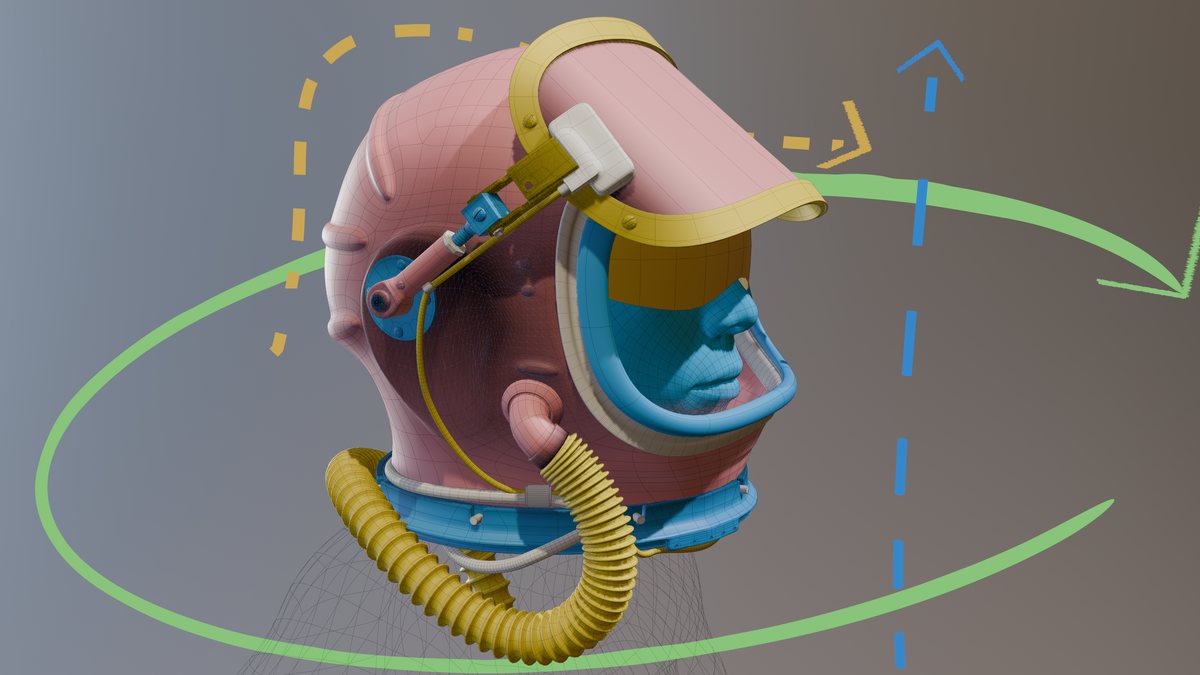
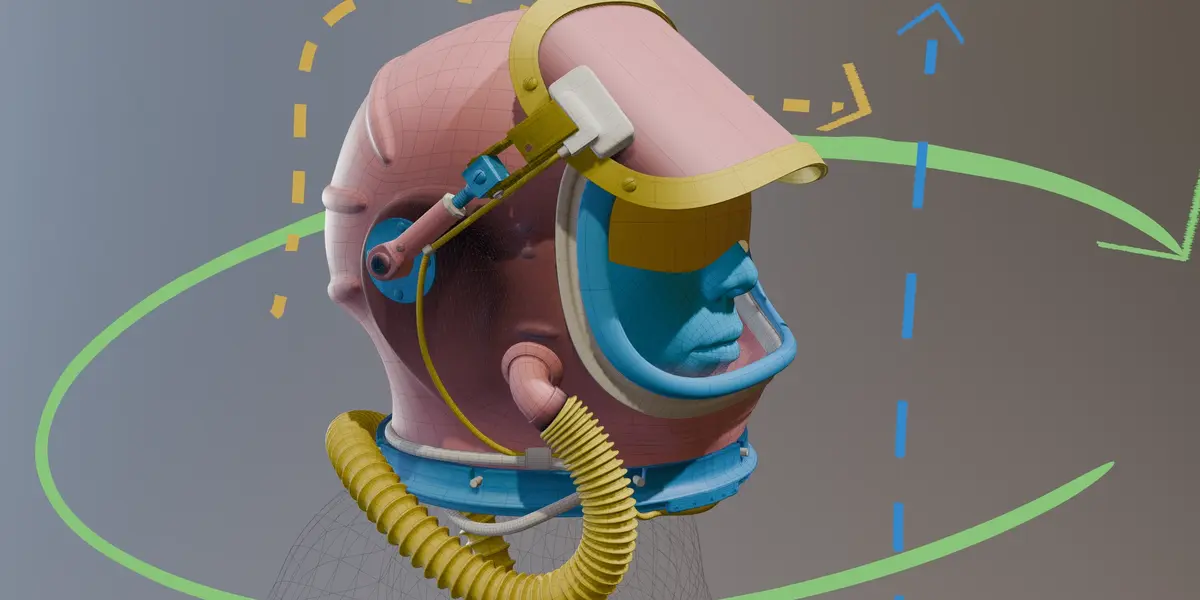
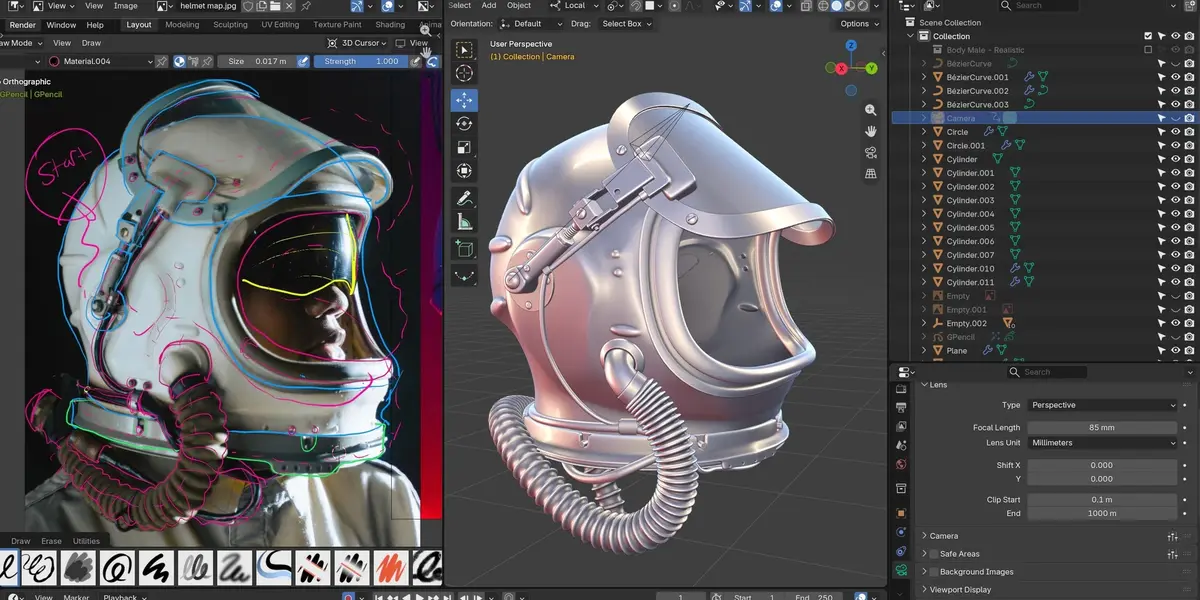
This is the big one, a Soviet-era fighter pilot helmet. Chris starts the shell from a cube and plots the key flows around the ear and the ridges on the back. That's the hardest stretch of the course. From there it's mostly mechanical parts, like the hinged visor, bolts, a ribbed breathing hose and wires, with a little rigging at the end so the visor lifts. Plenty gets scrapped along the way, and you see all of it.
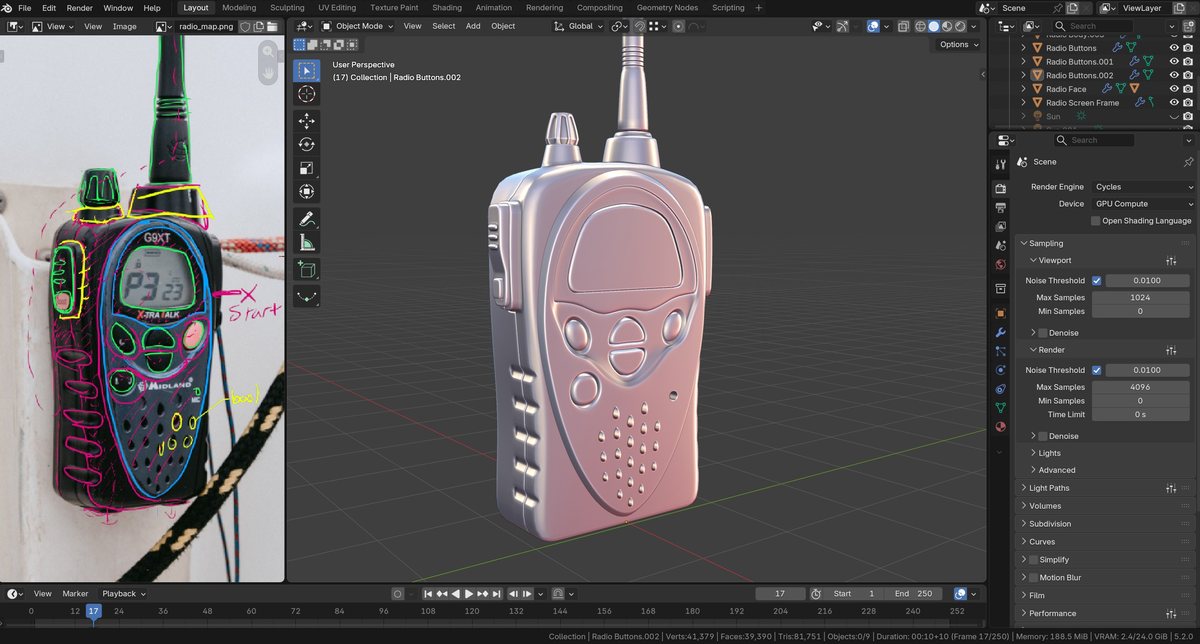
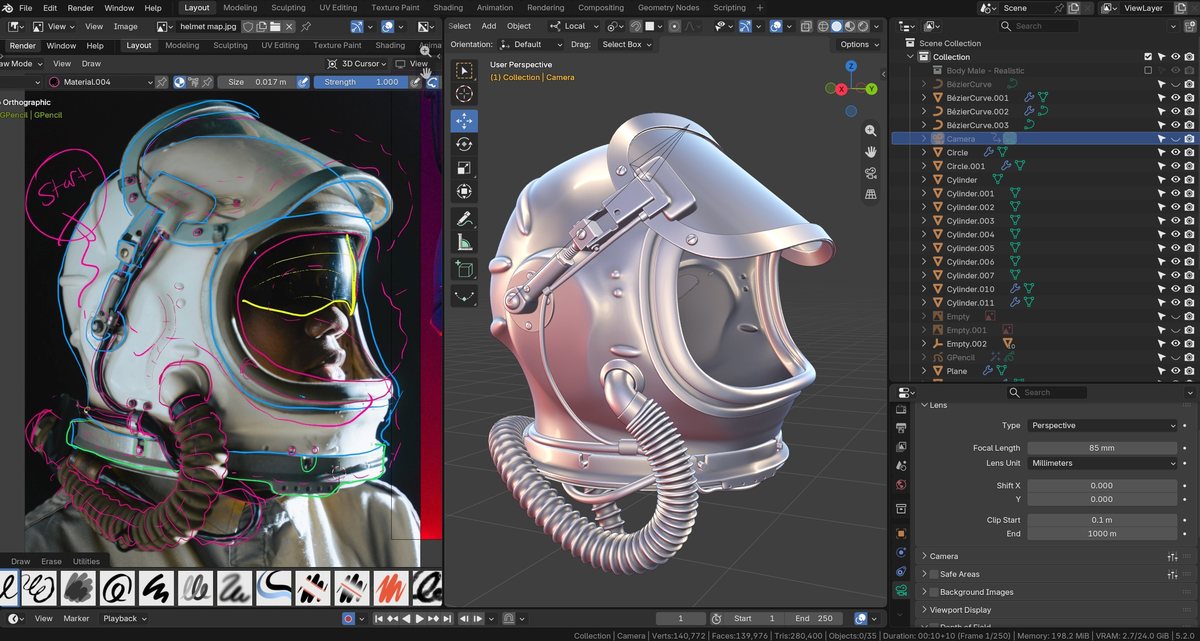
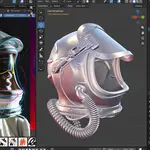
Reference on one side, Chris's mesh on the other.
What You'll Learn
- Map before you model: break any reference into key shapes and plan a path for each one. Not sure yet? Mark it with a question mark.
- Model for subdivision: start at real-world scale with as few faces as you can, and use holding edges to control how things round off.
- Edge flow that holds up: lay out the hero edges first, then route loops around buttons and dials. Sometimes a triangle or an n-gon is fine, and you'll learn when.
- Choose between paths: when there's more than one way into a shape, pick one and commit. Then see where the others would have taken you.
- Curves, Booleans and bolts: use Bezier curves for the strap, hose and wires, and a Boolean for the radio's speaker holes. Then make a set of bolts once and snap them on wherever you need them.
- Back up and try again: spot a dead end early. Deleting your work and starting over is part of the process.
Is This Course For You?
- Know the basics (extrude, loop cut, modifiers) and are ready to level up your modeling.
- Freeze up when you face a new object on your own, with no tutorial for it.
- Do hard-surface work and want cleaner subdivision models.
- Have ever wondered how an experienced modeler actually decides what to do next.
- Have never opened Blender. Start with CG Cookie's CORE fundamentals first.
- Want a speed-run with every mistake edited out? This one keeps the detours on purpose.
What's Included
- 57 video lessons across all four objects, downloadable so they're yours to keep.
- Project files for every object: the reference photos, Chris's maps, and 22 .blend files saved at stages along the way, so you can check your work or jump in partway.
- A royalty-free license on everything you make with the course files.
- Saved in Blender 5.2 LTS. Menus may move around in later versions, but the approach still works.
Not sure Chris's teaching style is for you? The Water Bottle is free to stream on CG Cookie with a free account, so try it there first. If you want the rest, this bundle has all four objects as downloadable videos, with every project file.
About the Instructor
Chris Bailey is a Blender instructor for CG Cookie. In The Modeller's Journey he talks through every decision as he models, including the ones he takes back. Fair warning: he says "vertexes" instead of "vertices" the whole way through. He apologizes for it up front. 😛
Frequently Asked Questions
How experienced do I need to be?
You should be comfortable with the basics, like getting around the viewport, extruding, loop cuts and adding modifiers. The water bottle is a warm-up and the helmet is a serious challenge. Complete beginners should start with CG Cookie's CORE fundamentals first.
Which Blender version do I need?
The project files are saved in Blender 5.2 LTS, so use 5.2 or newer to open them.
Do I need any add-ons?
No. Chris works in stock Blender the whole way through.
Can I skip straight to the helmet?
You can. Every object has its own map lesson and project files. The helmet builds on habits from the earlier objects, though, so it'll be a lot less painful if you work through them in order.
Isn't the Water Bottle free?
Yes, it's free to stream on CG Cookie with a free account. It's included here so you get the whole series in one place, as downloadable videos with project files.
I'm a CG Cookie member. Do I need to buy this?
No. The binoculars, radio and helmet are included with an Inner Circle membership, and the water bottle is free for everyone.
What if I get stuck?
Message CG Cookie through the Contact the creator link on this page. Purchases here don't include instructor feedback or community access, but they can be converted to a CG Cookie membership, which does. See below.
About CG Cookie Courses
All of our courses, including this one, are included with a membership at cgcookie.com. If you would like to convert this purchase into a CG Cookie subscription, which adds exercise feedback from instructors and community access for questions and support, email [email protected] with your Superhive order ID and we will send a coupon code that applies your purchase toward it.