 Elisha Bednarsky


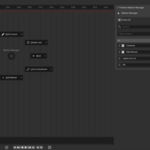
Does this sound familiar?
You set a marker, give it some name, and an hour later you can’t remember what it means. Or you move a keyframe, and the corresponding marker just stays where it was.
The Timeline Marker Manager solves this!
Not with unnecessary bells and whistles, but with exactly what’s missing from your workflow.
What the add-on does
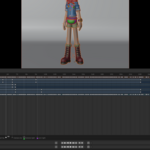
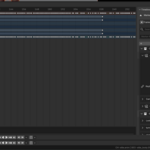
Your markers can be color-coded in the Dopesheet timeline, making them visible at a glance. Six colors are available: perfect for distinguishing camera cuts, lip-sync points, SFX cues, and revision markers at a glance.
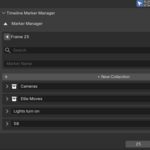
Markers can be organized into Collections, just like objects in the Outliner. Collections can be expanded and collapsed, hidden from the timeline using the eye icon, and individual markers can be hidden without deleting them.
Keyframe linking the feature you didn’t know you needed:
Link a marker to a keyframe on an object. When you move the keyframe in the timeline, the marker follows automatically. It’s a one-way street you can still adjust the marker manually if needed without it dragging the keyframe along with it.
The pie menu opens with `Shift+M` directly in the Dopesheet.
Setting markers, navigation, keyframe linking: everything is accessible with a single click without opening the panel.
Features at a Glance
- Color highlighting directly below the marker in the Dopesheet timeline
- Groups with Collapse, Hide/Show, and color hierarchy
- Keyframe linking: Markers automatically follow a moved keyframe
- Pie menu via `Shift+M` — 8 shortcuts
- Note fields per marker
- Hide and restore markers individually or in groups from the timeline
- Search and filter in the marker list
- Compatible with Blender 4.5, 4.6+, and 5.x — Windows, macOS, Linux
Who is this for?
For character animators who want to keep their scenes neatly organized. For cinematic artists who track camera cuts and audio cues.
If you have more than three markers in a scene, this add-on will simplify your workflow.

