Tintline - Color Atlas & Ramp Texturing
 Retrodroid s.r.o.
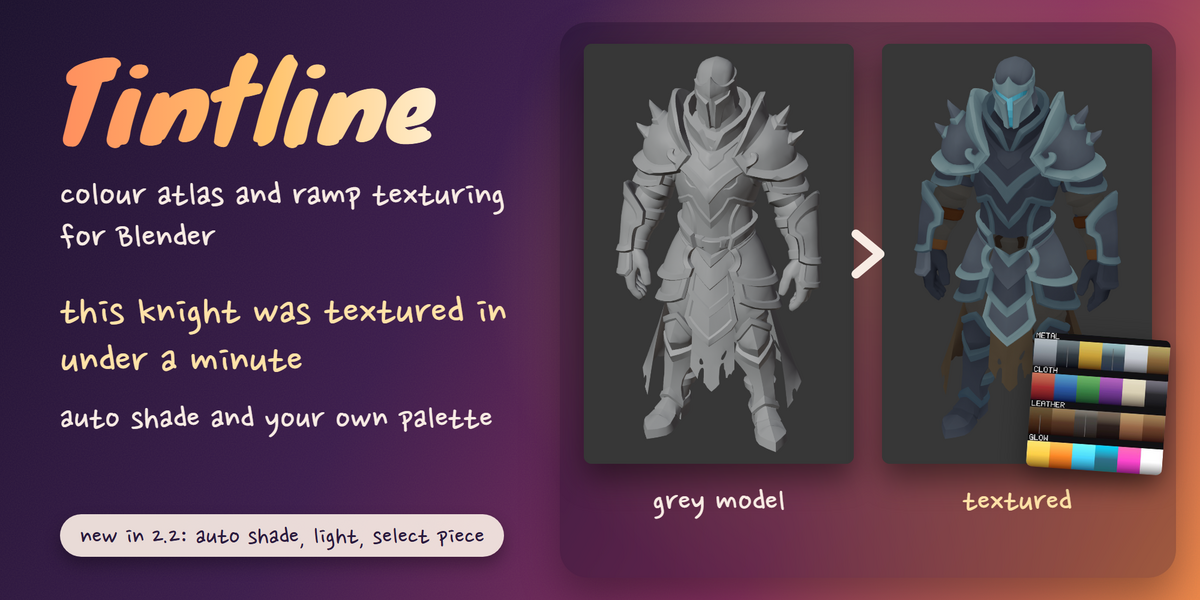
Quick guide for Tintline 2.2. Texture a low poly model with one small colour atlas: map the parts, press Auto shade, save the maps. The same guide comes as a PDF with the download.
1. Install
- Blender 4.2 LTS or newer. Open Edit > Preferences > Get Extensions.
- In the small menu at the top right choose Install from Disk and pick the Tintline zip. Do not unpack it.
- In the 3D Viewport press N. The panel is in the sidebar, tab Tintline.
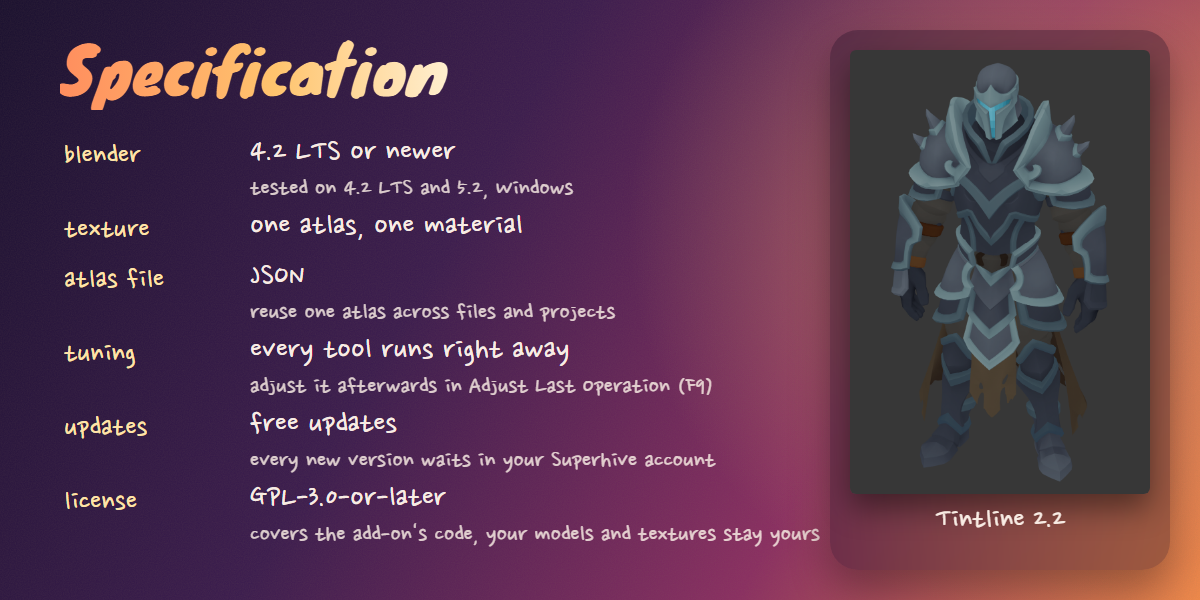
Updating works the same way: download the new zip from your Superhive account and install it over the old one. Your atlases stay in your .blend files.
2. The panel
The panel has five steps. Only one is open at a time, and Back and Next at the bottom walk you through them.
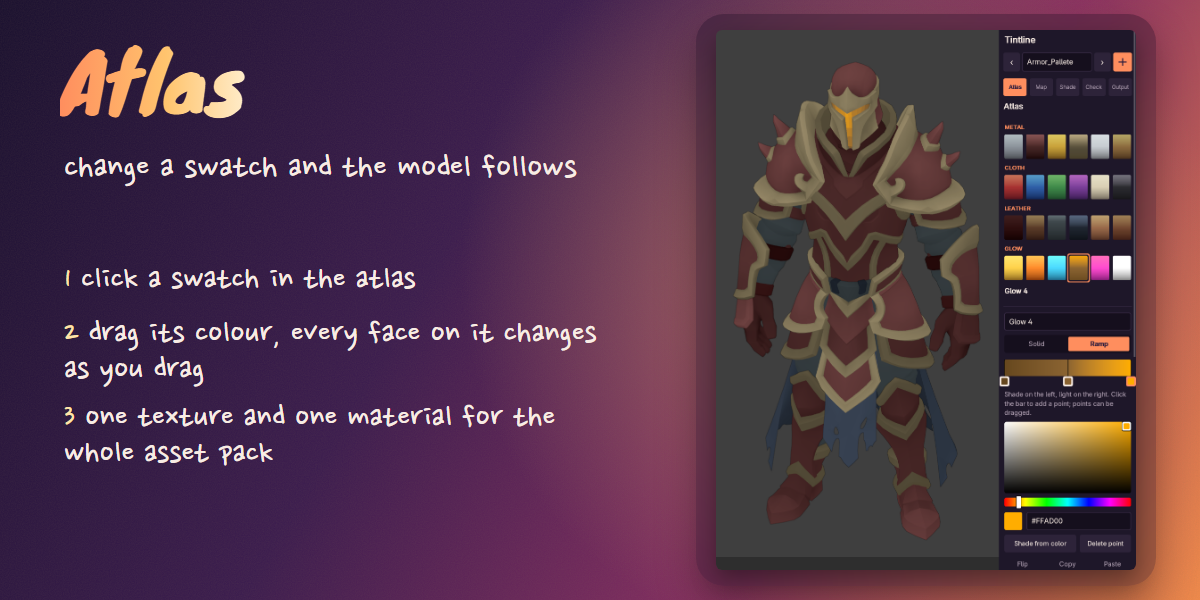
- Atlas: build the palette and set each swatch
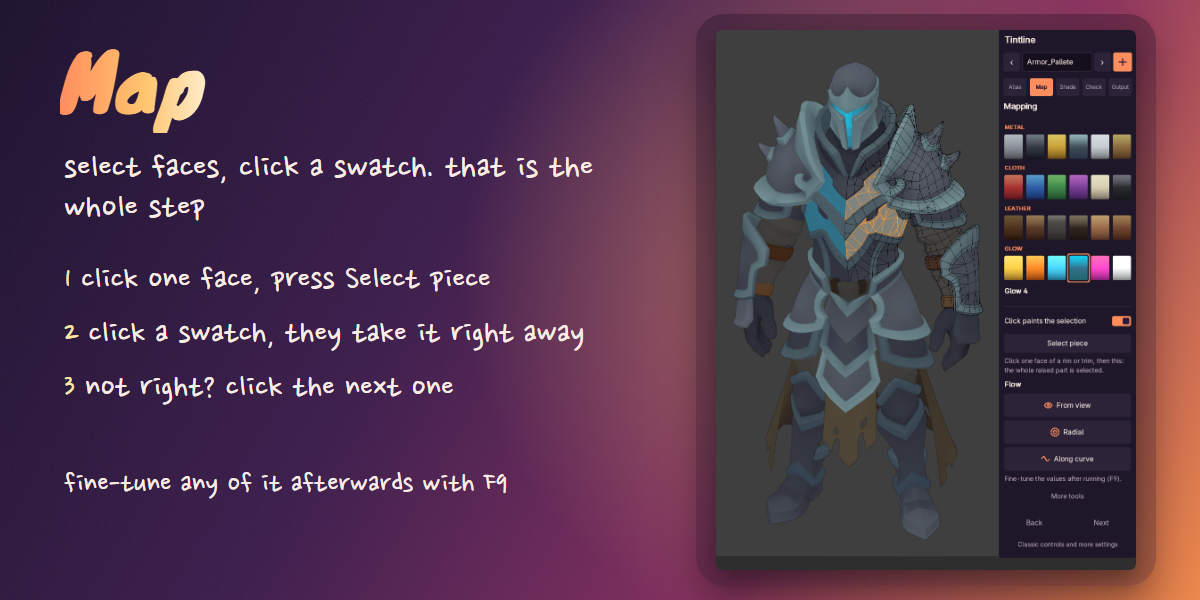
- Map: select faces, click a swatch
- Shade: Auto shade, tones, edge shading
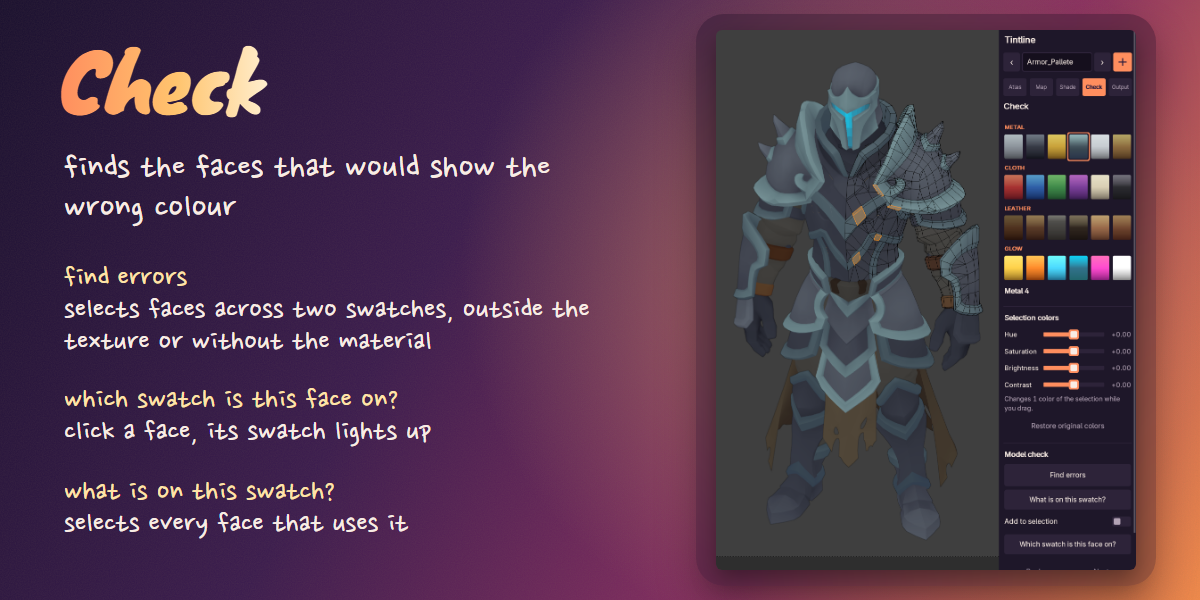
- Check: find errors, edit colours
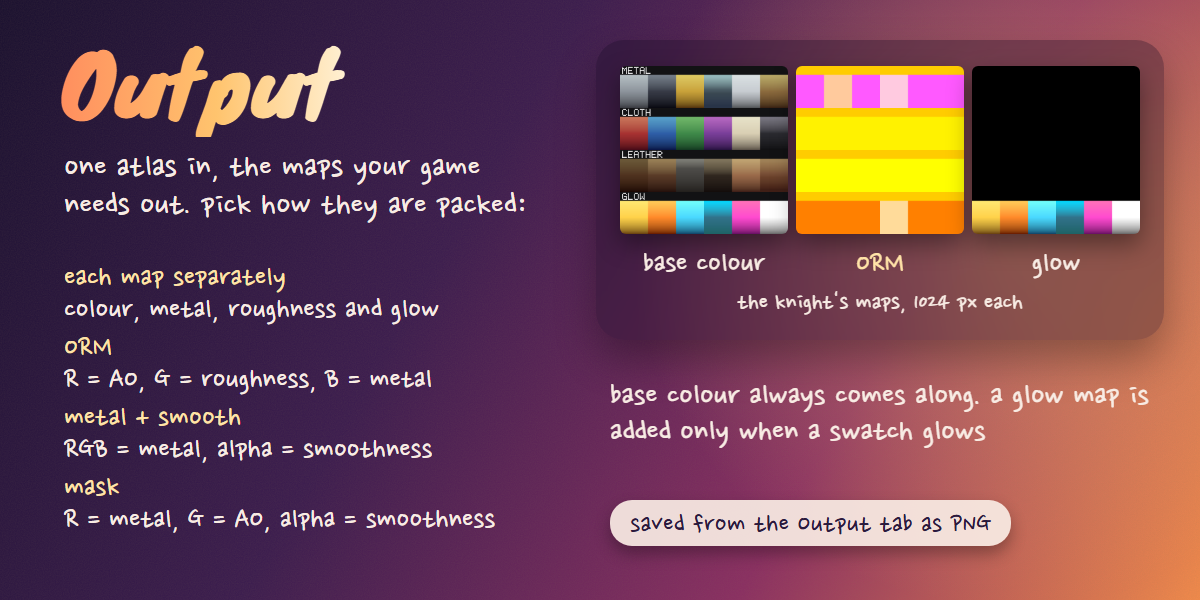
- Output: material, texture maps, atlas file
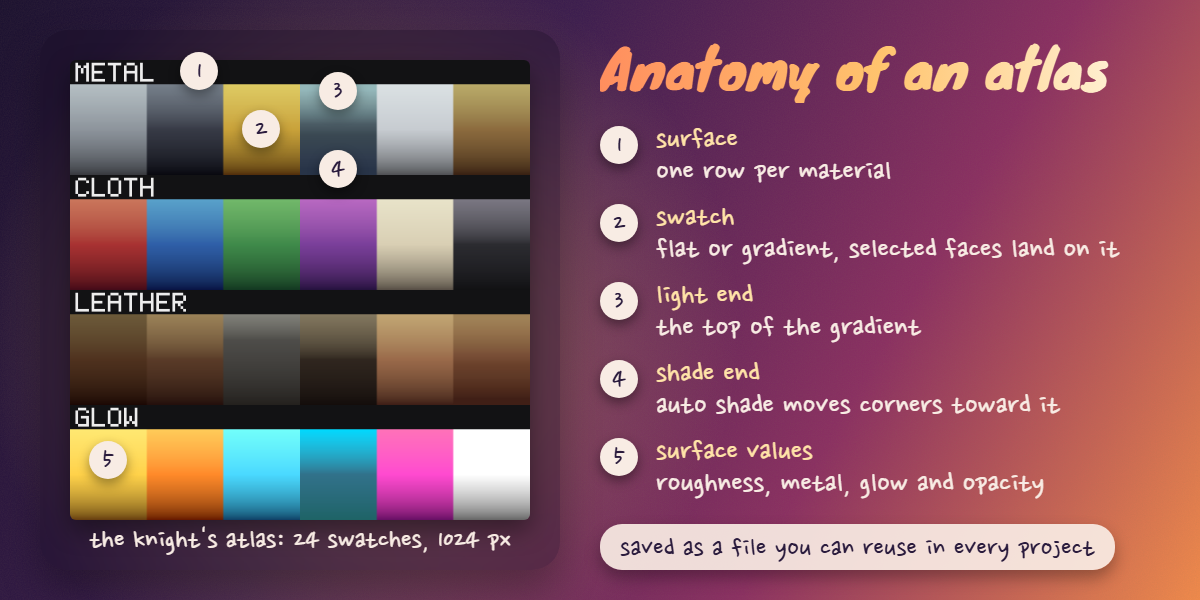
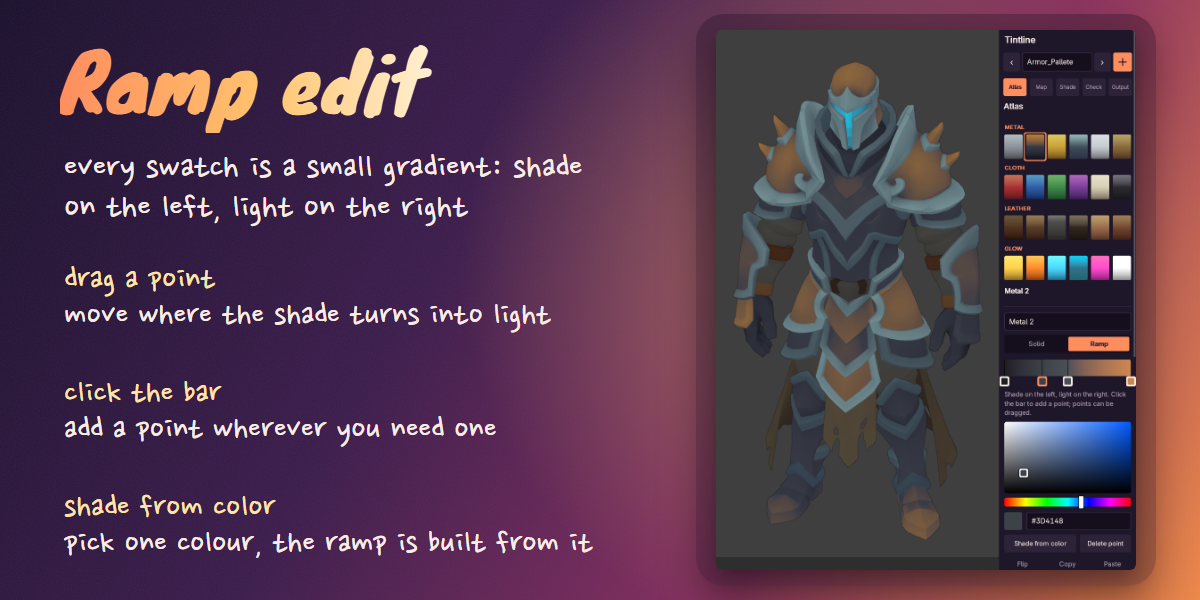
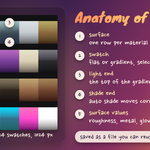
Every swatch is either a solid colour or a ramp, a gradient from shadow to light. Shading in Tintline means moving the UVs along that ramp, so light and shadow come from the same texture.
3. Your first model in five minutes
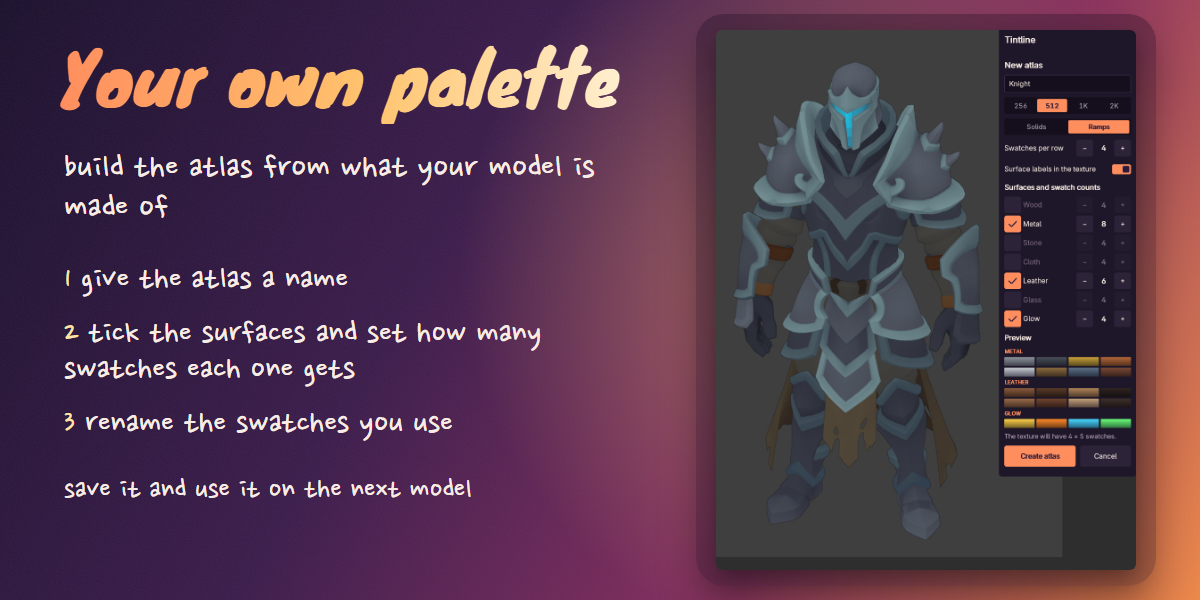
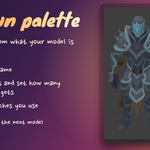
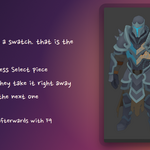
Atlas: build your own palette
- Press + next to the atlas name.
- Give the atlas a name.
- Tick what the model is made of, like metal, cloth, leather or glow, and set how many swatches each surface gets.
- Press Create atlas.
- Click a swatch to change its colour or its ramp. Double click a slider to type an exact value.
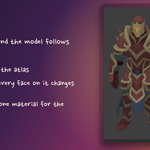
Map: colour the parts
- Go to Edit Mode (Tab), face select.
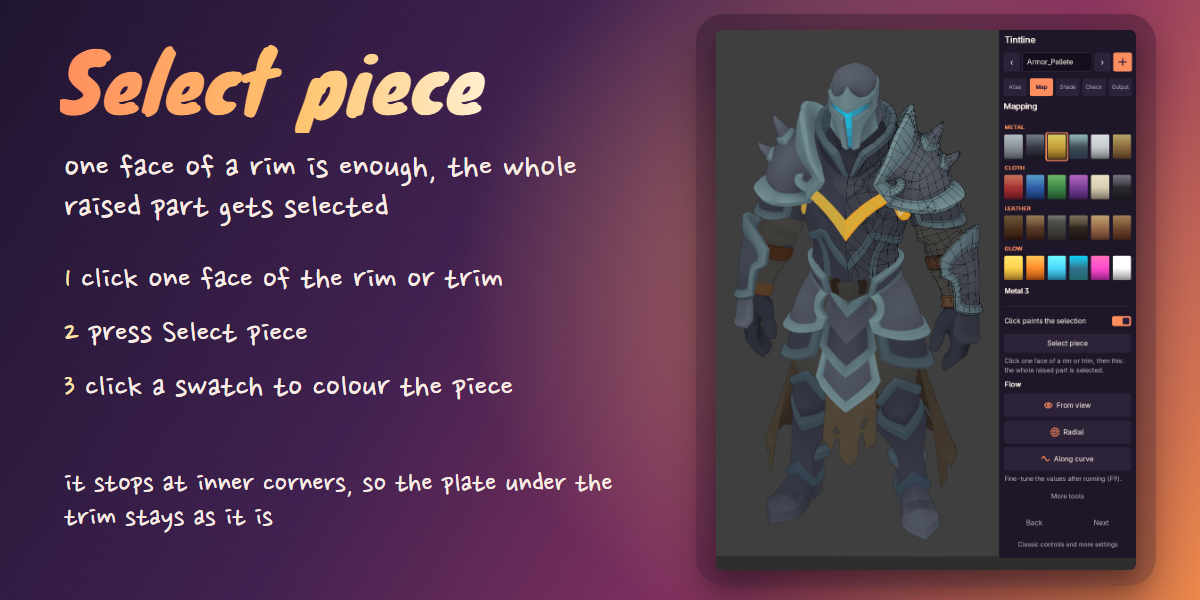
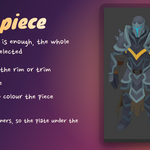
- Click one face of a part, a rim or a plate, and press Select piece. The whole raised part is selected.
- Click a swatch. With Click paints the selection on, the faces take it right away.
- Not right? Click the next swatch. Shift + click only selects a swatch without colouring.
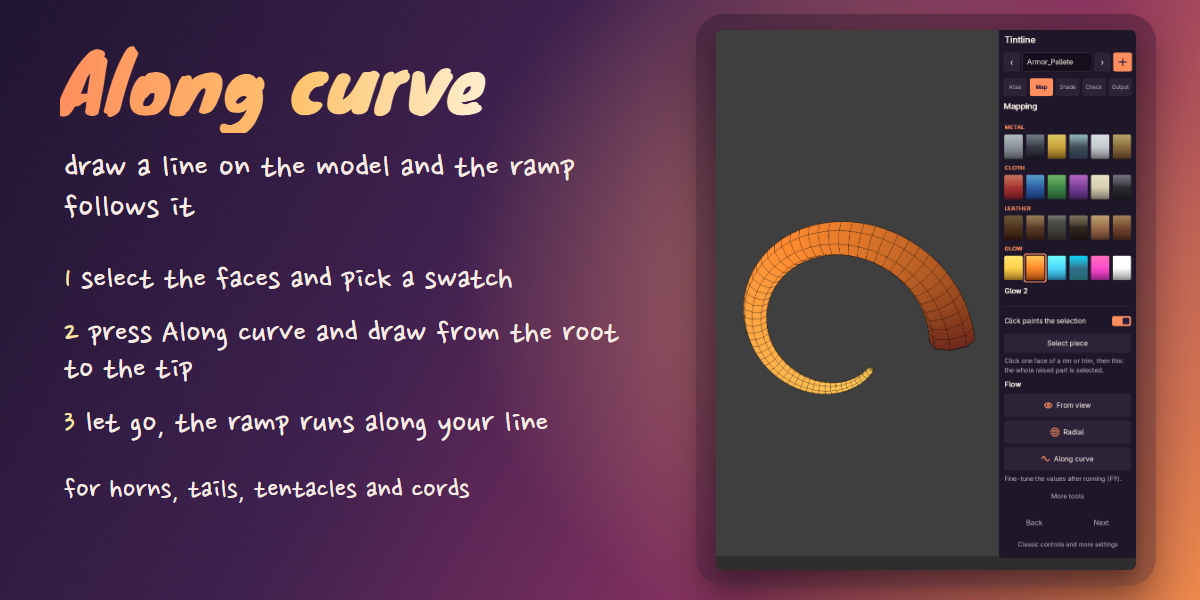
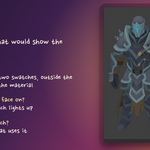
A ramp swatch can run in different directions: From view, Radial and Along curve, and under More tools also between two handles, along an axis, or by the UVs. For planks or stones set Islands to Each separately in Adjust Last Operation (F9) so every piece gets its own full ramp.
Shade: one click
- Back in Object Mode, select the model and open Shade.
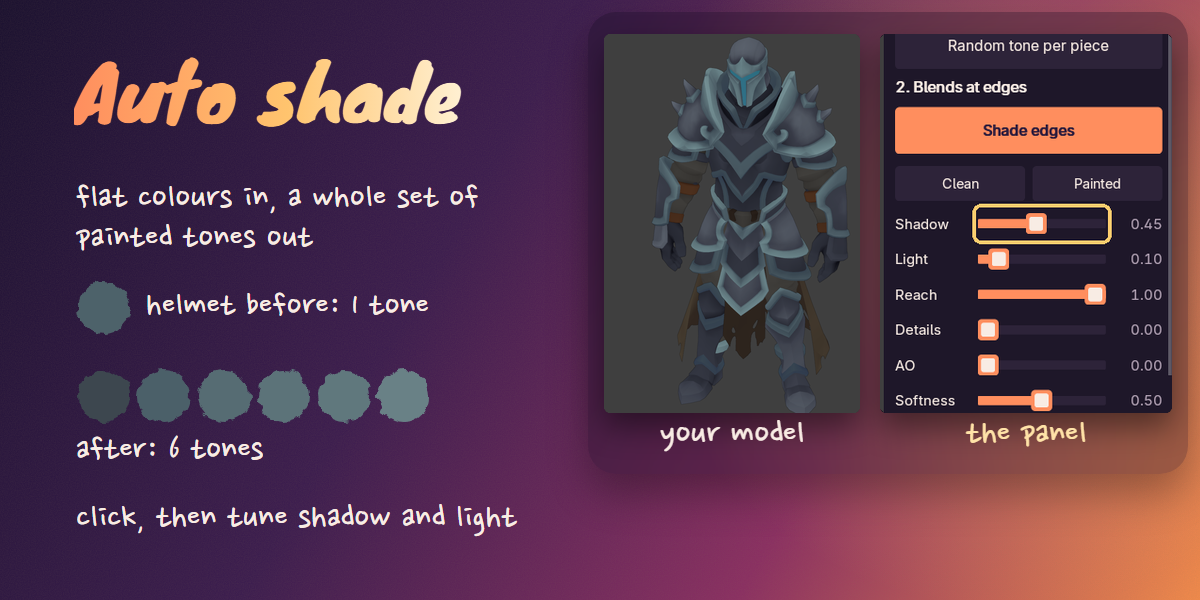
- Press Auto shade. Every part gets its own tone and the edges get shading.
- Tune Shadow and Light with the sliders. The model updates while you drag.
Auto shade works on faces that are already on a ramp swatch. If it says there is nothing to shade, map the parts first.
Check and Output
- Find errors selects faces whose UVs ended up off a swatch.
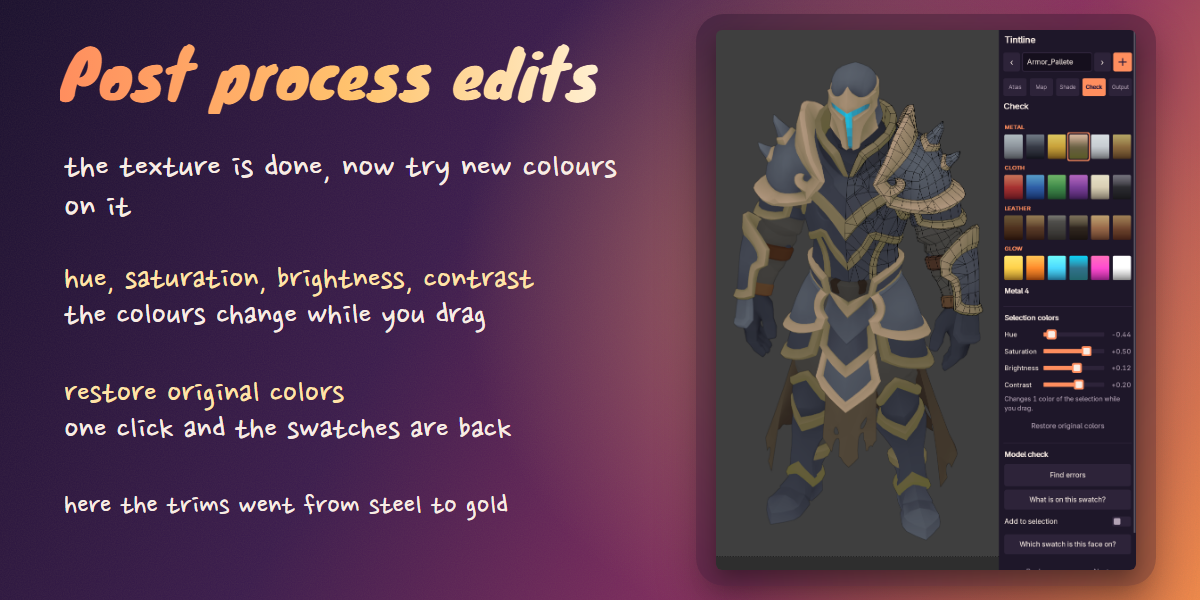
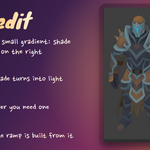
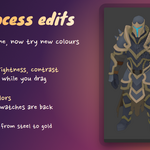
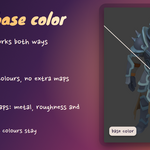
- Want new colours on the finished model? Select it and change hue, saturation, brightness and contrast in Check. Restore original colors brings them back.
- In Output press Assign atlas material if the model still shows its old material.
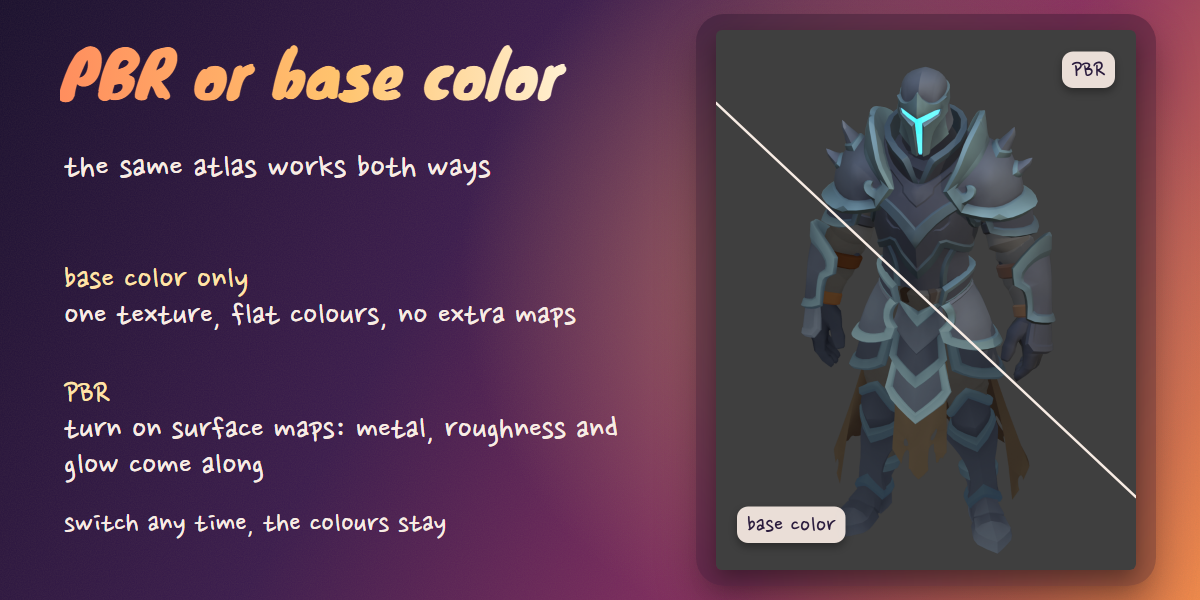
- Save textures (PNG) writes the colour map. Turn on Surface maps to also write roughness, metal, glow and opacity.
- Save atlas to file stores the palette as JSON, so the next model starts from it.
Every tool runs right away. If you want other values, open Adjust Last Operation (F9) and change them there.
4. Using the textures in a game engine
- Compression: off, or the highest quality. Compression smears neighbouring swatches.
- Mipmaps: off for the atlas, or keep the margin at 2 px or more. Mipmaps blend swatches at a distance.
- Filtering: point, if you want hard pixel edges. Bilinear is fine for ramps.
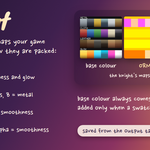
- Map packing: Separate maps, ORM, Metal+Smooth or Mask in Output. Pick the one your engine's material expects.
The margin is under Classic controls and more settings, step Map, Settings. The default is 2 px.
Have questions about this product?
Login to message
| Blender Extension Compatible | Yes |
| Dev Fund Contributor | |
| Published | 12 days ago |
| Blender Version | 4.2 - 5.2 |
| Extension Type | Add-on |
| Render Engine Used | Eevee |
| License | GPL |

Discover more products like this
Atlas uv game ready game assets texture atlas color-palette low poly gradient Texturing stylized