 SkdSam
Todo for Blender / User guide
From your first note
to a finished task.
Learn how to organize notes, track subtasks and keep useful references beside your work in Blender.
Quick start
- Enable Todo, then move your pointer into the 3D View and press N to show the sidebar.
- Open the Notes tab and find the Scene Notes panel.
- Click Add Note. Enter a title and notes, choose a category, priority and status, then confirm.
- Expand your note using its title or disclosure arrow. Add a subtask using the + beside Sub-ToDo Items.
- Turn on Floating Viewport Notes UI to work from the floating panel. Save your .blend to keep your notes.
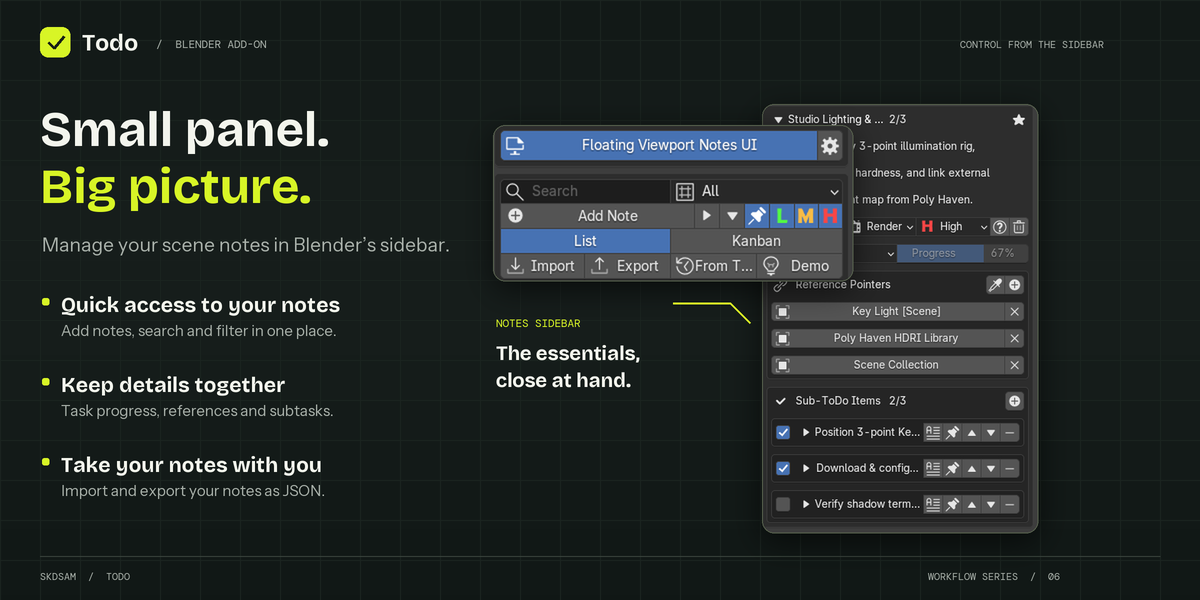
Install and enable Todo
- Download the Todo add-on ZIP. Use the same ZIP for legacy add-on installation or extension installation; keep it zipped.
- Open Blender’s Preferences. Use its add-on or extension Install from Disk / Install option, depending on your Blender version.
- Select the ZIP and complete installation. Find Todo in the installed add-ons and enable it.
- Return to the 3D View and open Sidebar > Notes > Scene Notes.
The target Blender range is 3.6–5.2. Menu names and installation entry points can differ between releases.
Create, edit and organize notes
A note can be a simple reminder or a task with subtasks and references. Use a short, descriptive title such as “Check shadow softness” and put the detail in the notes field.
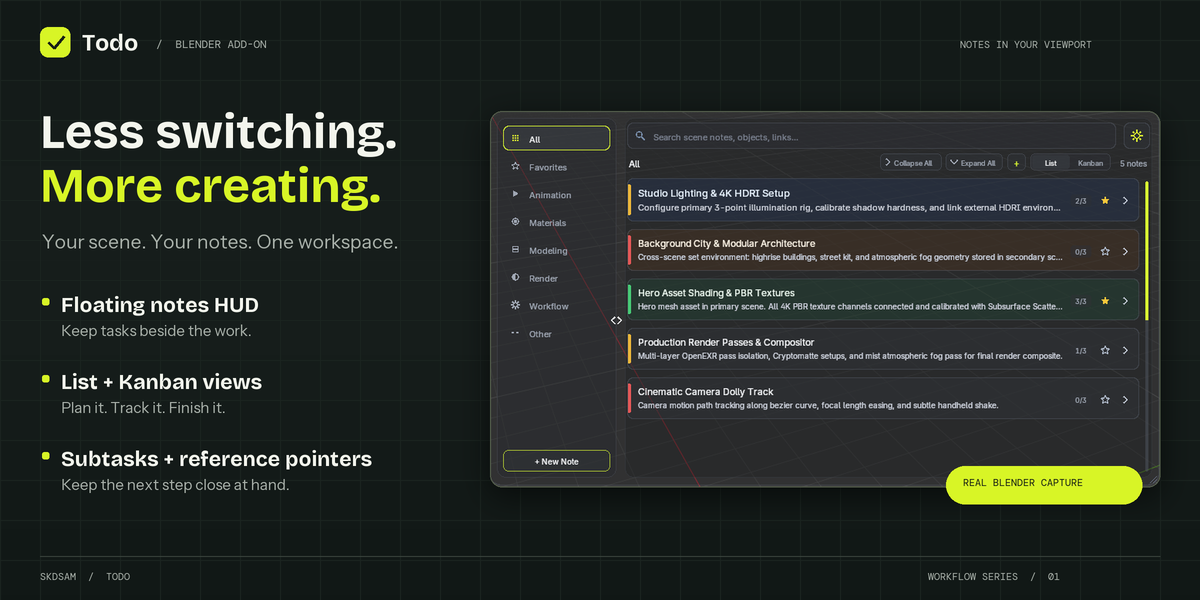
- Click Add Note in the sidebar, or + New Note / the add button in the floating panel.
- Fill in the title and notes. Choose Animation, Materials, Modeling, Render, Workflow or Other as the category.
- Set priority to Low, Medium or High, and choose a starting status.
- Expand a note to access its controls. Use Edit in the floating panel or the edit icon in the sidebar to update it. You can also right-click a card in the floating panel to edit.
- Use the star to mark a favorite. In the sidebar, use the duplicate icon to copy a note, up/down arrows to reorder it, or the trash icon to remove it.
Use Collapse All and Expand All to manage a long List view. In the sidebar these controls appear as disclosure-arrow buttons.
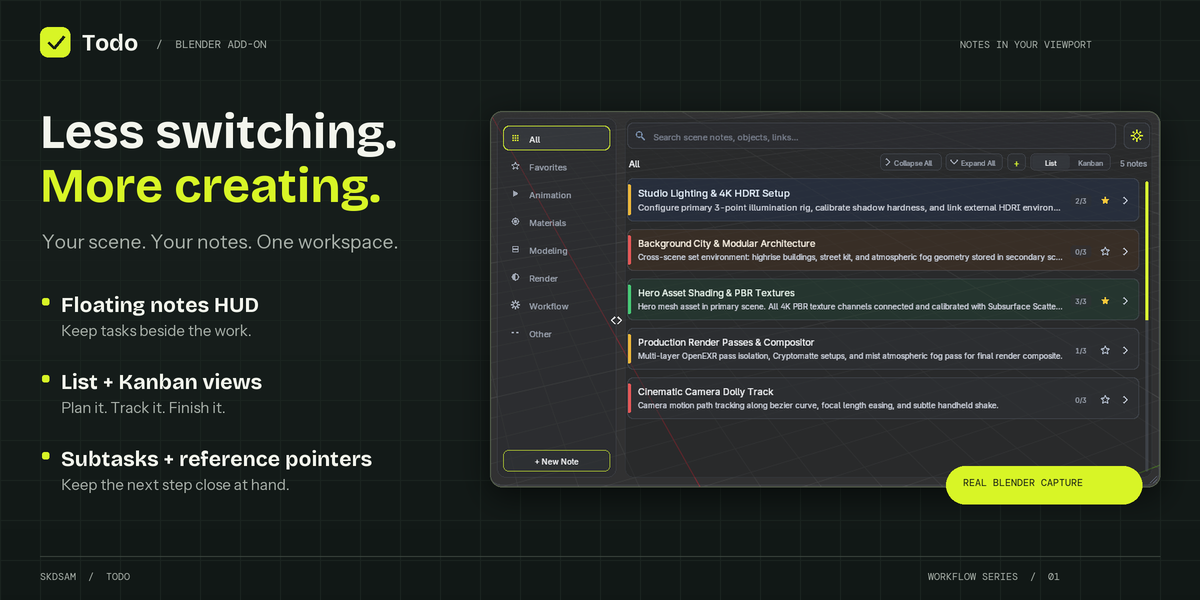
Use the floating notes panel
- Turn on Floating Viewport Notes UI at the top of the Scene Notes panel.
- Drag an empty area of the panel or its header to reposition it. Drag its resize handle to change its width and height.
- Choose a category on the left, type in the search field, and scroll the notes area with the mouse wheel or scrollbar.
- Click a note card to expand or collapse it. Use the small divider control to collapse or reopen the category sidebar.
- Use the settings button to open add-on preferences. Toggle Floating Viewport Notes UI off when you want to hide the floating panel.
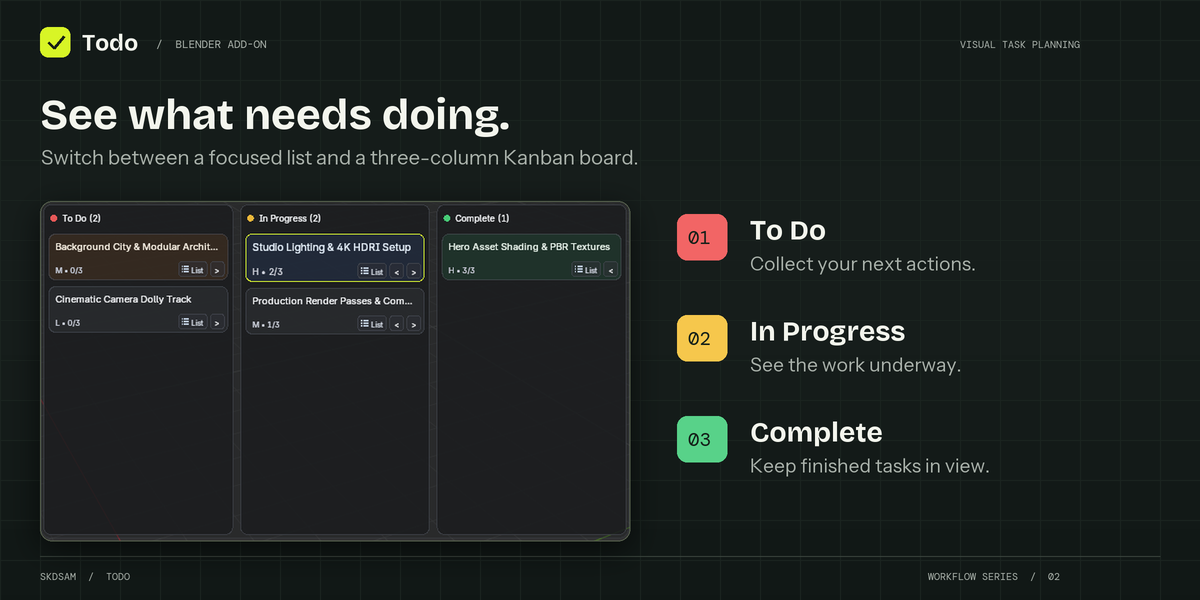
Switch between List and Kanban
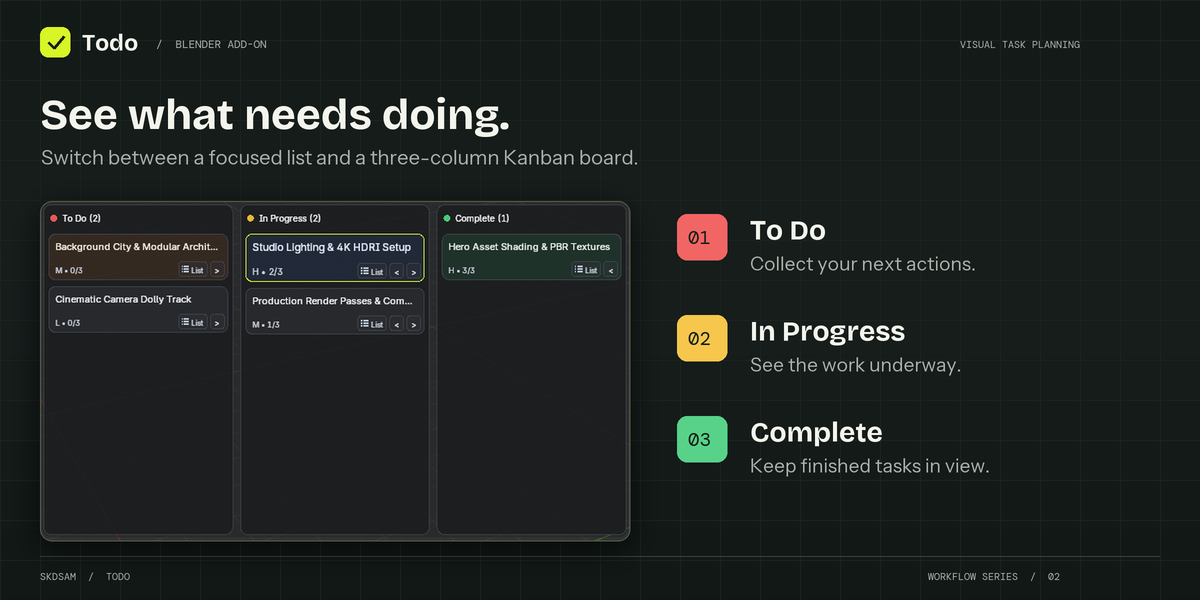
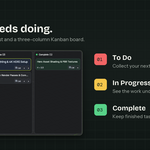
List is useful for reading notes and working through detailed checklists. Kanban groups cards into To Do, In Progress and Complete. Switch views using the buttons in the floating panel or sidebar.
- Select Kanban to see the three status columns.
- Use a card’s forward/back arrows to change its status and move it between columns, or change the status in the note’s details.
- In the floating board, use a card’s List button to open that note in List view. Double-clicking the card also opens its expanded List view.
- In the sidebar board, select a card to show its details underneath the columns.
Add subtasks and track progress
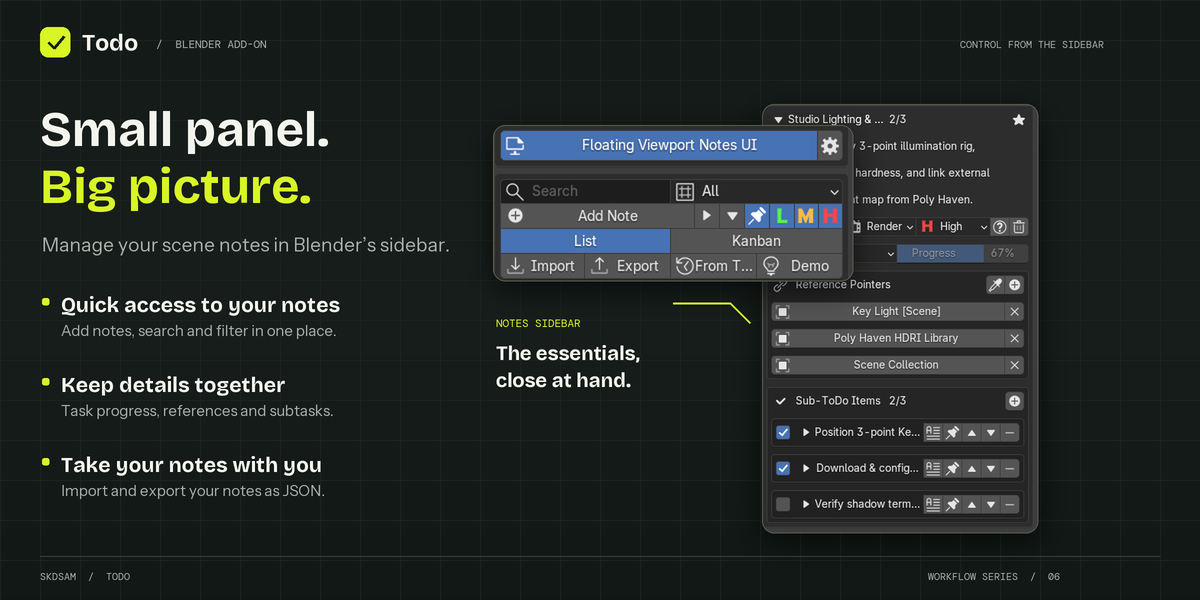
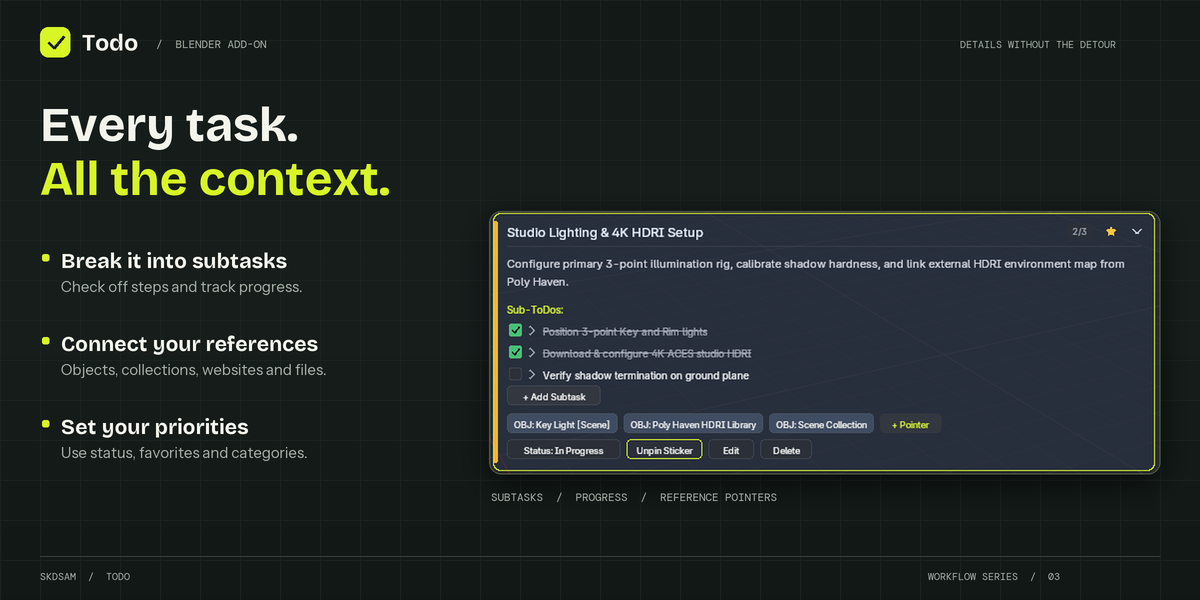
- Expand the parent note. In the sidebar, find Sub-ToDo Items and click +. In the floating panel, choose + Add Subtask.
- Enter a subtask title and any supporting notes, then confirm.
- Tick the checkbox when a step is finished. Expand its title to read its description; use its edit icon to change the text.
- Use the sidebar’s subtask arrows to reorder steps and its remove button to delete a step.
Progress is calculated from the number of completed subtasks. Two completed steps out of three gives approximately 67%. The manual progress slider is disabled while a note has subtasks. Without subtasks, you can adjust progress directly.
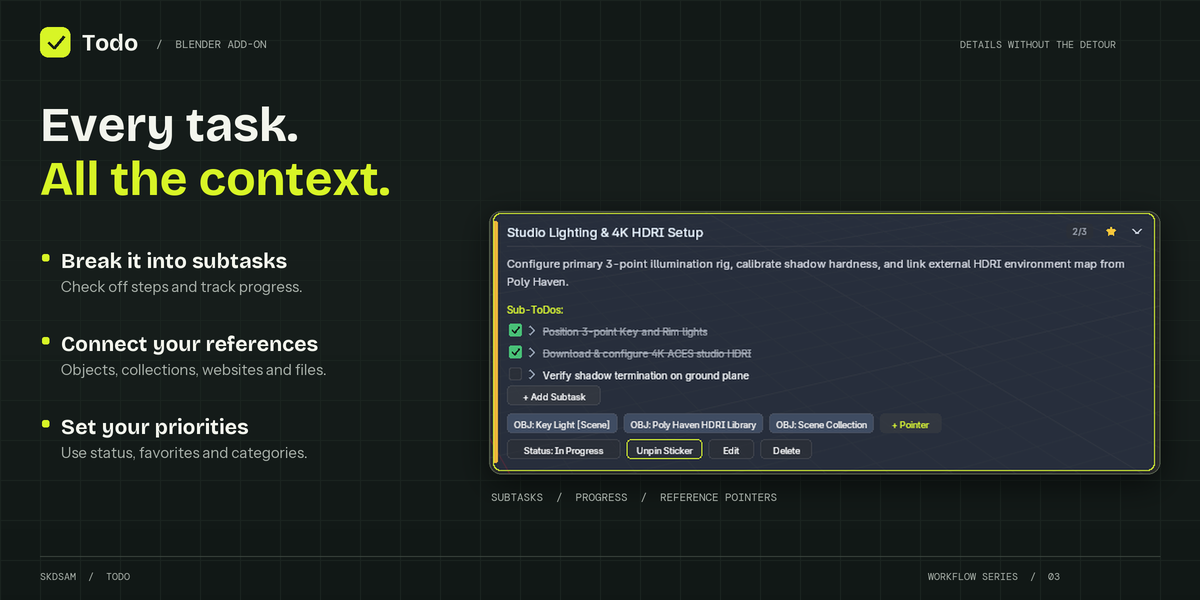
Attach objects, collections, websites and files
- Expand the note and find Reference Pointers in the sidebar. Click +, or use + Pointer in the floating panel.
- Choose the reference type: Scene Object, Collection, Website URL or File / Folder.
- Choose the target or enter the URL/path. Add a clear label if needed, then confirm.
- Click the reference button or chip to activate it. Website links open in your browser; file and folder links open through your operating system. Object references select and frame the object when it is available.
- To quickly attach the selected Blender object, use the eyedropper-style Link Active Object control beside Reference Pointers. Use a pointer’s X to remove the link.
Find the note you need
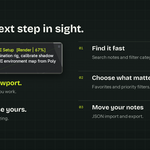
Use the search box to match a note’s title, description, category or displayed reference labels. Select a category from the floating panel’s left navigation or the sidebar’s category selector. Choose Favorites to see starred notes.
Use the sidebar’s L, M, H buttons to control which priority levels are shown. Search, category and priority filters work together. To return to the full board, clear the search, select All and enable all three priority levels.
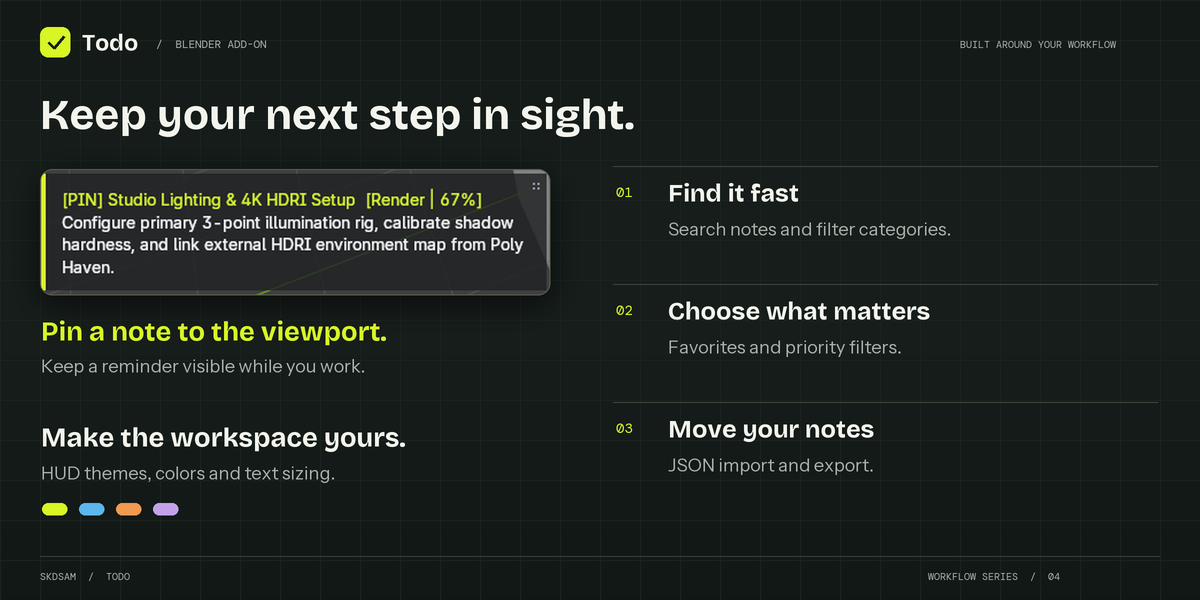
Pin a reminder to the viewport
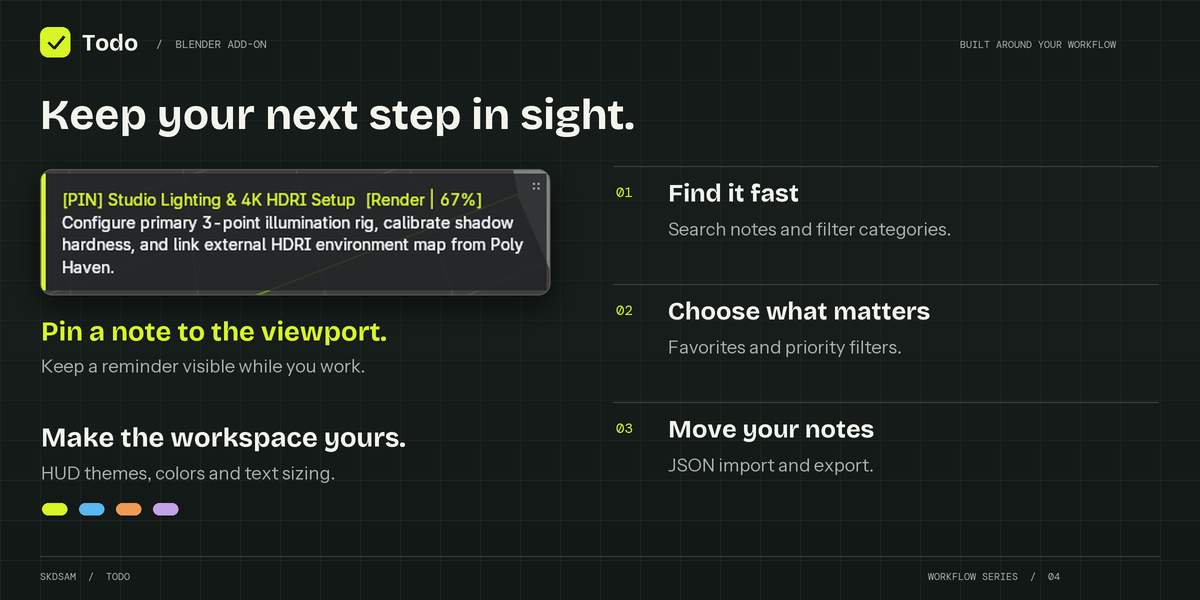
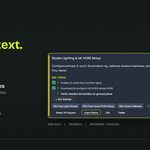
- Expand a note and use its pin control, or the floating panel’s Pin Sticker button.
- The pinned reminder displays the selected note in the viewport. To pin a particular subtask, use its pin icon in the sidebar.
- With the floating HUD active, drag the pinned sticker to place it where you want it.
- Use the pin control again to hide it. The sidebar’s pin toggle also controls the active overlay.
The overlay shows the active note or subtask. Pinning a different item changes the displayed reminder.
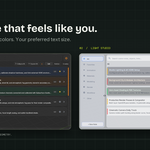
Change themes, colors and text sizing
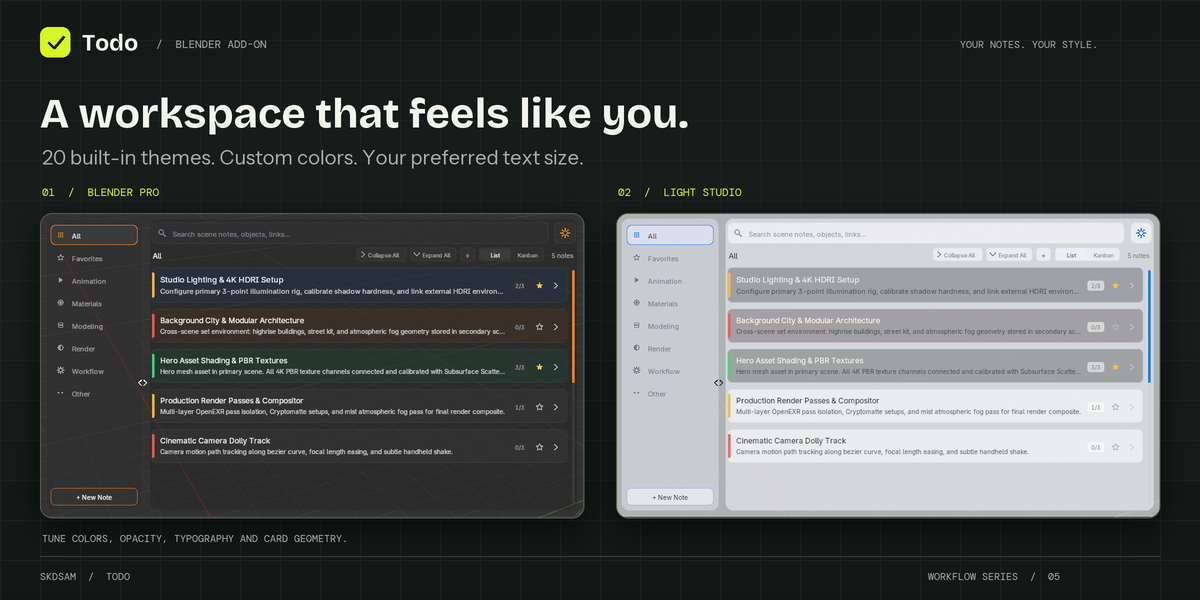
- Expand HUD Themes & Colors below the Scene Notes panel in the sidebar.
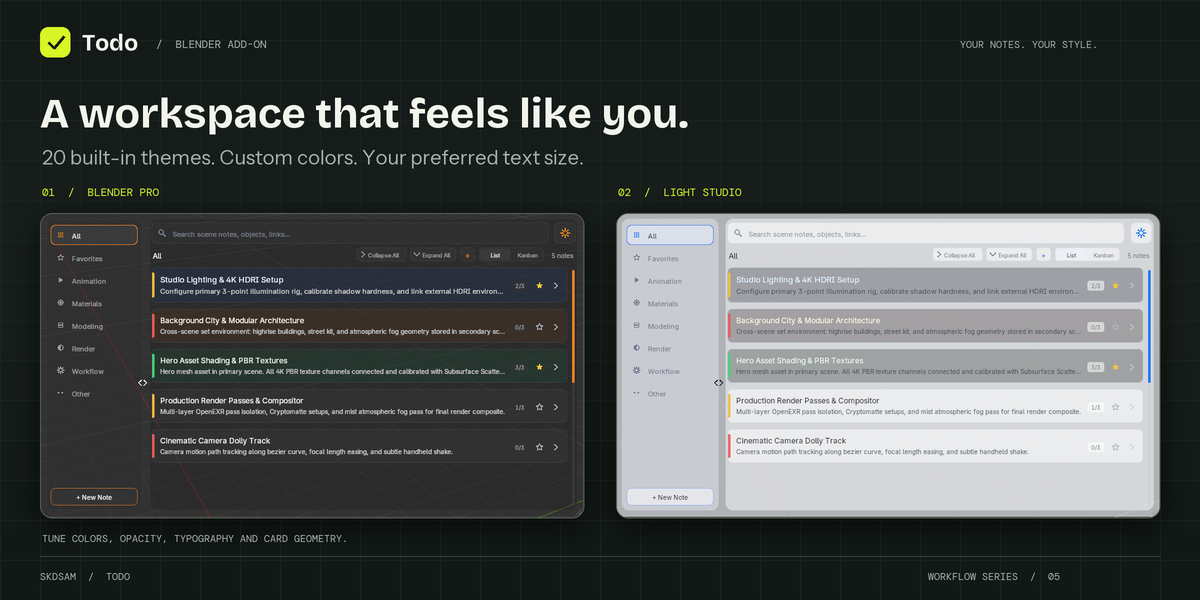
- Choose a Theme Preset. There are 20 built-in themes, including Blender Pro, Light Studio, Dark Glass and Cyberpunk Neon.
- Under Notes Typography & Height, adjust title, body and subtask text sizes, line spacing and text colors.
- Use Card Geometry for corner radius, border thickness and padding. Use Internal Panel Colors to adjust opacity and panel colors.
- Use Save to store a custom theme and Load to apply a saved theme. The reset icon reapplies the default theme.
Save, transfer and migrate your notes
Save your .blend to persist your project notes. JSON import/export provides a separate way to transfer note data.
- Click Export in the Scene Notes sidebar, choose a location and save the .json file. The export includes notes, subtasks and reference pointer information.
- To bring notes into a project, click Import, select the JSON file and review Replace Existing Notes. Leave it off to keep existing notes; enable it to clear them before importing.
- For supported older SkdSam ToDo data already stored in the current scene, click From ToDo. If no compatible legacy tasks are found, Blender reports that there is nothing to migrate.
- Save the .blend after importing or migrating.
Troubleshooting
I cannot find the Notes tab.
Check that Todo is enabled in Preferences. Move the pointer into a 3D View, press N to open its sidebar, then look for Notes. The panel is part of the 3D View.
My note is missing from the list.
Clear the search, choose All rather than Favorites or a specific category, and enable the L, M and H priority filters.
I cannot change the progress slider.
A task with subtasks calculates progress automatically. Tick its subtask checkboxes to update it.
A reference does not open.
Check that the object or collection exists in this file, that the external file path is available, or that the website URL is correct. Importing a JSON reference does not recreate its target.
The floating panel is hidden.
Open Notes > Scene Notes and enable Floating Viewport Notes UI. You can still manage notes through the sidebar.
My notes were not there when I reopened the file.
Confirm that you saved the correct .blend after adding or importing notes. Save a JSON export as a separate copy when moving note data between projects.
Capture a note, add the next steps, attach a reference, and pin the action you are working on. Check off subtasks as you go, then save your .blend.
Have questions about this product?
Login to message