 Melisa
Toon Face 1.0.0 by Melisa · Blender 5.2 or newer (tested with 5.2.3 on Windows) · EEVEE and Cycles
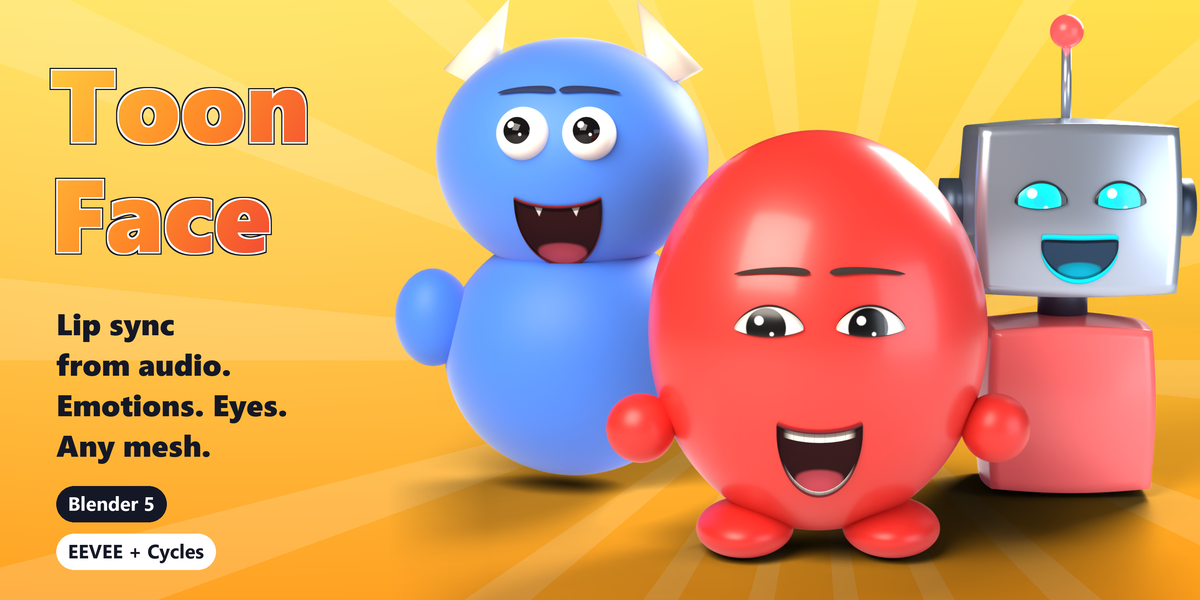
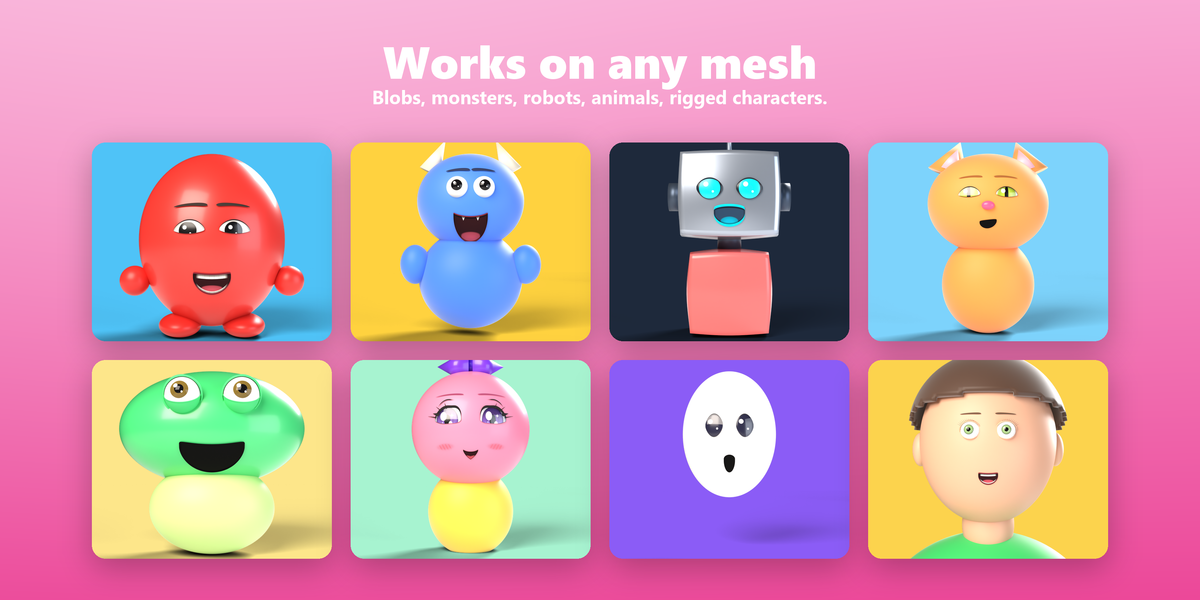
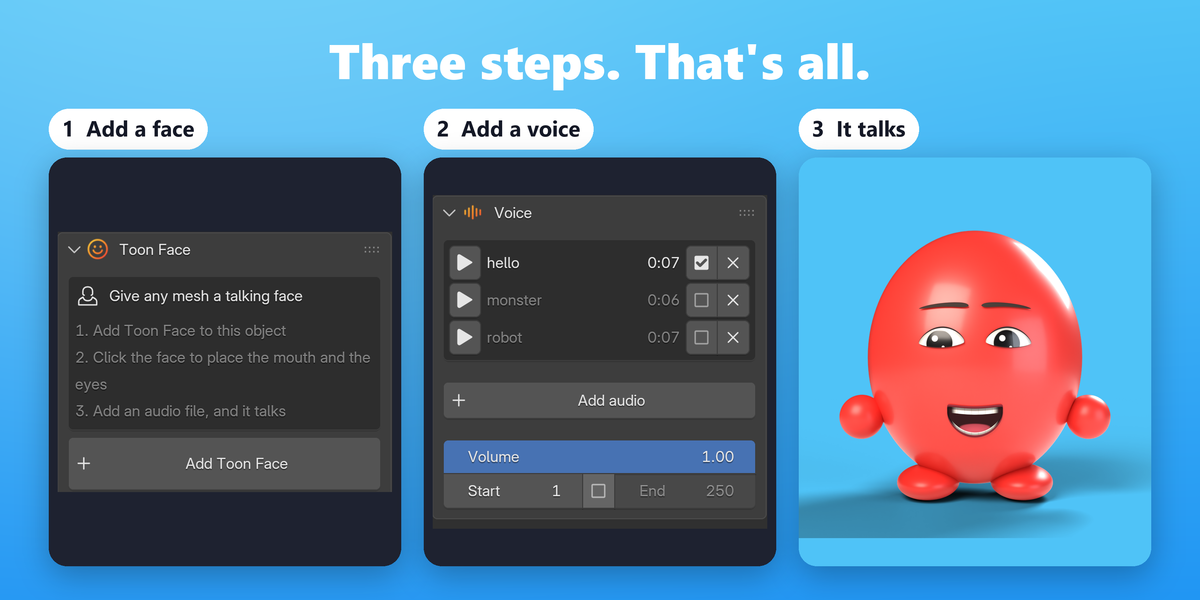
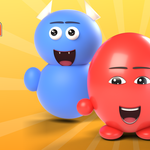
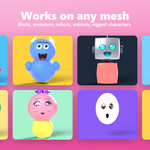
Toon Face gives any mesh a mouth and eyes that talk to an audio file. You place them with a click, add a voice recording and press Play. The mood can change over the shot, the eyes blink and look around on their own, and everything can be drawn on the surface or modelled in 3D. Your object, its materials and its other modifiers are left as they are.
1. Installation
- In Blender, open Edit > Preferences > Get Extensions.
- Click the ⌄ menu at the top right and choose Install from Disk…
- Pick toon_face-1.0.0.zip and confirm.
The add-on is enabled right away. Its panels are in the 3D Viewport's sidebar: press N and open the Toon Face tab.
Updating. Install the new zip the same way. Your scenes keep their settings.
Removing. In Get Extensions, find Toon Face and choose Uninstall from its menu. If you want to leave your scenes clean, first use Remove Toon Face on each object (section 9).
2. Quick start
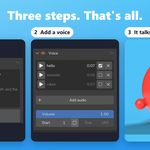
- Add a face. Select the mesh that should talk and click Add Toon Face in the Toon Face tab.
- Place it. Click Find the face to place the mouth and the eyes automatically. If you'd rather choose, click Place on model next to Mouth and click the mesh where the mouth goes, then do the same next to Eyes and click the point between the eyes.
- Give it a voice. In the Voice panel, click Add audio, choose a recording and press Play in the timeline.
The mouth and eyes get a size that suits the head when they are first placed. You can change everything later in the Eyes and Mouth panels.
3. How the panels work
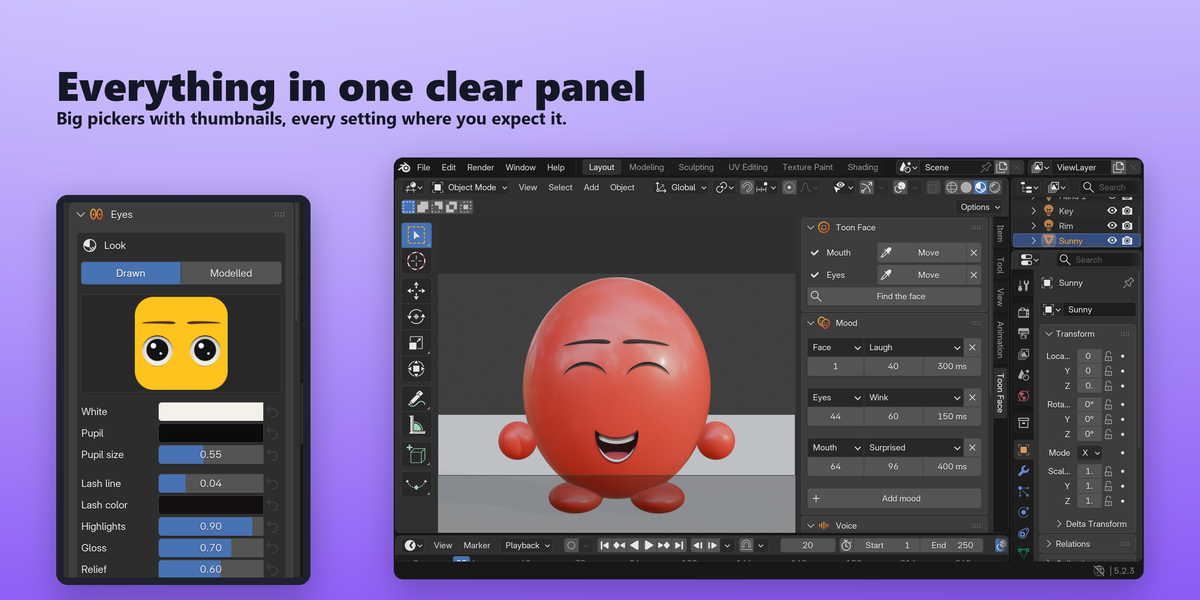
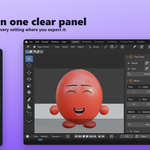
The Toon Face tab holds six panels, top to bottom: Toon Face, Mood, Voice, Eyes, Mouth and Bake. Until you click Add Toon Face, only the first one is shown. Mood and Voice start open; Eyes, Mouth and Bake start folded. Click a panel's title to fold or unfold it.
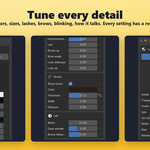
Inside Eyes and Mouth, settings are grouped in framed blocks (Look, Realism, Placement and so on).
↺ Reset. Every setting has a ↺ button on its right that sets it back to its default. It is dimmed while the setting is already at its default. For the mouth's and the eyes' Size, it brings back the size that suited the head when they were placed.
Undo. Changes made in the panels can be undone with Ctrl+Z.
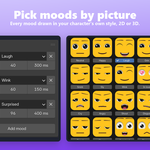
Choices with pictures. Styles and moods are picked from thumbnails, so you see the look before you choose it.
4. Toon Face panel
This is where the face goes on, and where the mouth and eyes are placed.
Before the face is added, the panel shows a three-step summary and the Add Toon Face button. It only works on mesh objects; with anything else selected, the panel asks you to select a mesh.
After the face is added, the panel has one row for Mouth and one for Eyes:
- A checkmark means the part is placed. A warning icon means it isn't yet.
- Place on model (eyedropper): click the mesh in the viewport where the part goes. For the eyes, click the point between them. The viewport header shows a hint while you click. Esc or a right click cancels.
- Move: once a part is placed, the same button is named Move. Click it and click a new spot.
- ✕ (next to Move): takes that part off the face. Place it again any time.
- Find the face: places both the mouth and the eyes by itself, looking at the object from the front (along +Y, toward the face that looks to -Y). On a character with an armature, it finds the head from a bone whose name ends in "head" (such as Head or DEF-head); on a tall figure without one, it looks at the top fifth; otherwise it uses the whole object. It also sets sizes that suit the head.
You can place the face on a posed character. Clicks are mapped back to the mesh's rest shape, so the face stays in the right spot in every pose.
5. Mood panel
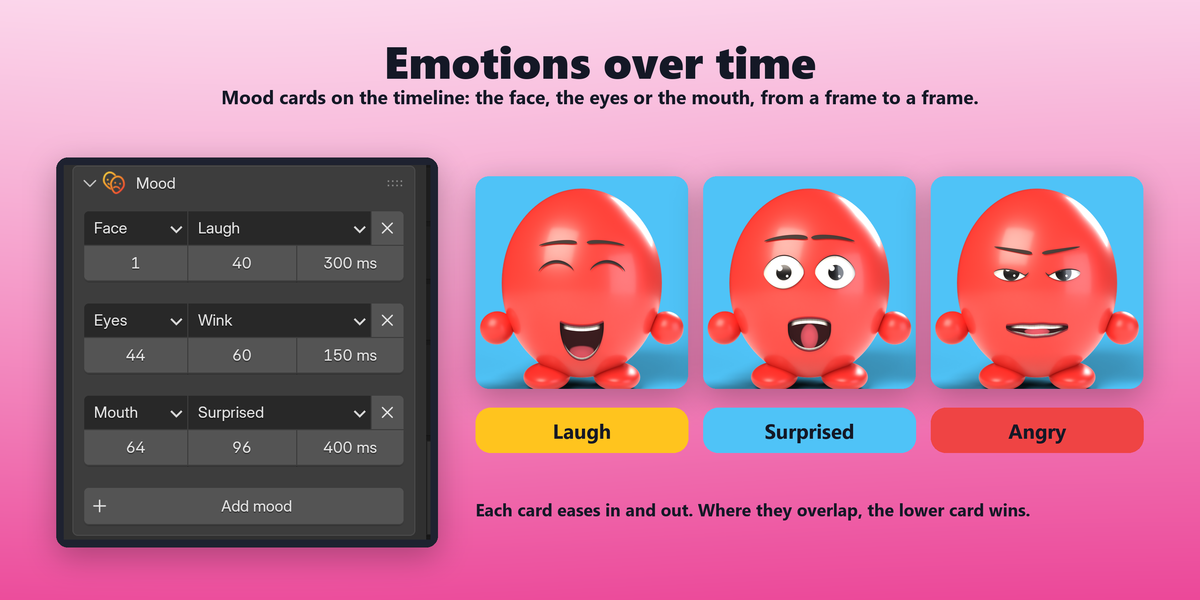
The Mood panel changes the character's expression over time. It holds a list of mood cards. With no cards, the face stays calm (neutral).
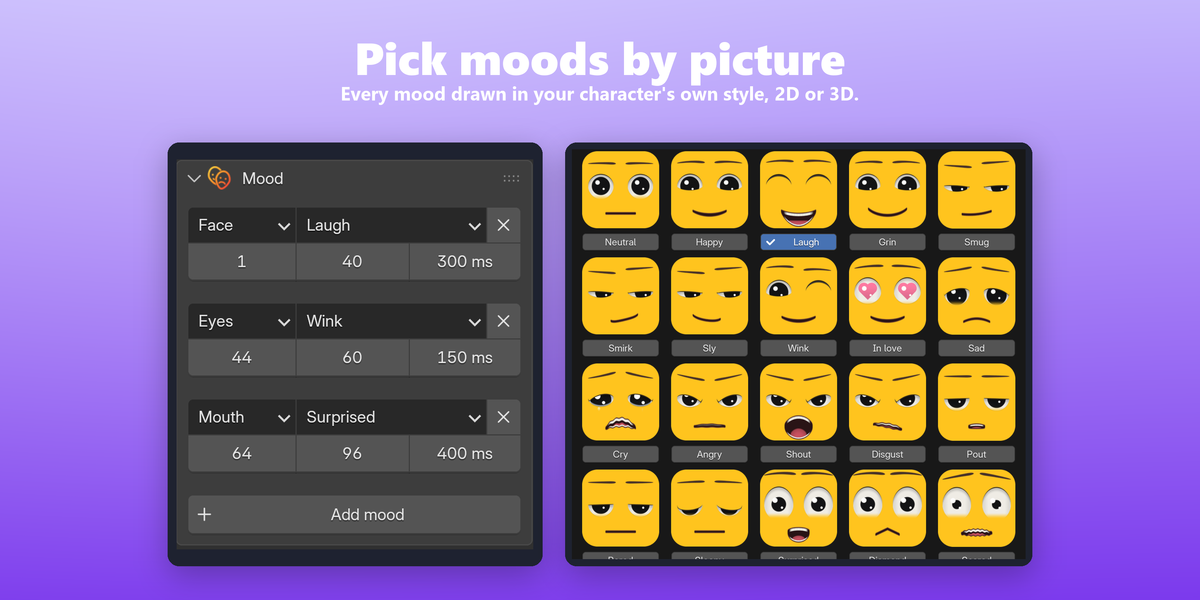
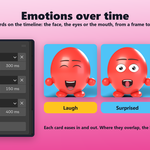
Add mood adds a card that sets a mood for the whole face, starting at the playhead and lasting two seconds. Add as many as you like.
Each card has two rows. The first row:
- Part (left): Face, Eyes or Mouth. A Face card sets a matching mood for the eyes and the mouth together. An Eyes or Mouth card changes only that part and leaves the other alone.
- Mood (middle): the button shows the mood's name. Click it to open a window of thumbnails, each with its name underneath, and click one to use it. The current one is ticked. The thumbnails are drawn in your character's current eye and mouth styles, drawn or modelled, so what you see is what you get.
- ✕ (right): removes the card.
The second row holds three number fields (hover over one to see its name):
- Start and End: the first and last frame of the mood.
- Mood change: how long, in seconds, the mood takes to come in after Start and to fade out before End. The default is 0.3 seconds; 0 switches at once. A heart, spiral or cross in the eyes can't be half there, so those switch halfway through the blend.
Overlapping cards. Where cards overlap, the lower card in the list wins. Put long, background moods near the top and short accents (a wink, a gasp) below them.
Moods available
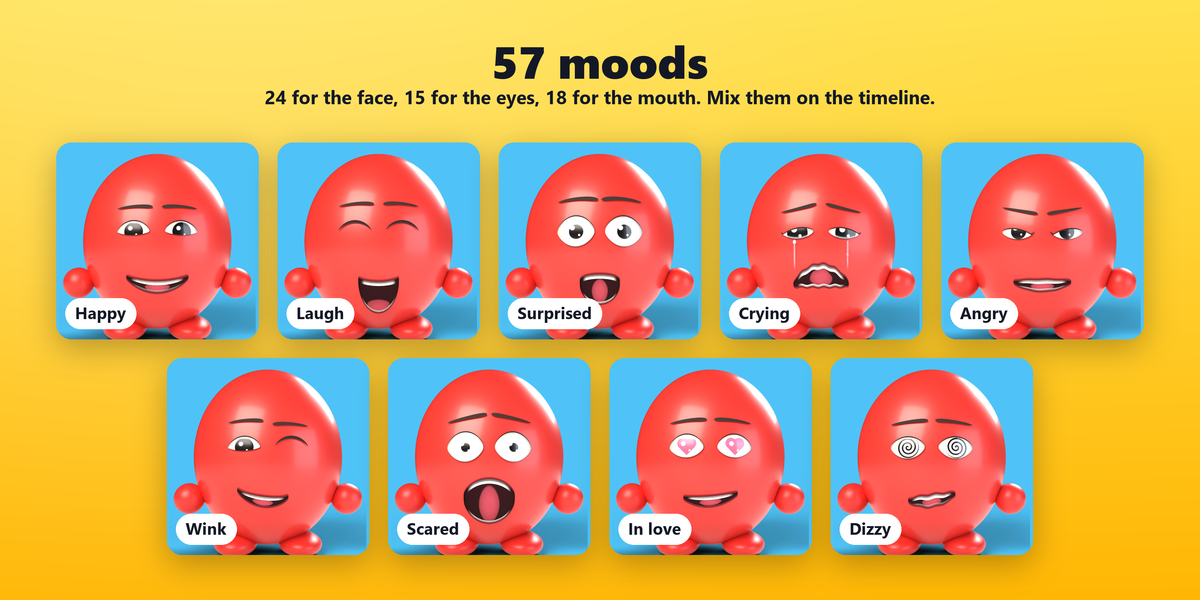
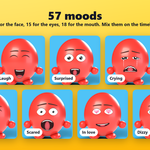
- Face (24): Neutral, Happy, Laugh, Grin, Smug, Smirk, Sly, Wink, In love, Sad, Cry, Angry, Shout, Disgust, Pout, Bored, Sleepy, Surprised, Diamond, Scared, Nervous, Confused, Dizzy, Knocked out.
- Eyes (15): Neutral, Happy, Joy ^^, Wink, In love (heart pupils), Sad, Crying (with tears), Angry, Suspicious, Bored, Sleepy, Surprised, Scared, Dizzy (spirals), Knocked out (crosses).
- Mouth (18): Neutral, Happy, Laugh, Grin, Smug, Smirk, Sly, Sad, Cry, Angry, Shout, Disgust, Pout, Surprised, Diamond (a cartoon caret, ^), Scared, Nervous, Confused.
The mood shapes the mouth at rest and while it talks, and shapes the lids, brows and pupils. How strongly it shows is set by Expressiveness in the Eyes and Mouth panels.
6. Voice panel
The Voice panel is the scene's audio library. Every audio you add is listed here, and any face in the scene can talk to any of them.
Each audio is a card showing its name and length:
- ▶ Listen: plays the audio. Click again (the button shows a pause icon) to stop.
- Checkbox (Talk to this audio): makes the selected object talk to this audio. Tick a different one to switch. Click a ticked one to untick it: with no audio, the mouth chatters on its own. Audios the object doesn't talk to are dimmed.
- ✕ Delete audio: removes it from the library after you confirm. Every face that talked to it goes quiet.
Below the cards:
- Add audio: choose a recording in MP3, WAV, OGG, FLAC, M4A, AAC, OPUS or WebM. The speech is read once, when it's added, and the selected object starts talking to it right away. Up to the first 10 minutes of a file are used.
- Volume: the audio's loudness in playback and in the rendered video. Shown once the object talks to an audio.
- Start: the frame it starts talking at.
- Checkbox (Stop at) and End: tick it to stop talking at a frame of your choosing. Otherwise it talks until the audio ends (or, without audio, keeps chattering).
The sound strip. The audio is added to the Video Sequencer as a sound strip named LS followed by the object's name. That is how you hear it while animating and how it ends up in your video. Don't edit that strip by hand: the add-on keeps it in step with Start, End and Volume.
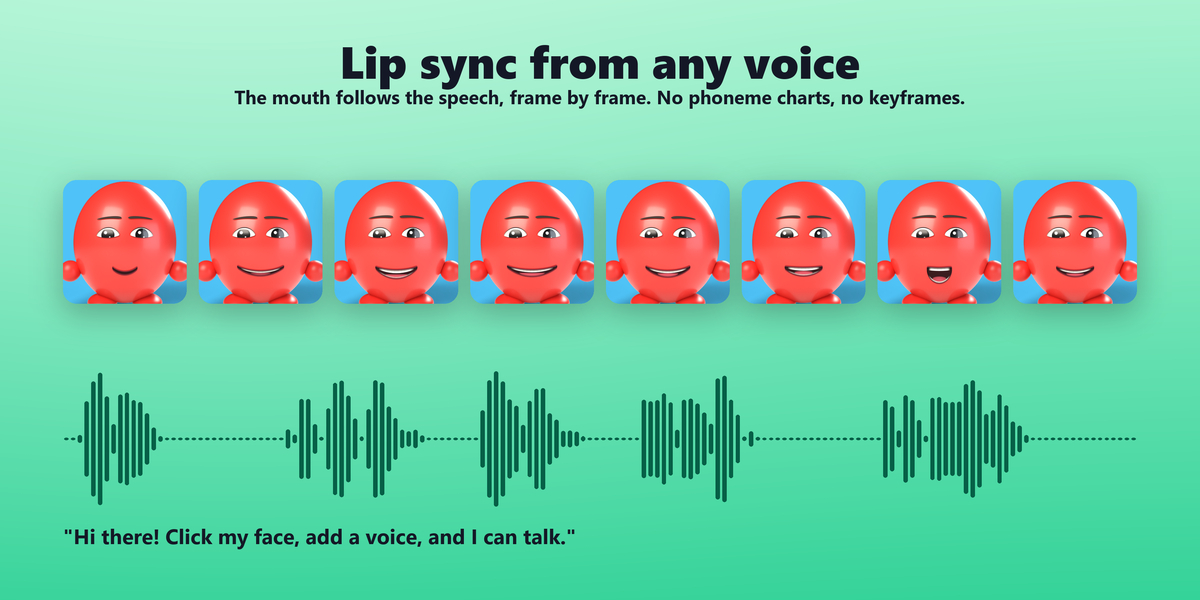
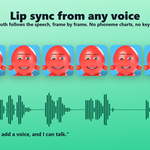
How the speech is read. Toon Face listens to the sound, not to words. Loudness opens the mouth, and the first vowel formant sets how far the jaw drops (wide on A, barely on I and U). The second formant rounds the lips for O and U and stretches them wide for I and E. A sharp, high hiss (S, Z) shows the teeth in a wide slit; a softer, lower one (F, V, T, SH) tucks the lower lip under the upper teeth. A sudden drop in loudness presses the lips shut (M, B, P), and the tongue rises toward the teeth on short consonants such as L, T, D and N. The vowels are measured against the speaker's own range, so a child, a woman and a deep voice all reach every shape.
Audio added with an older version is read again the next time the .blend is opened, as long as its file is still there. The mouth moves a hair before the sound, as a real one does. Because nothing depends on a dictionary, it works with any language and any voice.
7. Eyes panel
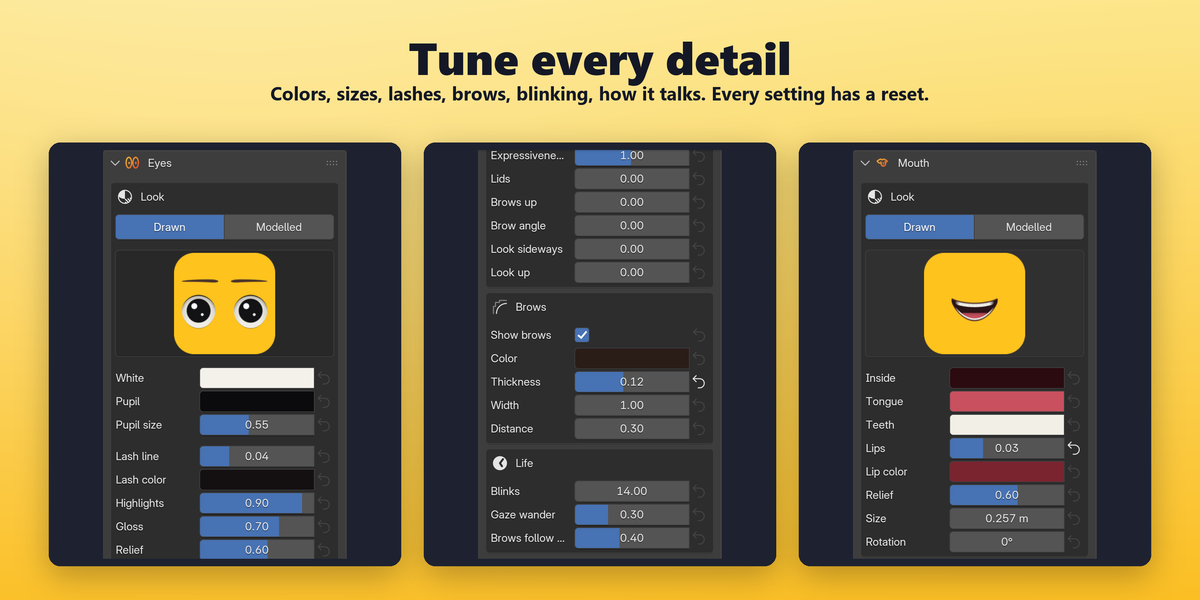
Look
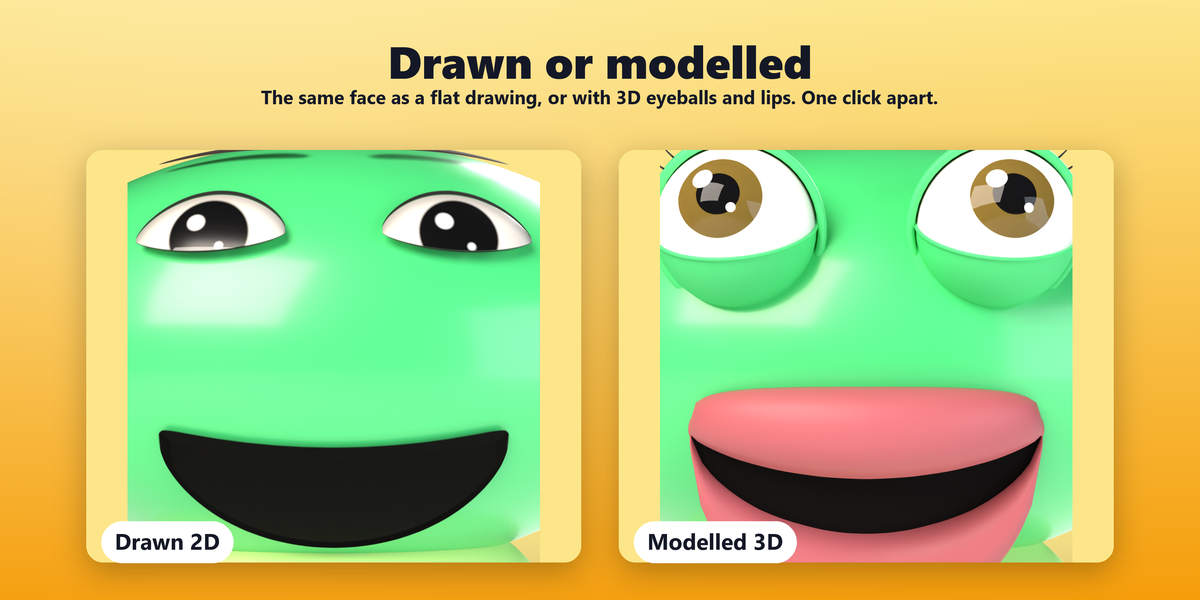
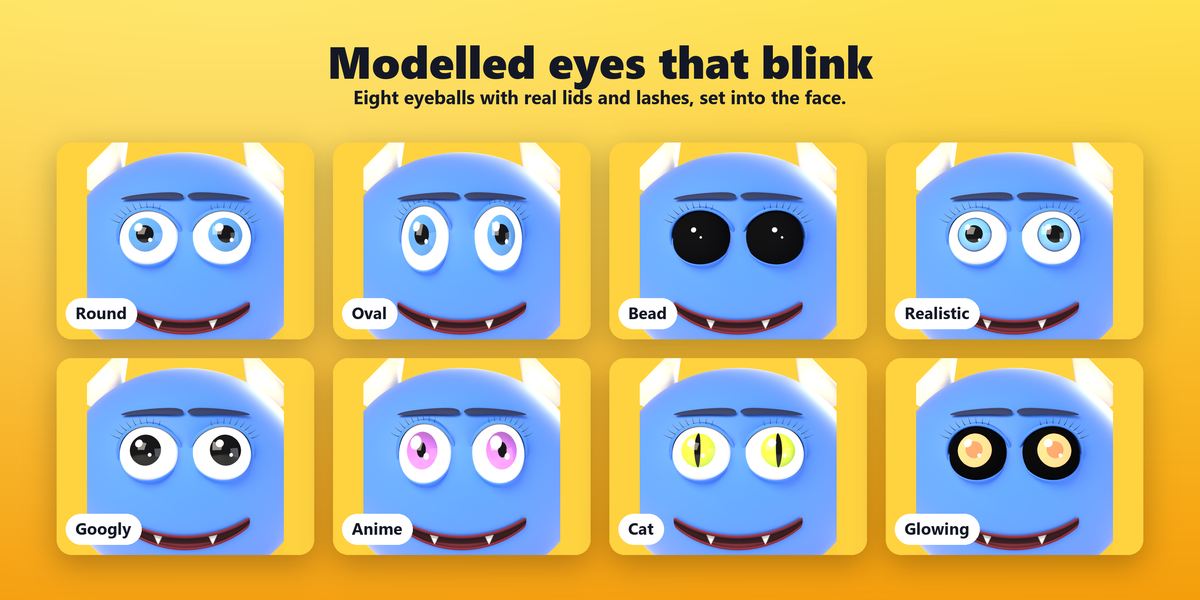
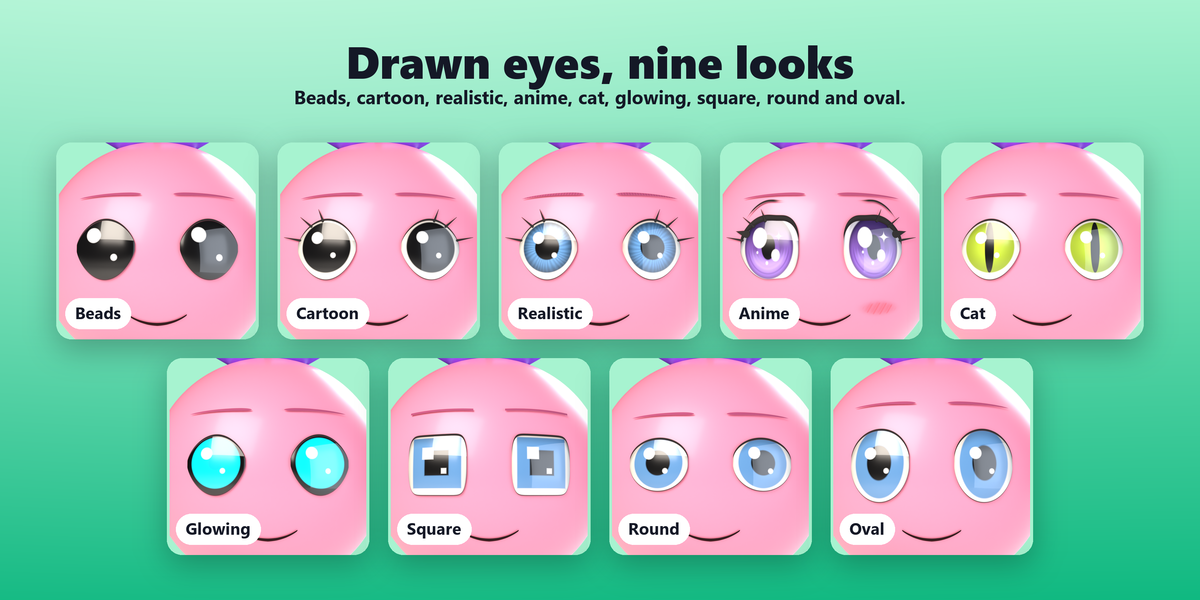
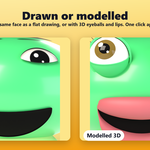
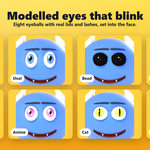
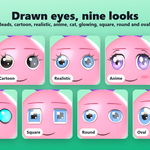
- Drawn / Modelled: drawn eyes are painted on the skin; modelled eyes are real 3D eyeballs with lids, set into the face.
Drawn eyes
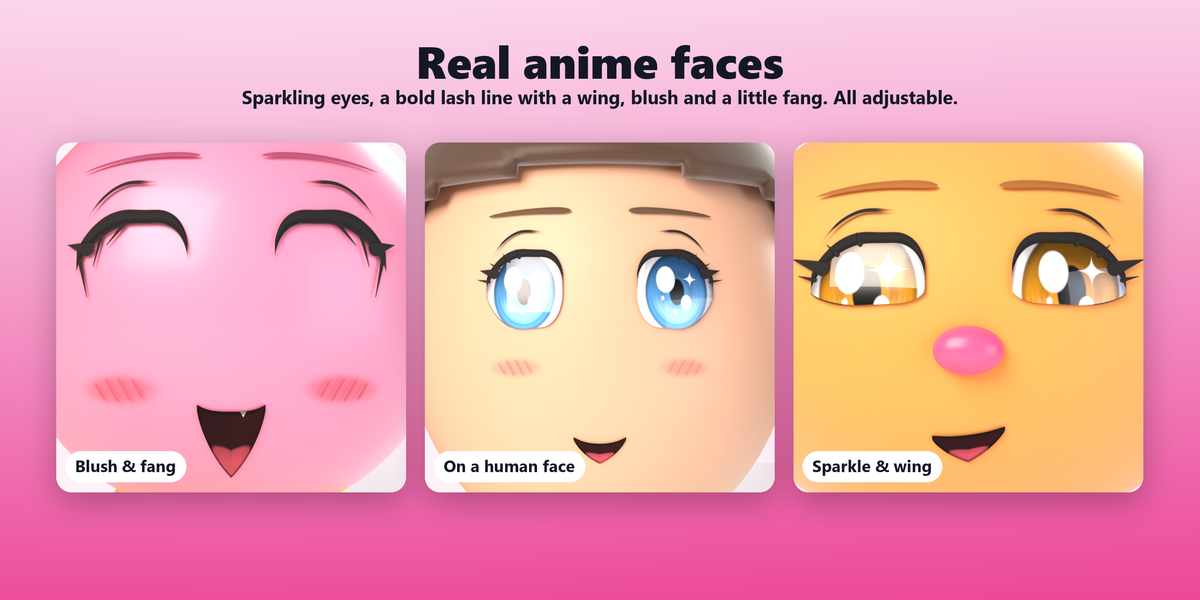
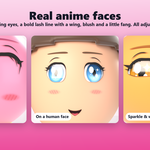
- Look: Beads, Cartoon, Realistic, Anime, Cat, Glowing, Square, Round and Oval.
- Colors: White, Iris and Pupil. Beads have a single Color. Cartoon eyes have no iris color, since their pupil is one big disc.
- Iris size and Pupil size (Cartoon shows just Pupil size; Beads have neither).
- Lash line (its width) and Lash color.
- Highlights: the catchlights in the eyes.
- Gloss: how shiny they are.
- Relief: how much they stand out in the light.
Anime block (Anime look only):
- Sparkle: a twinkling star and specks of light in the eyes.
- Eyeliner wing: how far the upper lash line flicks out past the outer corner.
- Lower lash line: the stroke along the lower lid at the outer corner.
- Blush: pink, hatched cheeks under the eyes. Blush color sets its color.
Modelled eyes
- Eye look: Round, Oval, Beads, Realistic, Googly, Anime, Cat and Glowing.
- Stand out: how far the eyeballs bulge out of the face.
- Iris size, Pupil size, Gloss.
- Iris, White and Pupil colors.
- Eyelids: turn the lids on or off. Lids skin-coloured matches them to the mesh's skin; pick a Lid colour to give them their own.
Realism
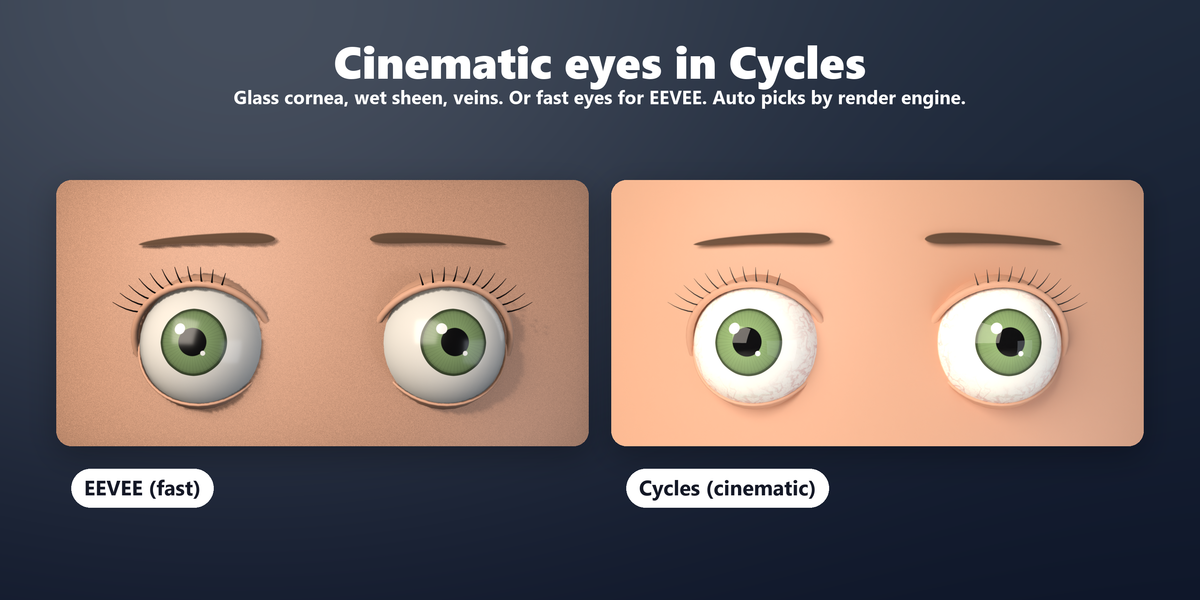
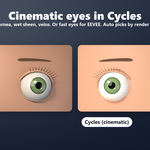
- Quality: Auto (by render engine) follows the scene's render engine. Cycles (cinematic) gives modelled eyes a clear glass cornea with refraction over the iris (not on Beads or Glowing) and soft light scattering in the white, and gives drawn eyes a wet clear coat. EEVEE (fast) is light enough for smooth viewport playback and EEVEE renders.
- Veins: veins and capillaries on the white of the eye, on drawn and modelled eyes. Vein color sets their color.
Lashes
- Lashes: the length of the upper lashes. 0 hides them.
- Lash count: how many on each eye (1 to 5).
- Modelled eyes also show Lash color here.
Lashes work on drawn and modelled eyes and close with the lids when the eyes blink.
Placement
- Size: one eye's width.
- Spacing: the distance between the eyes, in eye widths.
- Height: moves the eyes up or down.
- Rotation: turns the pair on the face.
- Drawn eyes also have Tilt, Proportions (height against width) and Roundness. Round and Oval have a fixed shape, so they show only Tilt.
Expression
Adjustments on top of the current mood:
- Expressiveness: how strongly the mood shows. 0 is neutral, above 1 exaggerates.
- Lids: closes or opens the lids.
- Brows up and Brow angle.
- Look sideways and Look up: where the eyes look.
Brows
- Show brows: turn them on or off.
- Color, Thickness, Width (their length against the eyes) and Distance (how far above the eyes).
Life
- Blinks: blinks a minute. About 15 is natural, 0 never blinks.
- Gaze wander: how much the eyes dart about on their own.
- Brows follow speech: lifts the brows on stressed words.
8. Mouth panel
Look
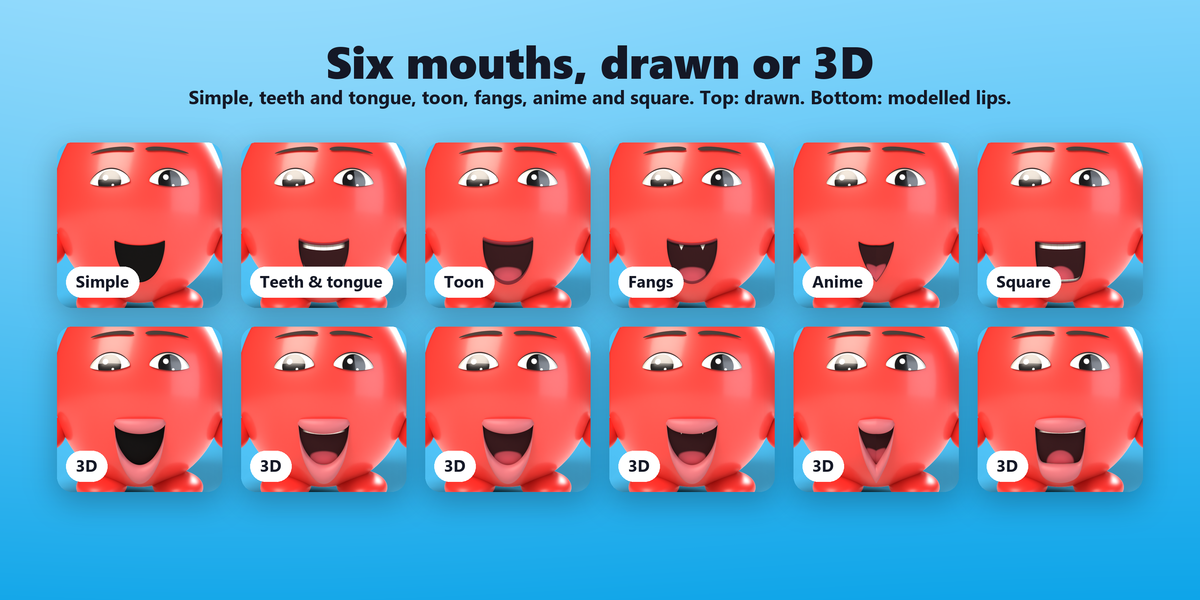
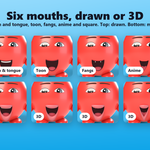
- Drawn / Modelled: with Modelled, 3D lips follow the drawn mouth's outline; the inside stays drawn. The style thumbnails show the lips when Modelled is on.
- Look: Simple (a plain dark mouth), Teeth and tongue, Toon, Fangs, Anime and Square.
- Colors: Inside, Tongue, and Teeth (for Teeth and tongue, Fangs, Square, and Anime with its fang). Simple has no color settings.
- Lips (the drawn lips' width) and Lip color, for every look except Simple and Anime.
- Little fang (Anime only): one small fang peeking from the upper lip.
- Relief: how much the lips stand out and the inside sinks in, in the light.
- Size: the mouth's width.
- Rotation: turns the mouth on the face.
Lips (Modelled only)
- Thickness, Lower lip (how full it is), Colour and Gloss.
Shape
- Soft corners: round corners instead of pointed ones. On by default.
- Thickness: the thickness of the closed mouth's line.
- Expressiveness: how far the mood is pushed.
- Curve, Tilt, Wave and Shift: bend, tilt, wobble or slide the mouth by hand, on top of the mood.
Talking
- Opens up to: how wide the mouth opens on the loudest sounds.
- Liveliness: how lively the talking is.
- Threshold: sounds quieter than this keep the mouth shut.
- Smoothness: how smoothly the mouth flows from one shape to the next.
- Calm twitches: calms small twitches and flickers.
9. Bake panel
While the add-on is installed, the face is worked out live on every frame. Baking writes it to keyframes instead.
- Bake to keyframes: writes the drawn face's animation for the scene's frame range to keyframes on the object, so it plays and renders without the add-on, for example on a render farm. After baking, the panel reminds you: "Baked. Bake again after you change settings."
- ✕ Remove baked keys (next to the bake button): removes the baked keyframes and makes the face live again.
- Remove Toon Face: takes the face off the object completely: its drawing, its modelled eyes and lips, its sound strip and any baked keys. The audio stays in the scene's library for other characters.
Baking covers the drawn mouth and eyes. Modelled eyes and lips are moved by the add-on on every frame, so they still need Toon Face installed to animate.
10. Rigged characters
Add the face to the mesh that has the face on it, the one with the Armature modifier. The face is drawn on the mesh as it is after the armature, shape keys and subdivision, so it follows every pose. No face bones or shape keys are needed, and none are created.
Modelled eyes and lips hang from the bone that moves that part of the face most (usually the head). They are kept in a collection named after the object with Lipsync at the end, and they can't be selected, so clicks in the viewport go to your character.
Under the hood, the face is a Geometry Nodes modifier named Lipsync, kept last in the modifier stack. Leave it there.
11. Keyframing settings
Besides mood cards, you can keyframe settings like any Blender property: hover over it and press I. This works live for the sliders and toggles that shape the motion:
- Eyes: the Expression block (Expressiveness, Lids, Brows up, Brow angle, Look sideways, Look up) and the Life block (Blinks, Gaze wander, Brows follow speech).
- Mouth: the Shape block (Soft corners, Thickness, Expressiveness, Curve, Tilt, Wave, Shift) and the Talking block.
Looks, colors, sizes and placement are meant to be set once per shot.
12. Rendering
The face renders in EEVEE and Cycles like the rest of your scene.
Video with sound. In Output Properties, set the output to a video format and, under Encoding > Audio, pick an audio codec such as AAC. Blender mixes the voice into the file.
Image sequences. Image files carry no sound. Render the sound with Render > Render Audio… and combine it with the images in a video editor or in Blender's Video Sequencer.
13. Language
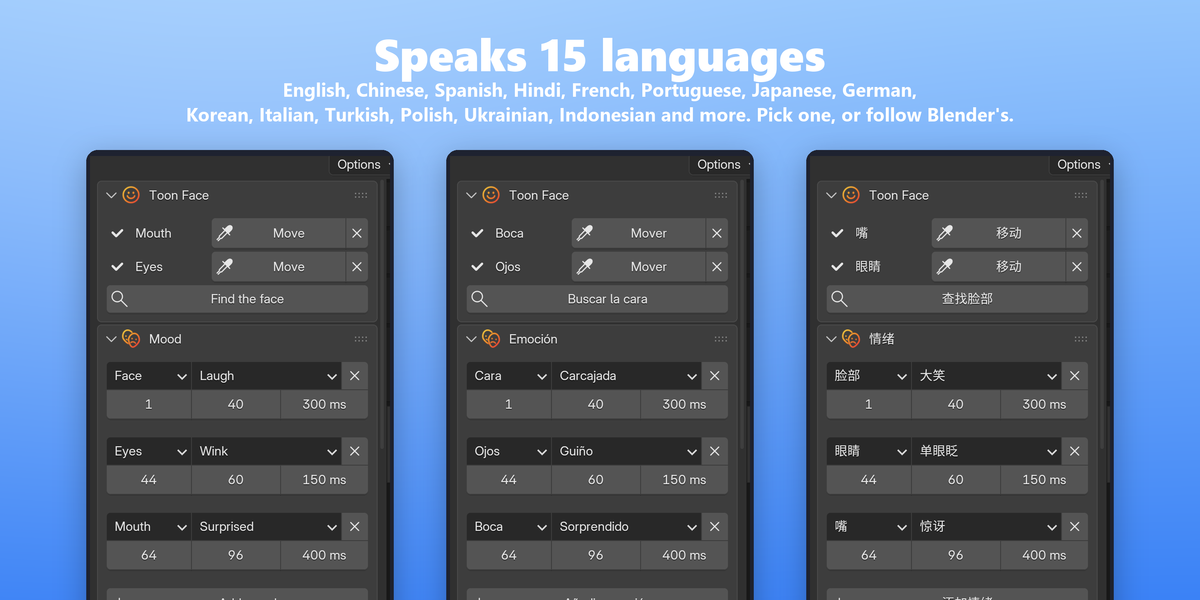
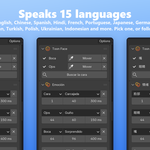
The panel speaks 15 languages: English, Chinese, Hindi, Spanish, French, Portuguese, Russian, Japanese, German, Korean, Italian, Turkish, Polish, Ukrainian and Indonesian.
Open Edit > Preferences > Add-ons, find Toon Face and expand it. Language is Automatic (Blender's language) at first: it follows Blender's interface language when it's one of these and uses English otherwise. Pick a language to use it regardless of Blender's.
Button tooltips follow the panel's language; the tooltips of individual settings stay in English.
14. Tips
Good audio. A clean, dry voice recording works best: one speaker, little background music or noise, no heavy reverb. The mouth reads loudness, so music under the voice keeps it moving. If you only have a mixed track, lower Liveliness and raise Threshold.
Quiet or mumbled voices. Toon Face measures each file against its own quiet and loud parts, so a quiet recording still talks. If the mouth stays too closed, lower Threshold or raise Opens up to.
Fixing placement. If the mouth or eyes land in the wrong spot, click Move and click again, or nudge them with the Placement settings (Height, Spacing, Rotation, Size). If Find the face misses, your character probably faces a direction other than -Y; place by click instead.
Drawn or modelled? Drawn parts are lightest and look clean on stylized characters and in close-ups with flat lighting. Modelled eyes and lips catch real light and shadow and suit 3D, cinematic shots. You can mix them: drawn eyes with a modelled mouth, or the other way round.
It looks like a sticker up close. Raise Relief on the mouth or eyes, or switch them to Modelled.
Moods that feel abrupt. Raise Mood change on the card. For snappy cartoon timing, set it to 0.
Render farms. Bake before you send the file (Bake panel). Without the add-on on the farm and without baking, the drawn face can't update and would stay on a single frame. If you use modelled eyes or lips, the farm needs Toon Face installed. Send the audio file along too if you want sound in the video.
Keep the audio file. The speech is stored in the .blend, so the mouth keeps talking even if the audio file moves. Listening, the sound strip and the voice in your video still need the file where it was.
15. Troubleshooting
The panels don't show. Select a mesh object. The panels beyond the first appear only after you click Add Toon Face.
The mouth or eyes don't show. Check that they are placed (a checkmark in the Toon Face panel). The face is drawn where you clicked; a mouth placed on the back of the head shows on the back. Very low-poly meshes work, but a mesh with a few big faces shows the face flatter.
"That click missed the object." Click directly on the selected mesh, not on the background or another object.
"Couldn't find the face." Place the mouth and eyes with Place on model instead.
"Couldn't read this audio file." Convert the file to WAV or MP3 and add it again.
The mouth moves too much or too little. Use Opens up to and Liveliness. For flickering, raise Smoothness or Calm twitches.
My changes don't show after baking. Baked keys drive the drawn face. Click Bake to keyframes again, or ✕ to make it live.
Playback is slow. Each face is worked out every frame. With many characters, bake the ones you are not editing, use drawn parts while animating, or set the eyes' Quality to EEVEE (fast).
No sound in the video. Pick an audio codec in Output Properties (section 12), and check that the sound strips are not muted in the Video Sequencer.
Something went wrong. Open Window > Toggle System Console (Windows) or start Blender from a terminal, and send the messages that start with Lipsync through the product page.
16. Supported versions and platforms
- Blender: 5.2 or newer.
- Tested: Blender 5.2.3 on Windows.
- macOS and Linux: Toon Face is pure Python and uses only what ships with Blender, so it should work there, but it has not been tested on those systems yet.
- Render engines: EEVEE and Cycles.
- Internet: not needed. Everything runs on your computer.
Have questions about this product?
Login to message
| Blender Extension Compatible | Yes |
| Published | about 2 hours ago |
| Blender Version | 5.2 |
| Extension Type | Add-on |
| Render Engine Used | Cycles, Eevee |
| License | GPL |
Discover more products like this
lip sync audio Facial Animation lipsync anime cartoon face talking character mouth emotions eyes toon character animation