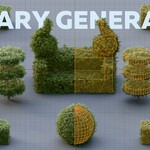
Topiary Generator
 multlabs






Installation
The generator is provided as a Blender Asset Bundle.
Steps to Install:
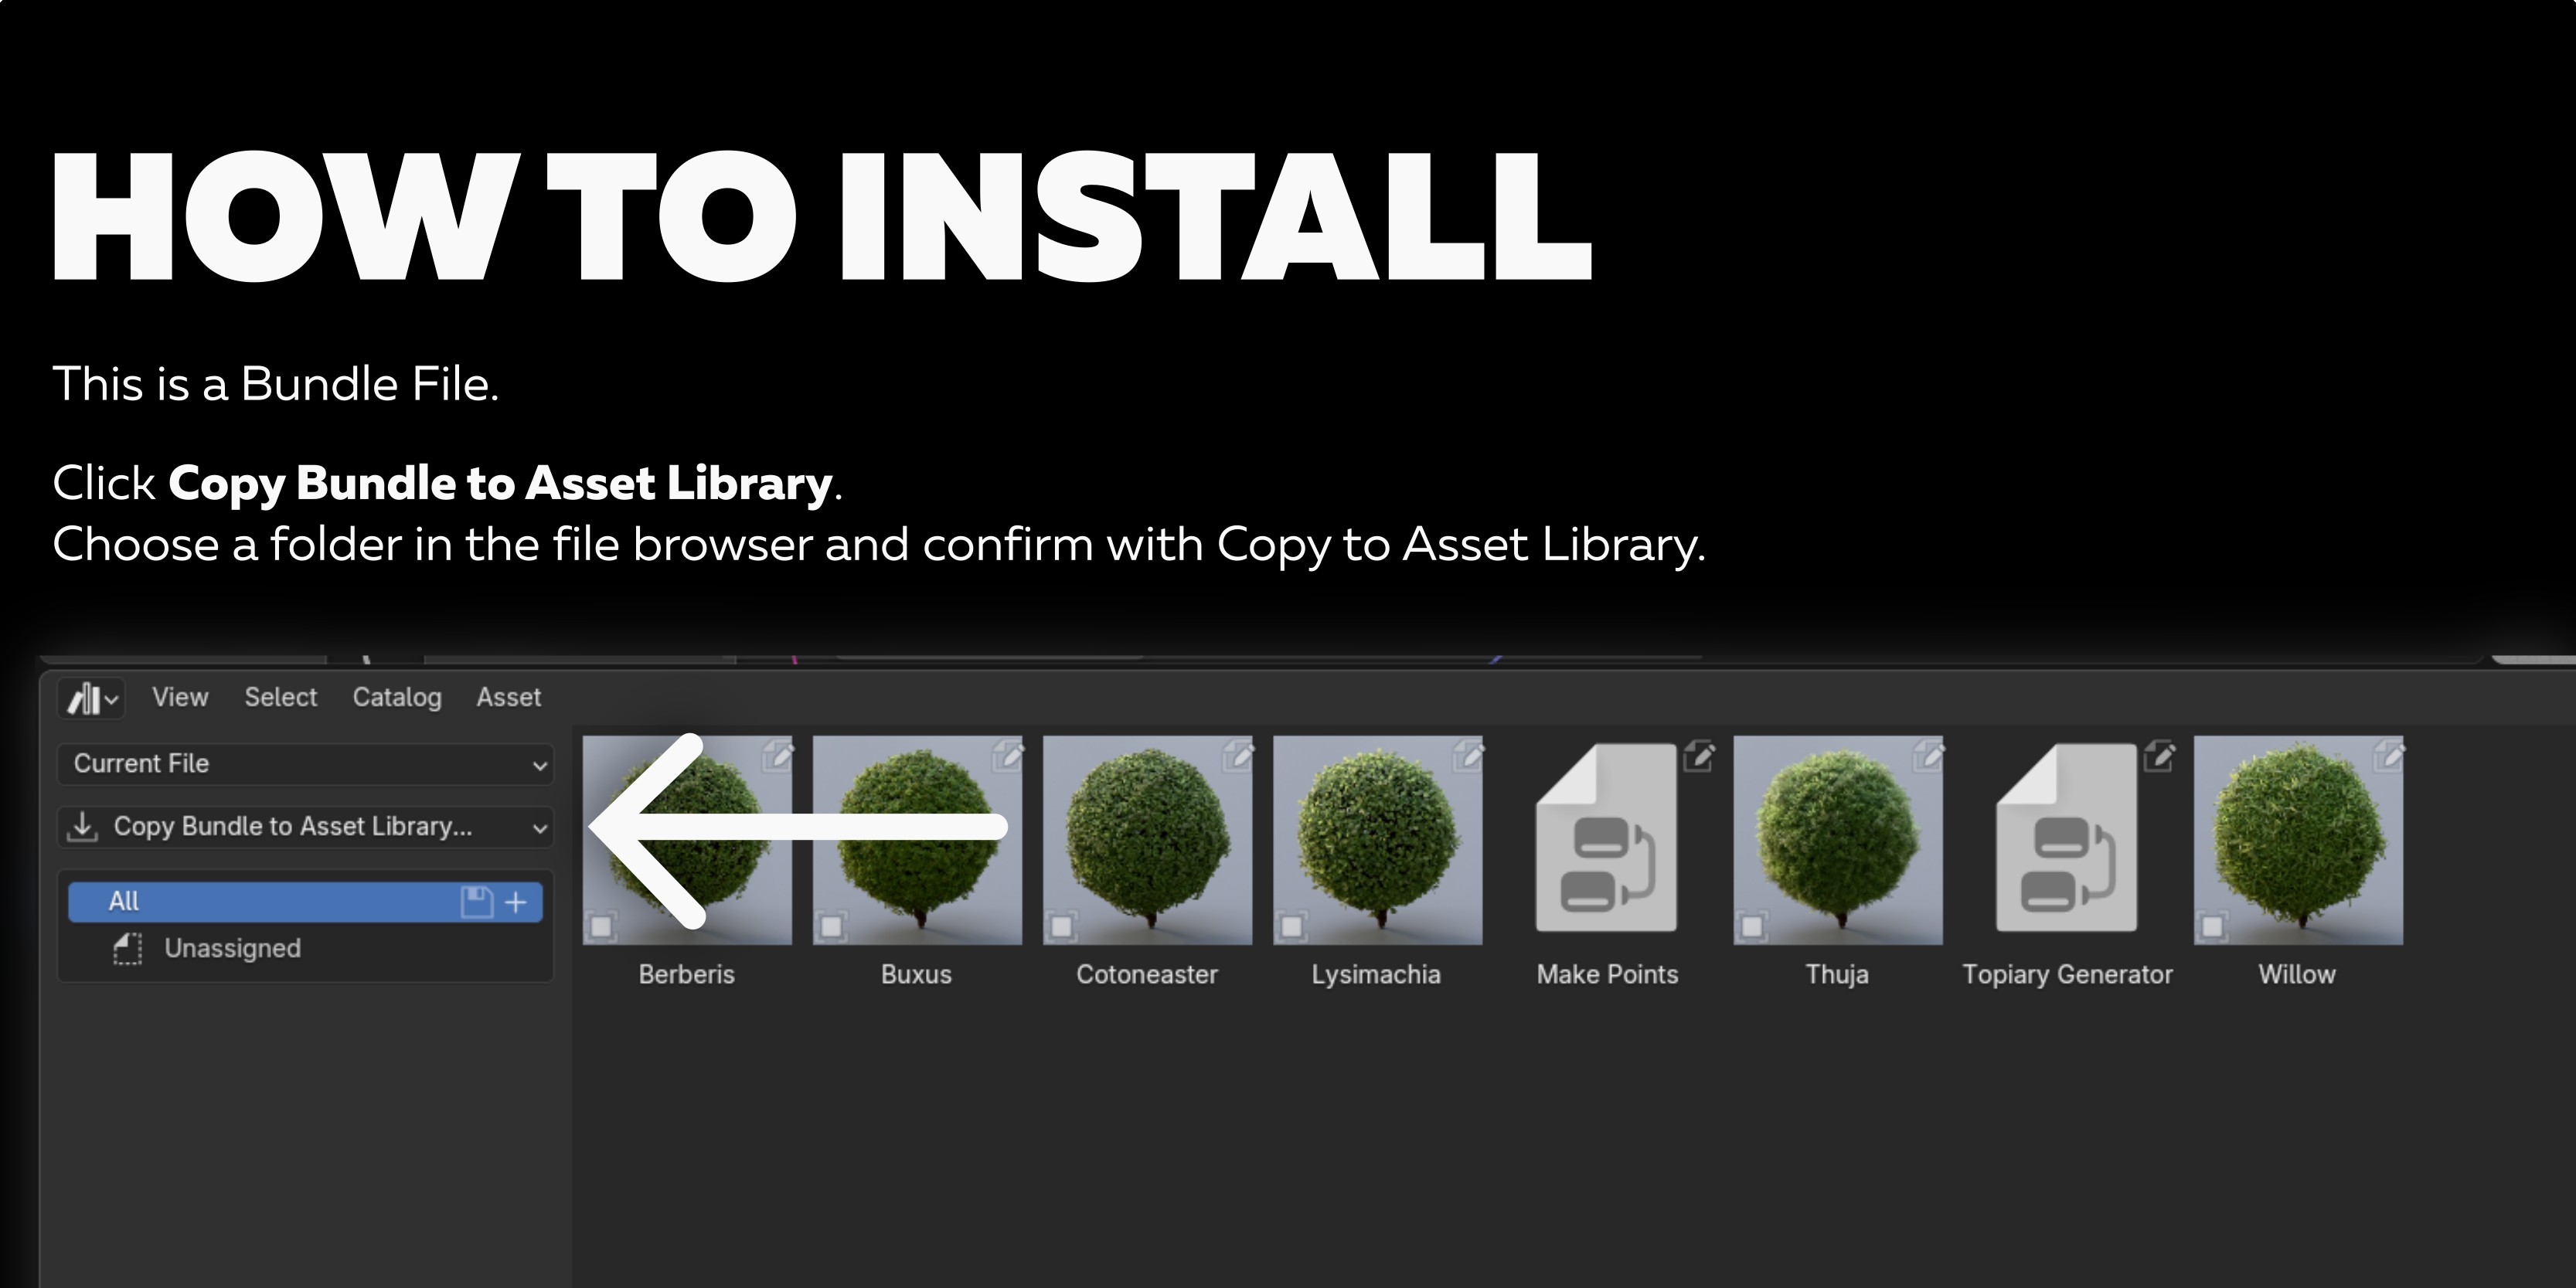
Download and open the
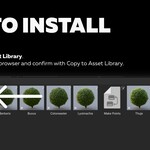
Topiary_Generator_Bundle.blendfile in Blender.Open the Asset Browser (if not visible, enable it via
Editor Type > Asset Browserand set the Asset Browser’s source to Current File.).Click the Copy Bundle to Asset Library button and choose a library to save to (default: User Library).
Select your target Asset Library (or use default one).
In the file browser, navigate to where you want to save the bundle and click Copy to Asset Library.
-
The bundle and its asset catalogs are now integrated into your library, ready for use.
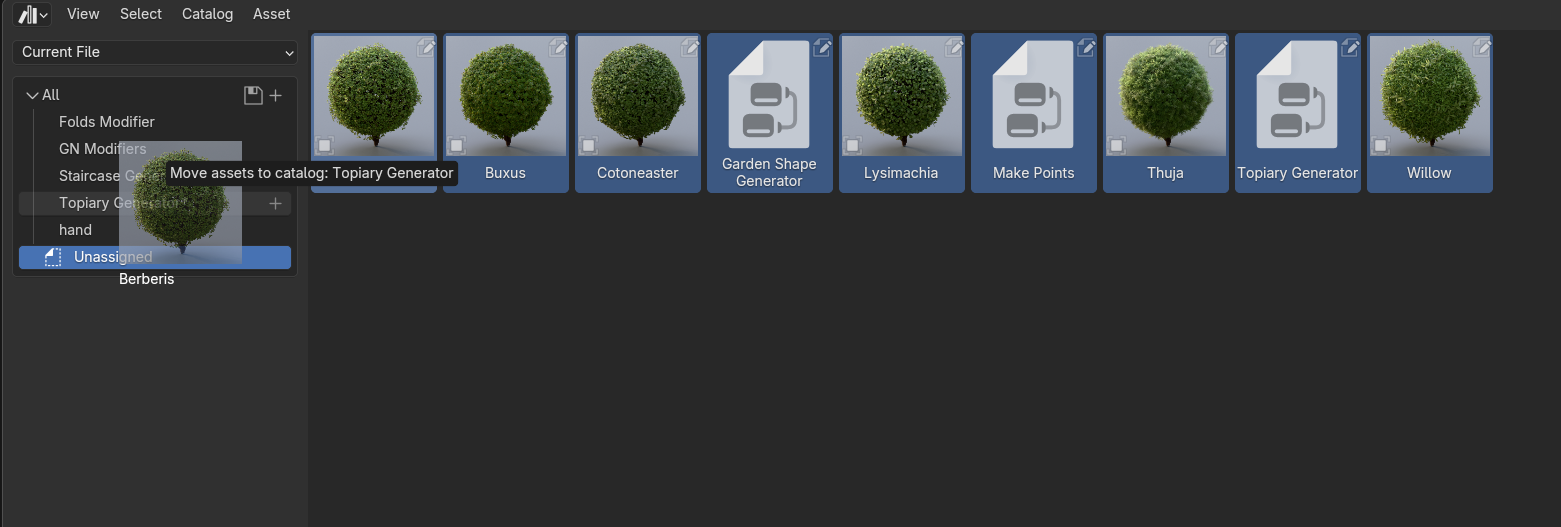
Optionally, you can create a new asset folder for topiary and move all assets from Unassigned into that folder:
Basic Workflow
1. Adding a Preset Topiary to Your Scene
In the new scene, open the Asset Browser and folder where assets are located.
- Set asset browser mode to append
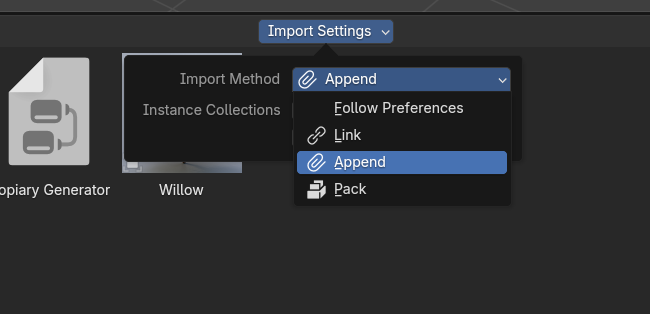
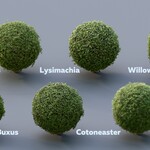
Drag and drop any preset (e.g., “Berberis,” “Buxus”, “Cotoneaster”, etc) into your 3D Viewport.
2. Editing the Preset Shape
Select the added topiary object.
Edit mesh. If leafs disappear then you delete existing mesh and add new, make sure that you have selected only topiary, not leafs models (they are also selected then drag and drop asset into the scene)
3. Applying the Generator to Your Own Mesh
Drag and drop any preset (e.g., “Berberis,” “Buxus”, “Cotoneaster”, etc) into your 3D Viewport.
Select your custom mesh in the scene, then the preset with Shift.
Copy modifiers from a preset topiary to your mesh using Blender’s standard
Ctrl + L > Copy Modifiers.
Customization & Parameters
If you want to make your own preset or adjust the current one.Preset uses 3 modifiers.
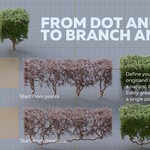
1) Scatter on Surface is the default Blender's modifier introduced in 5.0. This modifier defines branch locations on the surface.
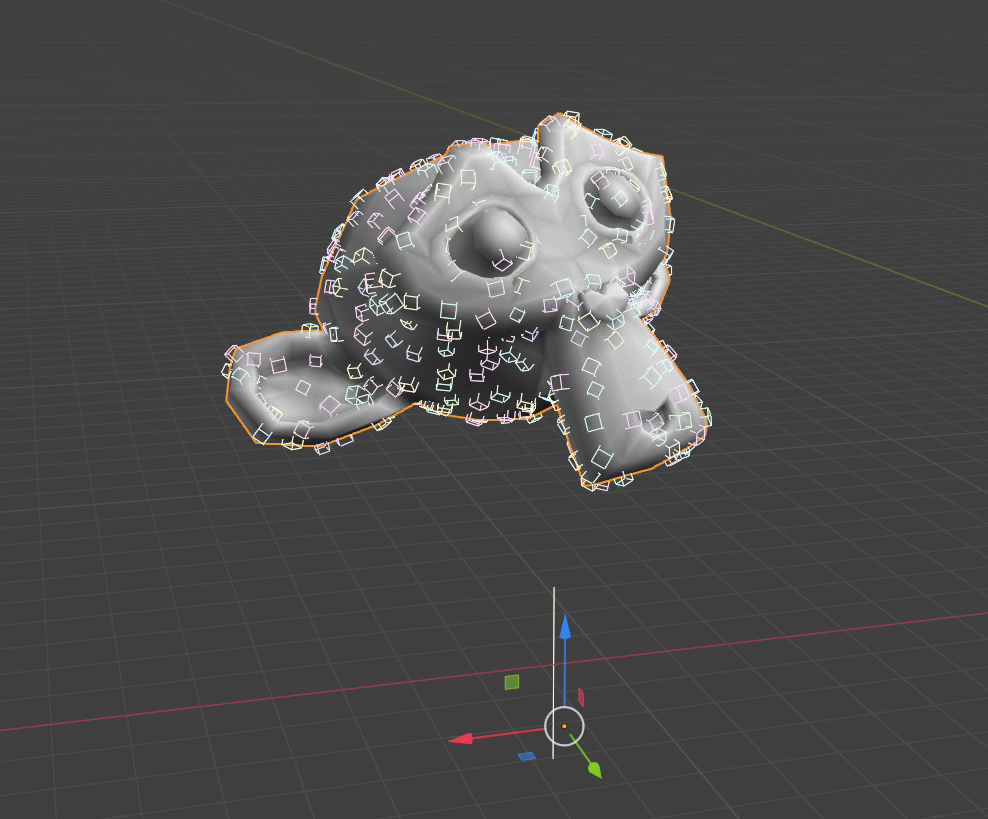
2) Make points this modifier converts instances into points with some additional data like branch offset, rotation and scale.
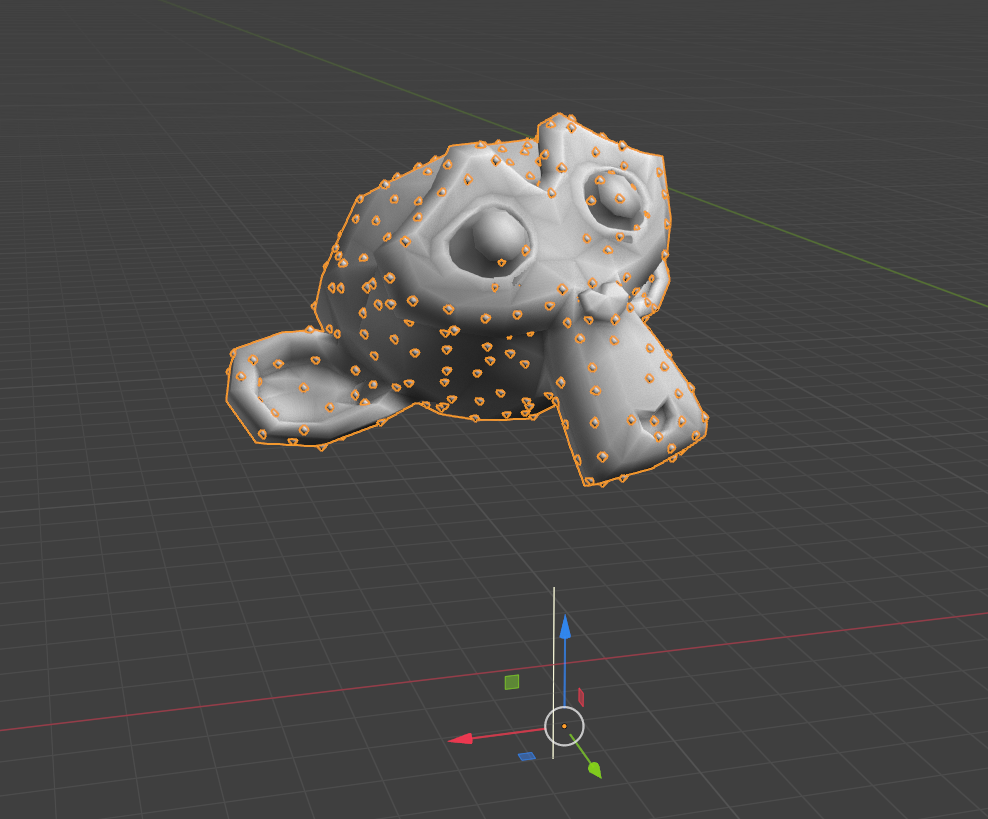
3) Topiary generator itself. Uses points and mesh data to grow the topiary.
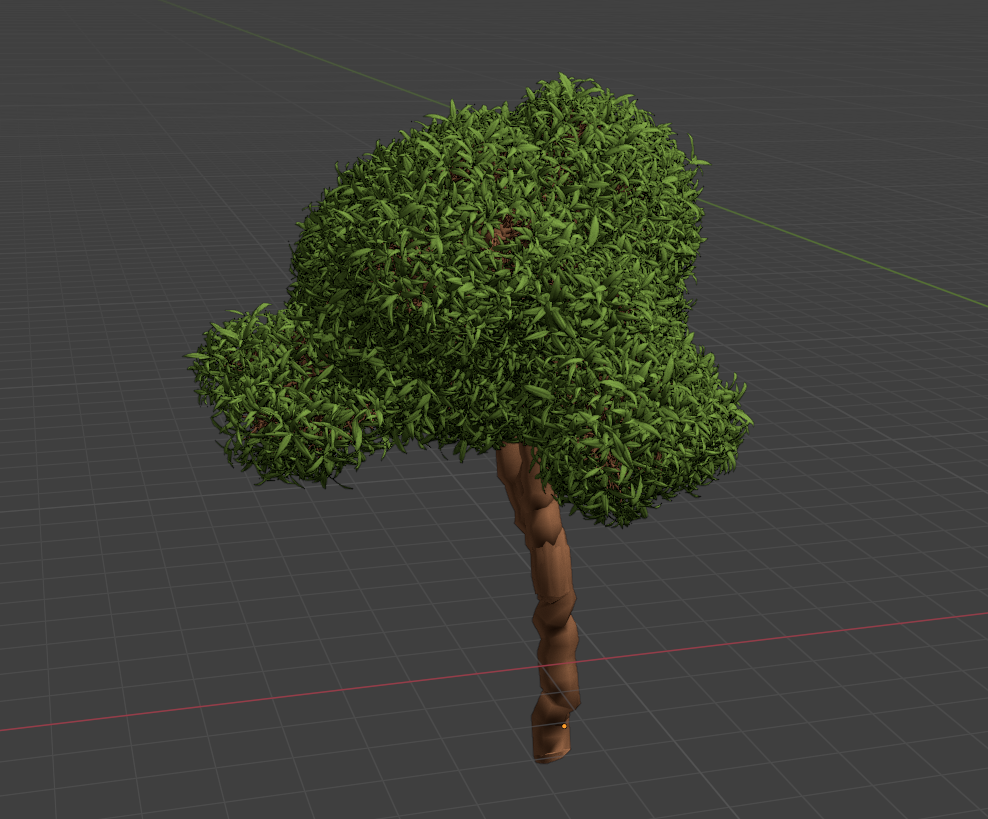
Points are used to spawn branches across the surface.
Mesh is used to define stating position of trunk. Use loose points or edges to define where trunk stats growing.
Tips & Best Practices
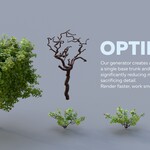
Disable Trunk generation if you don't need it. Trunk is the most heavy part of topiary generator.
Use Vertex Groups for Control: For advanced shaping, you can use vertex groups in your base mesh to influence where foliage appears.
Combine generators: You can stack two or more generators to add different leafs. In that case, keep surface and points for last modifier. And create trunk only in last one.
Troubleshooting
| Issue | Solution |
|---|---|
|
No foliage appears after copying modifiers to my mesh and deleting the mesh imported from library |
Ensure that you have selected only topiary, not leafs models (they are also selected then drag and drop asset into the scene) |
|
Viewport is slow with high-density foliage. |
Trunk generation is the most costly part. Disable Trunk generation |
|
Leafs disappear after applying. |
Branches are made of instances, so that Blender viewport and render keeps performant. To convert instances properly, look at next answer |
|
When I try to use Make Instances Real ( Ctrl+A → Make Instances Real) or export a tree to Alembic, Blender replaces every instance of a branch with a copy of the entire tree.
|
This happens because the branches themselves are generated. Blender cannot find the individual branch instances in the scene and therefore duplicates the whole object. The Export helper subpanel (available in Bundle version 3) provides a reliable workaround. Follow these steps: 1. Prepare unique instance objectsFor each unique branch instance you want to use:
2. Replace instances in your tree
3. FinalizeNow you can safely:
The instances will be placed correctly, each as a separate, properly referenced object. |
Support & Feedback
For questions, tutorials, or to report issues, please use contact the creator
Have questions about this product?
Login to message
Includes an Asset Library
6 drag-and-drop assets for Blender’s Asset Browser.
Browse included assets| Sales | 100+ |
| Published | 9 months ago |
| Blender Version | 5.0 - 5.2 |
| Render Engine Used | Cycles, Eevee |
| License | Royalty Free |