TraceGenius Ultimate 2.0 - The Next-Gen Tracing Addon for Blender
 Russel Studios


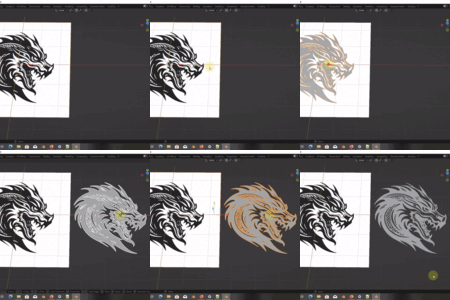
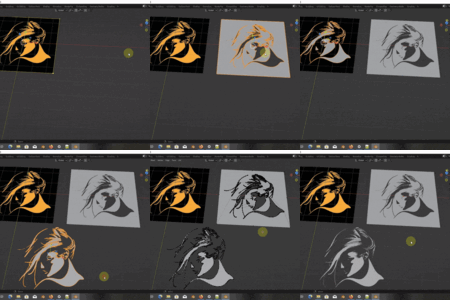

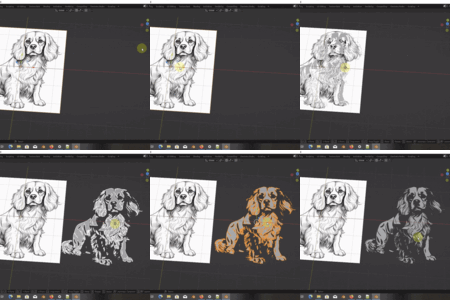
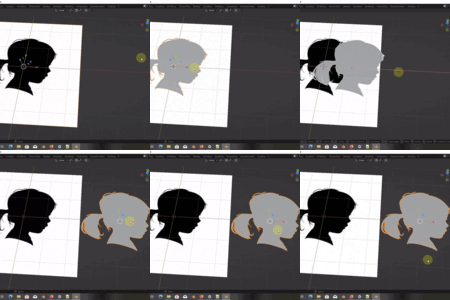
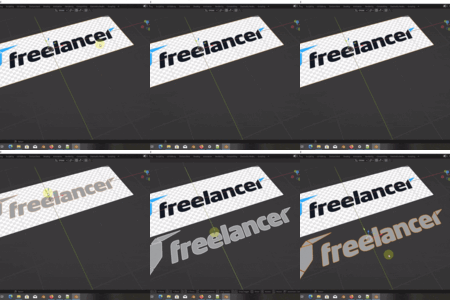
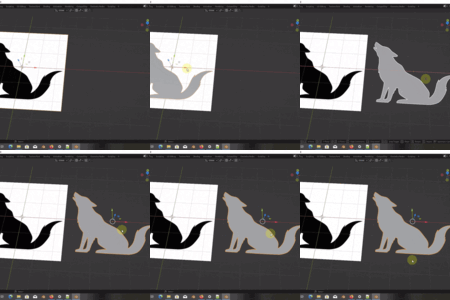
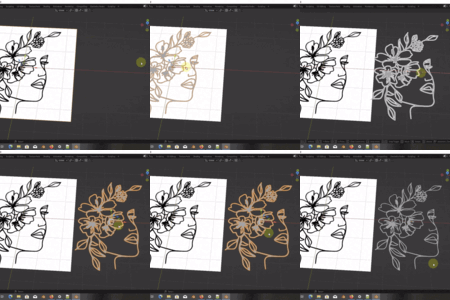

TraceGenius Ultimate — Product Documentation
This is the official, user-facing documentation for TraceGenius Ultimate.
Clear, practical, and focused on getting you from install → results as quickly as possible. If you’re evaluating the addon, this page shows exactly what you’ll be able to do and how.
Table of Contents
-
Quick Summary
-
System Requirements
-
Installation (step-by-step)
-
Quick Start — trace your first image (3 minutes)
-
UI Overview
-
Core Features & How to Use Them
-
Color Picker tracing
-
Transparency Map (alpha handling)
-
Contrast & Pre-trace Enhancements
-
Algorithm modes & presets
-
-
Typical Workflows (recipes)
-
Clean line art from scans
-
Tracing logos with precise color selection
-
Tracing PNGs with semi-transparent edges
-
-
Troubleshooting & Tips
-
Updates & Support
1. Quick Summary
TraceGenius Ultimate is a modern tracing addon for Blender built on a custom internal tracing engine (not dependent on Blender's Grease Pencil). It provides precise color targeting, alpha/transparency interpretation, pre-trace image enhancements, and a modular architecture for future expansions — all while keeping the familiar TraceGenius UI workflow.
2. System Requirements
-
Blender 2.80 or newer (including current and future releases)
-
OS: Windows / macOS / Linux
-
Recommended: 4+ GB RAM and a modern CPU for large image tracing. GPU is not required; tracing is CPU-optimized.
-
Works with common raster formats: PNG, JPG, and Webp.
3. Installation (step-by-step)
-
Open Blender → Edit → Preferences.
-
Select the Add-ons tab.
-
If you have any previous TraceGenius addon (Pro or earlier Ultimate builds):
-
Locate it in the add-ons list, deactivate, then Remove / Uninstall. (Restart Blender if prompted.)
-
-
Click Install… at the top of the Add-ons panel.
-
Browse and select the downloaded TraceGenius_Ultimate.zip file.
-
Click Install Add-on.
-
Search for TraceGenius Ultimate in the Add-ons list and enable it by checking the box.
-
Open the TraceGenius panel (see UI Overview) and start tracing.
4. Quick Start — trace your first image (3 minutes)
-
Add an Image reference or import an image into your scene.
-
Open the TraceGenius panel (N-panel or where the addon is placed).
-
Click Load Image (or select your image object).
-
Choose tracing options, including Style, Inversion and Color Threshold.
-
Use Color Picker to pick a target color (optional).
-
Set Transparency Map mode if your image has alpha (see Core Features).
-
Click Trace Shape. Inspect result, Retrace for a different result, and Finalize when you are done.
5. UI Overview
TraceGenius keeps a familiar layout so Pro users can jump right in.
Main panels:
-
Image / Source — load or select the source image and preview.
-
Tracing Options — Color Threshold, Style, Inversion, Accuracy.
-
Color Picker — pick or sample colors to target during tracing.
-
Transparency Map — controls for alpha handling (Treat Alpha as Black / White / Ignore).
-
Enhancements — contrast slider for pre-processing.
-
Trace Shape — the final Trace button.
6. Core Features & How to Use Them
Independent Tracing Engine
-
What: A custom internal library that performs edge detection, color segmentation, and outline vectorization.
-
Why: More accurate and faster than Blender's Grease Pencil tracing, and enables features Pro could not support.
Color Picker (Targeted Color Tracing)
-
Use when: You only want to trace elements of a specific color (logos, flat color art).
-
How:
-
Click Color Picker → sample directly from the image preview or input hex value.
-
Adjust Color Tolerance (low = exact match, high = broader range).
-
Optionally enable Invert Selection to trace everything except the chosen color.
-
Trace.
-
Transparency Map (Alpha Handling)
-
Modes:
-
Treat Alpha as White — transparent pixels are considered white (useful for light backgrounds).
-
Treat Alpha as Black — transparent pixels are considered black (useful when tracing silhouettes)
-
Contrast Pre-trace Enhancements
-
Purpose: Clean up noisy scans or emphasize edges before tracing.
7. Typical Workflows (recipes)
A. Clean line art from a scan
-
Load the scanned image.
-
Options → adjust style, inversion, accuracy..etc.
-
Enhancements → adjust Contrast .
-
Transparency Map → Treat alpha as black or white.
-
Trace → Export to Curve or Mesh.
B. Tracing a logo by color
-
Load logo PNG.
-
Color Picker → sample main logo color.
-
Adjust threshold if necessary → Trace.
C. Tracing a PNG with semi-transparent edges
-
Load PNG.
-
Transparency Map → Treat Alpha as Black (or White depending on background).
-
Trace.
8. Troubleshooting & Tips
-
Blurry / Noisy Traces: Increase contrast then narrow threshold.
-
Too many small fragments: slightly lower the Color Threshold.
-
PNGs(with Transparent regions) not traced well: Try switching Transparency Map mode (Black ↔ White).
-
Addon not visible after install: Ensure it’s enabled in Edit → Preferences → Add-ons and restart Blender if necessary.
9. Updates & Support
-
Updates: Major feature development focuses on Ultimate. Pro will remain in maintenance mode.
-
Free Upgrade: TraceGenius Pro owners are eligible for a free upgrade during the launch window.
-
Support: Email [email protected] (or use the SuperHiveMarket support mechanism). Include Blender version, image sample, and a short description of the issue for fastest help.
Have questions about this product?
Login to message
| Blender Extension Compatible | Yes |
| Sales | 700+ |
| Rating | 38 ratings |
| Published | 11 months ago |
| Blender Version | 2.8 - 5.2 |
| Extension Type | Add-on |
| Render Engine Used | Blender-Internal, Cycles, Eevee |
| License | GPL |

Discover more products like this
2d to 3d logo tracer image tracer Color extract 2dimage to 3d #ImageToMesh 2d image to 3d Image to Mesh tracegenius 2d-3d trace