 Tesseract assets


Ultimate Origin Tools
Every Blender artist has lost time to origin placement. This fixes that.
You know the routine: set origin to geometry, realize it landed in the middle of nowhere, undo, switch to Edit Mode, figure out where the actual bottom is, switch back, try again. For something you do on every single asset, it's remarkable how much friction Blender's native Set Origin creates.
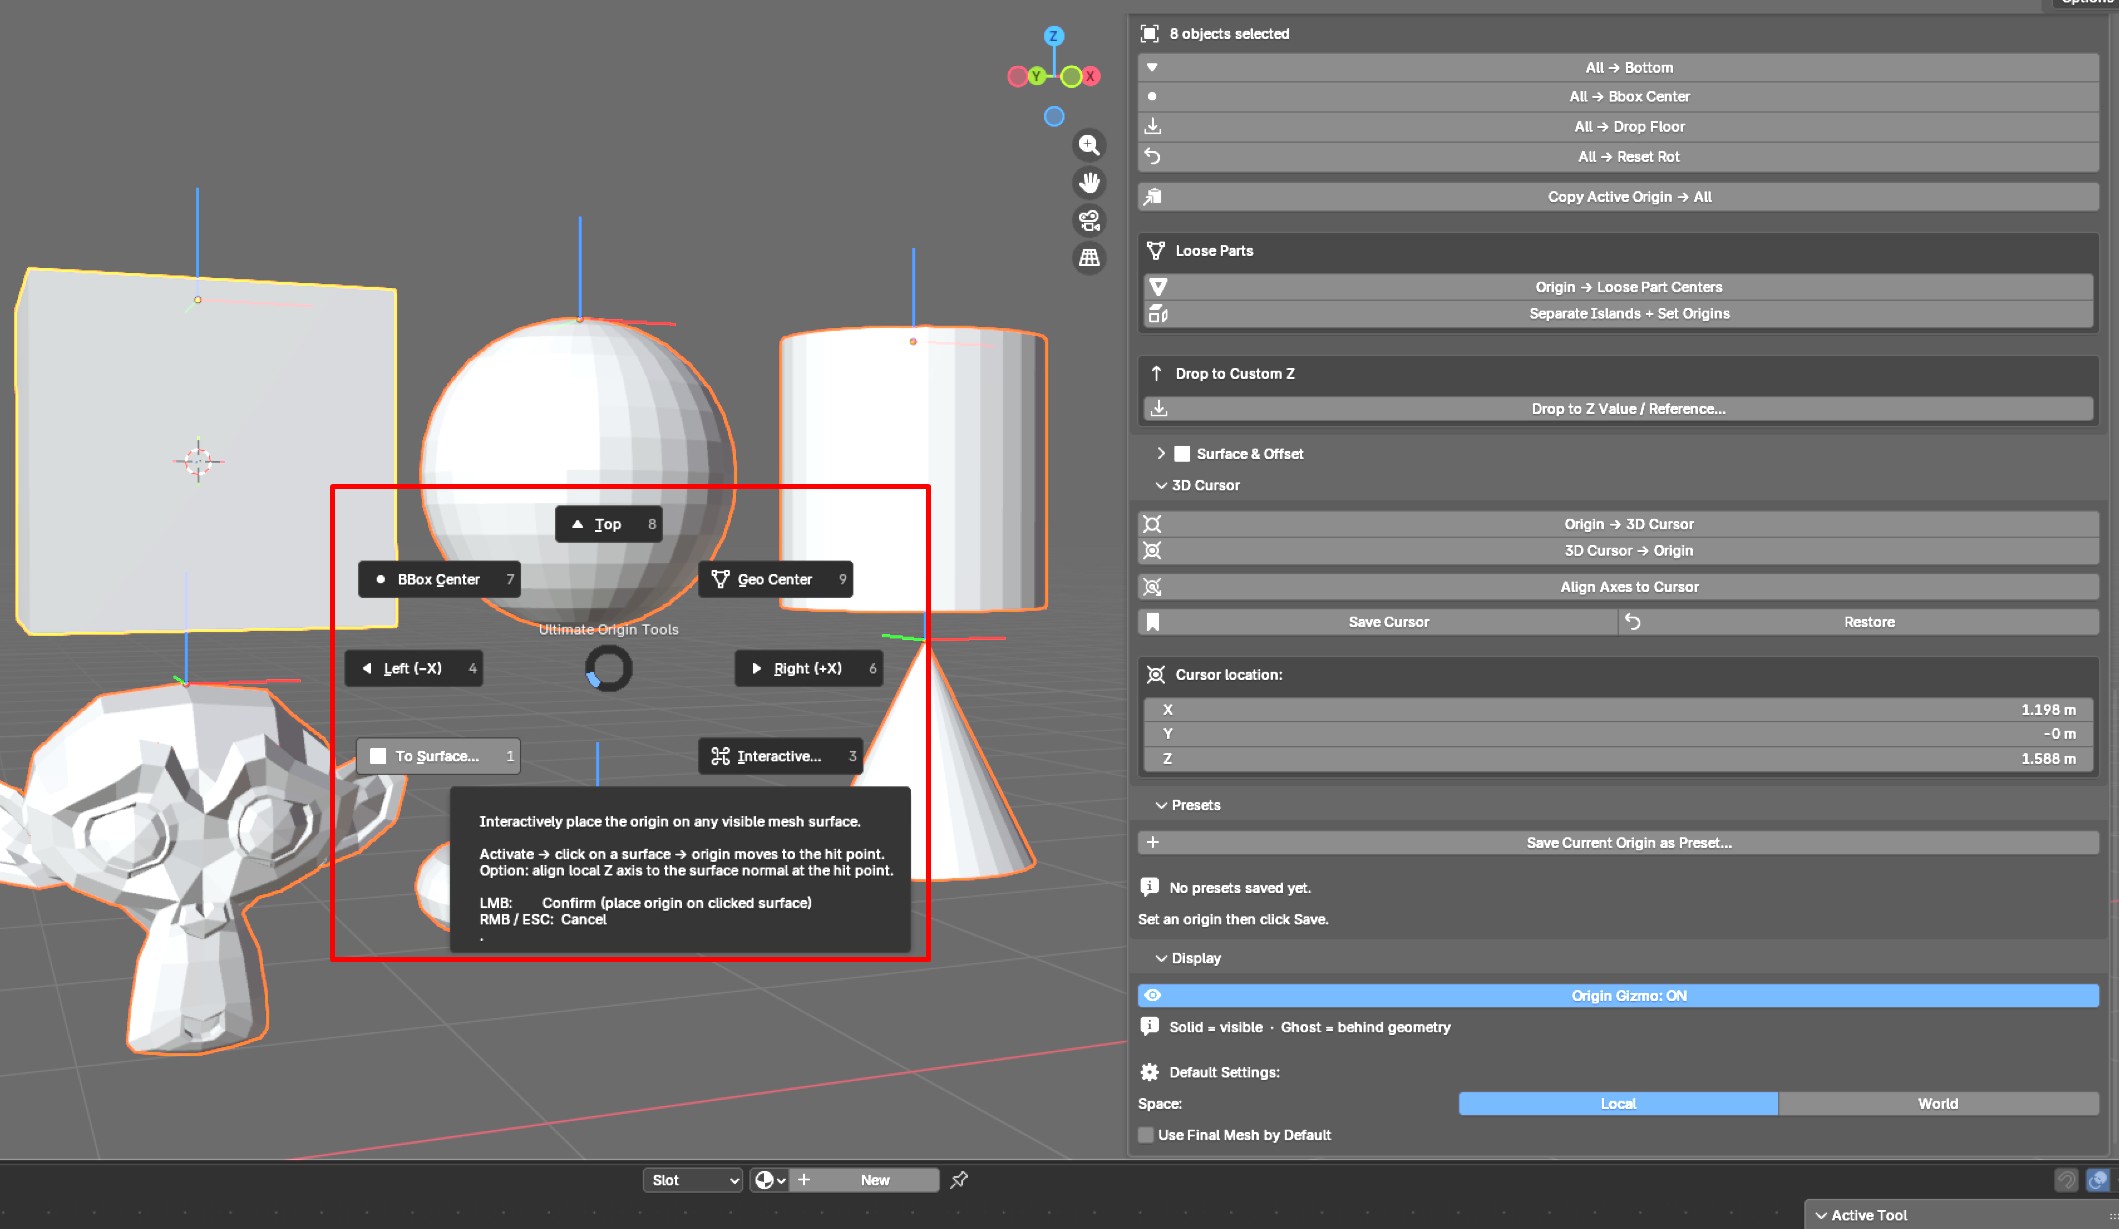
Ultimate Origin Tools replaces that entire workflow with a panel that does exactly what you need, the first time you click, or in a Quick Pie menu for speed up workflow.
I tried several add-on, some were good, but i wanted an "ultimate"/all-in-one, so i builded what i humbly think is the best tool for Origin operations. i literally can't start a project today without it today, easy to use, tooltip evertywhere
Any bug / infos / feature request : [email protected] or discord : add Shaoul_
FULL DOCUMENTATION
The scenarios it was built for
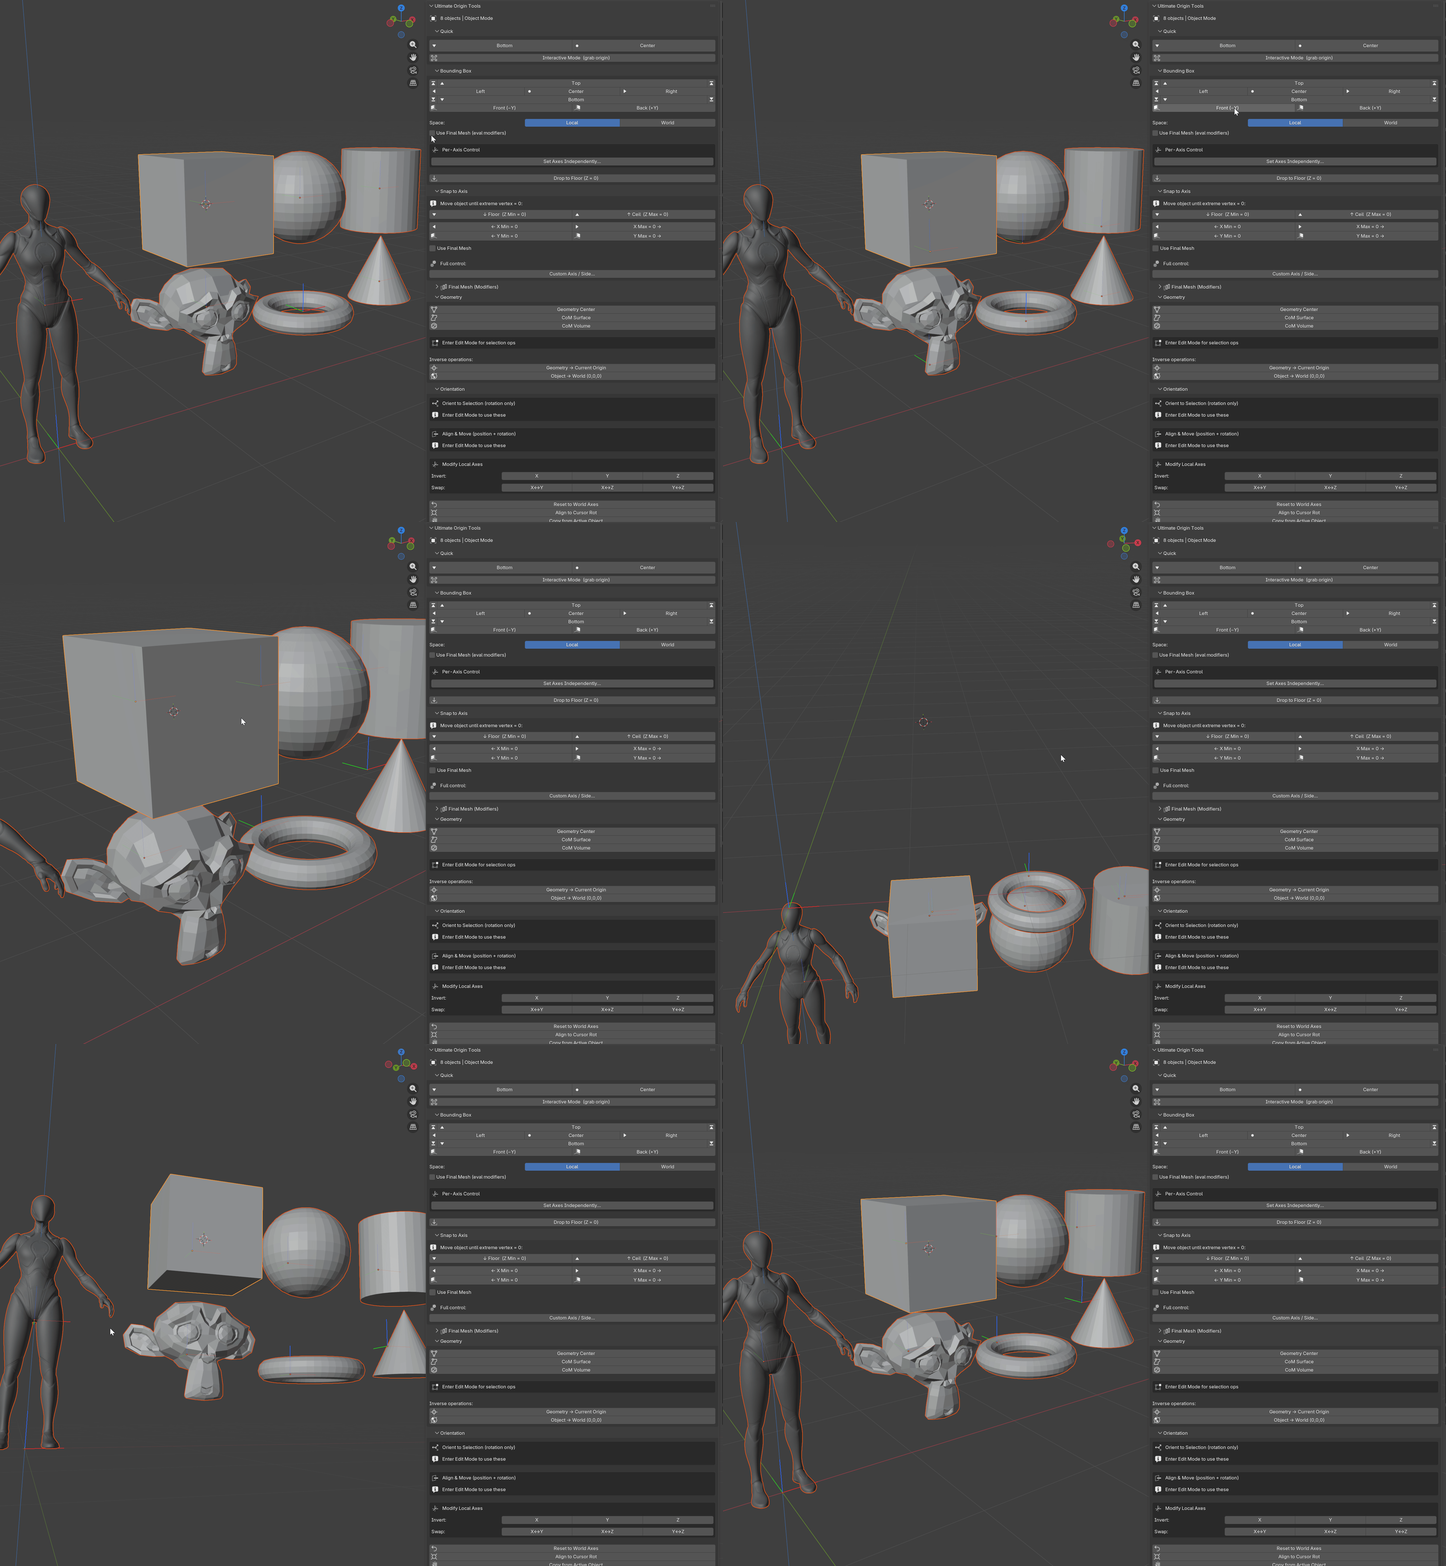
You're prepping game assets. You need the origin at the bottom center — for every prop, on every object, before you export. Click Bottom once. Need to do it on fifty objects? Click All → Bottom in the Batch section. Done.
Your object has a Mirror modifier. Blender's Set Origin only sees the base half. UOT's Final Mesh section evaluates your modifiers first, so "bottom" means the actual bottom of the mirrored result — not a point floating in the middle of it.
You're placing a door hinge or a bone attachment point. Tab into Edit Mode, click the face, hit Orient & Move to Face. Your origin jumps to the face center with local Z pointing outward from the surface. One click instead of six.
You need the object flush against the floor. Click ↓ Floor in the new Snap to Axis section. Need it against a wall instead? Click ← X Min=0 or ← Y Min=0. The whole object moves until its extreme vertex touches zero — no math, no manual translating.
You imported an FBX with the wrong up-axis. Go to Orientation → Modify Axes and hit Swap Y↔Z. If an axis points backward, hit Invert. (Both operations use pure rotations — your mesh normals stay intact, your faces don't flip.)
You just rotated geometry in Edit Mode and local axes no longer match the mesh. Use Orient to Selection — it realigns the local axes to the selected face, edge, or vertex without moving the origin position. This is the exact use case that the popular "Orient and Origin to Selected" addon covers, now built directly into UOT.
What's included
-
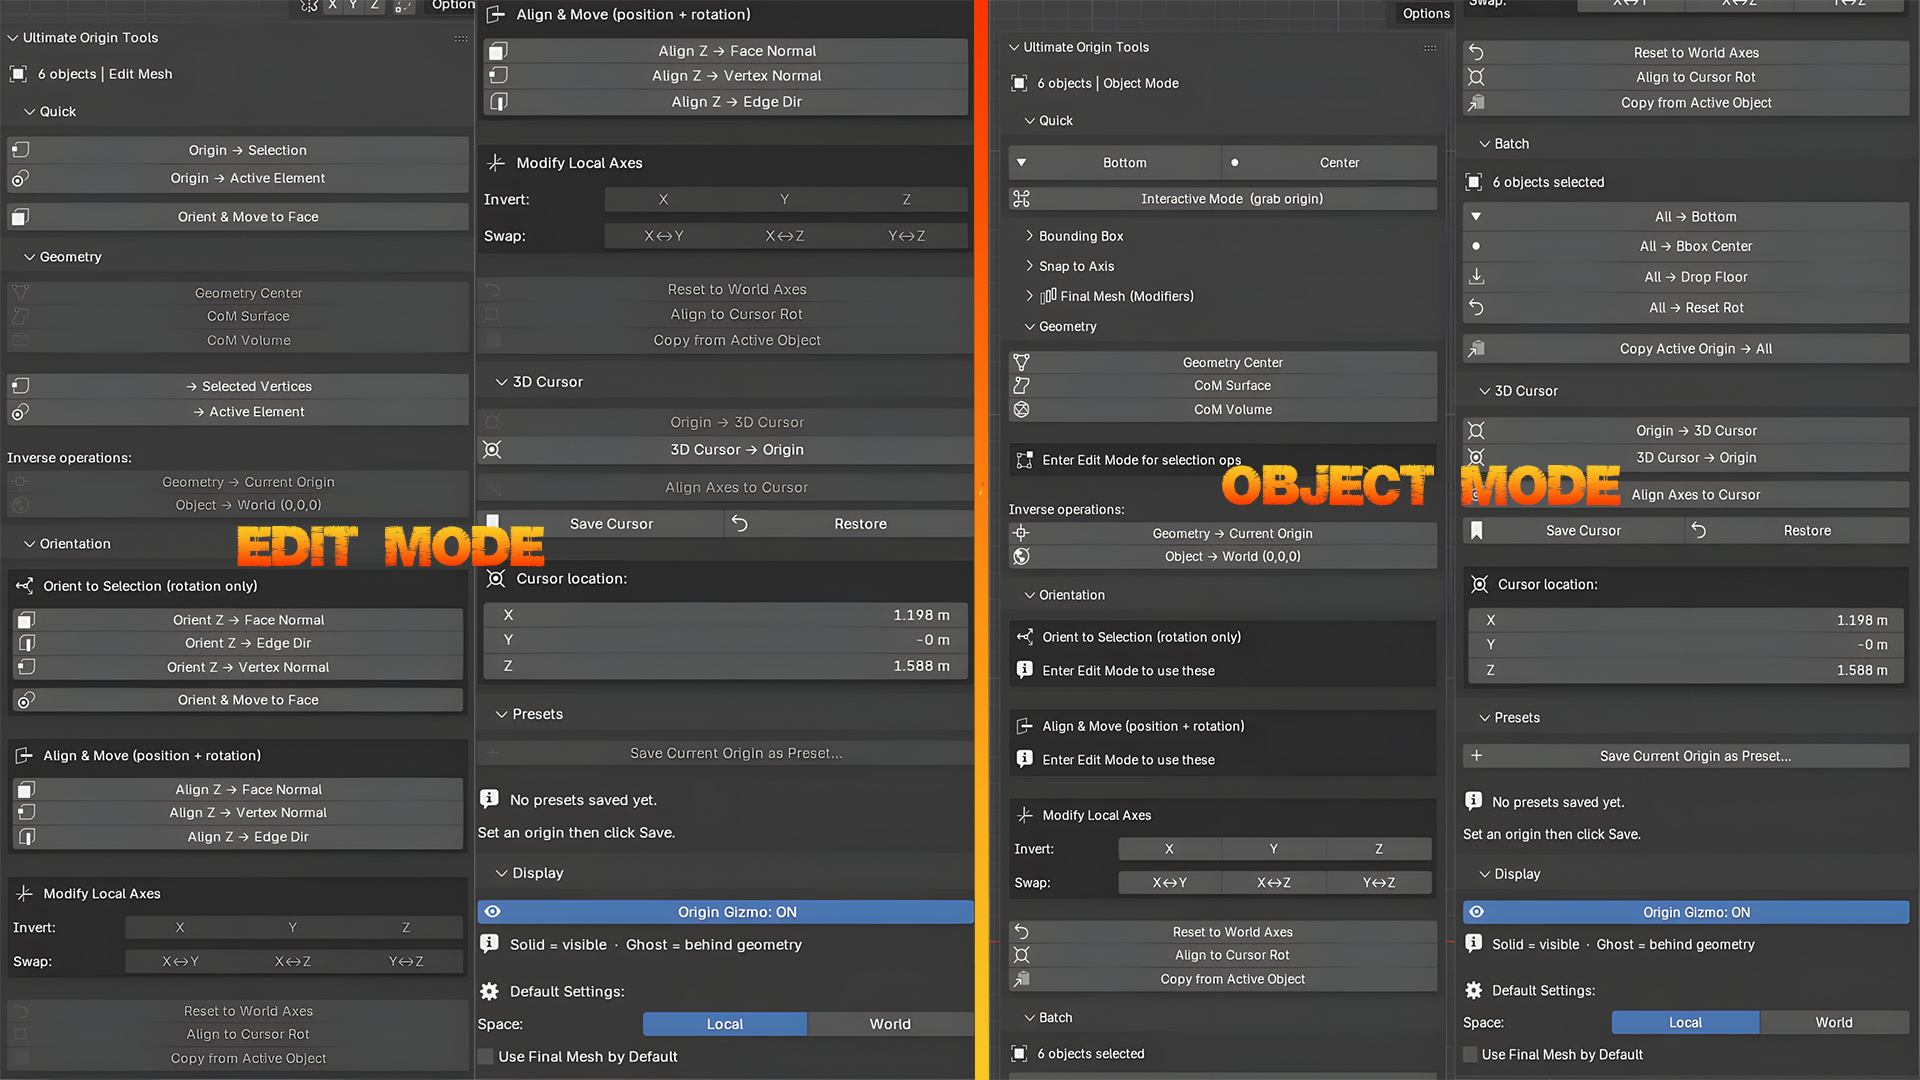
Bounding Box — 6 face centers, 8 corners, 12 edge midpoints, per-axis independent control (set X and Z independently without touching Y), Local or World space
-
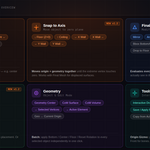
Snap to Axis — floor, ceiling, left/right wall, front/back wall in one click each — moves the whole object to any axis plane using its extreme vertex
-
Final Mesh — every operation recalculated on the post-modifier mesh (Mirror, Array, Displace, Shrinkwrap, any modifier)
-
Orient to Selection — rotate local axes to match face normal, edge direction, or vertex normal without moving the origin; or move + orient in one shot
-
Geometry — geometry center, center of mass (surface area-weighted or volumetric), origin to selected vertices, origin to active element
-
Interactive Mode — drag the origin live in the viewport with
Alt+Shift+O, hold Shift for slow/precise placement
-
Batch — apply any operation across your entire selection, each object computed from its own geometry,
- Origin
to Loose Parts — Automatically find the center of disconnected
geometry islands and optionally separate them into new objects.
- Origin Presets — Save named origin states (location + rotation) to reapply them
across different objects or sessions.
-
3D Cursor — bidirectional origin ↔ cursor exchange, axis alignment, save/restore cursor state
-
Presets — save any origin configuration by name and reapply it to any object later
-
Origin Gizmo — X/Y/Z axis lines rendered at each selected object's origin with two-pass rendering: solid where visible, faint ghost lines through occluding geometry (like Blender's In Front mode for bones)
Any suggestion, bug, feedback, feature request : [email protected] or discord: Shaoul_
Alt+Shift+O, hold Shift for slow/precise placementAny suggestion, bug, feedback, feature request : [email protected] or discord: Shaoul_
Built for Blender 4.2 through 5.x
Full undo support on every operator. Pie menu (Alt+O) configurable from Preferences with live update — no restart needed. Works on Mesh, Curve, Surface, Font, Meta, Lattice, and Armature objects.
Comes with full written documentation.