Automatic collision for Unreal built by voxel convex decomposition, plus a mark-selected-as-collision command and an in-viewport collision editor. Every shape follows Unreal's FBX collision naming, so a normal push carries it inside the asset's own FBX with nothing to configure.
| Item |
Detail |
| Version |
1.2.0 |
| Blender |
3.3 – 5.2, one package for all of them — installs as an extension on 4.2+, or as a classic add-on on 3.3 – 4.1 |
| Tested on |
3.3, 3.6, 4.2, 4.3, 4.5, 5.0, 5.1 and 5.2 — every release, including installing the shipped archive on each |
| Platform |
Windows, macOS or Linux — Collision Maker is pure Blender |
| Unreal Engine |
Not required and not included. The add-on builds shapes to Unreal's conventions; it never talks to an engine |
| Companions |
Works on its own. Unreal Bridge is optional — it exports the shapes inside the asset's FBX |
| Licence |
GPL-3.0-or-later |
What this add-on does
Unreal does not use your render mesh for collision. It wants separate, much cheaper shapes, named so the FBX importer recognises them. Collision Maker builds those shapes and names them.
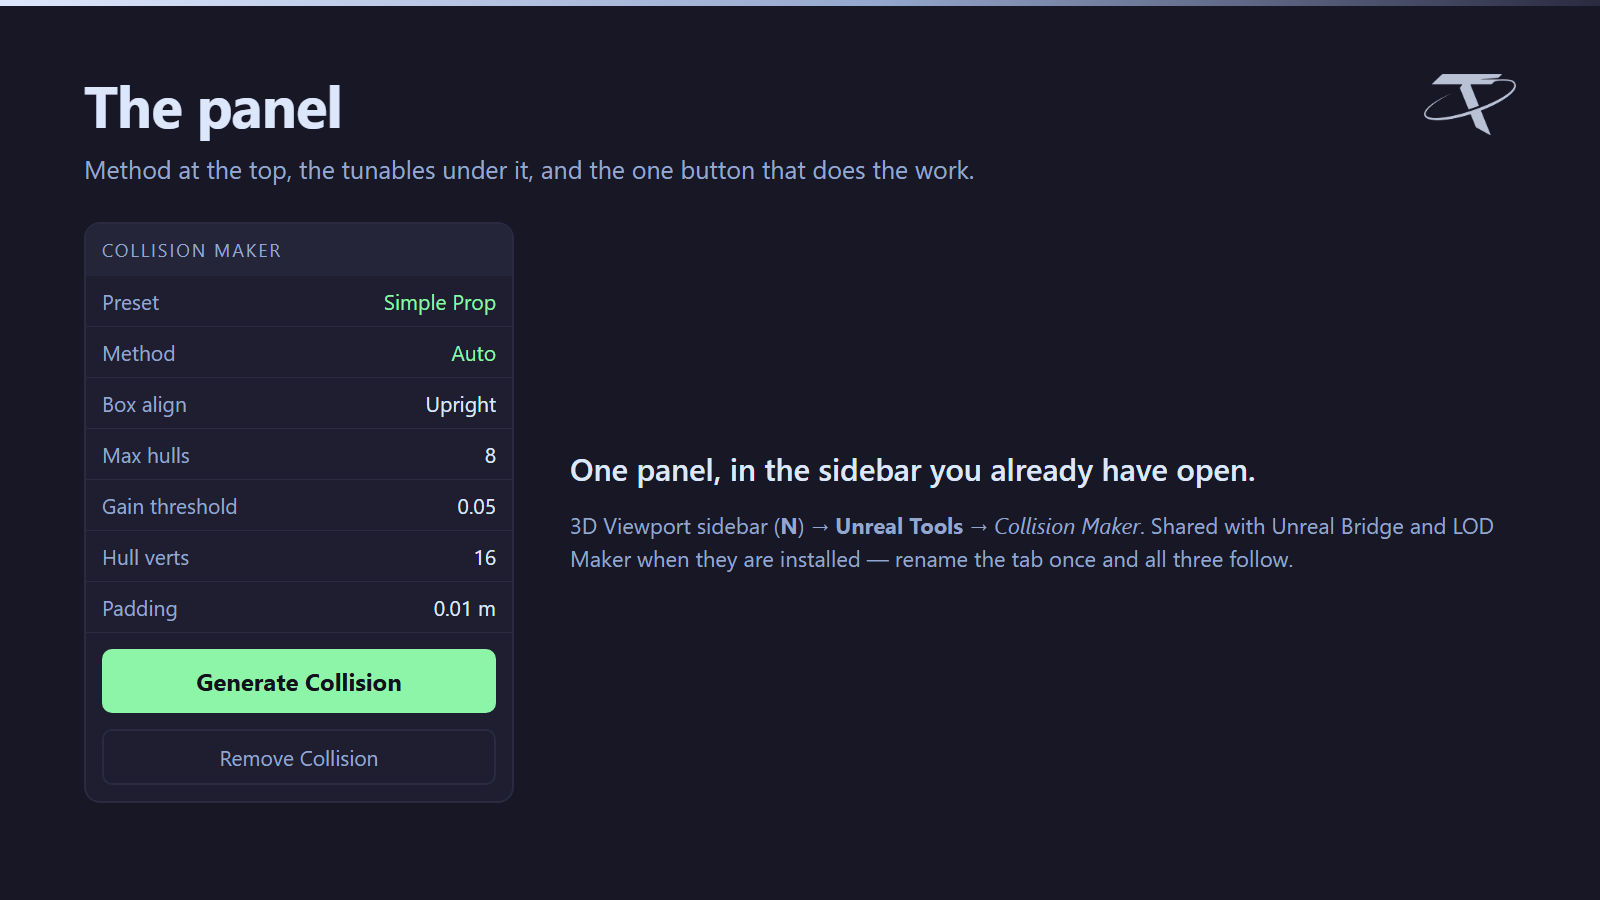
Select an asset — a mesh, or the root of a multi-part prop — and press Generate Collision. The shapes are parented to the asset, tagged, and named to the convention. Your render mesh is never modified.
Installing
- Blender → Edit ▸ Preferences ▸ Add-ons ▸ Install from Disk.
- Pick the
tachyon_collision_maker zip.
- Enable Tachyon Collision Maker.
The panel is in the 3D Viewport sidebar: press N, then the Unreal Tools tab.
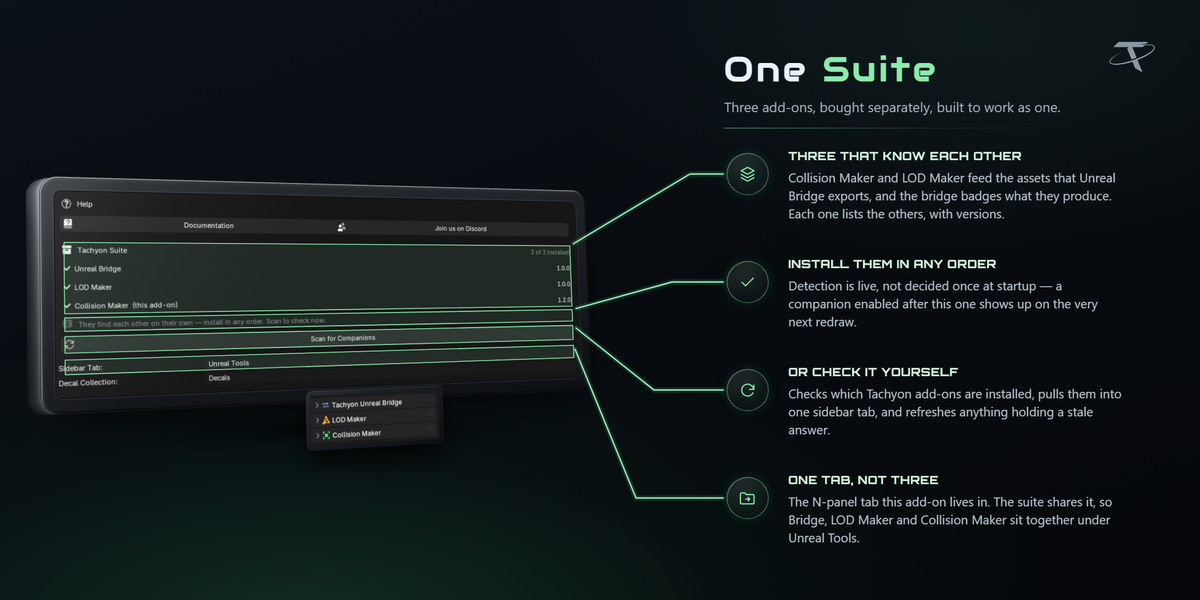
That tab is named for the tab, not for this add-on. Unreal Bridge and Tachyon LOD Maker are separate products, and when they are installed they appear in the same tab. Rename it in the add-on preferences if you prefer; the others follow.
The naming convention, and why it is the whole integration
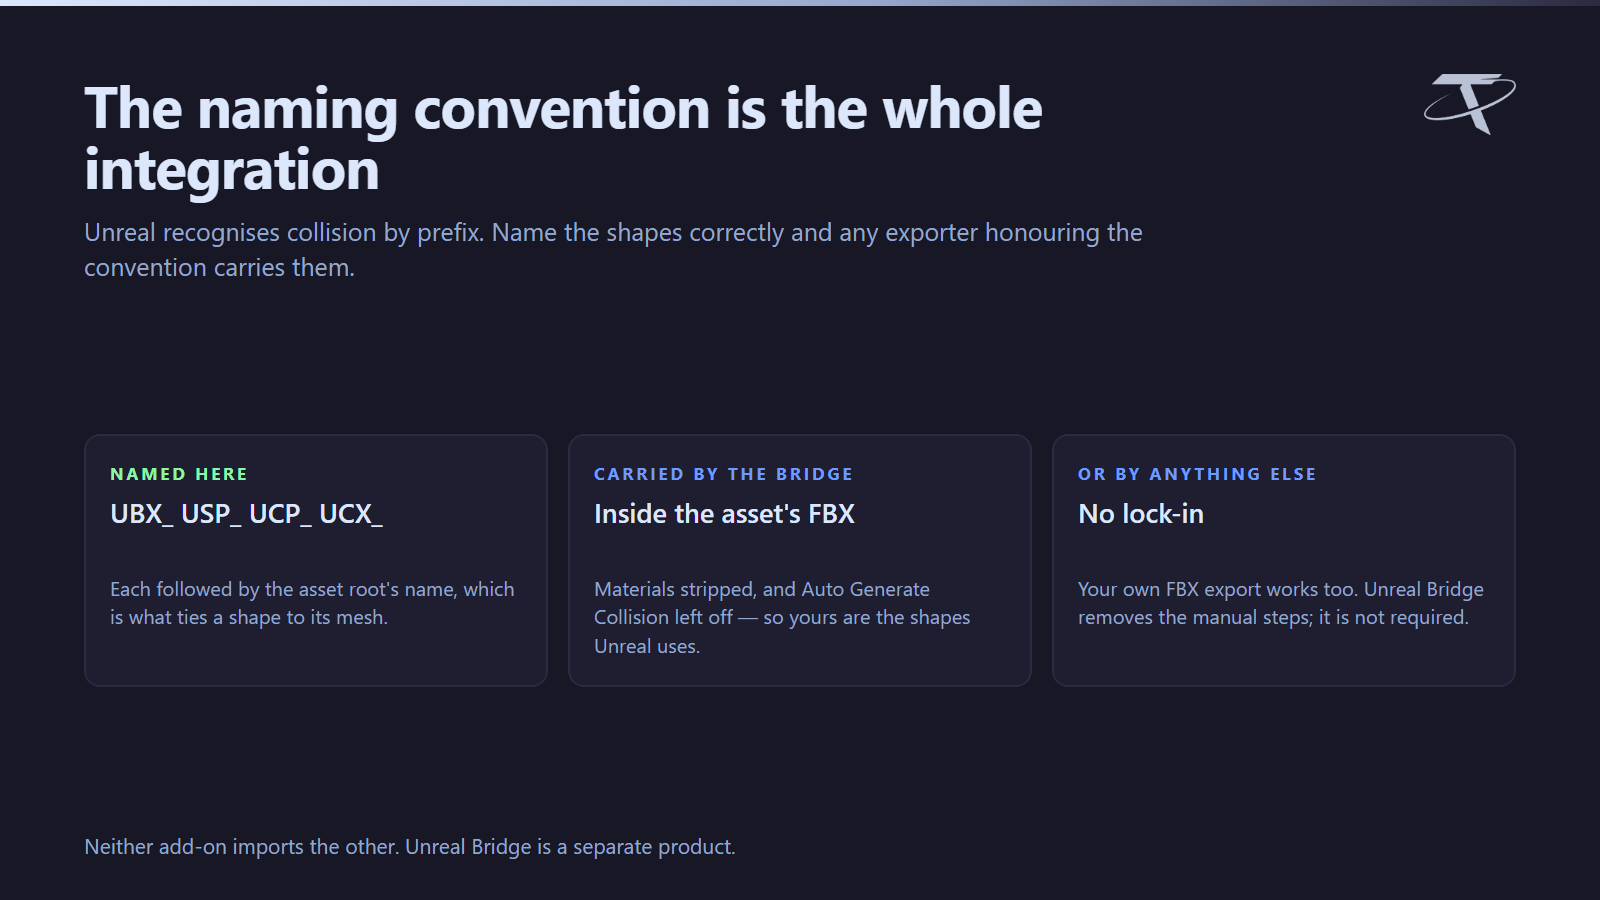
Unreal's FBX importer recognises collision by prefix:
| Prefix |
Shape |
UBX_ |
Box |
USP_ |
Sphere |
UCP_ |
Capsule |
UCX_ |
Convex hull |
Each is followed by the asset root's name, so UBX_SM_Crate_01 is collision for SM_Crate_01. Collision Maker names every shape this way, which means any exporter that honours the convention carries them — Unreal Bridge, or your own FBX export, or anything else.
With Unreal Bridge specifically, the shapes ride inside the asset's FBX with their materials stripped, and Auto Generate Collision is left off so yours are the shapes Unreal uses rather than something it invented.
How Auto builds collision
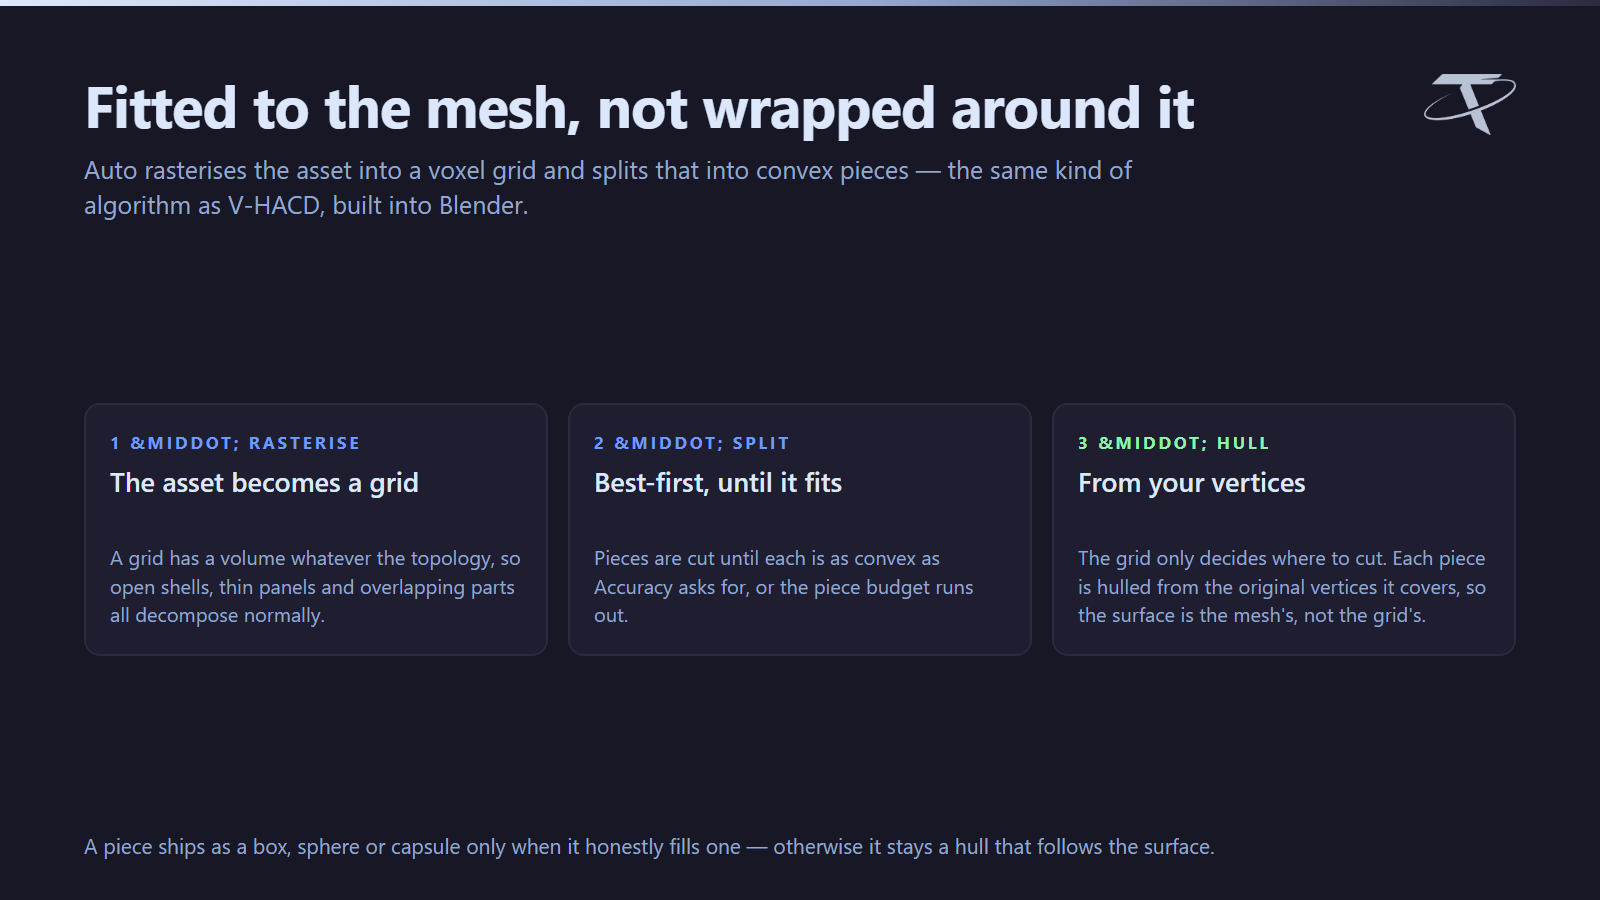
Auto rasterises the asset into a voxel grid and splits that grid into convex pieces, best-first, until every piece is as convex as Accuracy asks for or the piece budget is spent. It is the same shape of algorithm as V-HACD.
Three things are worth knowing about how it behaves:
-
The grid decides where to cut, not what the shape is. Once the pieces are found, each one is hulled from the original vertices it covers, so the collision surface is your mesh's, not a stair-stepped version of it.
-
Topology does not matter. A grid has a volume whether the mesh is closed or not, so open shells, thin panels and overlapping parts all decompose normally rather than defeating the analysis.
-
Touching pieces merge back while the merge is cheap, so a flat slab that a cut crossed in passing grows back into one piece instead of shipping as two.
A piece becomes a box, sphere or capsule only when it honestly fills one — Box Fit sets that bar. Spheres and capsules are offered only when the asset came out as a single piece: one piece of a decomposition can match a capsule's volume by coincidence, and a ball inside a plinth is not collision anybody asked for. Convex pieces thinner than 4 mm are puffed out to it, because a flat hull has no volume and Unreal's cooker drops it.
You can also force a method per asset — Box, Sphere, Capsule or Convex — when you know better than the measurement.
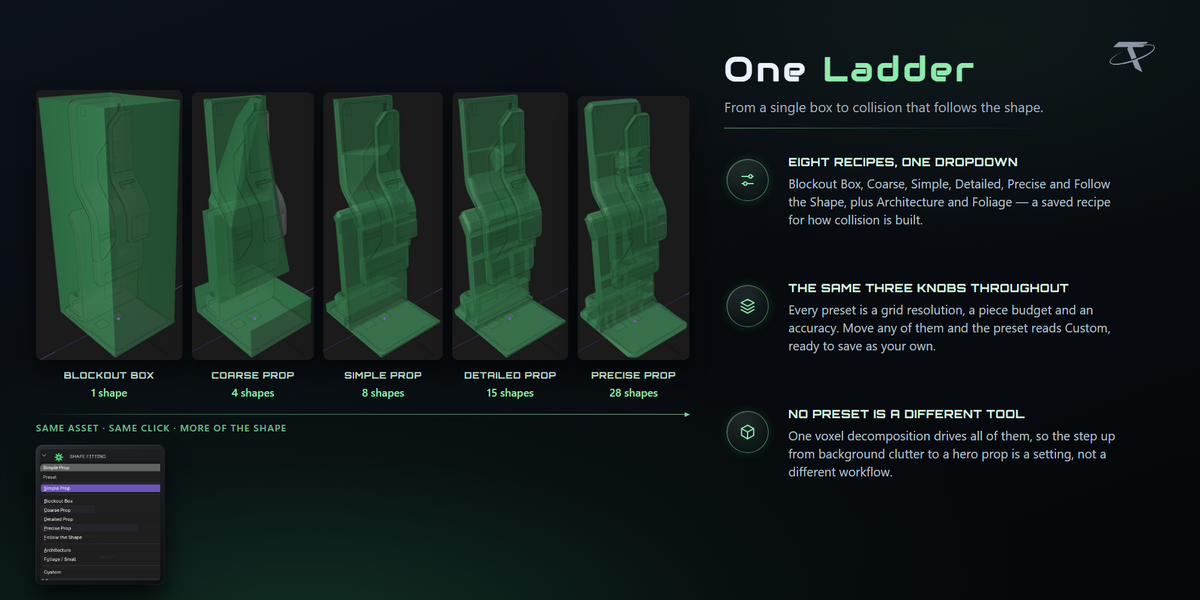

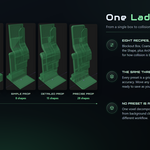
The preset ladder
The presets are a ladder with the same three knobs all the way up: one level box at the bottom, collision that follows the surface at the top. Moving a rung is one click rather than a re-tune.
| Preset |
For |
Grid |
Pieces |
Accuracy |
| Blockout Box |
One level box around everything — the cheapest collision there is |
32 |
1 |
— |
| Coarse Prop |
Background clutter: the cheapest collision that still has the right silhouette |
48 |
4 |
0.10 |
| Simple Prop |
The default. Clutter and solid props: the main masses, boxes where a box honestly fits |
64 |
8 |
0.25 |
| Detailed Prop |
Machinery and busy shapes: collision that follows the recesses and the curves |
96 |
24 |
0.55 |
| Precise Prop |
Hero props the player gets close to: every major surface has its own piece |
128 |
48 |
0.80 |
| Follow the Shape |
As close to the mesh as convex collision gets. Slow, and worth it on the one asset that needs it |
160 |
96 |
1.00 |
| Architecture |
Walls, frames and kit pieces: axis-aligned boxes wherever possible, and a doorway stays a doorway |
96 |
32 |
0.55 |
| Foliage / Small |
Cheap capsule collision for scattered assets nobody walks into precisely |
32 |
1 |
— |
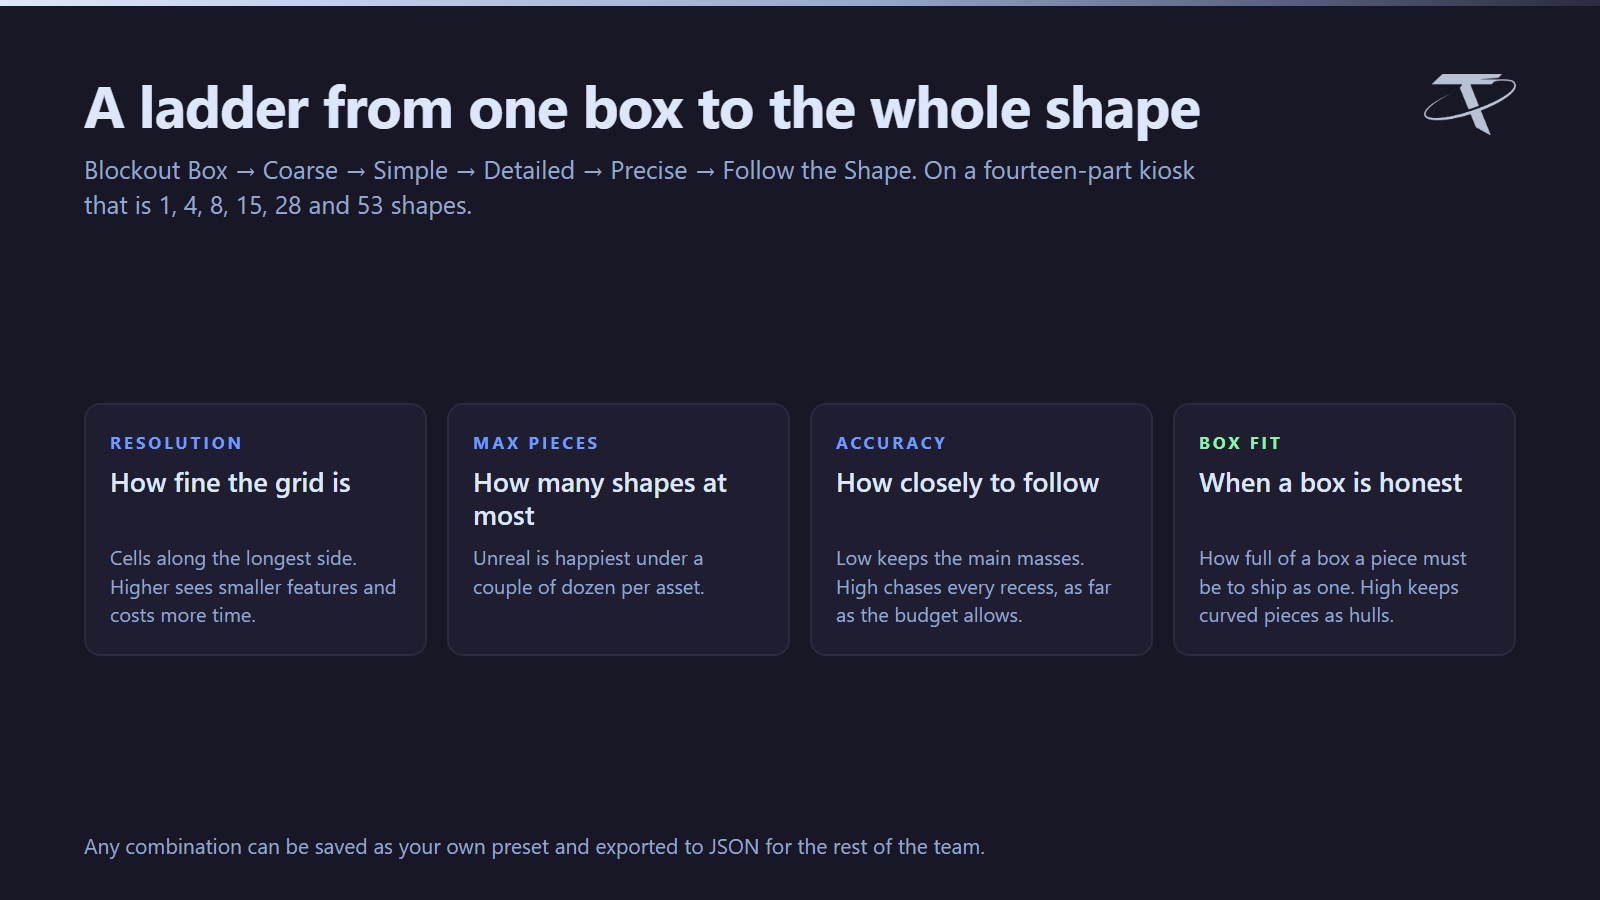
On a fourteen-part kiosk, the six rungs of the ladder produce 1, 4, 8, 15, 28 and 53 shapes in roughly 0.3, 0.7, 1.1, 2.5, 5.5 and 12 seconds. Your asset will differ; the shape of the curve will not.
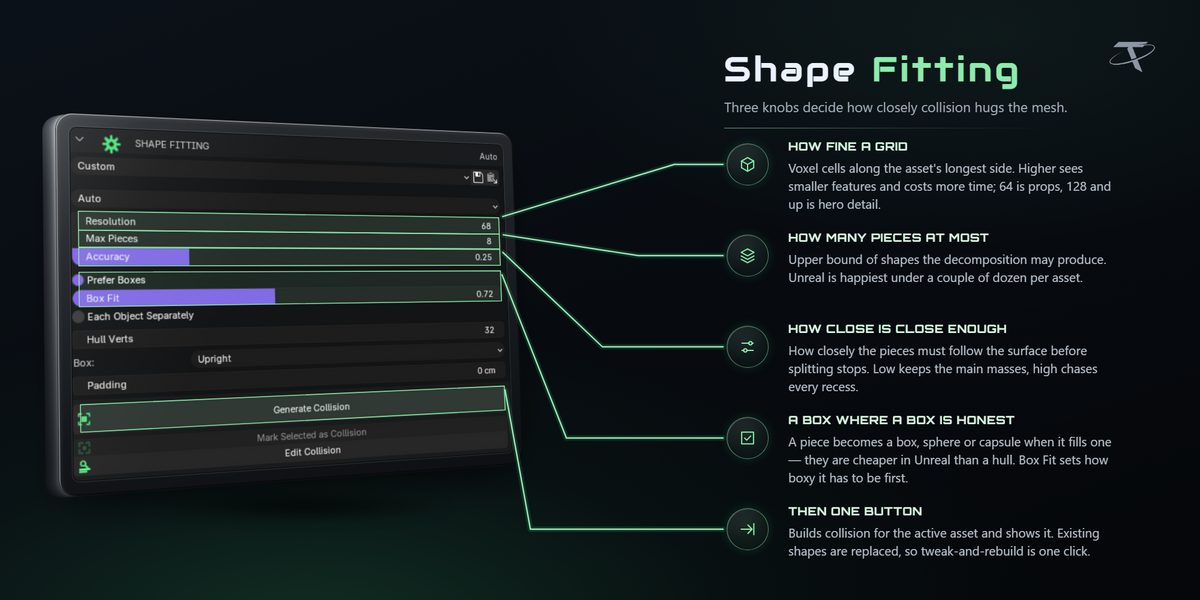
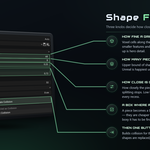
Tuning it yourself
Every knob is per asset, and changing one moves the preset selector to Custom rather than leaving it disagreeing with the name shown.
| Setting |
What it controls |
| Resolution |
Voxel cells along the asset's longest side. Higher sees smaller features and costs more time; 64 is props, 128 and up is hero detail |
| Max Pieces |
Upper bound on the shapes a decomposition may produce. Unreal is happiest under a couple of dozen per asset |
| Accuracy |
How closely the pieces must follow the surface before splitting stops. Low keeps the main masses, high chases every recess — as far as the piece budget allows |
| Prefer Boxes |
Turn a piece into a box, sphere or capsule when one fits it honestly; they are cheaper in Unreal than a hull. Off, every piece ships as a convex hull that hugs the mesh |
| Box Fit |
How much of a box a piece must fill before it ships as one. Low turns anything roughly boxy into a box; high keeps curved and tilted pieces as hulls that follow the surface |
| Each Object Separately |
Decompose every mesh object of the asset on its own grid with its own piece budget, instead of the whole asset as one solid. For assets built from distinct parts that must each keep their own collision |
| Hull Verts |
Vertex budget per convex hull piece. Lower is cheaper at runtime |
| Padding |
Extra clearance added to boxes, spheres and capsules, so a character never clips the visible surface |
Boxes, and why they come out level

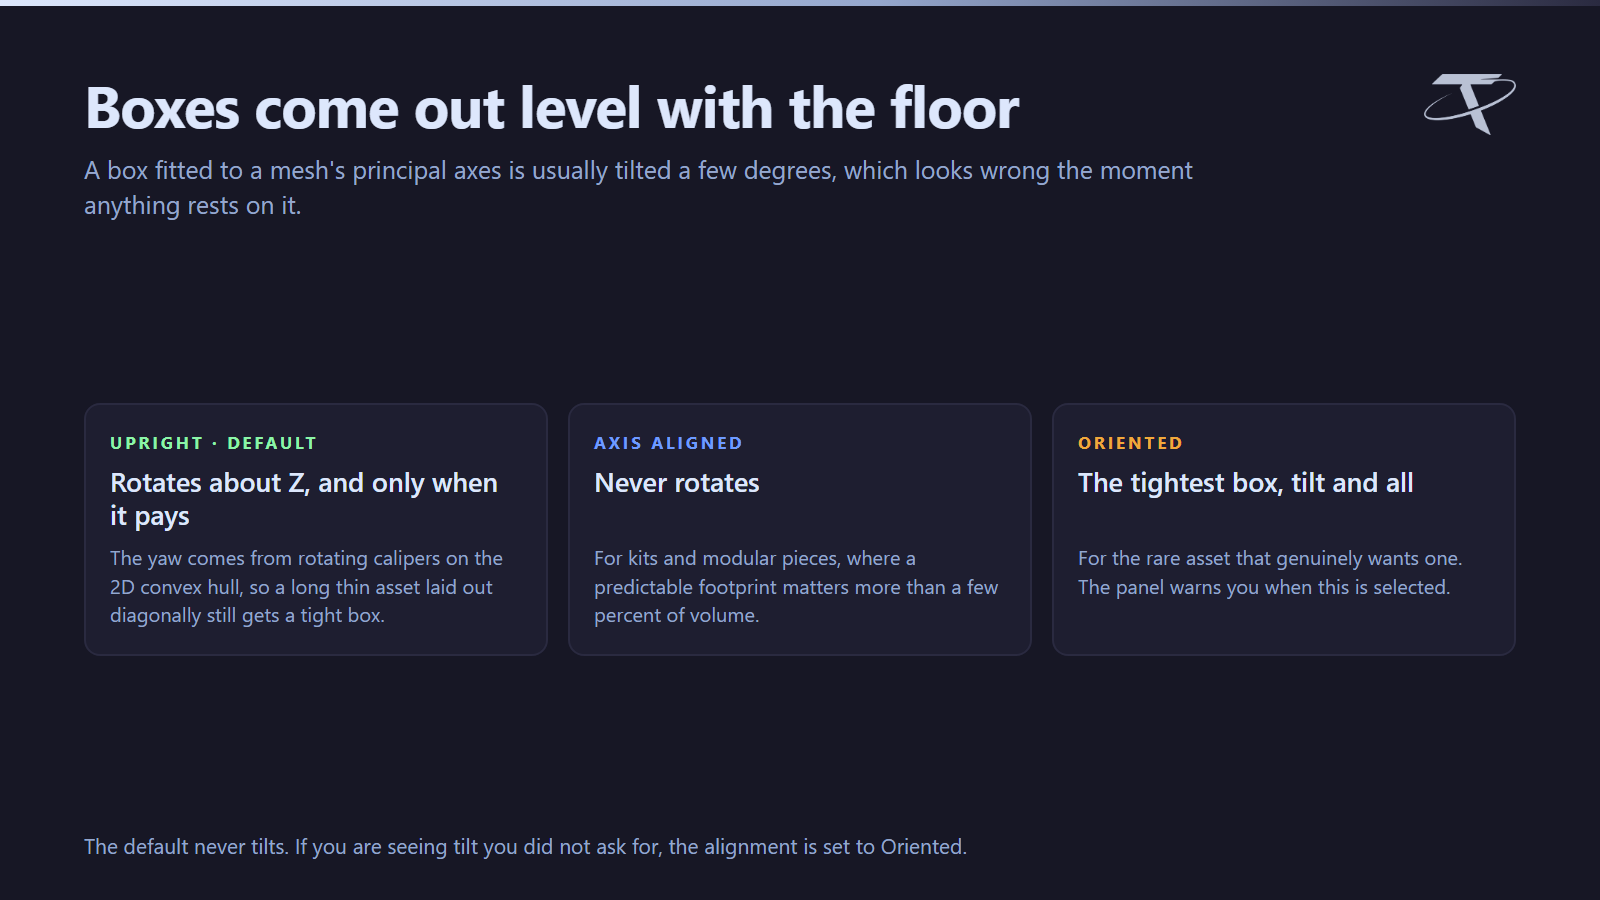
A box fitted to a mesh's principal axes is often tilted a few degrees, which looks wrong the moment anything rests on it.
Box alignment has three settings:
-
Upright (the default) — level with the floor, free to rotate about Z only, and only when the yaw genuinely buys volume. The angle comes from rotating calipers on the 2D convex hull, so a long thin asset laid out diagonally still gets a tight box.
-
Axis aligned — never rotates at all.
-
Oriented — the tightest box around the principal axes, for the rare asset that genuinely wants a tilted one. The panel warns that boxes may come out tilted when this is selected.
Seeing what you built, and reading it

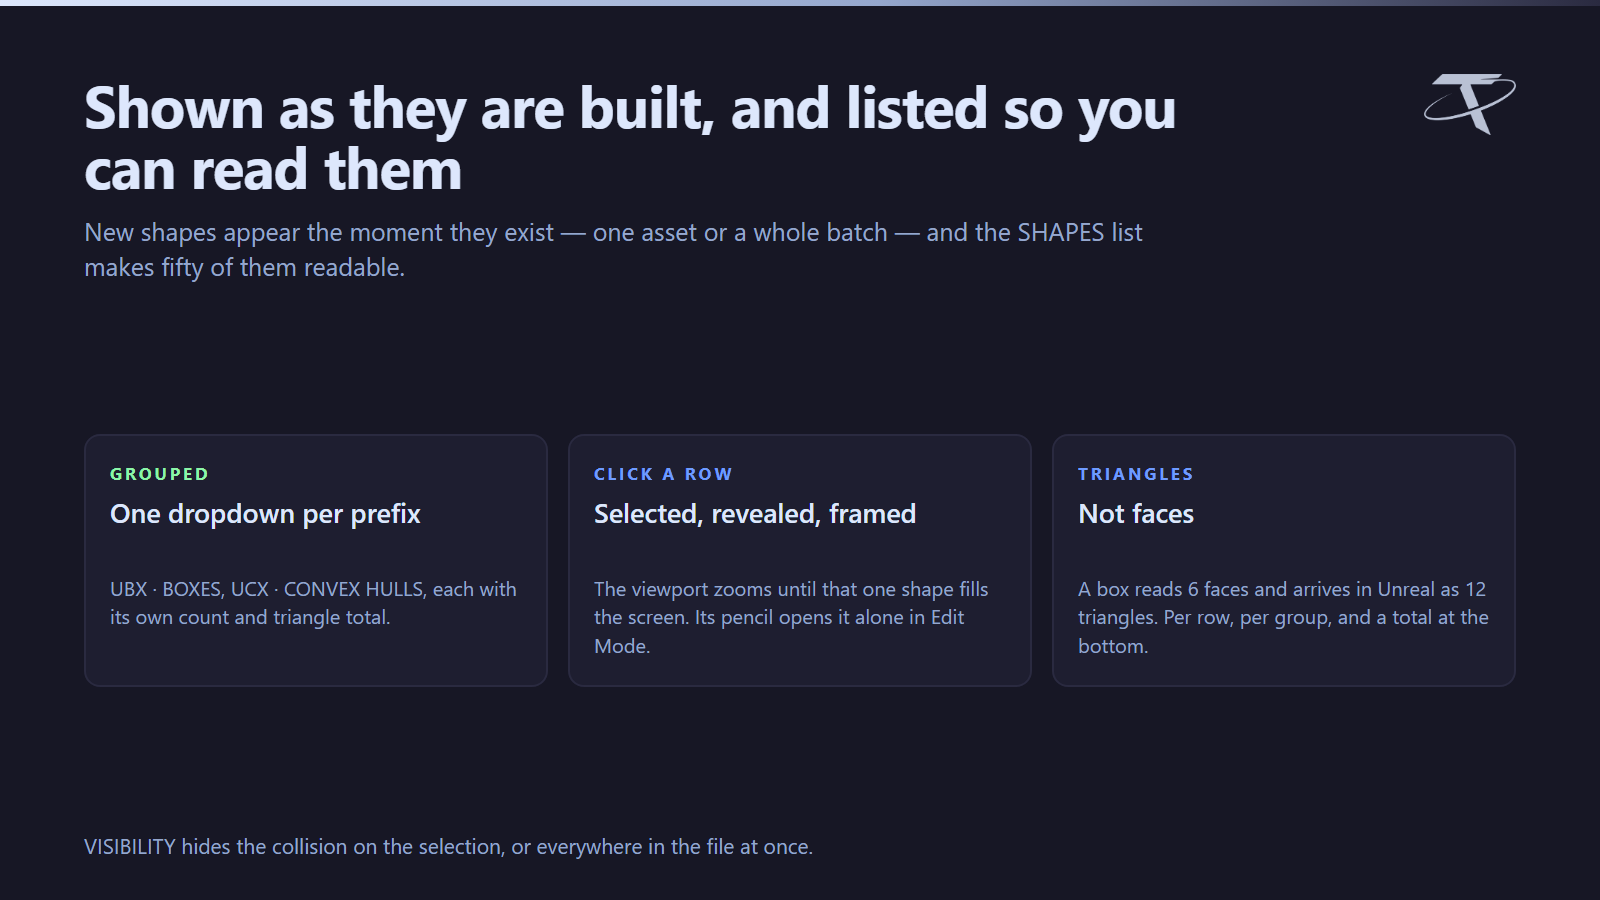
New shapes are shown the moment they are built, for a single asset and for a batch alike. If you would rather they stayed hidden until you ask, turn off Preview After Generate in preferences.
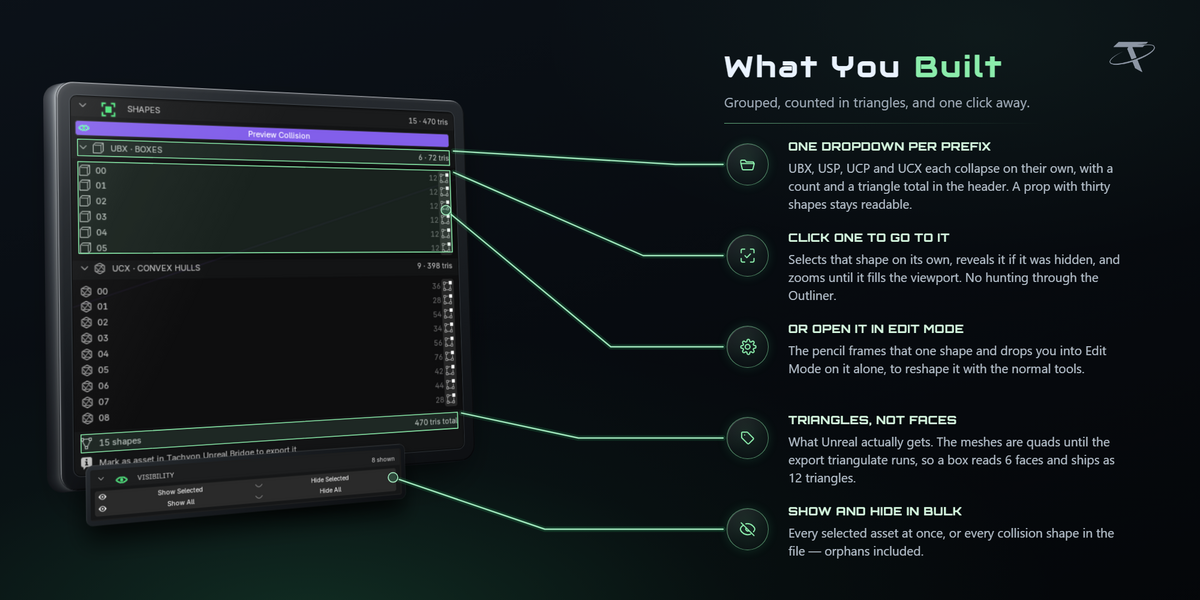
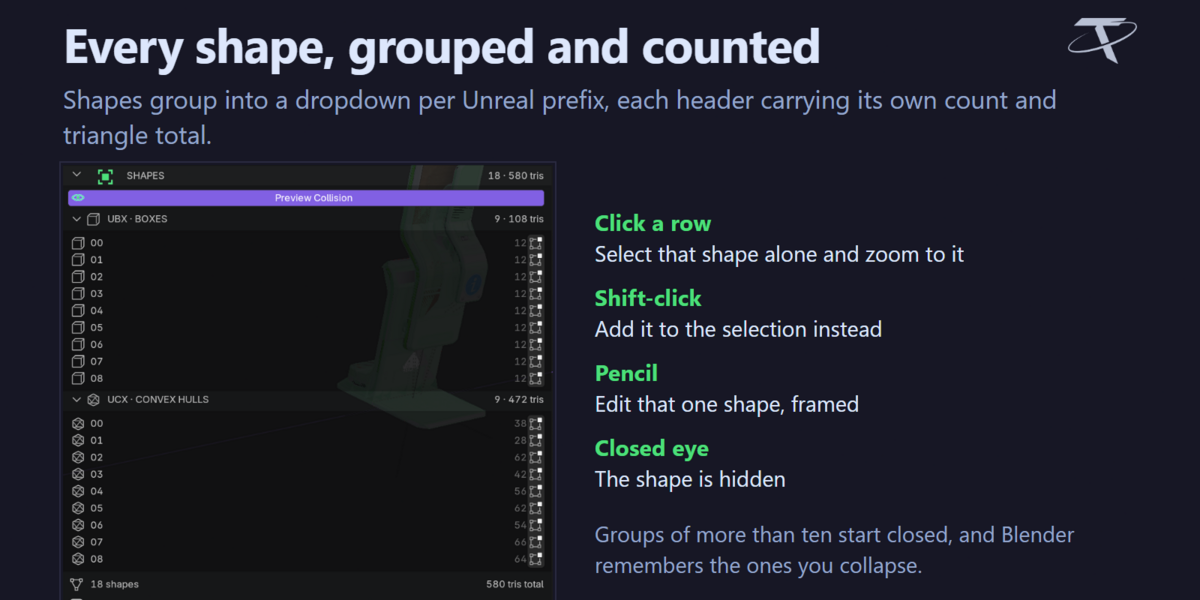
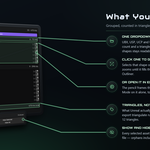
The SHAPES section lists what the asset carries:
-
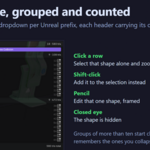
One dropdown per Unreal prefix — UBX · BOXES, UCX · CONVEX HULLS and so on — each header carrying its own count and triangle total. Blender keeps a panel's open state, so a group you collapse stays collapsed; groups of more than ten start closed.
-
Click a shape to go to it. It is selected on its own, revealed if it was hidden, and the viewport zooms until it fills most of the screen. Shift-click adds to the selection instead. A row whose shape is hidden shows a closed eye.
-
The pencil on each row opens that shape alone in Edit Mode, framed and ready to reshape with the normal tools. Tab back when you are done. Editing a box warns that it has to stay a box to import as one.
-
Triangles, not faces — per row, per group, and as a total at the bottom. The shapes are authored as quads and ngons and triangulate on export, so a face count understates what Unreal actually receives by about half: a box reads 6 faces and arrives as 12 triangles.
Rows are labelled by index rather than by name, because every generated name in a group differs only in its last two digits. A shape you renamed or adopted by hand keeps its own name, because there the name is the information.
A VISIBILITY section appears whenever the file holds any collision at all:
| Control |
What it does |
| Show / Hide Selected |
Every selected asset's shapes at once |
| Show / Hide All |
Every shape in the file, orphans included |
Preview Collision is separate and acts on the active asset: it makes the asset see-through with its shapes on top, and puts your shading back when toggled off.

Bringing your own shapes
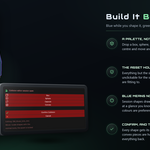
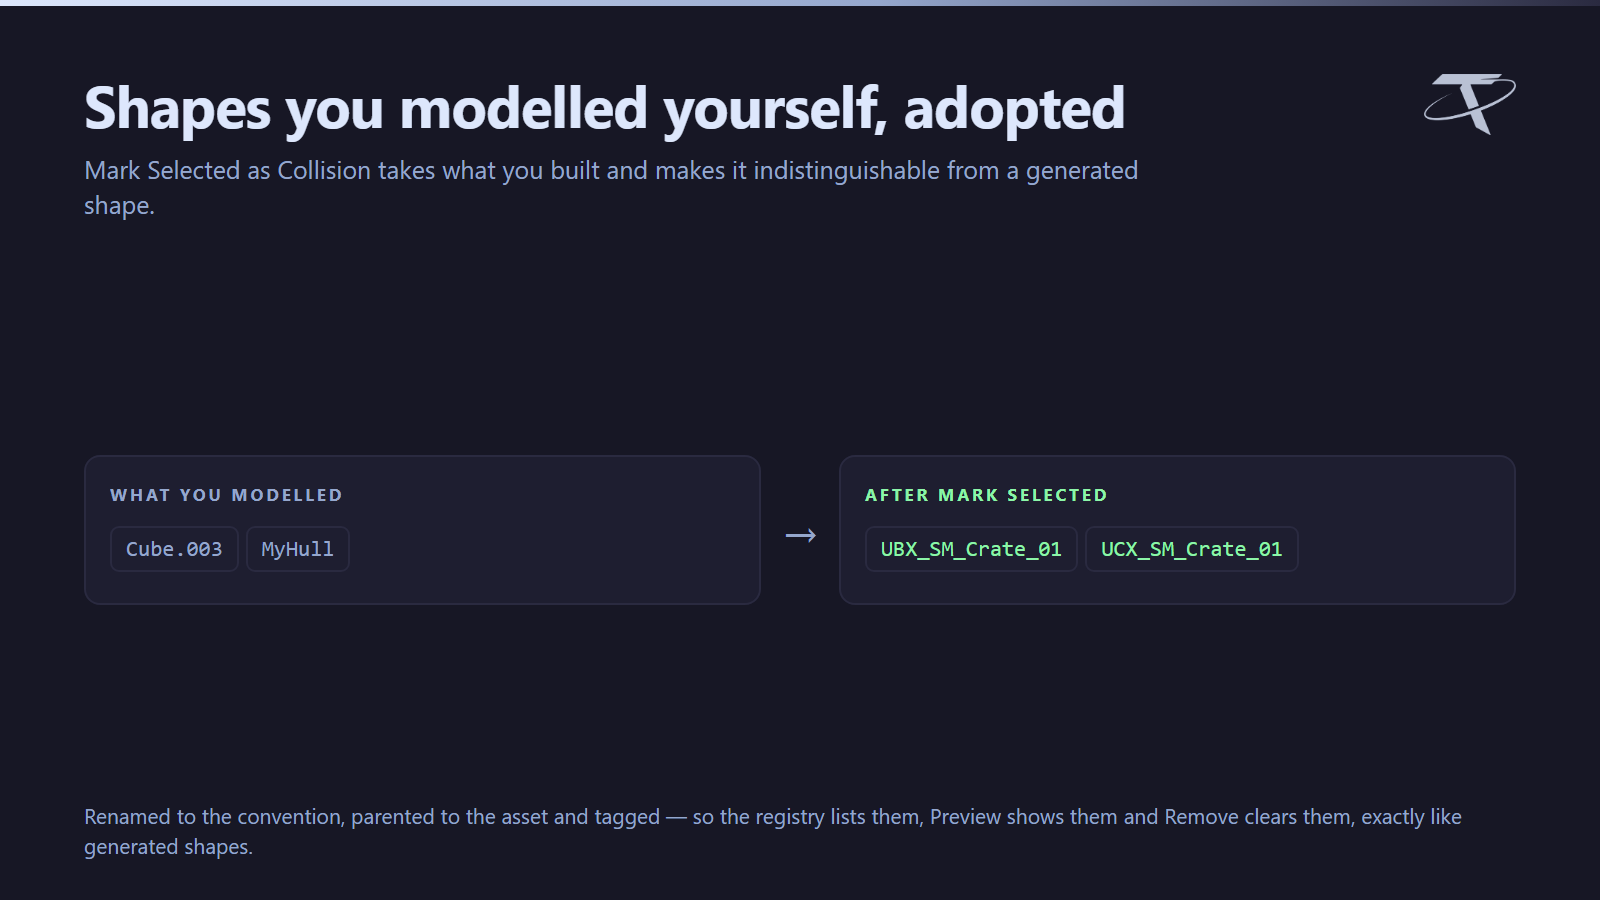
Mark Selected as Collision takes the meshes you have selected alongside the active asset and adopts them: renamed to the convention, parented to the asset, and tagged exactly like a generated shape. Cuboid meshes become boxes (UBX_), everything else a convex piece (UCX_).
From that point they are indistinguishable from generated shapes — the registry lists them, the SHAPES list counts them, Preview shows them, Remove clears them.
The collision editor

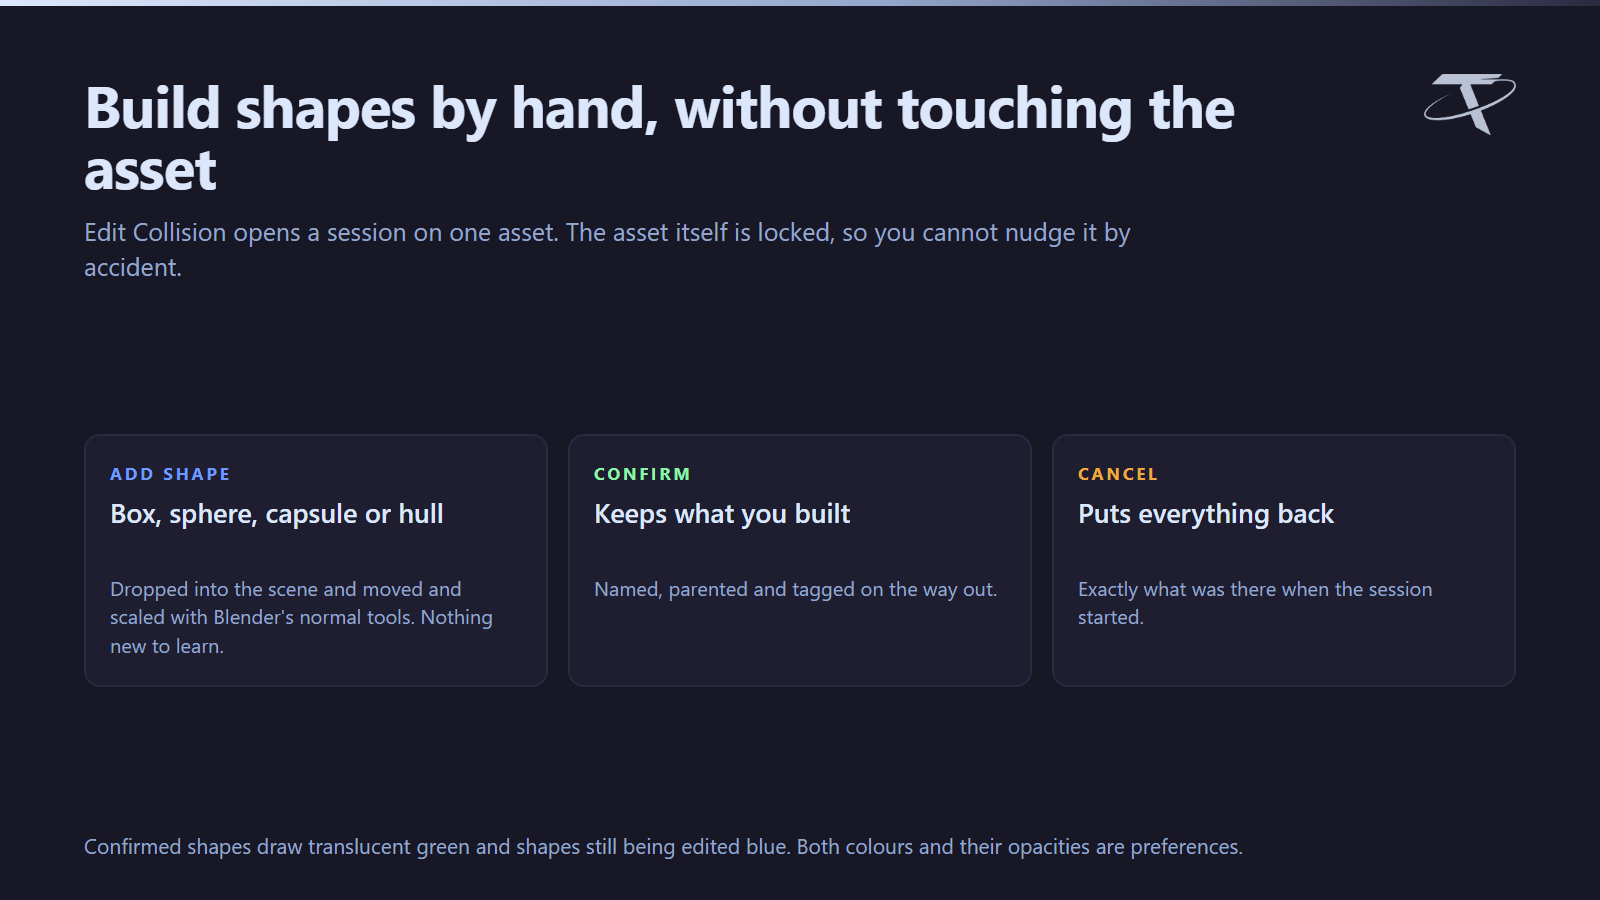
Edit Collision opens a session on one asset.
-
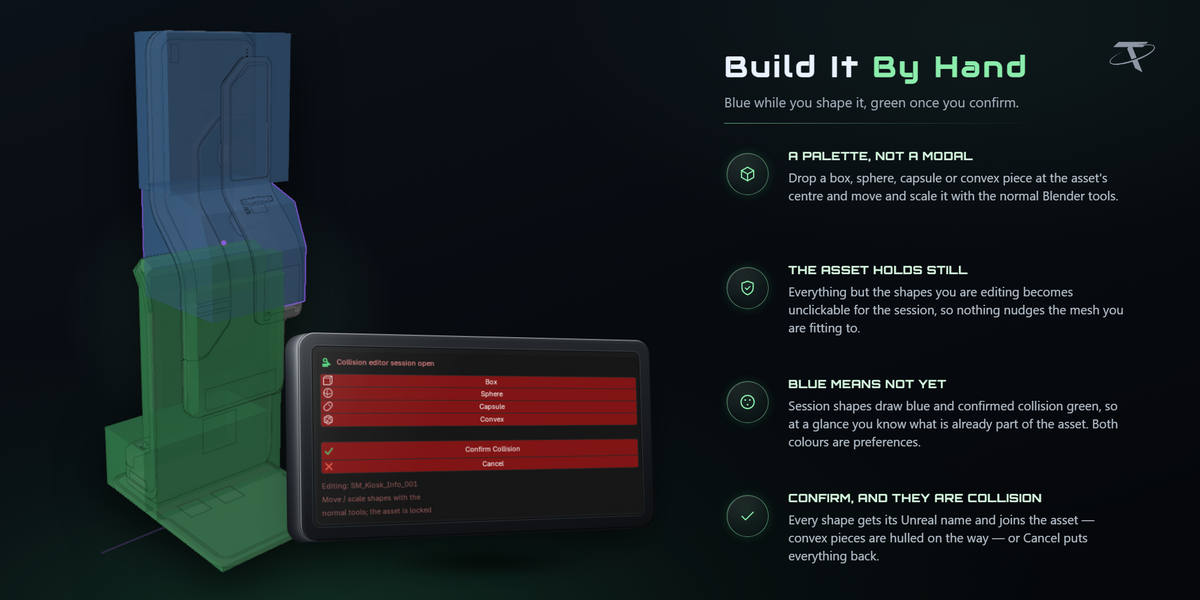
Add Shape drops a box, sphere, capsule or convex hull into the scene, which you move and scale with Blender's normal tools. The asset itself stays locked so you cannot nudge it by accident.
-
Confirm Collision keeps what you built.
-
Cancel restores exactly what was there when the session started.
Confirmed shapes draw translucent green; shapes still being edited draw blue. Both colours and their opacities are preferences.
Working on a whole selection

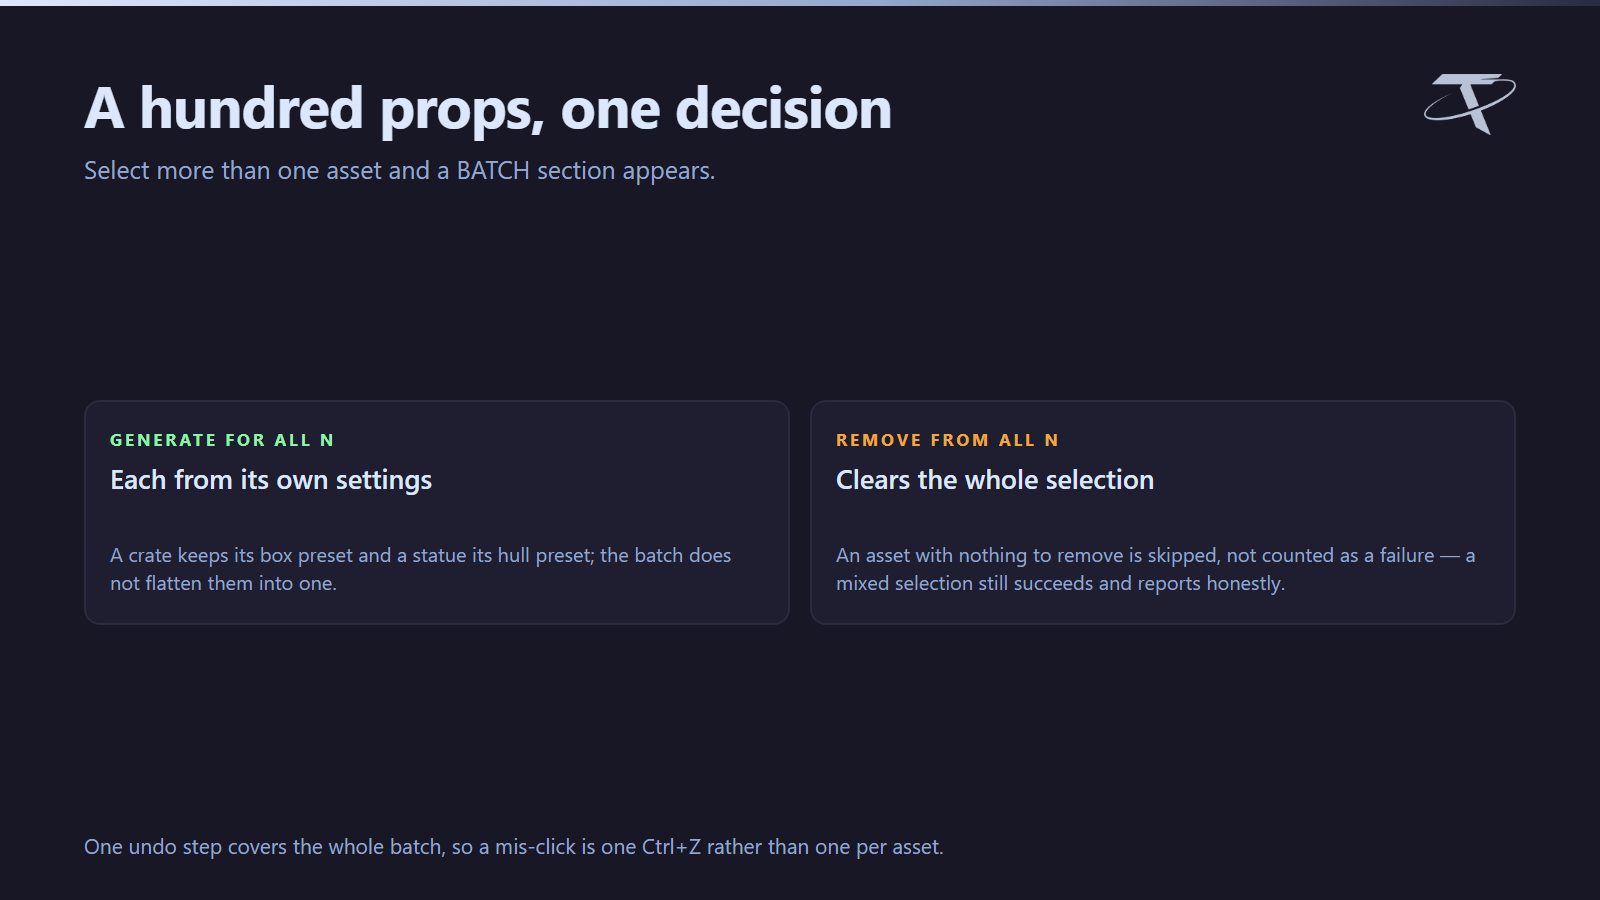
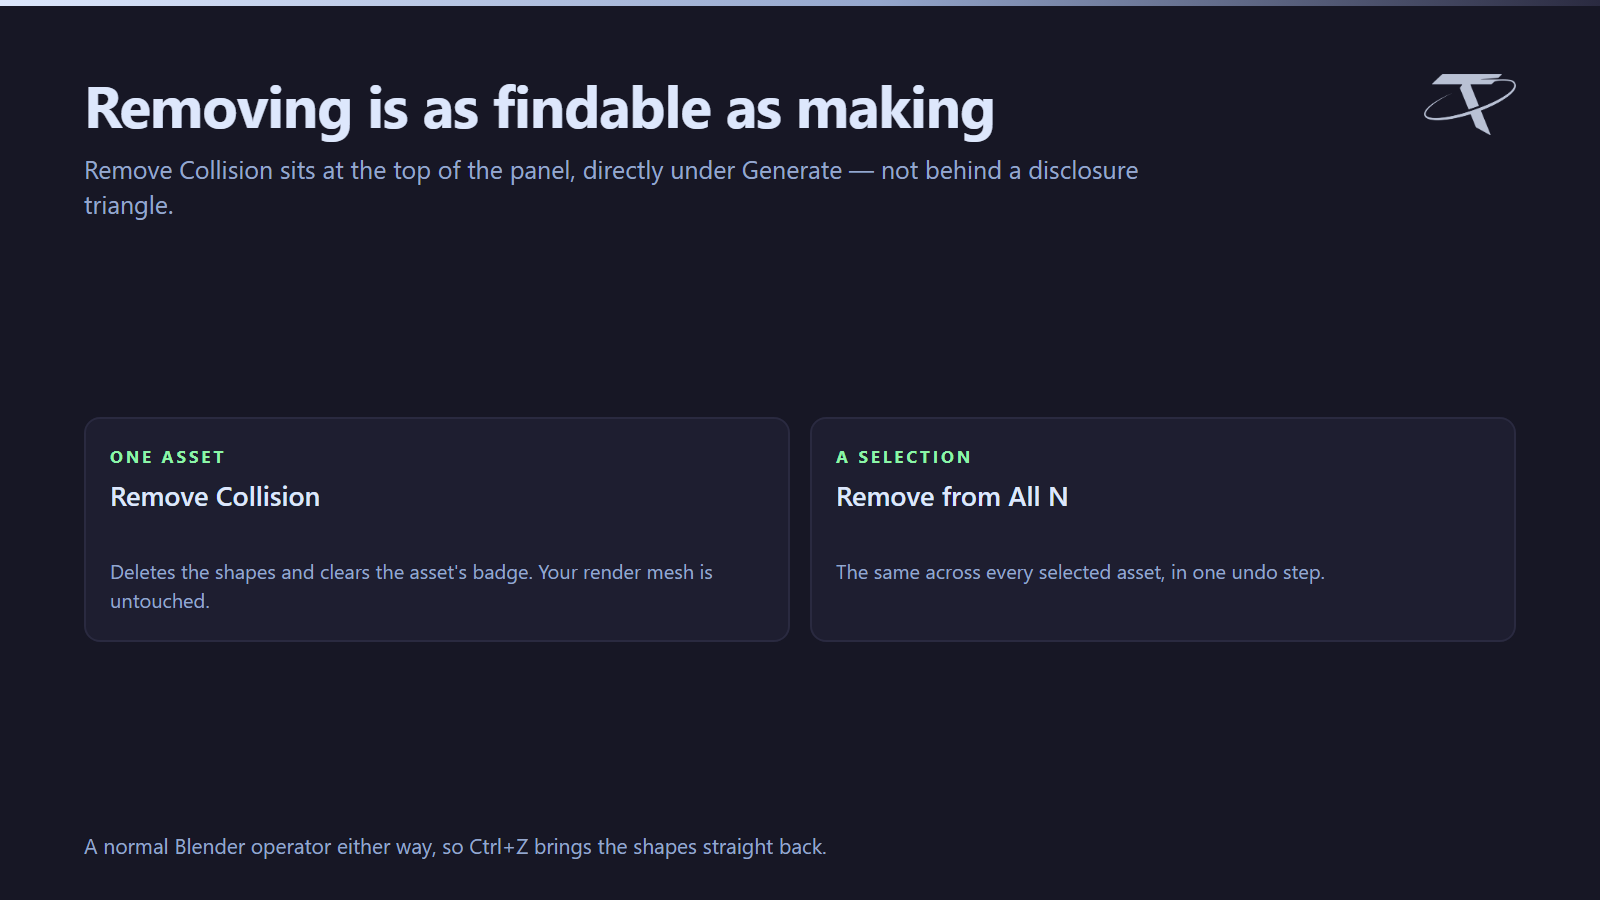
Select more than one asset and a BATCH section appears in the panel.
| Control |
What it does |
| Generate Collision for All N |
Builds every selected asset from its own settings |
| Remove Collision from All N |
Clears the shapes from every selected asset |
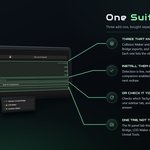
An asset with nothing to remove is skipped rather than counted as a failure, so a mixed selection still succeeds and reports honestly. The whole batch is a single undo step, and the shapes it builds are previewed as they land.
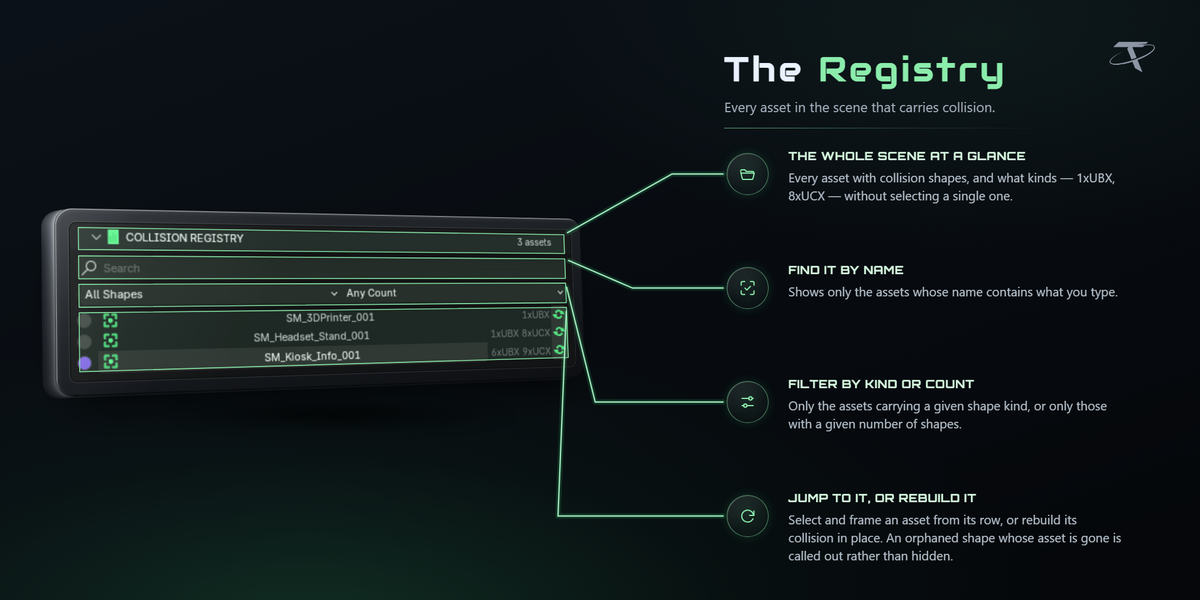
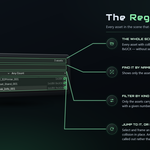
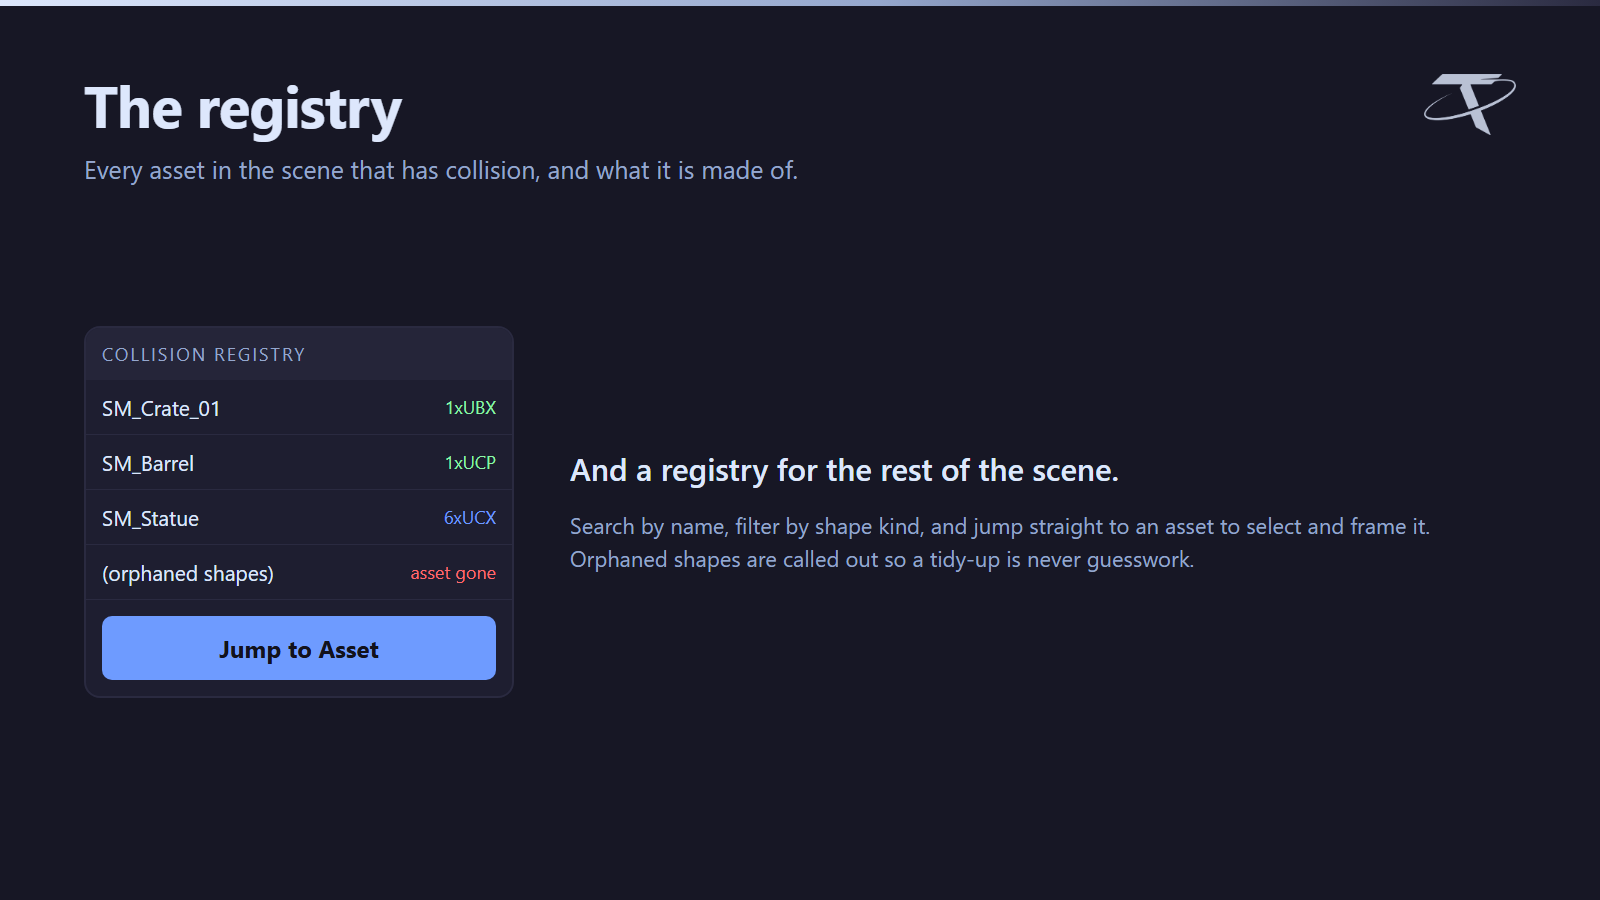
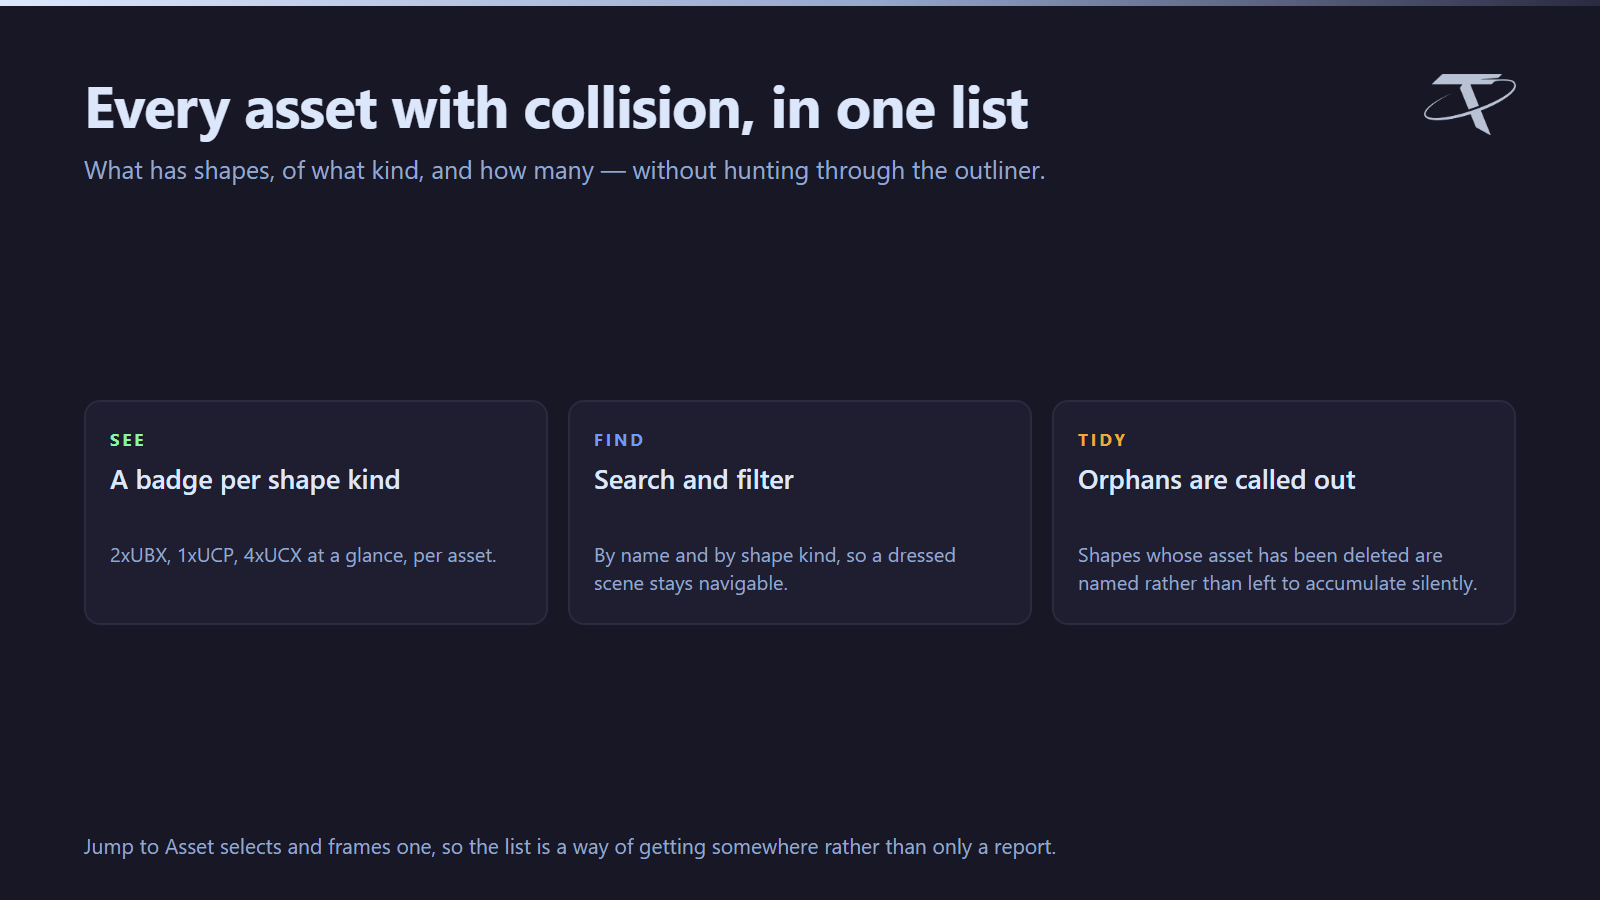
COLLISION REGISTRY lists every asset in the scene that has collision, with a badge per shape kind, a search box, filters, and Jump to Asset to select and frame one. Shapes whose asset has been deleted are called out as orphaned rather than left to accumulate silently.
Presets of your own
Every fitting default can be saved as a named preset, applied in one click, and exported to JSON to share or move between machines. Managed from the add-on preferences: save, rename, delete, export, import. Import reports a clashing name rather than overwriting it.
A preset file written by version 1.0 still loads. It carries the old Split Gain knob, which has no equivalent on the voxel engine, so it is dropped and the preset lands on the default accuracy.
Keyboard shortcuts
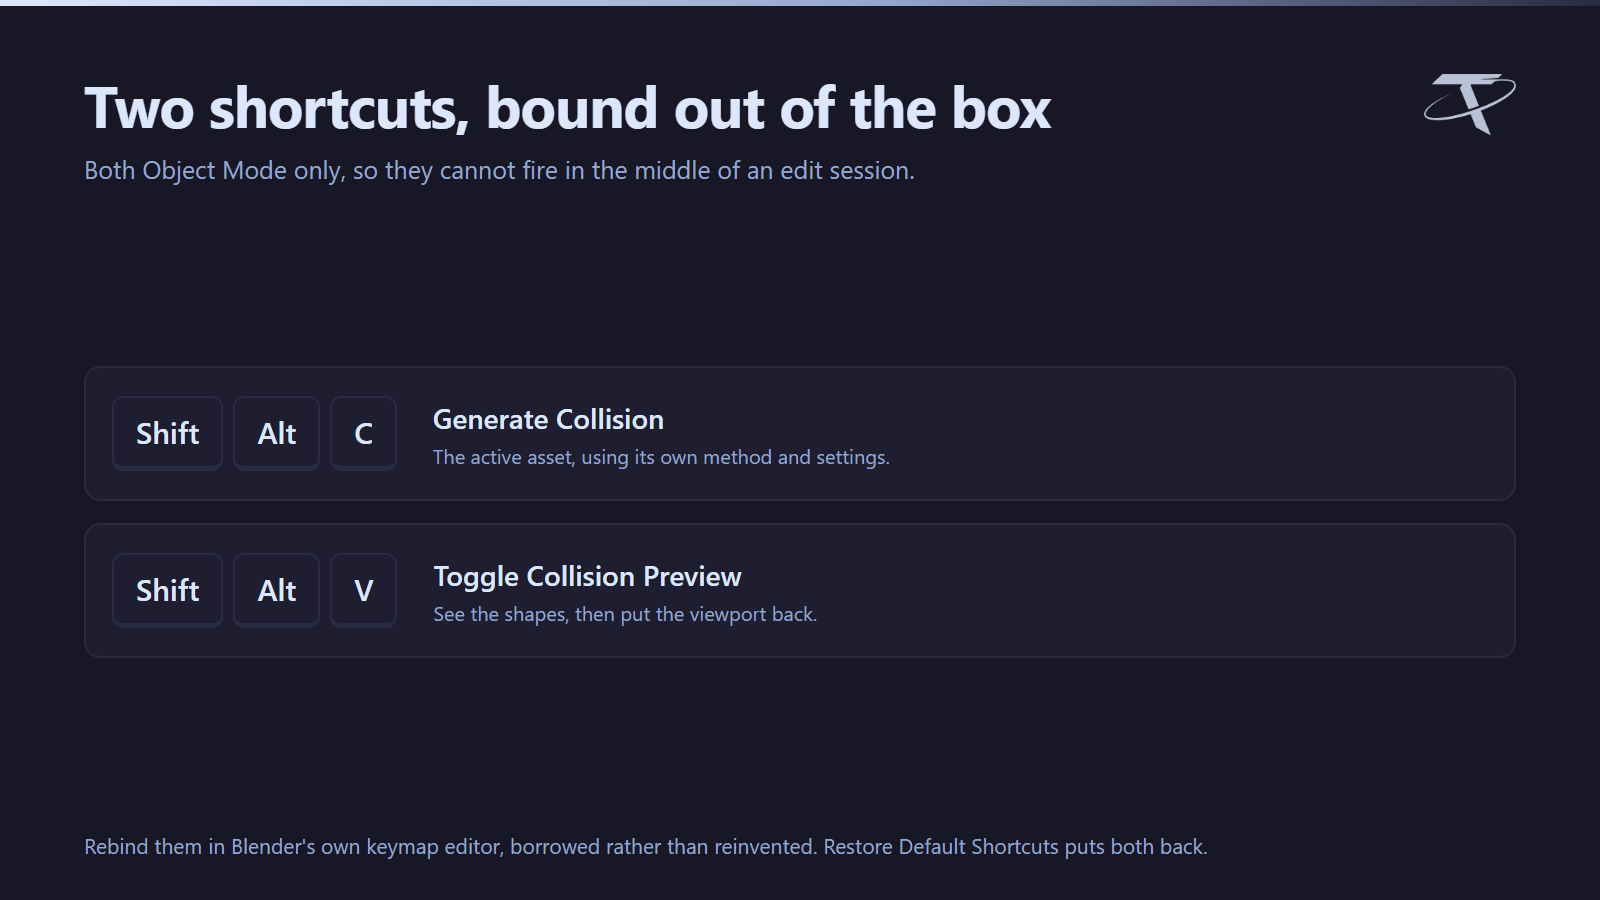
| Shortcut |
Action |
| Shift + Alt + C |
Generate Collision |
| Shift + Alt + V |
Toggle Collision Preview |
Both are Object Mode only. They are editable in the add-on preferences, using Blender's own keymap editor rather than a second one invented for the occasion — including the restore arrow that appears once an item is customised. Restore Default Shortcuts puts both back.
What is never used as collision
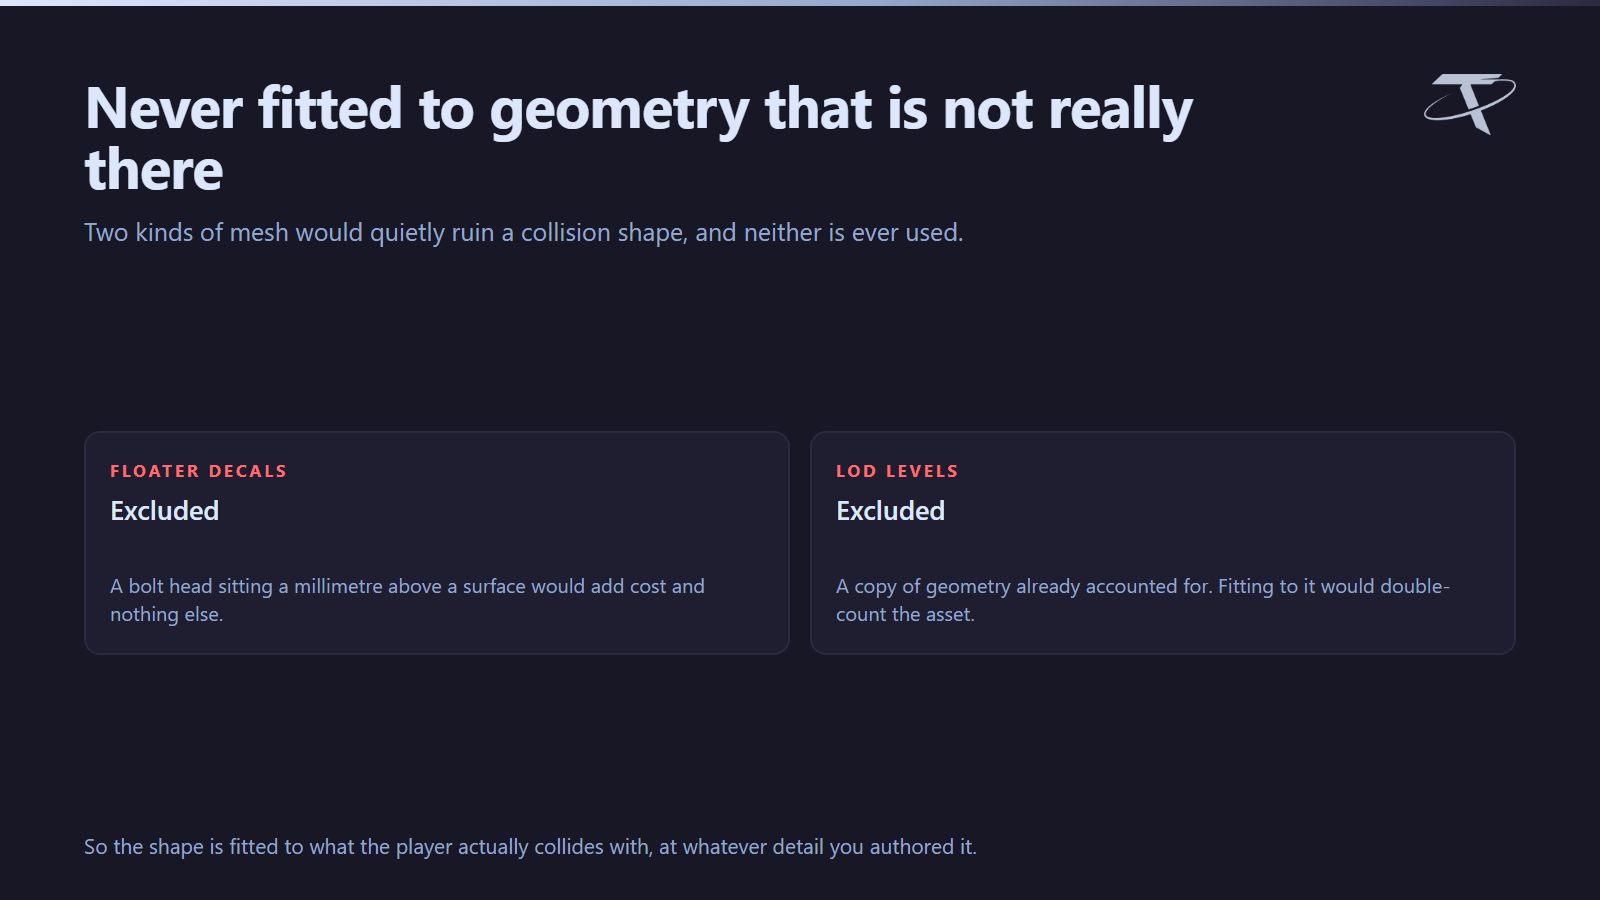
Floater decals and LOD levels never contribute to a collision shape. A decal sitting a millimetre above a surface would add nothing but cost, and a LOD level is a copy of geometry that is already accounted for.
What the add-on writes
Nothing outside these, and nothing without you asking for it:
| Path |
What, and when |
| Blender's own preferences |
The add-on preferences, saved by Blender |
| A path you choose |
Preset files, only when you press Export or Import |
/tachyon/welcomed_tachyon_collision_maker.txt |
One line recording which version last showed its welcome, so a reinstall greets you again |
It opens no network sockets. There is no telemetry, no analytics and no licence check. The Documentation and Discord buttons hand a URL to your default browser; the add-on itself makes no request and sees no response.
Support
Questions, bug reports and feature requests: join us on Discord. The same invite is in the add-on preferences.
GPL-3.0-or-later. Copyright 2026 Tachyon Studio. Unreal Engine is not required to generate collision, and is not included; it is a free download from Epic Games. This add-on is not affiliated with or endorsed by Epic Games.
 Tachyon Studio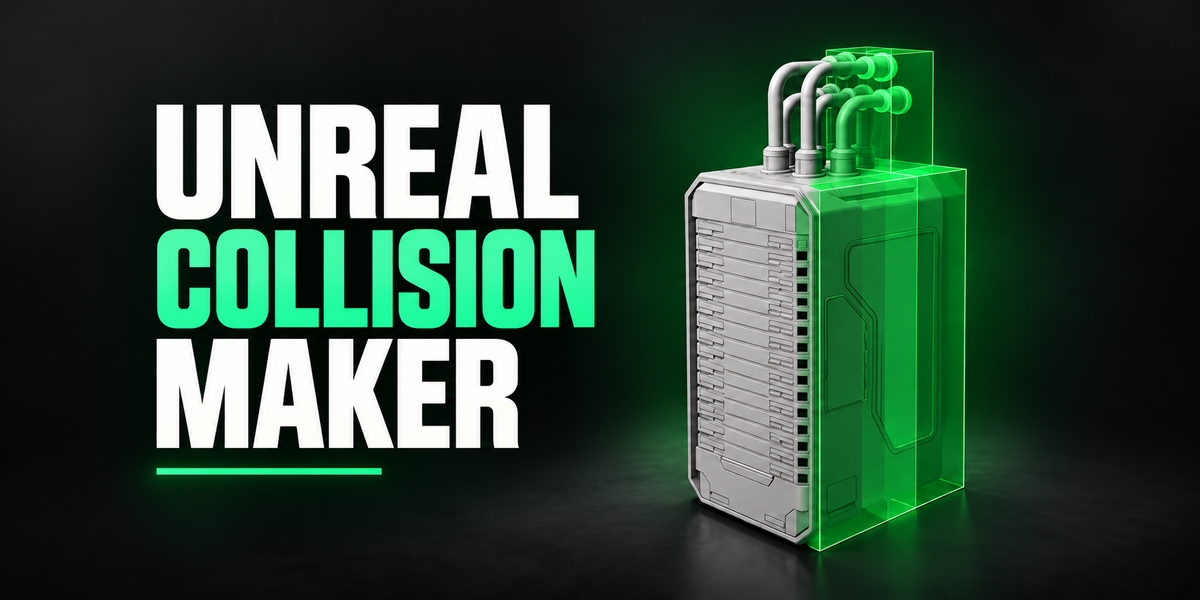
 Included