 KVD
KVD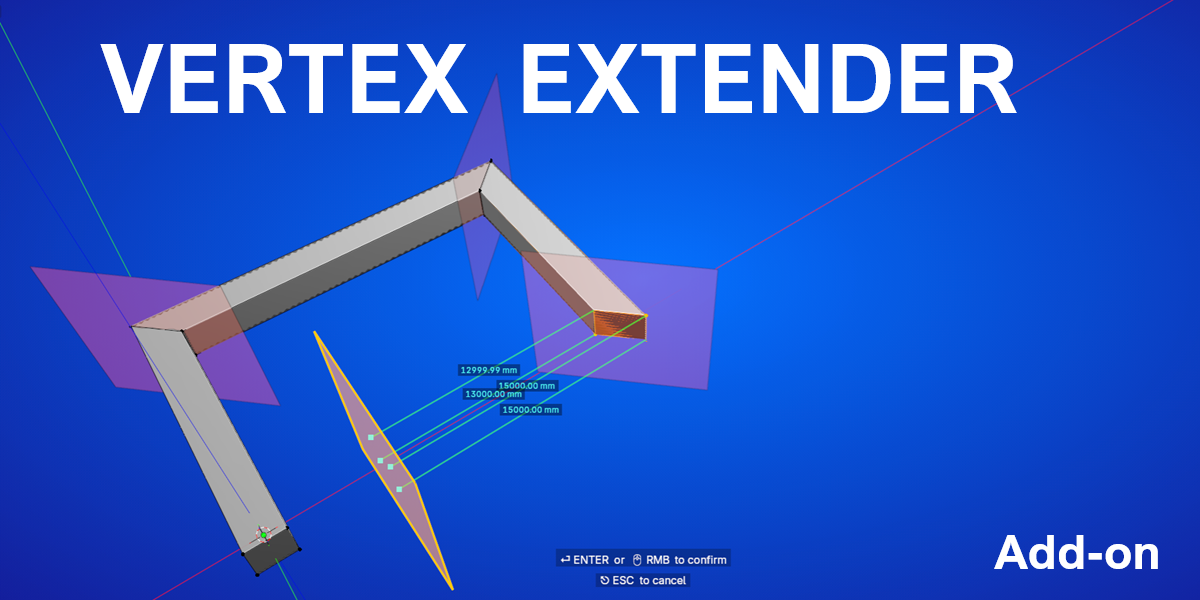
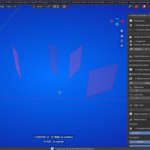
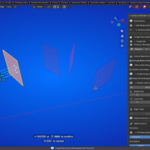
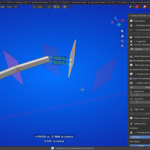
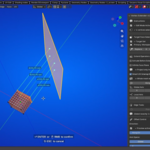
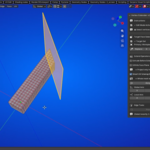
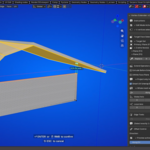
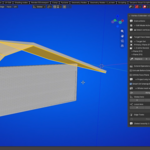
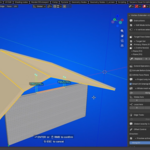
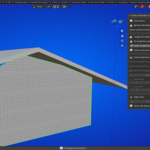
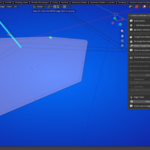
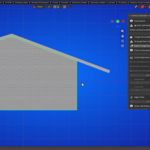
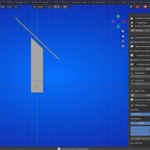
Vertex Extender v1.0 — User Manual
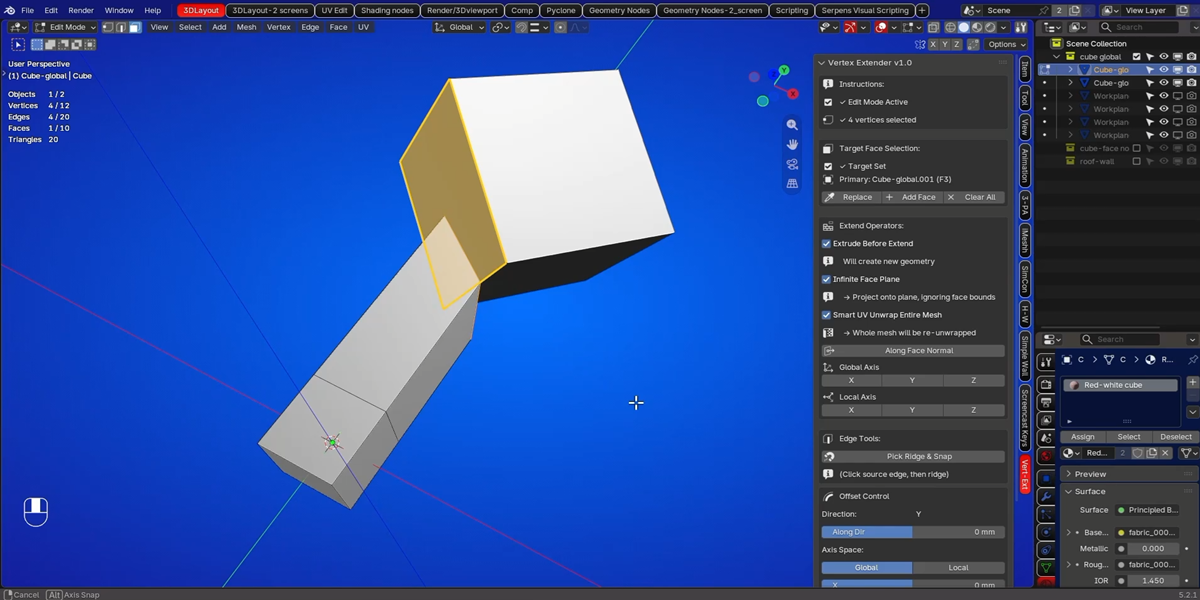
A Blender add-on for projecting and extending selected vertices onto a target face.
1. Overview:
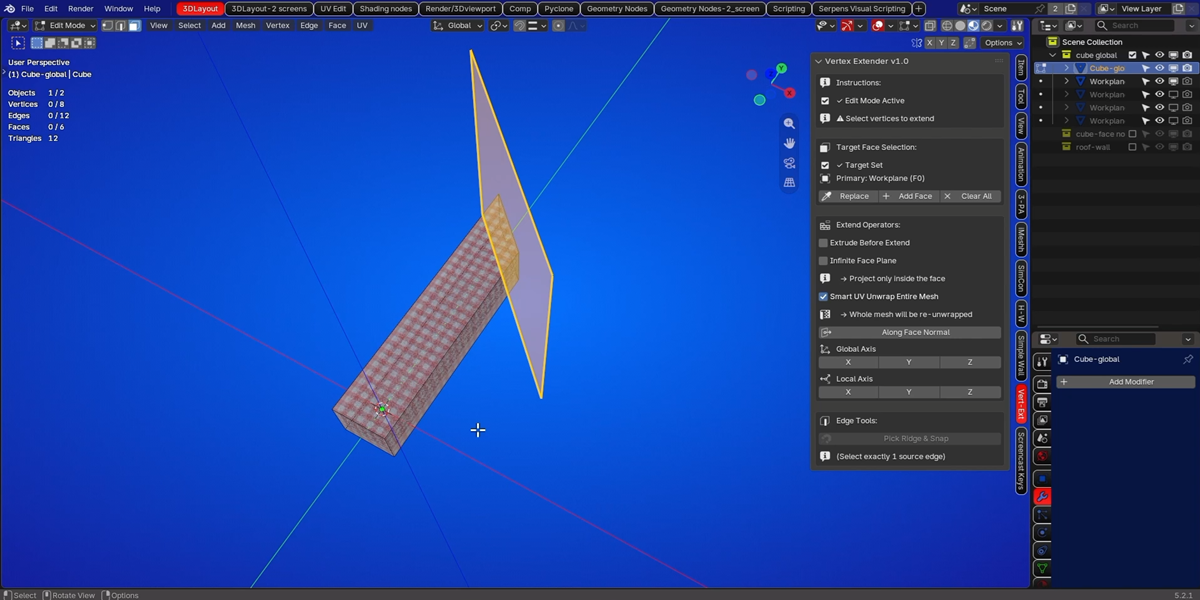
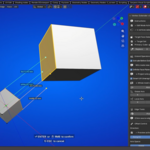
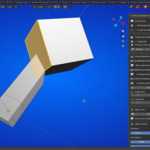
Vertex Extender is a modeling tool that lets you select vertices, pick a target face, and project those vertices onto that face — either moving them there directly or first extruding new geometry to reach it.
The add-on supports multiple target faces (for angled or curved surfaces), automatic direction detection, and automatic UV unwrapping for clean texturing on the new geometry.
2. Basic Workflow
The typical flow is:
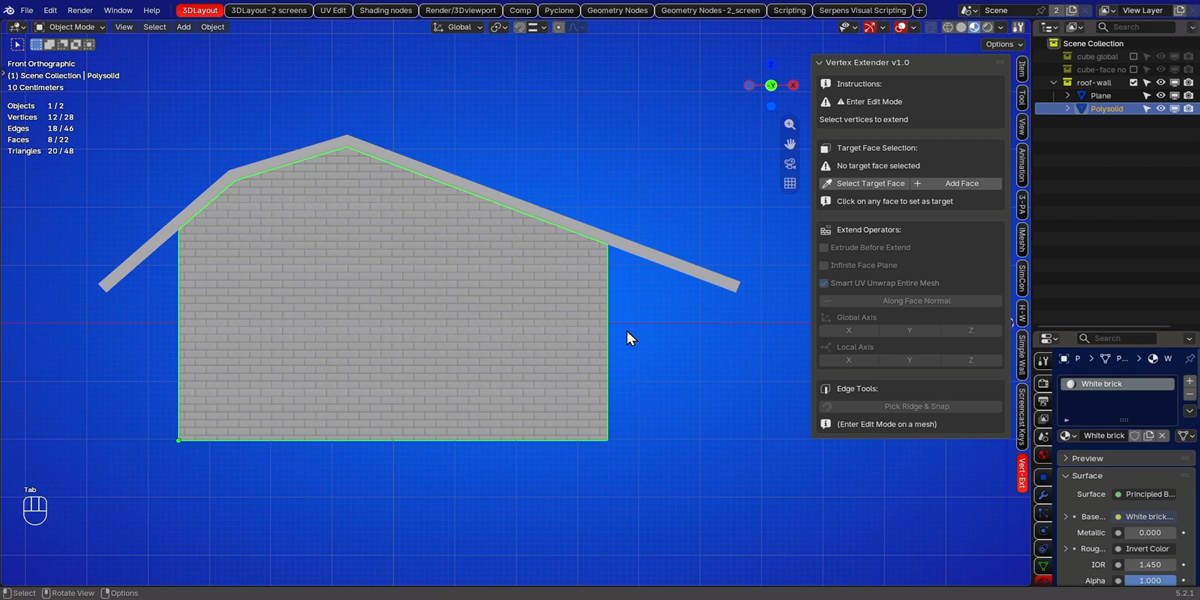
1-Enter Edit Mode on the mesh you want to modify.
2-Select the vertices you want to extend.
3-Choose the target face (the surface you want to project onto) via the eyedropper button.
4-Pick a projection direction (Face Normal, Global X/Y/Z, or Local X/Y/Z).
5-Confirm with ENTER or right-click.
6-Optionally fine-tune using the Offset Control sliders.
7-Optionally use the Edge Tools to snap a specific edge onto a ridge.
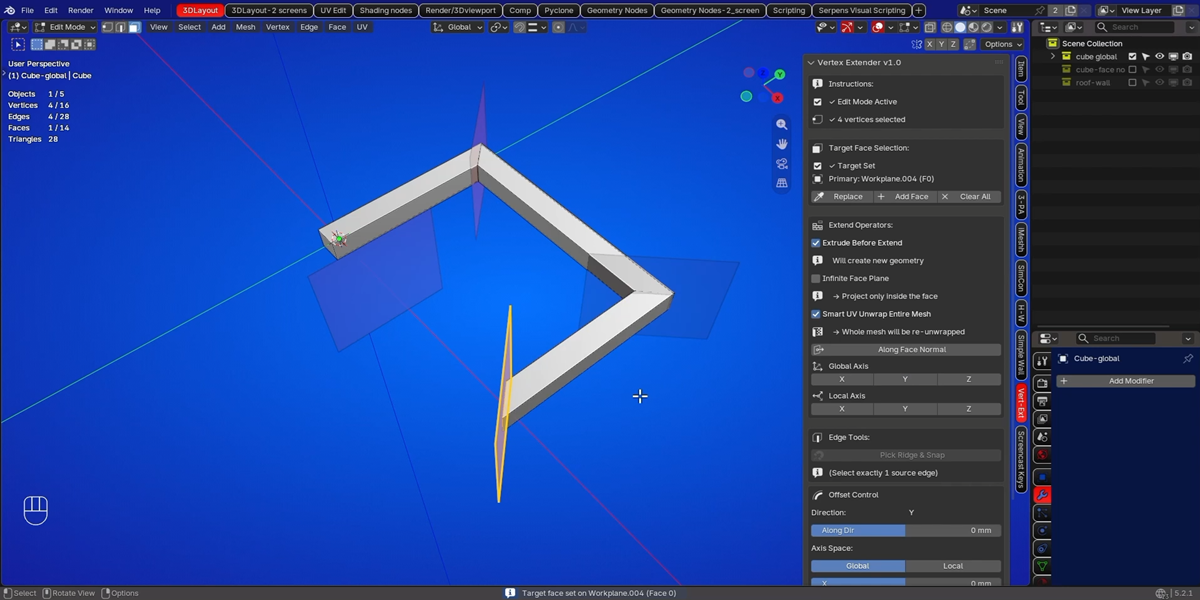
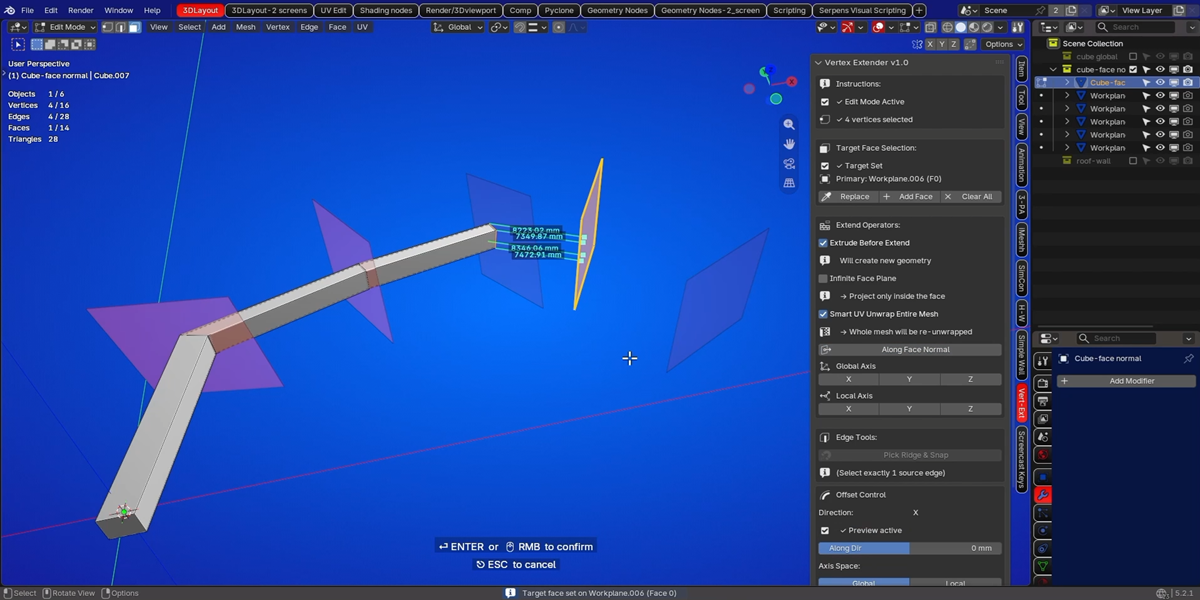
Steps 3–5 can be repeated as many times as needed — each projection leaves the newest vertices selected, so you can chain projections one after another.
3. The Panel:
3.1 Instructions:
The top box shows the current status:
✓ Edit Mode Active — you're in Edit Mode, ready to go.
✓ N vertices selected — you have N vertices currently selected.
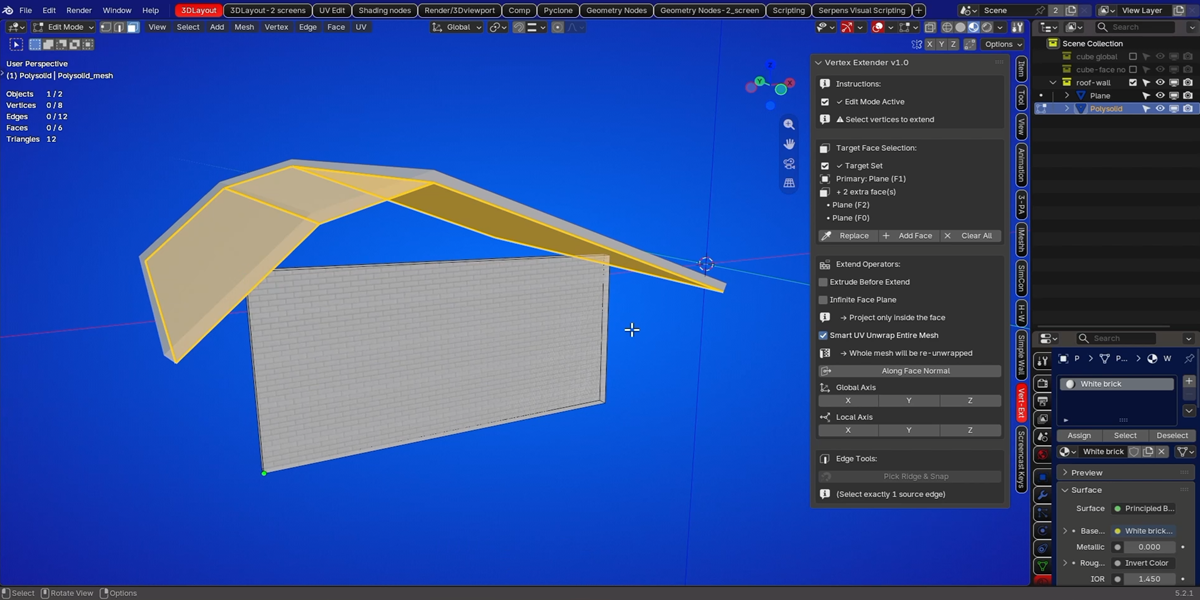
Warning messages if no object is selected, the object isn't a mesh, or you're not in Edit Mode.
Tip: You must be in Edit Mode with at least one vertex selected before the operators become active.
3.2 Target Face Selection:
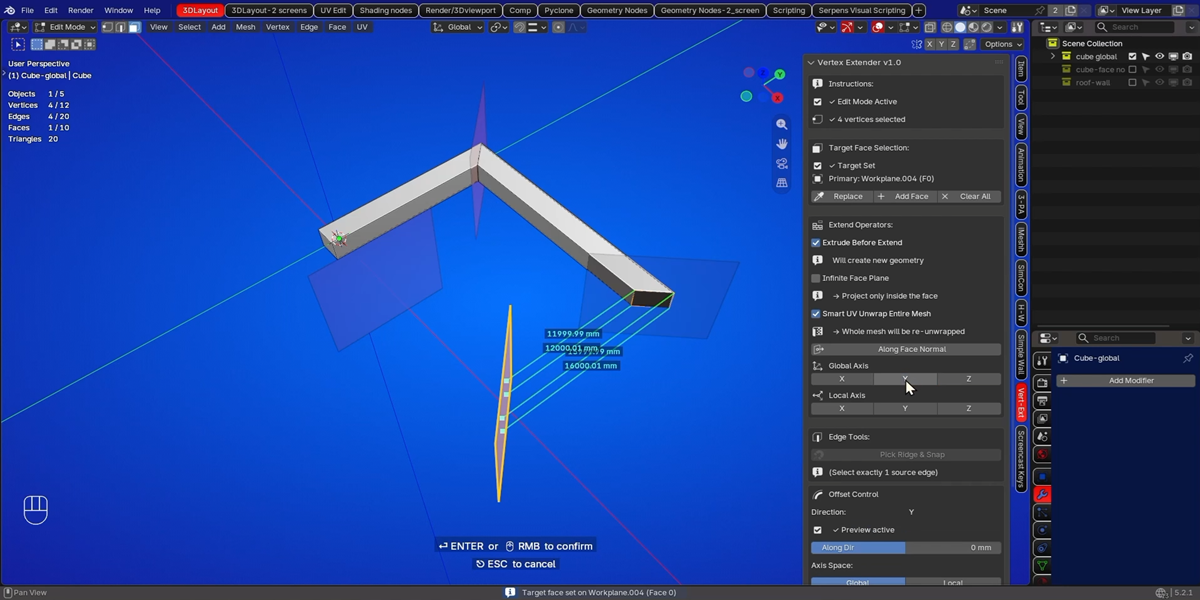
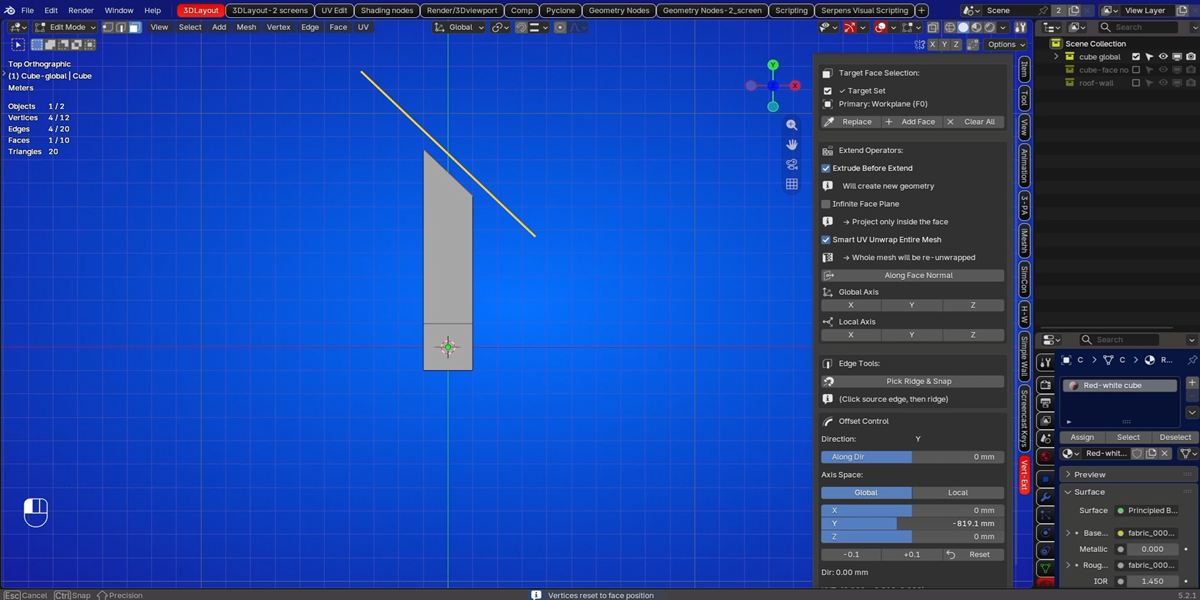
This box lets you define the projection surface — one or more faces that the selected vertices will be projected onto.
When to use 'Add Face':
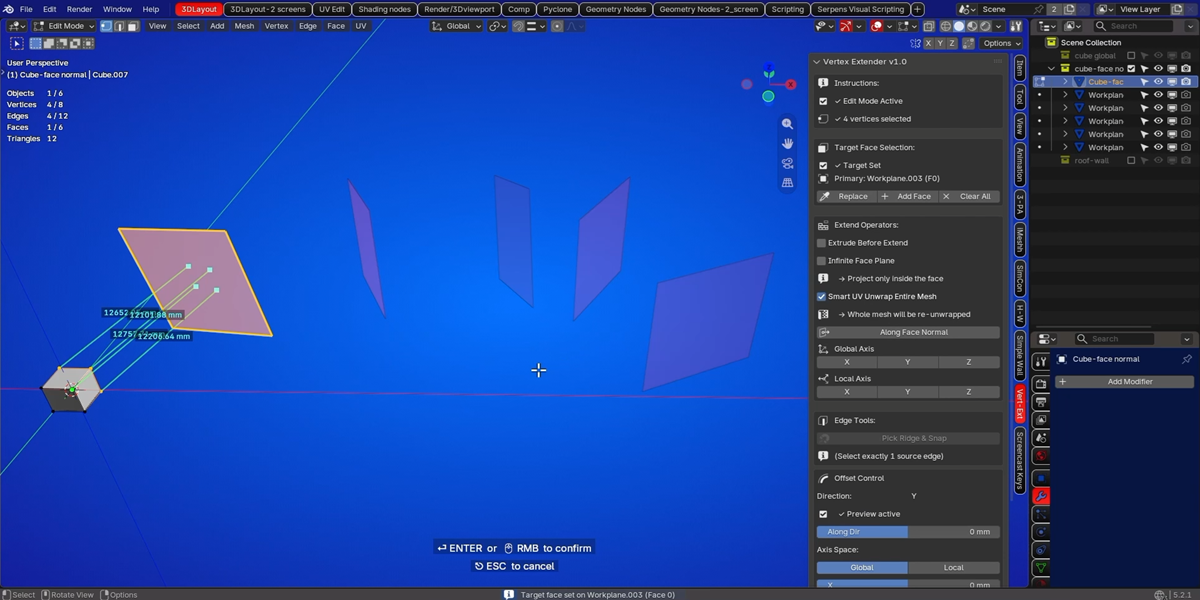
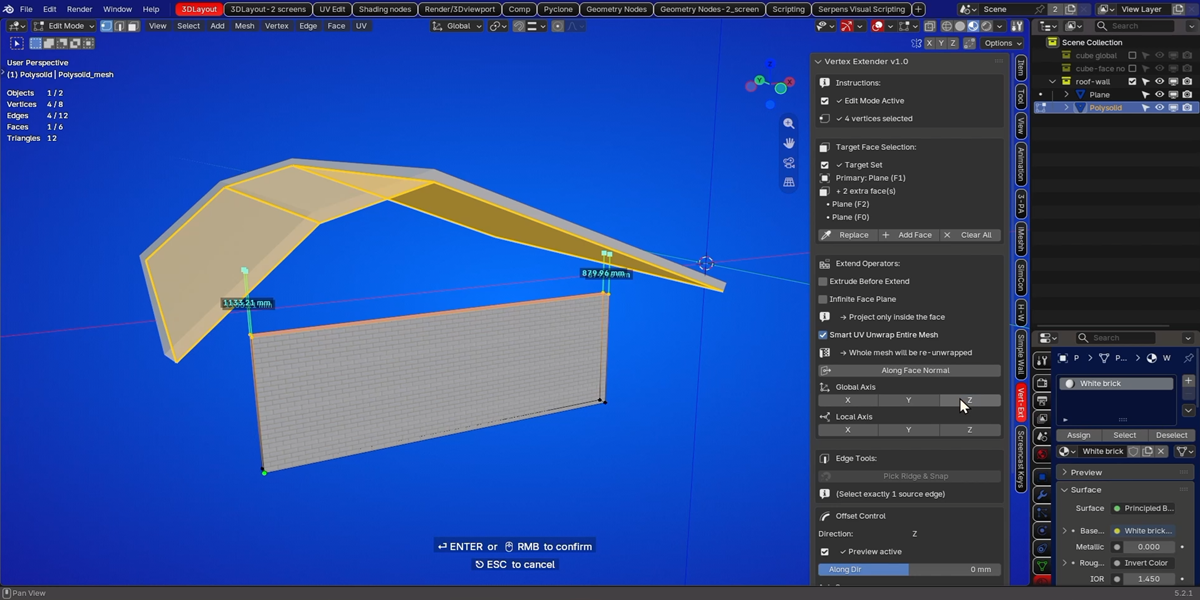
If your projection surface is composed of multiple faces (e.g., two roof halves meeting at a ridge), pick the first with Replace, then pick the rest with Add Face. The panel shows how many extra faces are in the surface.
Visual feedback:
All target faces are highlighted in yellow in the viewport, making it clear where projections will land.
Tip: Use the Infinite Face Plane toggle (see §5.3) if your target face is too small to catch all projected vertices.
3.3 Extend Operators:
Extrude Before Extend (toggle)
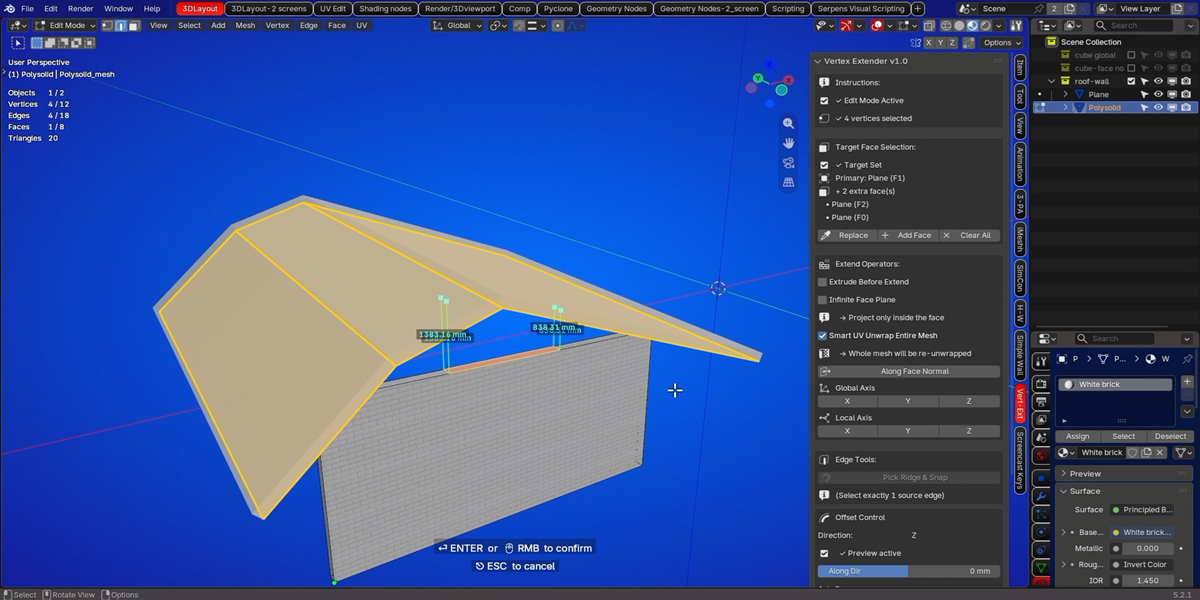
ON: Creates new geometry before projecting — perfect for building outward from the current mesh.
OFF: Moves the currently selected vertices directly (no new geometry).
When ON, the number of vertices stays the same after projection but new edges and faces are created between the original position and the projected position.
Infinite Face Plane (toggle)
OFF (default): Vertices only project if they land inside the target face boundary. Vertices that would land outside are skipped.
ON: Vertices project onto the infinite plane defined by the target face — even if they end up outside the actual face boundary.
Use this when:
Your target face is small, and you want to project onto an extended version of it.
You want to use the face as a direction reference, not a boundary.
Smart UV Unwrap Entire Mesh (toggle)
ON (default): Runs Smart UV Project on the whole mesh after the projection.
OFF: Only the newly extruded/projected geometry gets unwrapped. No unwrapping if 'Extrude Before Extend' is disabled
Useful when your original mesh already has good UVs, and you only want new geometry to be cleanly unwrapped.
Projection Direction Buttons:
Along Face Normal --> Projects along the target face's normal direction (auto-flipped so it points toward the target if needed).
Global X / Y / Z --> Projects along the world axis. Auto-flips so it points toward the target.
Local X / Y / Z --> Projects along the object's local axis.
Auto-flip: The add-on detects whether the target is on the positive or negative side of the axis relative to the selection, and chooses the direction that will actually hit the target. No more "+Y vs -Y" guessing.
3.4 Edge Tools:
A dedicated section for edge-based operations.
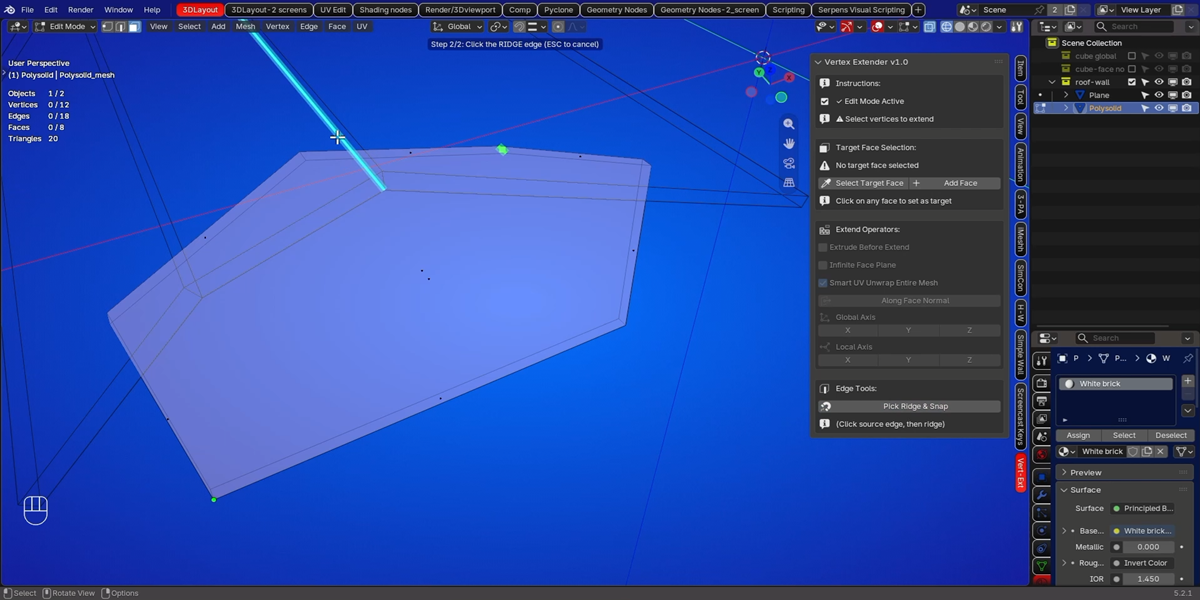
Pick Ridge & Snap
This is a two-step operation:
Click Pick Ridge & Snap
Hover over and select one edge on your mesh (this is the "source edge").The edge is highlighted in cyan.
Hover over edges in the viewport — the closest edge under your cursor is highlighted in cyan.
Click on the ridge edge (from any mesh in the scene, e.g., a roof).
The source edge is moved onto the ridge, preserving:
Its length
Its direction
The wall thickness it represents
A confirmation dialog appears:
OK → keeps the snap and clears the ridge.
Cancel → undoes the snap, clears the ridge.
Ridge highlight: The chosen ridge is drawn in pulsing magenta in the viewport.
When to use it:
When your projected wall doesn't quite reach the ridge line of an angled roof and you want to pull a specific edge up to meet it exactly.
3.5 Offset Control:
This box appears after a projection, when you have either stored positions or a direction to work with. It lets you fine-tune the final position of the projected vertices.
Along Dir slider
Moves the vertices further along the projection direction. Positive = further; negative = back toward the source.
Axis Space (Global / Local)
Determines whether the X/Y/Z offset sliders use world or object axes.
X / Y / Z sliders
Independent offsets along each axis. Useful for making small adjustments that aren't along the projection direction.
-0.1 / +0.1 buttons
Quick nudges of the Along-Dir offset by small increments.
Reset button
Returns the vertices to their last projected position (undoes all offsets, keeps the projection).
Live readout
Shows the current offset in your scene's unit system (mm/cm/m or inches/feet).
Note: Offsets only affect the currently selected vertices. If you change the selection, the sliders no longer do anything until the next projection.
4. Visual Feedback Guide:
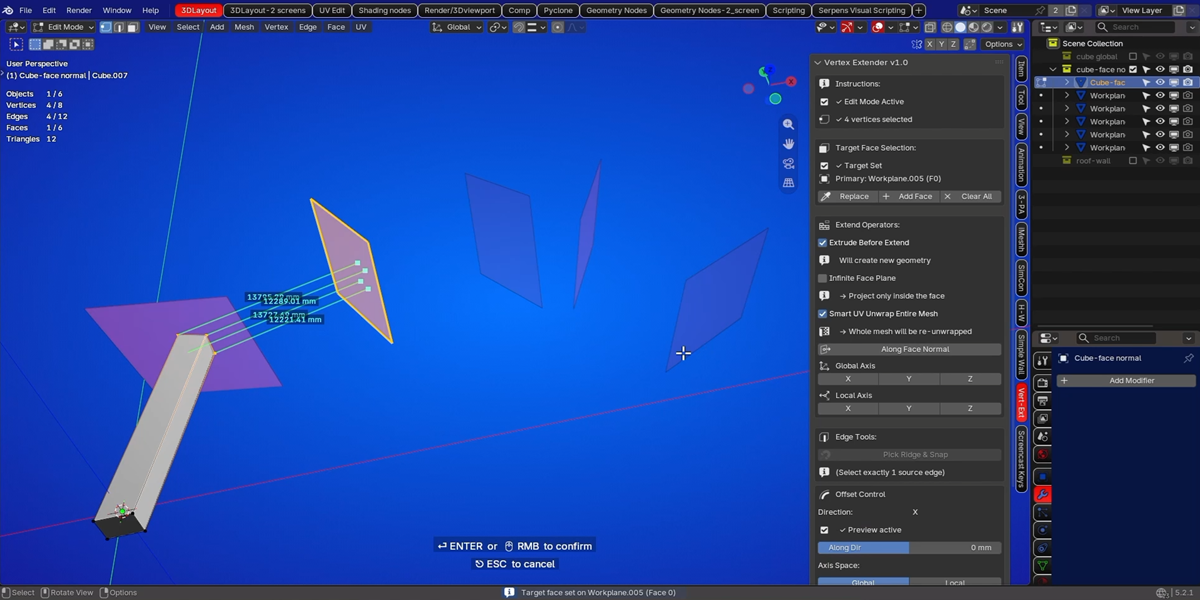
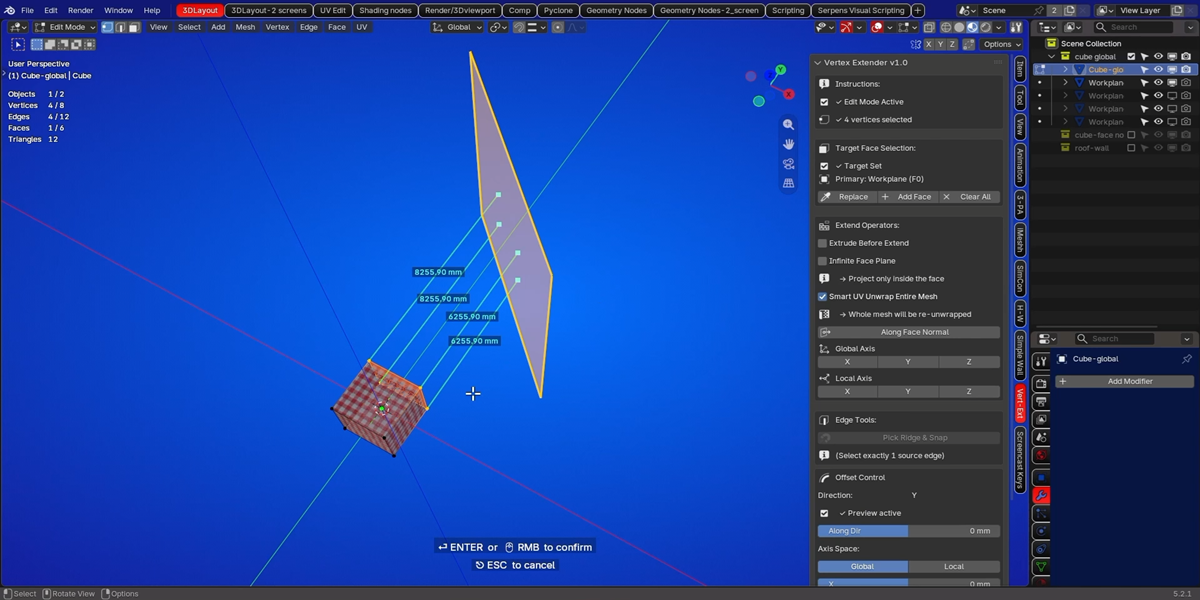
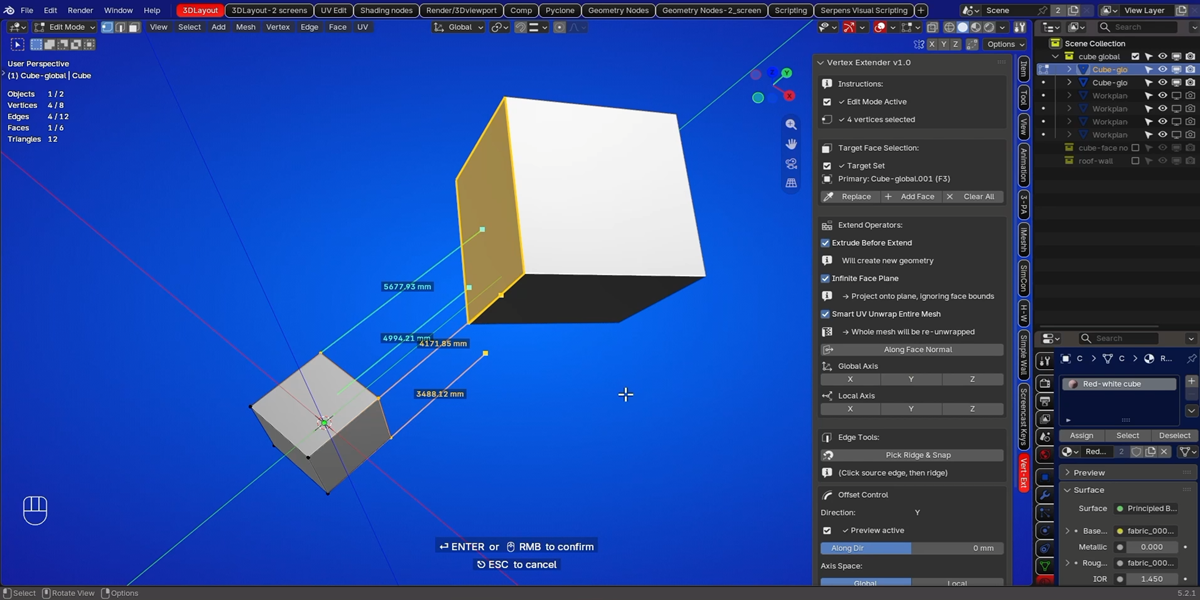
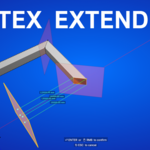
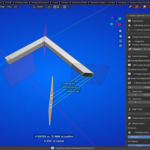
During the projection preview (before you confirm with ENTER/RMB), the add-on draws:
Lines from each selected vertex to its projected position
Color Meaning Will it project?
🟢 Green --> Lands inside the target face ✅ Yes
🟡 Yellow --> Lands on the plane but outside the face, infinite mode ON ✅ Yes
🔴 Red --> Lands on the plane but outside the face, infinite mode OFF ❌ No (skipped)
Points at the projected location:
Colored to match the lines (cyan for green, yellow-orange for yellow, red for red).
Distance labels:
Each projection line shows the distance from the source vertex to the projected position, formatted in your scene's unit system.
Target face highlight:
All faces in the current target surface are outlined and filled with a yellow overlay.
5. Troubleshooting:
"The projection doesn't happen — nothing moves."
Make sure the target face is on the same side the projection direction will reach. The add-on auto-flips direction for axis projections, but Along Face Normal still needs the face's normal to point roughly toward your selection.
If the projection is nearly parallel to the face, no intersection may occur. Try a different direction.
"I don't see the preview lines."
The preview is drawn during the modal (before you press ENTER/RMB). Once you confirm, the lines disappear.
Check that the target face hasn't been cleared.
Make sure the projection direction isn't zero — some operators may set it to (0, 0, 0) if something went wrong.
"The wrong vertices are highlighted after projecting."
This is a rare sync issue. Try exiting Edit Mode and re-entering it. If it persists, save and reload the file.
"Pick Ridge & Snap doesn't work."
Enter Edit Mode
After pressing the button, you need exactly one edge selected (source edge) in Edit Mode.
The ridge (target edge) must be a visible mesh edge in the viewport (not hidden).
"UV unwrap takes too long on large meshes."
Turn off Smart UV Unwrap Entire Mesh to only unwrap new geometry.
Or turn off UV unwrapping completely by disabling both toggles.
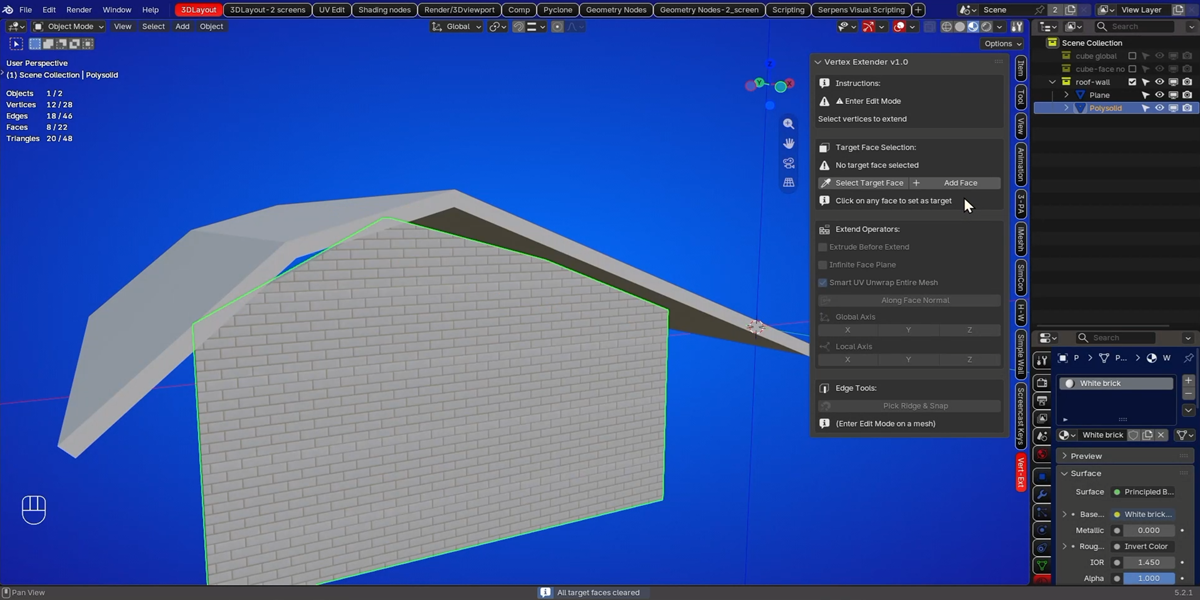
"The panel is empty / no operators available."
You must be in Edit Mode on a mesh object with a target face selected.
The panel shows contextual hints to tell you what's missing.
Have questions about this product?
Login to message
| Blender Extension Compatible | Yes |
| Dev Fund Contributor | |
| Published | 1 day ago |
| Blender Version | 5.0 - 5.2 |
| Extension Type | Add-on |
| Render Engine Used | Blender-Internal, Cycles, Eevee |
| License | GPL |

Discover more products like this
blender snap to surface blender extrude to face blender 3d blender addon 3d modeling blender projection tool blender mesh tools vertex extender blender smart uv