ViewLink Pro: Smooth Mirrored Viewport for Timelapse and Tutorials
 Darksteady. Studio
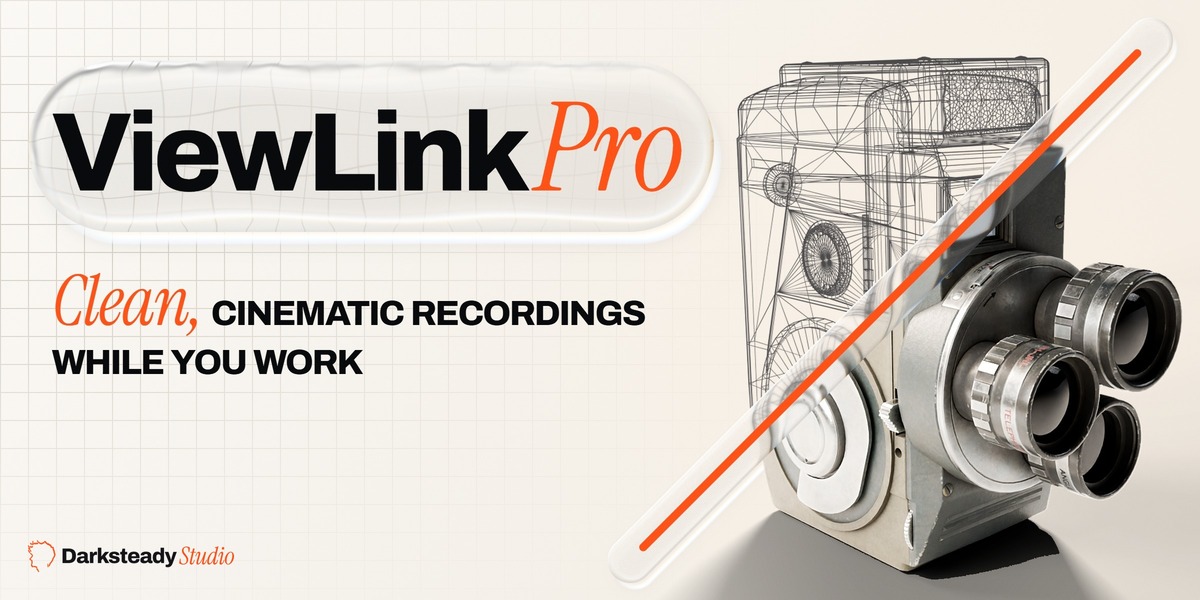
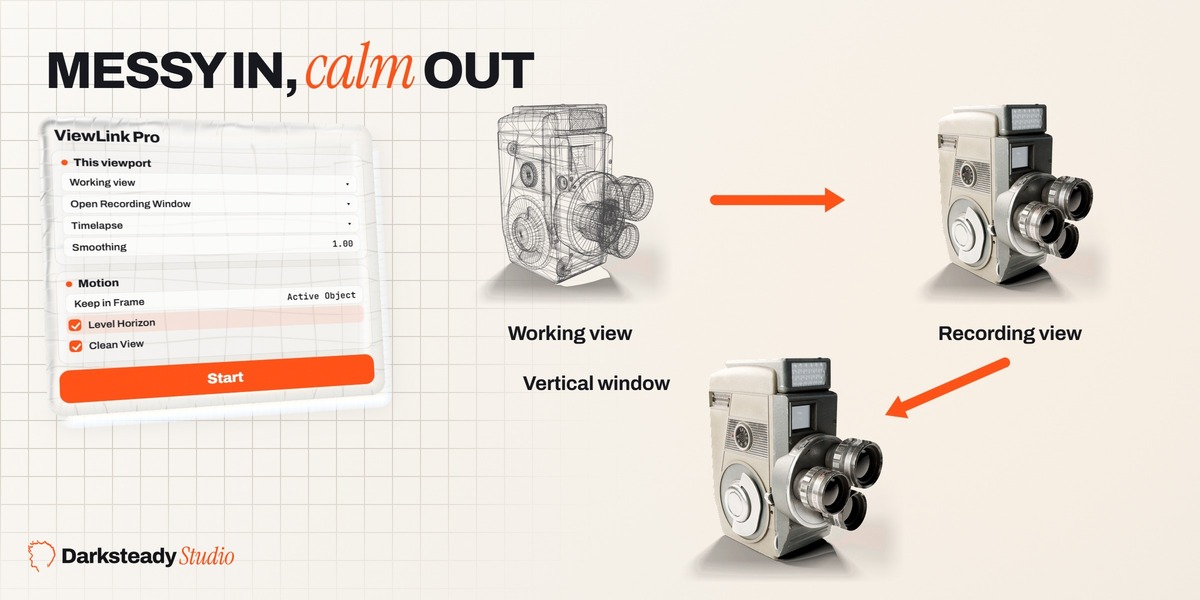


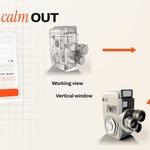
ViewLink Pro gives your recordings a calm, clean view of the model while you work in a viewport full of wireframe, grid and gizmos. The viewport you work in is the Working view. Recording views follow it with smooth, cinematic motion and a clean look, ready to capture in OBS for timelapses, tutorials and streams. Turntable views turn slowly around your subject on their own. Open Recording Window makes a capture-ready window in one click, in landscape 1920 × 1080 or vertical 1080 × 1920 for Shorts, Reels and TikTok.
Install
- In Blender open Edit > Preferences > Get Extensions.
- Open the menu in the top right corner and choose Install from Disk.
- Pick the ViewLink Pro zip. It is enabled right away.
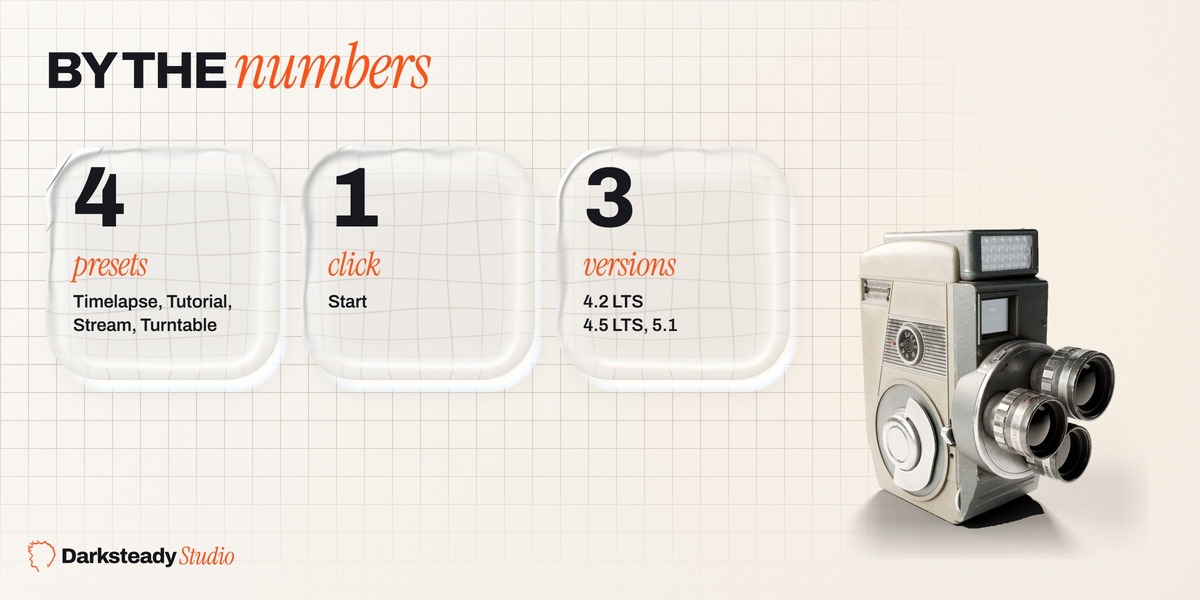
Supported: Blender 4.2 LTS, 4.5 LTS and 5.1, each tested on Windows. ViewLink uses only Blender's own features, so it runs on macOS and Linux too; there the Recording Window opens at Blender's default size (see Known limits).
Quick start
- In the viewport you work in, press N and open the ViewLink tab. Click Open Recording Window and pick Landscape 1920 × 1080 or Vertical 1080 × 1920.
- A new window opens that is only the viewport: no menus, headers, toolbars, gizmos or overlays. It already follows your view, and a small "Recording view active" line appears at the bottom of your Working view.
- In OBS add a Window Capture of that window. Work as usual. When you are done, click Stop and Restore.
The main panel
| Control | What it does |
|---|---|
| This viewport | The role of the viewport whose sidebar you use: Working view, Recording view, Turntable view or Not linked. |
| Open Recording Window | Opens a capture-ready window at Landscape 1920 × 1080, Vertical 1080 × 1920 or Square 1080 × 1080, linked and live. |
| Preset | Timelapse, Tutorial, Stream or Turntable. Changing any of their settings by hand switches to Custom. |
| Smoothing | Seconds a Recording view takes to cover 90 percent of a move. 0 mirrors your view instantly. |
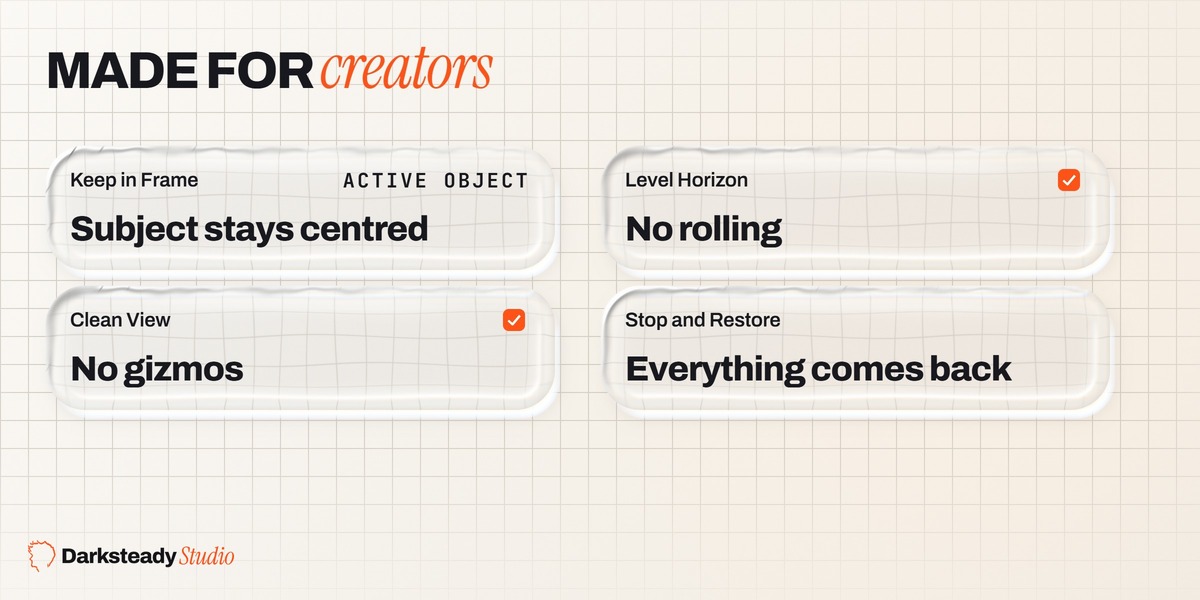
| Start, Stop and Restore | Start links every Recording view. Stop gives each one back its original overlays, gizmos, header, toolbar, sidebar, shading and clip range. |
The box at the top of the panel shows what ViewLink is doing: Live with the number of Recording views, Paused with the reason (for example when the Recording view is hidden behind a maximized area), and the size of each Recording Window.
Roles
- Working view: the viewport you work in. There is one. ViewLink never changes anything in it.
- Recording view: follows the Working view with smoothing, in a clean look. Any 3D View can be one: a Recording Window, a second area in your main window, or a window on another screen. You can have several.
- Turntable view: turns slowly around the subject on its own, in the same clean look. Set its angle and distance by orbiting it once; it keeps turning from there.
- Not linked: ViewLink leaves this viewport alone.
If you press Start with a Working view and no Recording view yet, the other 3D Views on screen become Recording views.
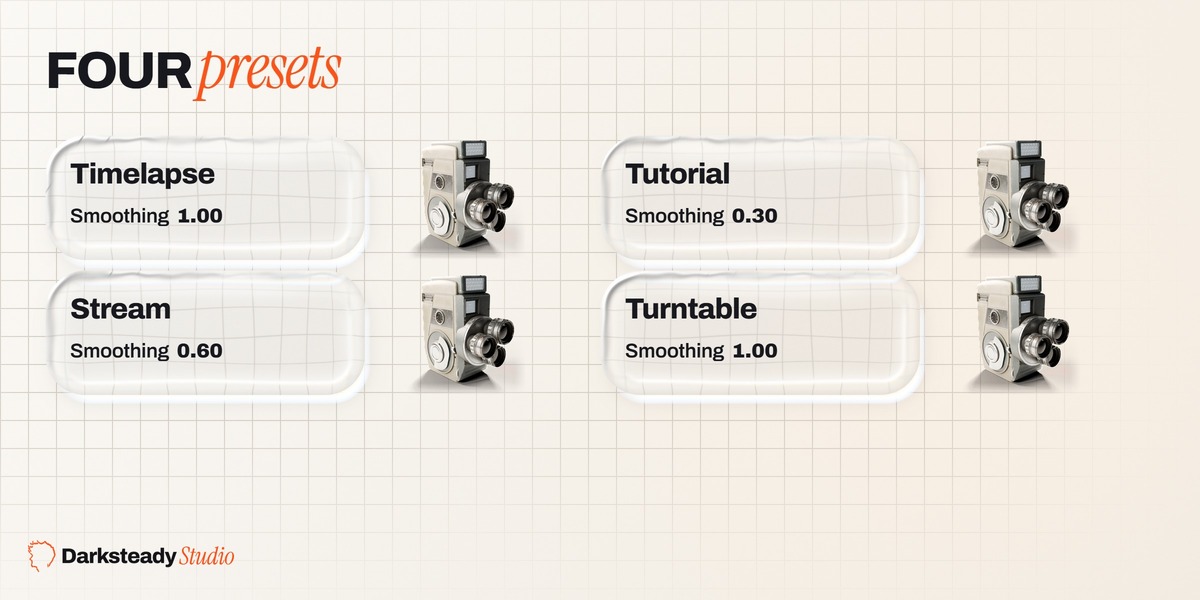
Presets
| Preset | Smoothing | Keep in Frame | Zoom | Shading |
|---|---|---|---|---|
| Timelapse | 1.0 s, Cinematic | Active object | Follow, within limits | Solid, never wireframe or X-ray |
| Tutorial | 0.3 s, Direct | Off | Follow | Same as the Working view |
| Stream | 0.6 s, Cinematic | Off | Follow | Material Preview |
| Turntable | 1.0 s, Cinematic | Active object | Fit Subject | Material Preview, views turn 15° per second |
The Turntable preset turns your Recording views into Turntable views; choosing another preset turns them back. A Turntable view you set by hand stays one.
Motion
Open the Motion sub-panel under the main panel.
- Motion: Cinematic starts and stops every move softly, like a camera on a slider, and never overshoots. Direct reacts at once and slows down at the end.
- Keep in Frame: Recording views stay centred on the active object or on the selection, even when you pan away to work on something else. They still look from your viewing angle.
- Level Horizon: Recording views never roll, even when your Working view does.
- Zoom: Follow zooms with you, smoothed and held between Min and Max distance, so zooming far into a detail does not show in the recording. Fit Subject keeps the subject framed whatever you zoom. Fixed keeps the Recording view's own distance.
- Smoothing (zoom): its own settle time, so zooms can be calmer than turns.
- Turntable: degrees per second for Turntable views. Negative turns the other way. 12 is one turn in 30 seconds.
Look
Open the Look sub-panel under the main panel.
- Shading: Same as Working View, Solid, Material Preview, Rendered or Own Shading. Work in Solid or Wireframe while the recording stays in Material Preview. Solid copies your lighting, MatCap and colours but never your wireframe or X-ray toggles, so they do not flicker in a timelapse.
- Clean View: hide overlays, gizmos, header, toolbar and sidebar in Recording views.
- Status Text: the small status line in your Working view. It is never drawn in a Recording view.
- Fit Recording Windows: on Windows, sizes the Recording Windows to their format again, for example after you moved one to another screen.
Recording in OBS
- Add a source: Window Capture, and pick the Blender window that is your Recording Window.
- For landscape video use a 1920 × 1080 canvas. For Shorts, Reels and TikTok set the canvas to 1080 × 1920 and use the Vertical window.
- Right click the source and choose Transform > Fit to screen. The window has the exact aspect of the canvas, so there are no bars.
- Turn off Capture Cursor in the source settings if you do not want your mouse in the Recording Window.
When the screen is smaller than the format, the window is scaled down with exactly the same aspect. On a 2560 × 1440 screen the Vertical window is 756 × 1344, exactly 9:16, and OBS scales it to fill the canvas.
How the smoothing works
ViewLink moves Recording views with the real time that passed, not a fixed step per frame. A move looks the same at 30 or 144 frames per second and in a heavy scene where Blender slows down. In our tests on Blender 5.1 with Smoothing at 0.5 s, a 90 degree turn of the Working view was 90 percent done in the Recording view 0.51 s after the turn, in both Cinematic and Direct motion, and the Recording view updated 60 times per second. With Blender slowed down to 17 frames per second by a heavy load, the same turn took 0.48 to 0.54 s, within one of those slower frames.
When nothing moves, Recording views do not redraw at all. ViewLink then checks for changes 30 times per second, which took 0.35 percent of one CPU core with three Recording views in our test. While you orbit, ViewLink's own work for three Recording views is about 15 milliseconds per second (1.5 percent of one core); the rest is Blender drawing the extra viewports.
Saving, layouts and files
- Roles are saved with the .blend file. A file saved while recording opens recording, and Stop still restores the look your views had before.
- Splitting, resizing and maximizing areas keeps every role. Switching an area to another editor and back keeps it too.
- Closing a Recording Window removes just that view. Open a new one with one click.
- Ctrl+Z never changes which view records: roles are interface data, not scene data.
Special views
- Quad view: Recording views follow the perspective quadrant.
- Camera view: when you look through the camera, Recording views move to the camera's angle as a free view, without the camera frame.
- Orthographic views: when you snap to the top, front or side view, the Recording view turns smoothly and switches to orthographic once the turn has settled. Orbiting away switches back at once.
- Edit and Sculpt mode: work as usual.
- A Recording view you put into camera view yourself is left alone.
Known limits
- Local view isolates objects in your Working view only. Recording views keep showing the whole scene; Keep in Frame keeps the isolated object centred.
- Exact window sizes need Windows. On macOS and Linux the Recording Window opens at Blender's default size and the panel shows its live size, so you can drag it to the size you want.
- Rendered shading in a Recording view renders the scene a second time and needs a strong GPU.
- Several Recording views each redraw while the view moves, like any extra viewport.
Support
For bugs and questions, write to us through this product page. Please include your Blender version and what you were doing.
 Included
Includes 12 months of
- Support from Darksteady. Studio
- Product updates
Extend this product’s Support Period +12 months: 25% of product price
Have questions before purchasing?
Login to message
| Blender Extension Compatible | Yes |
| Dev Fund Contributor | |
| Published | about 6 hours ago |
| Blender Version | 4.2 - 5.1 |
| Extension Type | Add-on |
| Render Engine Used | Cycles, Eevee |
| License | GPL |
Discover more products like this
vertical video Workflow obs streaming tutorial turntable smooth camera timelapse recording viewport screen capture interface