 Teamah
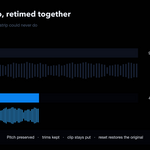
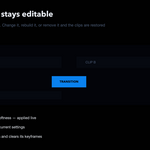
VSE Pro adds 32 transitions to Blender's Video Sequence Editor, each with a real easing curve, plus a speed controller that retimes video and audio together with pitch preserved. Everything it creates stays editable — transitions are ordinary strips you can re-tune, rebuild or remove.
Installing
- In Blender: Edit › Preferences › Add-ons › Install from Disk
- Select
vse_pro-2.1.0.zip - Enable VSE Pro in the list
- Open a Video Sequencer, press N for the sidebar, and choose the VSE Pro tab
Adding a transition
- Place two clips next to each other. They do not need to overlap — the overlap is created for you.
- Select both. Exactly two strips, neither of them a sound strip.
- Set the Duration in frames, then pick a Curve and an Ease direction.
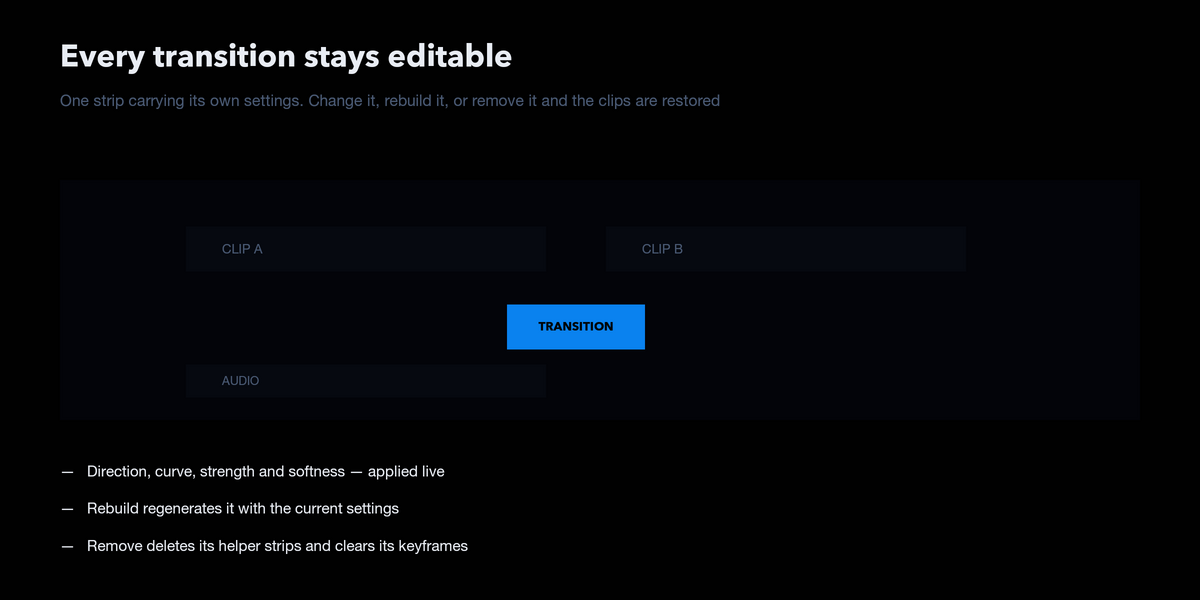
- Click any transition. It appears as a single strip above the two clips.
Select that strip and the Selected Transition panel shows only the settings that transition actually uses. Changes apply live. Rebuild regenerates it; Remove deletes it, along with any helper strips it made, and restores the clips it animated.
Settings
- Duration — length of the transition in frames
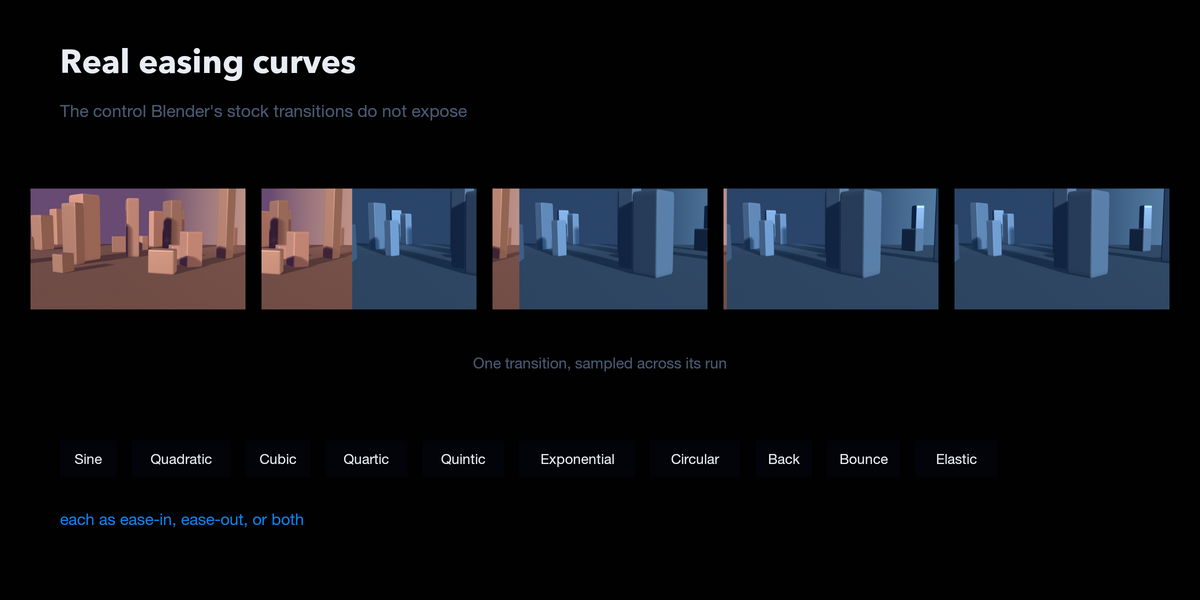
- Curve — the shape of the acceleration, from Sine to Elastic
- Ease — which end of the move is eased: in, out, or both
- Direction — the direction of travel, for transitions that move
- Strength — overall intensity of the effect
- Softness — edge hardness, for the wipes
- Ripple — shift later strips back so the timeline gains no gap
A good default is Cubic with Ease Out: fast off the mark, settling gently. For exits, Ease In is the mirror image. Expo is the snappiest. Back and Elastic overshoot, which suits titles and rarely suits footage.
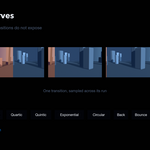
Easing curves
- Linear — Constant rate, no easing
- Sine — Gentlest ease
- Quadratic — Soft ease
- Cubic — Balanced ease, a good default
- Quartic — Stronger ease
- Quintic — Very strong ease
- Exponential — Snappiest ease, dramatic
- Circular — Sharp ease
- Back — Overshoots slightly before settling
- Bounce — Bounces on arrival
- Elastic — Springs past and oscillates
The transitions
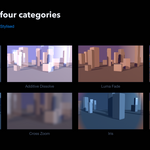
Dissolve
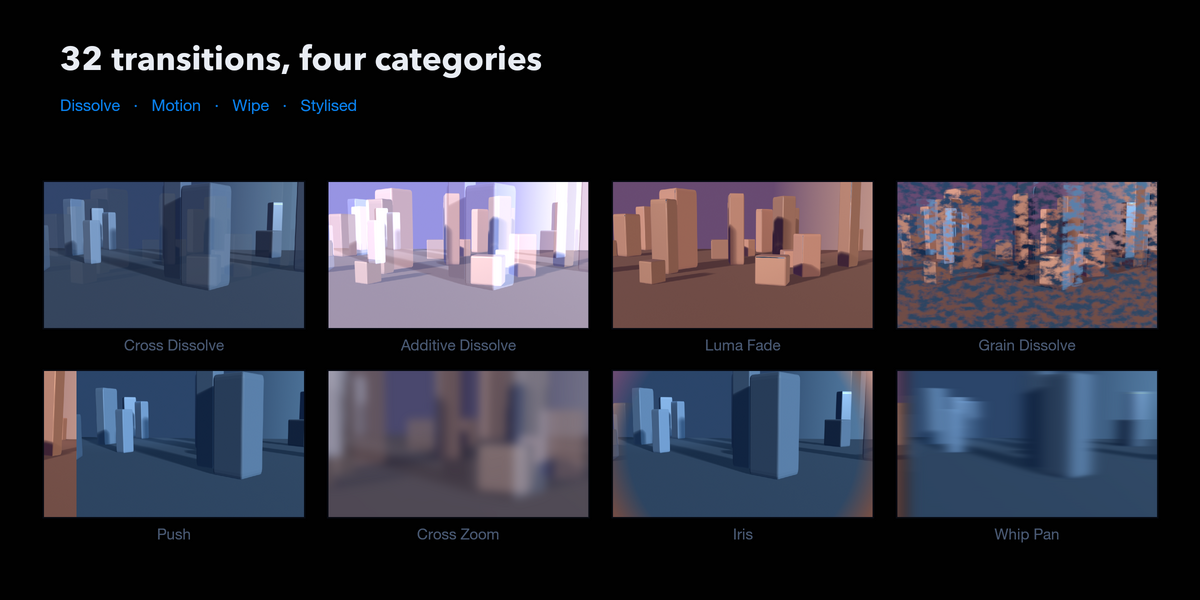
- Cross Dissolve — Eased cross fade -- the classic, but with a real acceleration curve
- Film Dissolve — Gamma-correct dissolve that keeps highlights from going muddy
- Dip to Colour — Fades through a solid colour, black by default
- Blur Dissolve — Both clips defocus into each other
- Bloom Dissolve — Highlights flare out and resolve into the next shot
- Additive Dissolve — Both shots stay hot through the middle -- the blown, filmic dissolve
- Luma Fade — Dissolves in order of brightness -- highlights give way first (node engine)
- Grain Dissolve — Organic speckled dissolve with no visible edge (node engine)
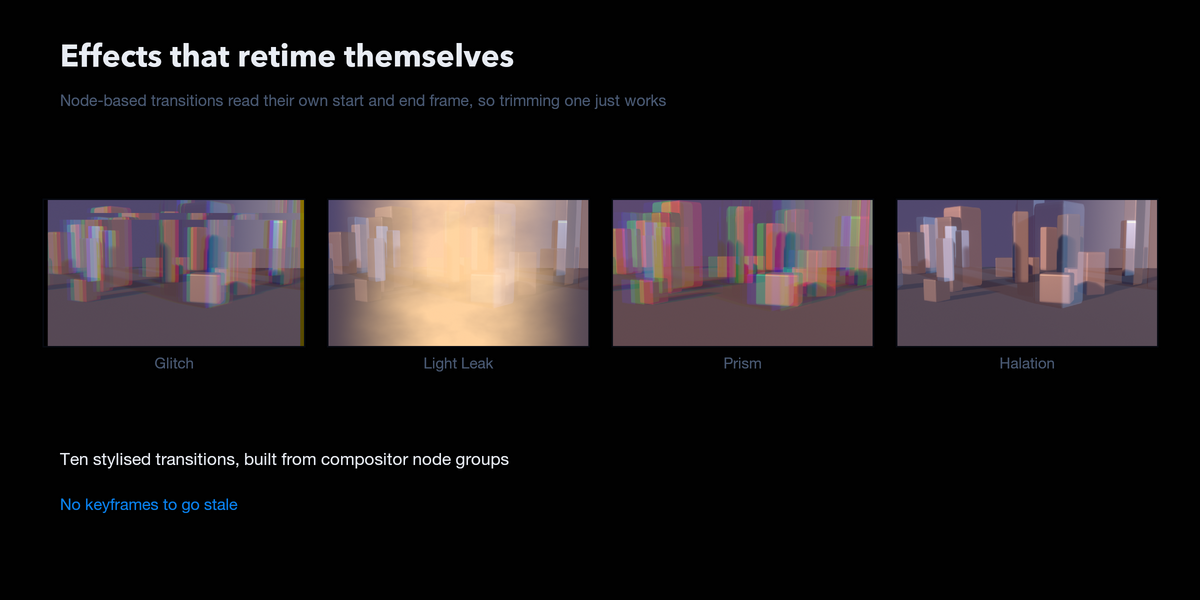
- Halation — Highlights bloom and bleed warm through the cut (node engine)
Motion
- Cross Zoom — Punches hard into the cut and pulls out of the next shot
- Push — New shot pushes the old one off screen
- Slide Over — New shot slides in on top of a stationary old one
- Slide Reveal — Old shot slides away to uncover the new one
- Zoom In — Punches into the outgoing shot and settles on the new one
- Zoom Out — Pulls back out of the outgoing shot
- Spin — Rotates between the two shots
- Whip Pan — Fast directional swish with motion blur -- the vlog staple
Wipe
- Linear Wipe — Soft-edged wipe across the frame
- Barn Door — Wipe opening from the centre outward
- Iris — Circular iris opening or closing
- Clock Wipe — Sweeping radial wipe
- Soft Luma Wipe — Wipe with a soft, slightly organic edge (node engine)
Stylised
- Glitch — Digital tearing with chromatic split (node engine)
- Zoom Blur — Radial blur punch through the cut (node engine)
- Spin Blur — Rotational blur whip between shots (node engine)
- Warp Dissolve — Organic liquid displacement (node engine)
- Pixelate — Blocks up and resolves into the next shot (node engine)
- Light Leak — Warm flare sweeps across the cut, like film fogging (node engine)
- Prism — Colour channels drift apart and reconverge (node engine)
- Directional Blur — Motion-blur smear along one axis (node engine)
- Displacement Map — Each shot warps the other by its own brightness (node engine)
- Lens Dissolve — Barrel distortion and colour fringing swell through the cut (node engine)
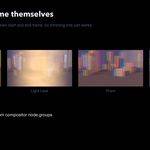
Transitions marked node engine are built from compositor node groups. They read their own start and end frame, so trimming or sliding one retimes it automatically — there are no keyframes to go stale.
Speed
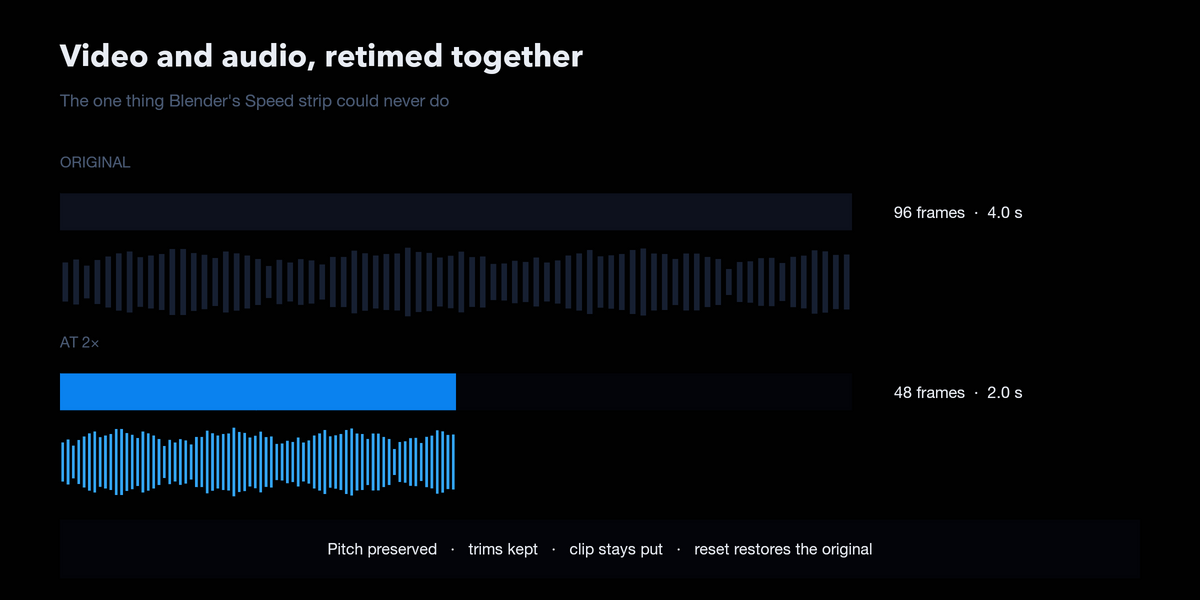
Select a clip, choose a rate, and click Apply Speed. Video and audio are ticked independently, and connected strips are followed both ways: select a movie and its sound is retimed too; select the sound and the picture follows.
- 2.00× — twice as fast, half the length
- 0.50× — half speed, twice the length
- Preserve Pitch — on by default, so a voice keeps its pitch at any speed. Turn it off for a deliberate tape-style pitch shift.
- Reset Speed — restores the original length, the original audio file, and your original in and out points
Trims are preserved: the section you chose still plays, at the new rate, and the clip keeps its position on the timeline. Repeated changes compound from the original, so 2× then 4× gives a quarter length, not an eighth.
Why audio needs ffmpeg
Video speed uses Blender's own Speed Control effect strip. Audio cannot use Blender's sound retiming, because that feature cannot be driven from Python: moving a retiming key only takes effect on the first strip in the sequencer, and the retiming operators require interactive selection state that has no scripting API. So audio speed renders a time-stretched copy of the sound with ffmpeg and points the strip at it.
Your original file is never modified. Retimed audio is written to a vsepro_audio folder beside your .blend, which is how Reset restores the original exactly.
Requirements
- Blender 5.2 LTS or newer
- ffmpeg — only for audio speed. Transitions and video speed work without it. If ffmpeg is on your system path it is found automatically; otherwise set its location in Preferences › Add-ons › VSE Pro.
- No compiled code, so it runs anywhere Blender does
Troubleshooting
Nothing happens when I click Apply Speed. Check the speed is not still 1.00× — the add-on reports this rather than silently doing nothing. Also make sure a video or sound strip is selected.
Audio speed is unavailable. ffmpeg was not found. Install it, or point the add-on at it in Preferences. Untick Audio to retime the video only.
A transition button is greyed out. Transitions need exactly two selected strips, and neither can be a sound strip.
I want to change a transition to a different type. Remove it and add the new one. Every other setting can be changed in place.
The clips moved when I added a transition. Creating the overlap pulls the second clip back by the transition duration. Enable Ripple beforehand to shift later strips with it.
Full illustrated manual
Every transition shown as a filmstrip, with the complete settings reference:
Have questions about this product?
Login to message
| Blender Extension Compatible | Yes |
| Published | 26 days ago |
| Blender Version | 5.2 |
| Extension Type | Add-on |
| Render Engine Used | Cycles, Eevee |
| License | GPL |
