 Anvil Interactive Solutions
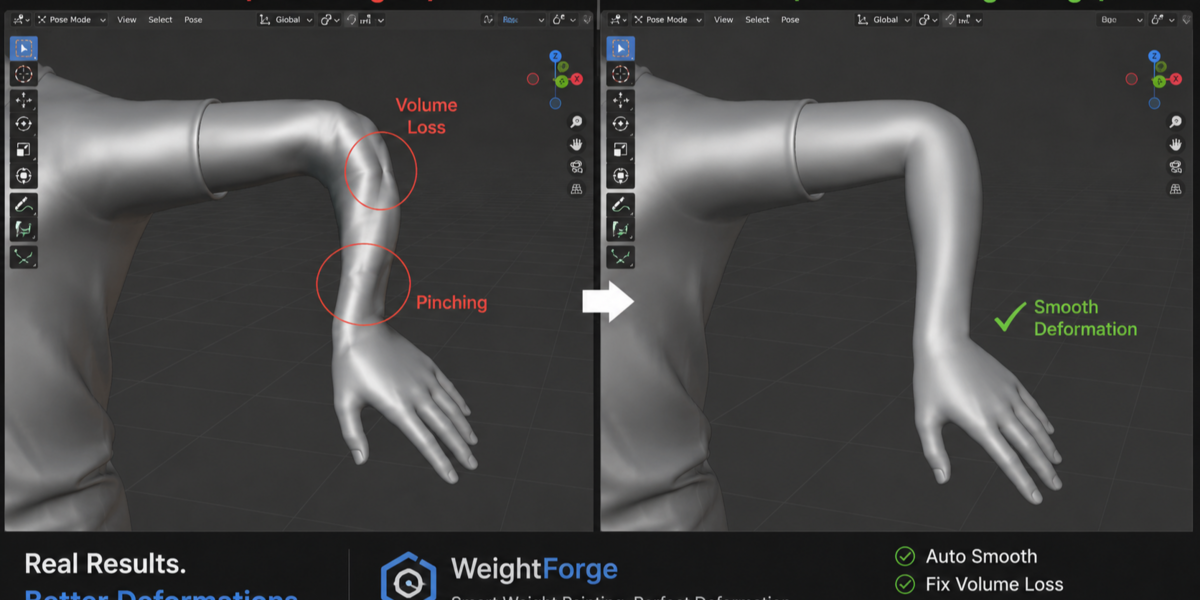
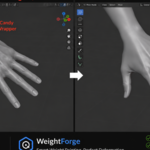
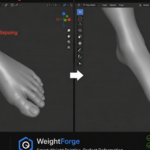
WeightForge Pro 2.0.5 · Blender Rigging & Skin Weights
Diagnose, fix, bind and export skin weights in one Blender panel.
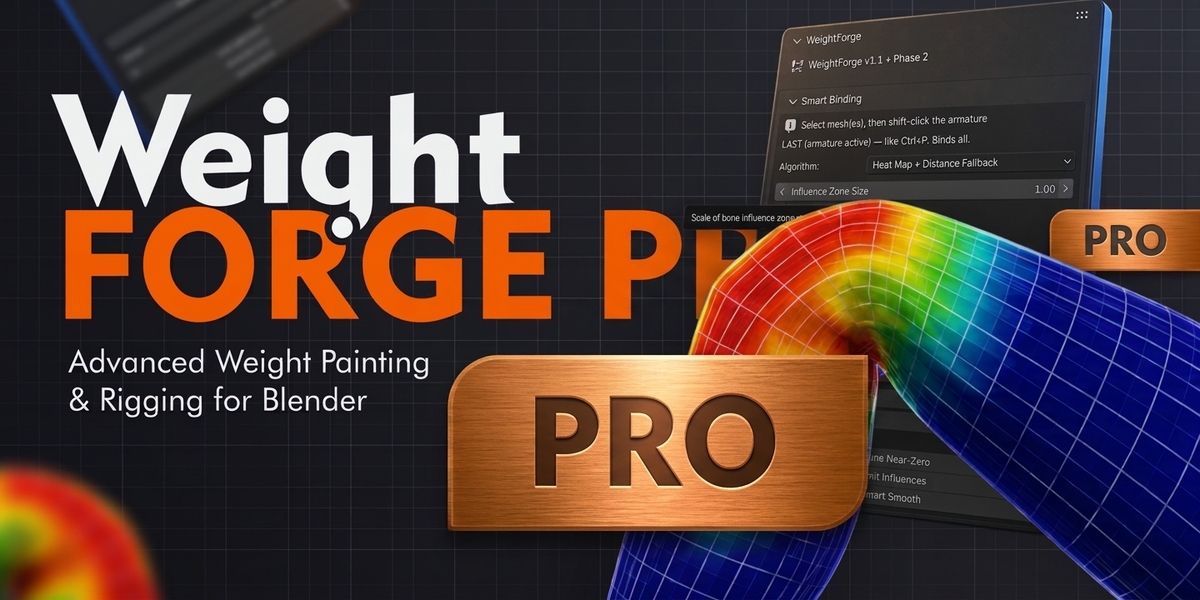
WeightForge Pro is a Blender rigging add-on for skin binding, body-to-clothing weight transfer, one-click weight cleanup and deformation heatmaps. It removes the repetitive parts of weight painting so you can spend your time on the joints that actually need an artist.
Auto weights Weight transfer Clothing rigging Deformation heatmap Rigify Game-ready export
✓ Blender 4.2 and newer (primary target: Blender 5.2) · ✓ Blender Extension compatible · ✓ GPL-3.0-or-later
One workflow, four steps
Weight painting without the guesswork.
The WeightForge sidebar follows the order you actually work in. Each step is its own collapsible section, and every operator supports Blender’s normal undo.
1 · DIAGNOSE
Detect weight problems, toggle the deformation heatmap, find orphan vertex groups and compare before and after snapshots.
2 · FIX
Run One-Click Full Cleanup, protect good areas while you paint and redirect Rigify weights to the right bones.
3 · BIND
Smart Bind meshes to an armature, transfer body weights to clothing, or rigid-bind mechanical parts.
4 · EXPORT
Limit bone influences and generate an export-readiness report before the mesh leaves Blender.
Smart Bind
Automatic weights that don’t leave holes behind.
Blender’s automatic weights can fail on messy or non-manifold meshes and leave vertices unweighted. Smart Bind gives you three algorithms and binds every selected mesh in one go, the same way Ctrl+P works: select your meshes, then select the armature last.
| Algorithm | What it does |
|---|---|
| Classic Heat Map | Blender’s built-in bone heat automatic weights. |
| Distance + Normal | Custom weighting based on closest-point-on-bone falloff. Useful when heat map solving fails. |
| Heat Map + Distance Fallback DEFAULT | Runs Heat Map first, then fills any vertices it left unweighted using the Distance method. |
Extras: a selected-bones-only mode for supported algorithms, an option to preserve existing weights, and an influence-zone visualization so you can see what each bone will reach before you bind.
Weight transfer
Rig clothing from your body mesh in seconds.
Transfer skin weights from a weighted body to jackets, trousers, armor or any other garment instead of re-painting each layer from scratch. Select the clothing, select the weighted body last so it is active, and run Transfer Weights.
Four transfer methods
Proximity, Normal Aware, Topology or Hybrid, which combines all three and is the default.
Preserve Details
Protects weights that are already good on the target. Blends only use vertex groups shared with the source mesh, so unrelated groups stay out of the mix.
Max distance & strength
Set a maximum transfer distance for your scene scale (or zero for unlimited) and dial transfer strength up or down.
Transfer + Smooth
Optionally smooth the result straight after transfer, or run the combined operator in a single step.
Deformation diagnostics
See the problem before the animator does.
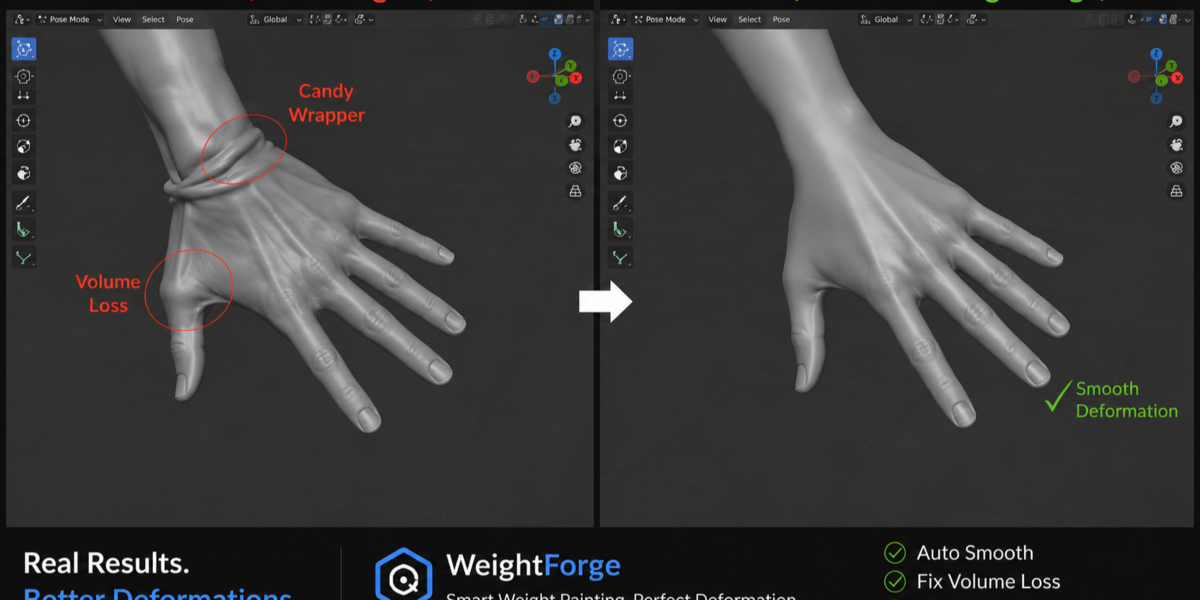
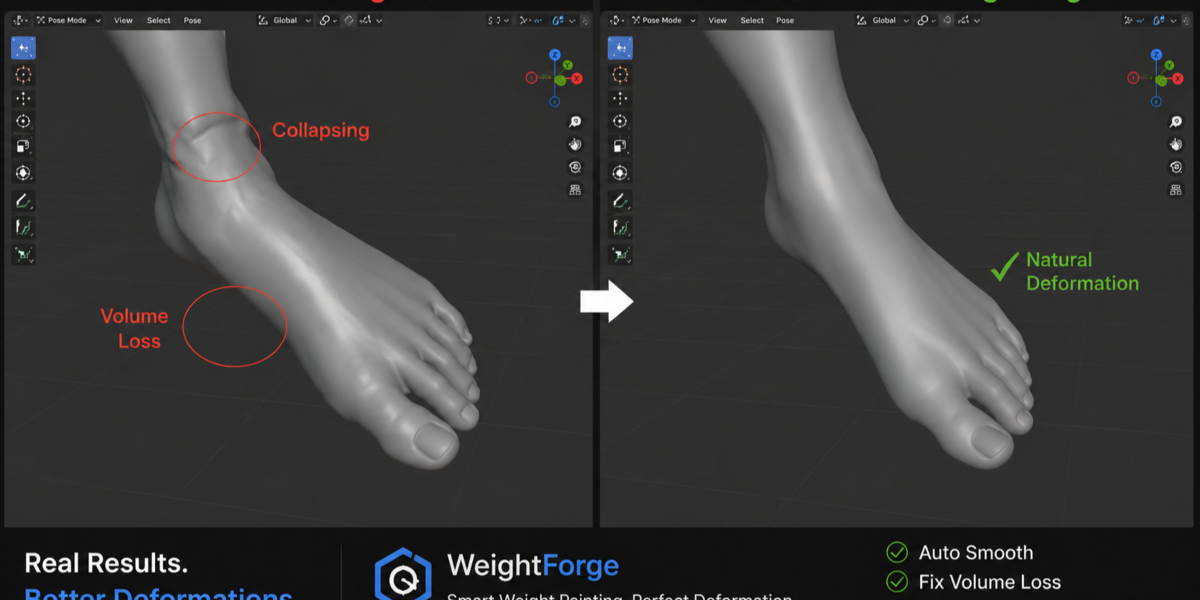
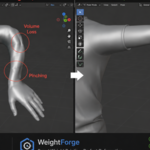
The deformation heatmap colors your mesh so bad weights stand out at a glance, and it can update live while you pose or paint.
Blue · rigid Green · healthy Yellow · stretching Red · bad
Detect Problems
Finds problem vertices and can select them for you, so you fix only what is broken.
Live heatmap & Predictive Brush
Predictive Brush Mode drops you into Weight Paint with the live heatmap on, so deformation feedback is visible while you paint.
Before / after compare
Store a good state, make your changes, then compare. The diff heatmap catches weight moving between bones even when a vertex’s total weight stays the same. Restore the snapshot any time.
Orphan group finder
Locates vertex groups that no longer match a bone in your armature.
One-Click Full Cleanup
Five cleanup passes. One button.
Messy weights are usually the same handful of problems: tiny leftover values, weights that do not sum to one, too many influences per vertex, and bones that reach where they should not. One-Click Full Cleanup runs the whole pipeline in order using the thresholds you set.
- Prune near-zero weights below your threshold (default 0.01).
- Normalize deform weights.
- Limit influences per vertex (default 4, adjustable up to 8).
- Prune distant bone influence (optional), with a distance ratio you control.
- Smart Smooth on problem areas only (optional).
Smart Smooth never falls back to smoothing the whole mesh. If there are no problem vertices, it leaves your weights alone, and it restores your vertex selection, paint mask and previous mode afterwards. Every step is also available on its own under Individual Steps.
Rigging utilities
Joints, props, hard surface and Rigify.
Joint Gradient
Blend weight smoothly between two bones across a joint, with presets for Generic, Elbow / Knee, Shoulder / Hip and Finger joints.
Rigid & Hierarchy Bind
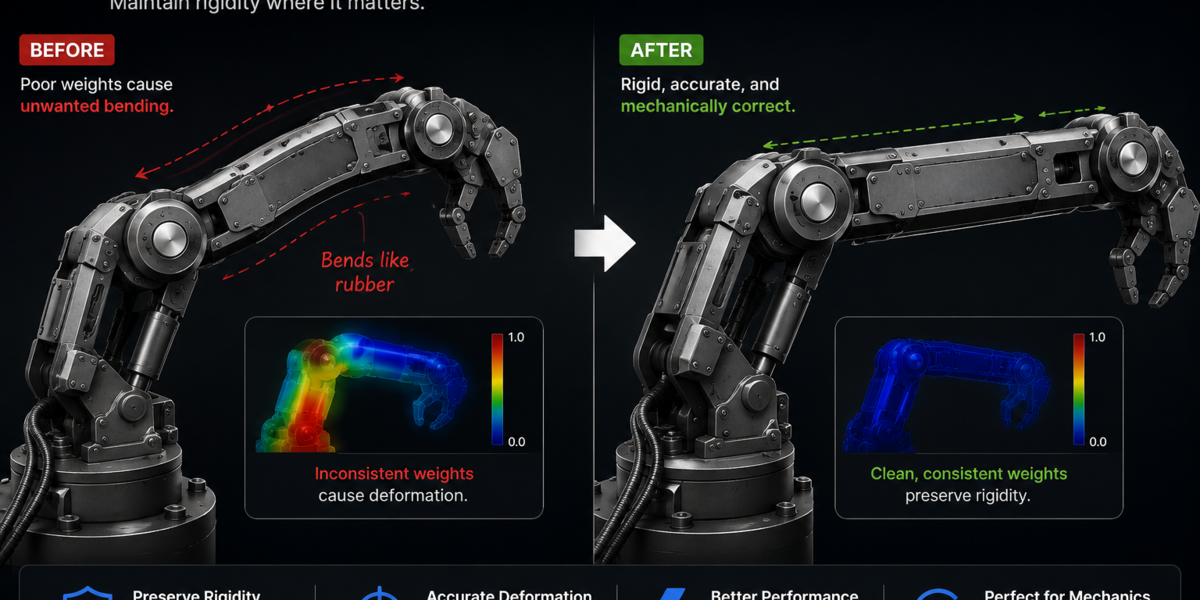
Bind mechanical and hard-surface parts to a single bone, or walk a bone hierarchy from a root bone. Works on the whole mesh or selected vertices only.
Rigify helpers
Detect the rig type, then redirect weight painted on non-deforming Rigify bones into the matching DEF- bones. Auto-Rig Pro rigs are detected but not auto-fixed.
Protect while you paint
Mask high-weight areas so brush strokes only reach vertices below your threshold, leaving good weights untouched.
Vertex group housekeeping
Mirror vertex groups left to right, clean group names, remove empty groups and select the bones influencing your selection.
Bone alignment & pie menus
Align origins and rotation to a bone, rotate or reset the active bone, and use the optional pie menus for the tools you reach for most.
Pro voxel diffusion · experimental
A second way to skin tricky meshes.
When heat map weights struggle with intersecting parts, thin geometry or overlapping garments, the voxel diffusion engine offers another route. It never touches your original geometry.
- Creates a temporary geometry-only copy of your mesh and voxel-remeshes it.
- Seeds deform-bone weights from world-space distance to bone segments.
- Diffuses those weights across the remeshed surface graph.
- Projects the result back onto your original mesh and deletes the temporary copy.
You control voxel size, diffusion strength, iterations and maximum influence count. If the temporary mesh gets too dense, increase the voxel size.
Game-ready export
Check your weights before they hit the engine.
Most game engines cap the number of bone influences per vertex, and unweighted or unnormalized vertices cause the “why is my character stretching in Unity or Unreal” problem. Apply an influence limit, then generate an export-readiness report that checks influence count, normalization and unweighted vertices. The report opens in Blender’s Text Editor, so you can read it, save it or share it with your team.
Who it’s for
If weight painting eats your schedule, start here.
Character artists
Bind characters and carry weights across outfits without redoing the body each time.
Game developers
Keep influence counts under engine limits and verify weights before export.
Animators & riggers
Spot bad deformation early with the live heatmap and fix joints with gradient presets.
Hard-surface & mech artists
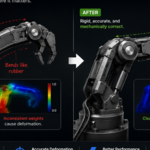
Rigid and hierarchy binds for robots, vehicles and props that should not bend.
Good to know
Automatic weights still have limits.
Artist review is still required. No tool replaces checking shoulders, hips, fingers, facial rigs, layered clothing and hard-surface intersections. WeightForge Pro speeds up the work; it does not remove the need to pose-test.
Transfer fallback accuracy. If face interpolation is not available, transfer falls back to nearest-source-vertex mapping, which is less accurate. It still respects your maximum transfer distance.
Heat Map and selected-bones mode. Blender’s heat map solver ignores bone selection. Use Distance or Hybrid if you need to bind to selected bones only.
Auto-Rig Pro. Rigs are detected, but weights are not auto-remapped because naming varies between versions. Rigify gets the DEF- redirect fix.
Experimental voxel engine. See the note above, and keep a saved copy of production scenes before running it.
What it is not. WeightForge Pro does not build rigs, animate, or paint textures. It focuses on skin weights and vertex groups.
FAQ
Frequently asked questions about WeightForge Pro
Which Blender versions are supported?
WeightForge Pro declares Blender 4.2.0 as its minimum version, and Blender 5.2 is the primary release target. Find it in the 3D Viewport › Sidebar (N) › WeightForge tab, with the voxel tools in the WF Pro tab.
How do I install it?
Download the ZIP and do not extract it. In Blender, go to Edit › Preferences › Add-ons, choose Install from Disk, select the ZIP and enable WeightForge Pro.
Can WeightForge Pro transfer weights from my body to clothing?
Yes. Select the clothing, then select the weighted body last so it is active, and run Transfer Weights. Choose Proximity, Normal Aware, Topology or Hybrid, and set a maximum distance that suits your scene scale.
Does it work with Rigify rigs?
Yes. It can detect Rigify rigs and redirect weight from non-deforming ORG- and MCH- bones into the matching DEF- bone. Auto-Rig Pro is detected but not auto-fixed.
Can I limit bone influences for Unity or Unreal?
Yes. The default limit is 4 bone influences per vertex, adjustable from 1 to 8, and the export report checks your mesh against the limit you set.
Will the voxel engine change my original mesh?
No. It works on a temporary geometry-only copy, projects the weights back to your original mesh, and removes the temporary object. The original geometry is not remeshed or replaced. The engine is still marked experimental, so always pose-test the result.
Can I undo changes?
Weight edits run as undoable Blender operators where supported, and you can store a snapshot of your weights and restore it later.
Will it replace manual weight painting?
No. It handles the repetitive binding, transfer and cleanup work, and shows you where to look. Finishing difficult joints is still an artist’s job.
What should I include in a support request?
Your Blender version, operating system, WeightForge Pro version, the exact steps to reproduce the problem, the full Python traceback if there is one and, if possible, a small .blend file with non-sensitive assets.
WeightForge Pro
Spend less time fixing weights and more time animating.
Smart Bind, clothing weight transfer, one-click cleanup, deformation heatmaps and an export report, all inside Blender.
Meshmind · Blender add-ons for production workflows
Questions or support: [email protected]
Tags: Blender rigging add-on, auto weight paint, skin weights, weight transfer, clothing rigging, vertex groups, deformation heatmap, Rigify, bone influence limit, game-ready rigging, weight cleanup, Blender 5.2.