 JESUS
JESUS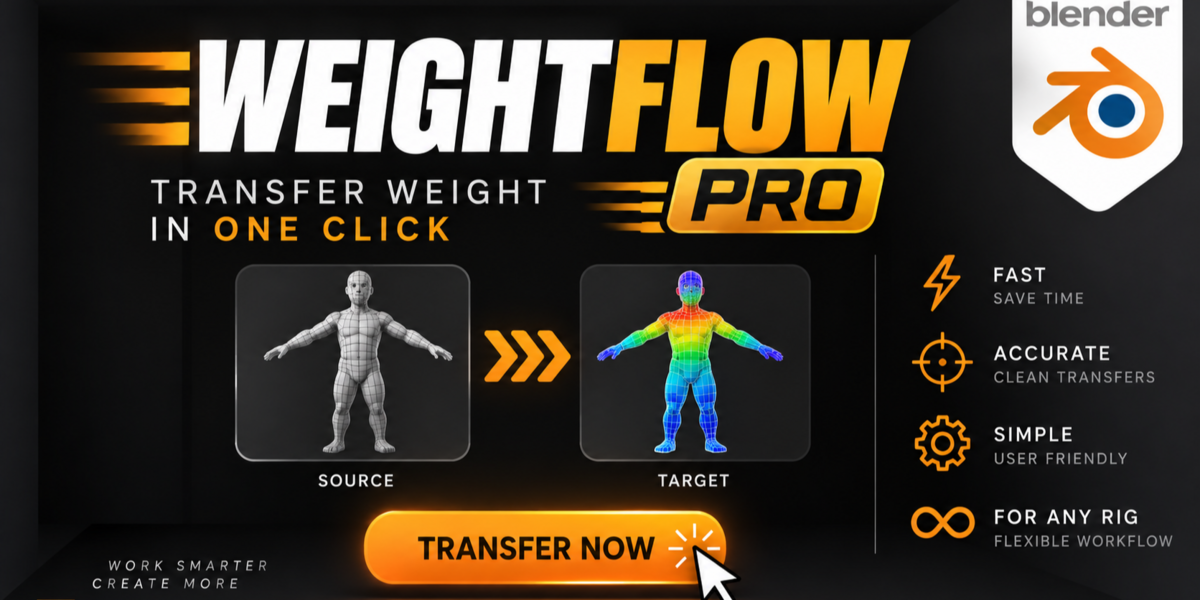
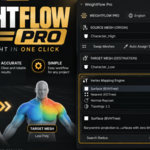
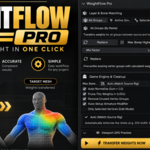
OFFICIAL USER MANUAL & REFERENCE GUIDE
WEIGHTFLOW PRO
Ultra-Fast Surface Weight Transfer • Auto Rig Scanner • Game Engine Safe
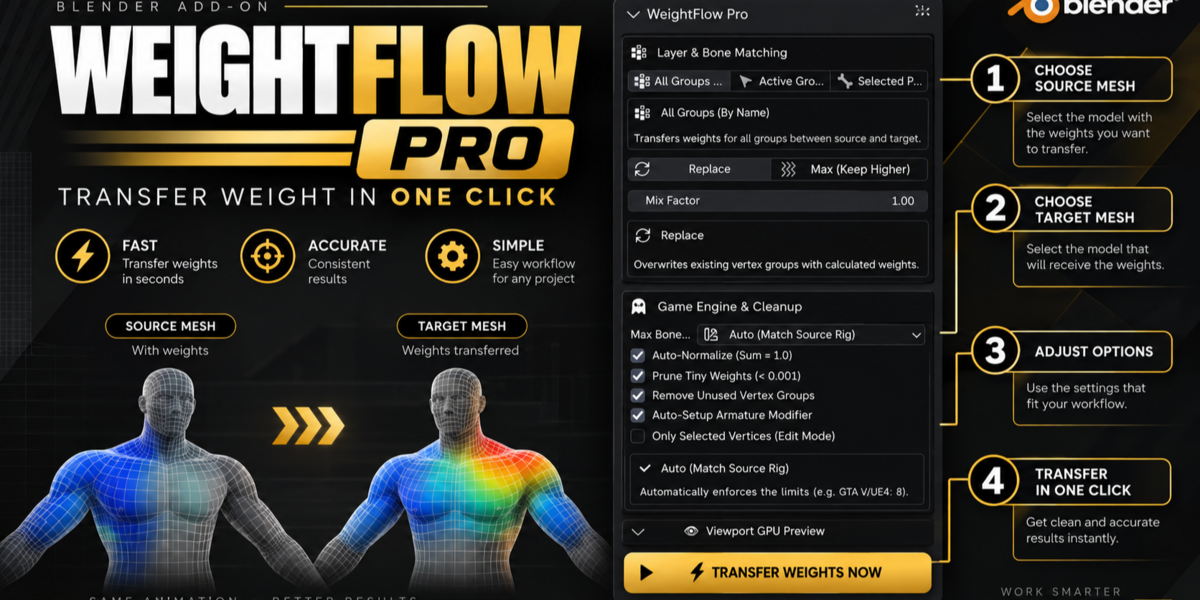
⚡ 3-Step Quick Start Workflow
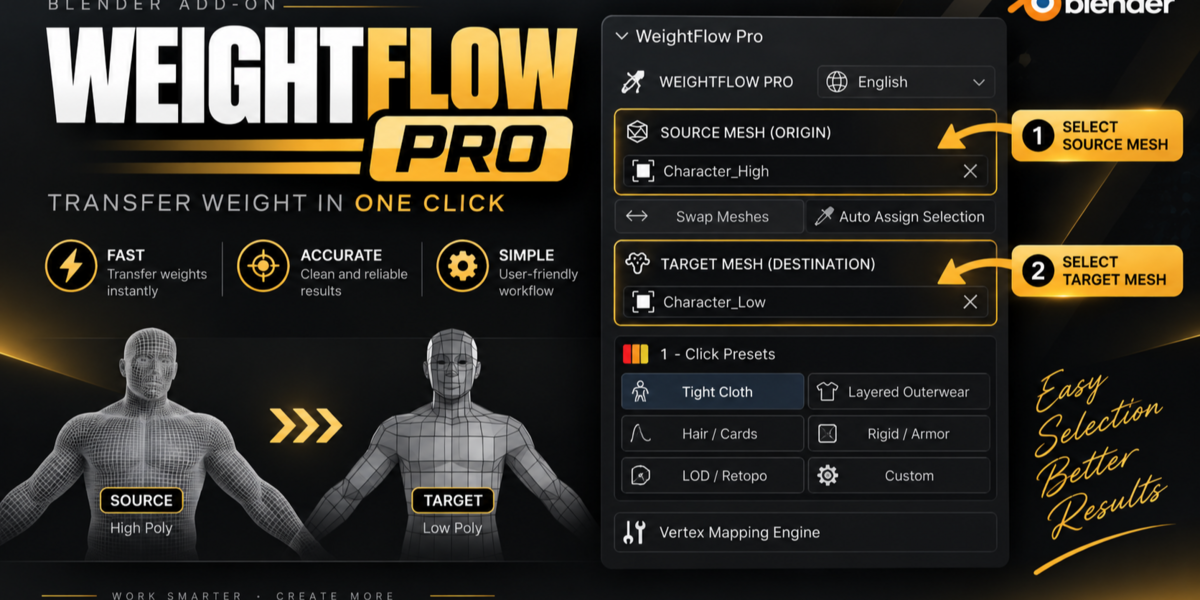
- Source Mesh: Select the base character body containing existing skinning weights and armature.
- Target Mesh: Select the clothes, armor piece, hair cards, or LOD mesh to receive weights.
- Preset & Transfer: Click any 1-Click Preset (e.g. Tight Cloth) or hit ⚡ TRANSFER WEIGHTS NOW.
🎯 Mesh Selection & Source Rig Auto-Scanner
- Auto Assign Selection: Automatically detects which selected mesh has skinning/armature data (assigning it as Source) and which mesh is unrigged (assigning it as Target).
- Swap Meshes: Inverts Source and Target with 1 click.
-
Source Rig Influence Scanner: Analyzes every vertex of the source model, measures max/average bone influences per vertex, and displays a dynamic rig standard badge:
-
🎮 GTA V / FiveM / UE Safe: Max 4 bones per vertex (strict standard to prevent Sollumz / Unreal export crashes and polygon spikes). -
🎬 Cinematic Standard: Up to 8 bones per vertex for high-end film and next-gen rigs. -
🛡️ Rigid Armor: Exactly 1 bone influence per vertex for hard-surface pieces.
-
⚡ 1-Click Smart Presets
Preconfigures calculation engine, search distance, and bone caps optimized for specific asset types:
👕 Tight Cloth
BVHTree barycentric surface conform (0.05m radius). Zero limb bleeding between legs or fingers. Ideal for shirts, pants, underwear.
🧥 Layered Outerwear
Normal Raycast projection (0.15m radius). Eliminates cross-surface jumping for heavy coats, jackets, vests, and hoods.
💇 Hair / Cards
KDTree spatial search with 4 neighbors (IDW). Optimized for poly hair strands, eyelashes, and fur cards.
🛡️ Rigid Armor
1-neighbor dominant bone transfer (100% influence). Perfectly binds pauldrons, helmets, holsters, and weapons without elastic distortion.
🧬 Topology 1:1
Direct index-to-index transfer. Instantaneous copy for identical mesh topologies, LOD levels, and shape keys.
⚙️ Custom Mode
Provides manual control over search radius, K-sample counts, pruning thresholds, and blend factors.
🔬 The 4 Spatial Calculation Engines
| Engine | Algorithm | When to Use |
|---|---|---|
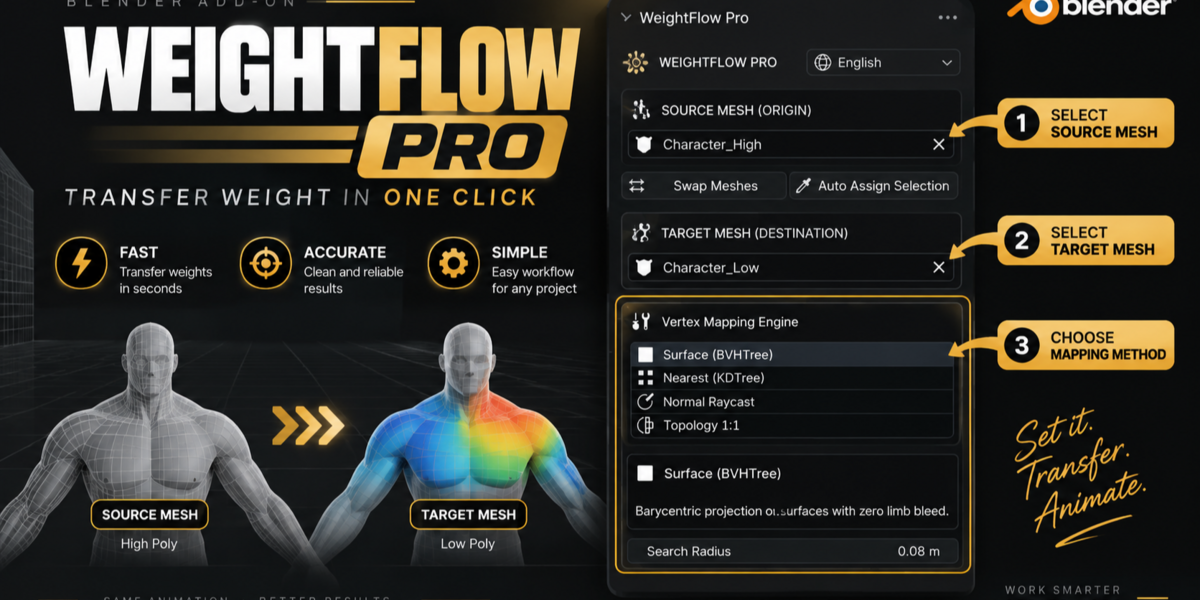
| Surface (BVHTree) | Barycentric projection onto face polygons. | General clothing, suits, and meshes with differing poly-densities. Completely eliminates cross-limb weight bleed. |
| K-Nearest (KDTree) | C-level spatial tree with Inverse Distance Weighting (IDW). | Dense high-poly meshes requiring calculation across hundreds of thousands of vertices in milliseconds. |
| Normal Raycast | Bidirectional projection along surface normals. | Multi-layered floating garments (hoods, thick jackets, layered coats, scarves). |
| Topology 1:1 | Direct vertex index lookup mapping. | Meshes with identical vertex counts and ordering (LODs, morph targets, blendshapes). |
🎛️ Layer Matching & Mix Modes
-
Layer Matching:
-
All Groups (By Name): Transfers all matching vertex groups between source and target. -
Active Group Only: Transfers only the single vertex group currently active on the source mesh. -
Selected Pose Bones: Transfers only vertex groups corresponding to bones currently selected in the Armature's Pose Mode.
-
-
Mix Mode:
-
Replace: Overwrites existing weights on the target mesh. -
Max (Keep Higher): Compares existing target weights with incoming weights and retains whichever value is higher (ideal for joining garment seams). -
Mix Factor (0.0 to 1.0): Fine-tunes the blending strength between original and transferred weights.
-
🎮 Game Engine & Cleanup Optimization
-
Max Influences Limit:
-
Auto: Automatically matches the maximum bone count detected on the source rig. -
Max 4: Strict 4-bone limit per vertex for GTA V / FiveM (Sollumz), Unreal Engine, and Unity. -
Max 8: Cinematic standard for film and high-end rigs. -
Unlimited: Retains all bone influences without dropping any.
-
- Auto-Normalize: Guarantees that the sum of weights on each vertex equals exactly 1.0.
-
Prune Tiny Weights: Cleans up micro-weights below threshold (default
0.001) to prevent data bloat. - Purge Empty Groups: Removes target vertex groups that have 0.0 total assigned weight.
- Auto-Setup Armature: Automatically assigns or creates the Armature modifier pointing to the source skeleton.
- Only Selected Vertices: Restricts transfer exclusively to vertices selected in Edit Mode.
👁️ Real-Time Viewport GPU Shaders
- Show GPU Preview: Projects glowing cyan connection rays and emerald contact points directly in the 3D Viewport without entering Weight Paint mode.
- Ray Density Slider: Adjusts visualization density from 1% to 100% to maintain 120+ FPS navigation.
🌐 7-Language Global Switcher (i18n)
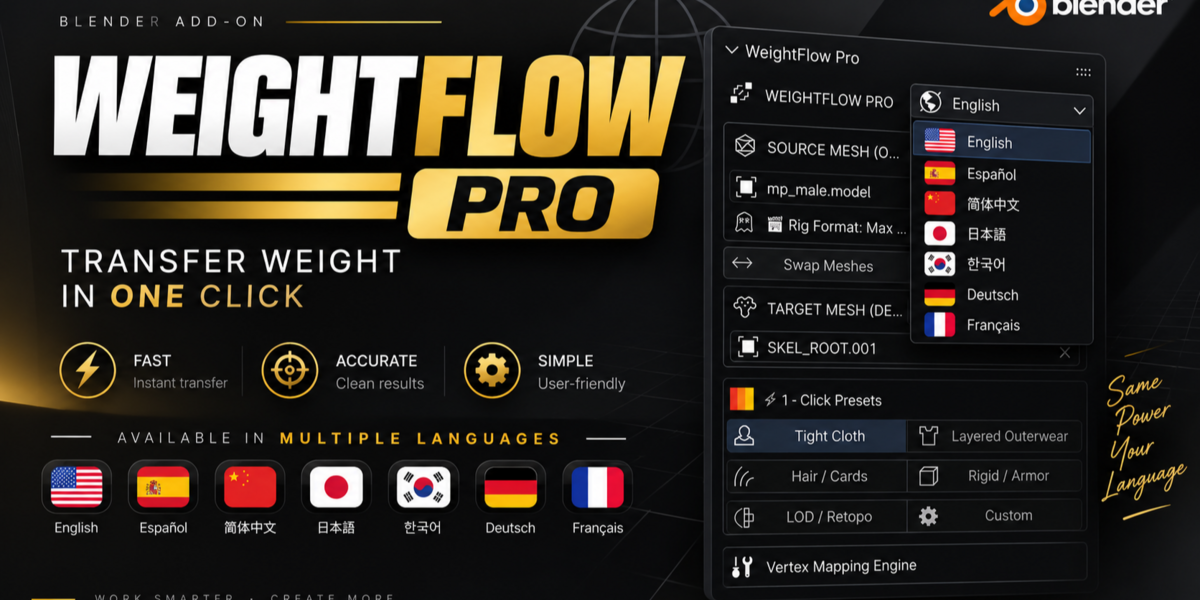
Switch instantly between English, Español, 简体中文, 日本語, 한국어, Deutsch, and Français in the N-Panel header. All labels, buttons, tooltips, and dynamic cards update in real time without restarting Blender.
❓ Frequently Asked Questions (FAQ)
1. Which Blender versions are supported?
WeightFlow Pro is compatible with Blender 4.2 LTS, 4.3, 4.4, 5.0, and 5.1.1+. It uses the modern Extensions API and current GPU shaders, guaranteeing future compatibility with all upcoming Blender 5.x releases.
2. Why use WeightFlow Pro over Blender's default "Transfer Mesh Data"?
Blender’s default transfer requires entering Weight Paint mode, causes annoying limb bleeding (e.g. thigh weights bleeding into the opposite leg), and leaves uncapped bone counts that cause polygon spikes in game engines. WeightFlow Pro transfers in 1 click from Object Mode in milliseconds, eliminates limb bleeding, and enforces game-ready bone caps automatically.
3. How do I prevent weights from bleeding between fingers or thighs?
Use the Tight Cloth preset or the Surface (BVHTree) engine. Instead of a blind radial search, it projects onto the actual polygonal faces of the source body, completely preventing cross-limb contamination.
4. Does it guarantee error-free exports for GTA V / FiveM (Sollumz) and Unreal Engine?
Yes, 100%. GTA V and Unreal Engine crash or cause mesh spikes if vertices exceed 4 bone influences. WeightFlow Pro scans your source mesh and sets
Auto (Max 4) by default, automatically re-normalizing all vertex sums to 1.0 and pruning micro-weights below 0.001.5. Can I transfer weights to only a specific part of a garment (e.g., only the waistband)?
Yes. Enter Edit Mode on your garment, select the vertices you want to affect, and enable the Only Selected Vertices toggle in the Optimization section.
6. What does "Selected Pose Bones" mode do in Layer Matching?
It allows you to select specific bones in Pose Mode in your Armature (for example, just the left arm) and transfer only the vertex groups belonging to those selected bones, leaving the rest of the target weights untouched.
7. What is the difference between "Replace" and "Max" Mix Modes?
Replace overwrites existing target weights with newly transferred weights. Max compares existing weights with incoming weights and retains whichever value is higher—ideal for merging clothing layers, patches, and seams so they don't tear apart during animation.
8. What is the "Topology 1:1" engine for?
If your target mesh shares the exact same vertex count and topology as the source (e.g. LOD variations, shape key duplicates, or retopo tweaks), Topology 1:1 performs a direct index-to-index transfer in 0.2 milliseconds.
9. Why don't I see the GPU rays in the Viewport?
Make sure the Show GPU Preview toggle is active, and ensure both a Source Mesh and Target Mesh are assigned in the panel.
10. Do I need to be in Weight Paint mode?
No. WeightFlow Pro is designed to work completely from Object Mode or Edit Mode with 1 click.
11. How do I install the addon?
In Blender, go to Edit > Preferences > Get Extensions, click the top-right menu arrow, select Install from Disk..., and choose
weight_flow_pro_1.0.0.zip. Press N in the 3D Viewport to open the sidebar and access the WeightFlow tab.
$15$10.50
Have questions about this product?
Login to message
| Blender Extension Compatible | Yes |
| Published | 5 days ago |
| Blender Version | 4.2 - 5.2 |
| Extension Type | Add-on |
| Render Engine Used | Blender-Internal, Blender-Game-Engine, Cycles |
| License | GPL |
Discover more products like this
character weight paint rigging clothing game ready tools weight transfer skinning weights animation