 MendWorks

Installation
- Download weightmend-1.0.0.zip. Do not unzip it.
- In Blender, open Edit → Preferences → Get Extensions.
- Click the ⌄ menu in the top-right corner and choose Install from Disk…
- Select the .zip file and click Install from Disk. (You can also drag the .zip into the Blender window.)
- Make sure WeightMend is ticked in the list.
Updating: install the new .zip the same way. It replaces the old version.
Binding a character
- In Object Mode, select the mesh or meshes to bind.
- Shift-click the armature last, so it is the active object.
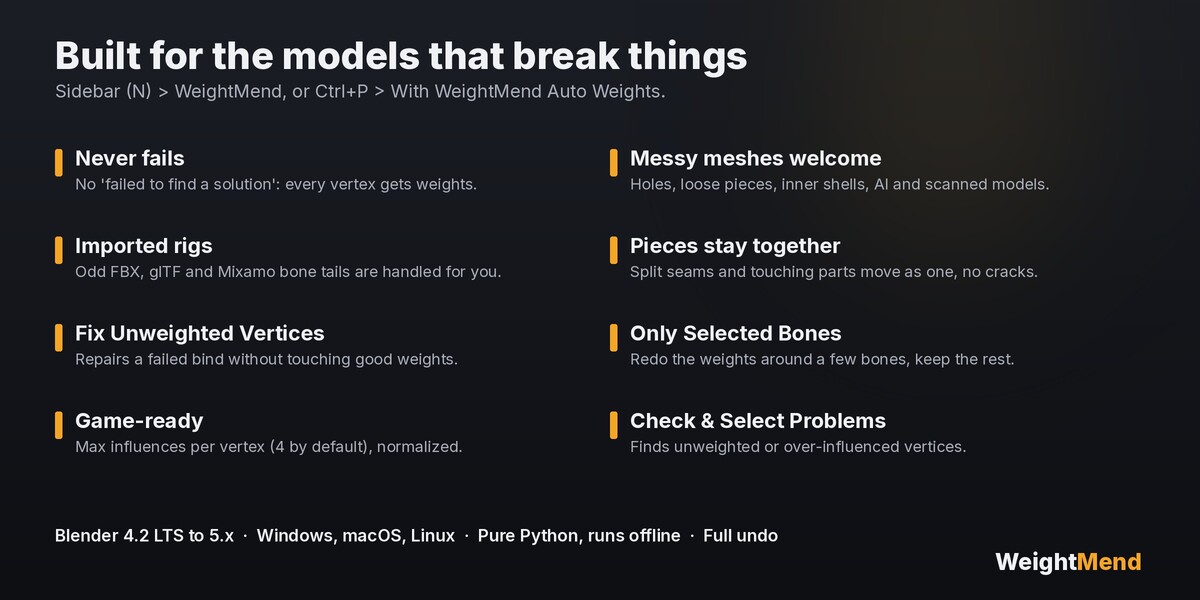
- Press N in the 3D View, open the WeightMend tab and click Auto Weights. You can also press Ctrl+P and choose With WeightMend Auto Weights.
The meshes are parented to the armature and get an Armature modifier if they don't have one. The status bar reports how many vertices were weighted and how long it took. Ctrl+Z undoes everything.
If the meshes already use an armature (modifier or parent), you can select just the meshes.
Options
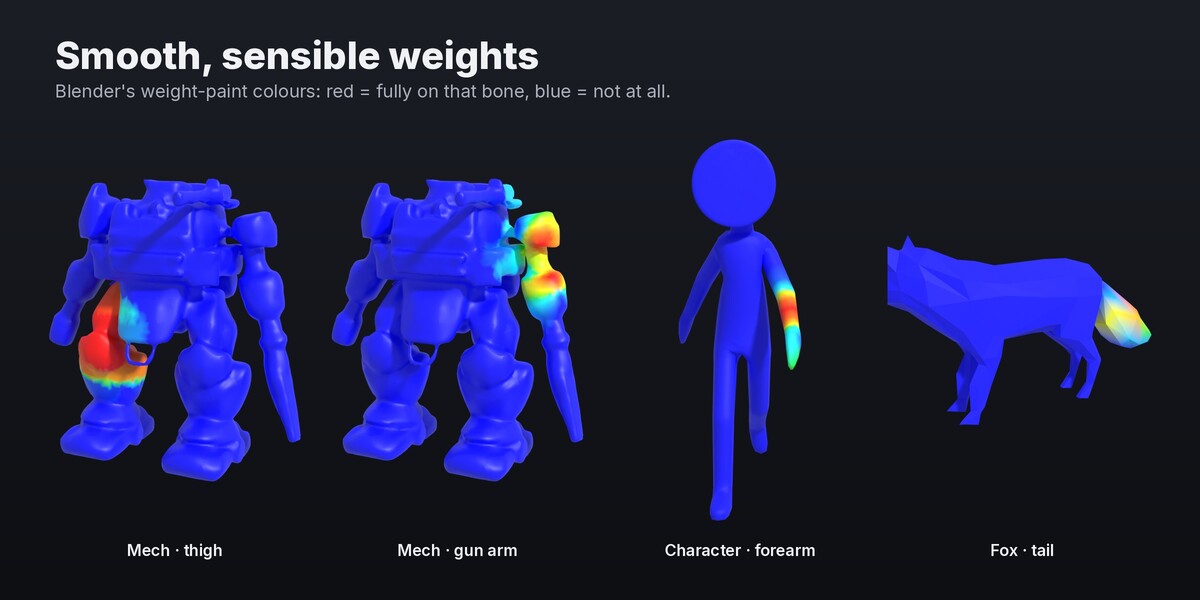
- Falloff: Soft gives wide, smooth blends at the joints, like Blender's automatic weights. Balanced is recommended for most characters. Sharp gives tight blends for robots, armor and props.
- Quality: Draft, Normal or High. High uses a finer visibility test that helps with small details like fingers, and takes longer.
- Max Influences: the most bones per vertex. 4 suits game engines; 0 means no limit. Weights are always normalized.
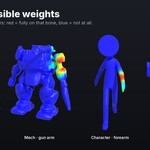
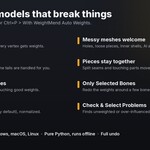
- Only Selected Bones: select bones in Pose Mode first. Only the area around those bones is recomputed; the rest of the mesh keeps its weights.
- Parent to Armature: parents the meshes (keeping their position) and adds the Armature modifier.
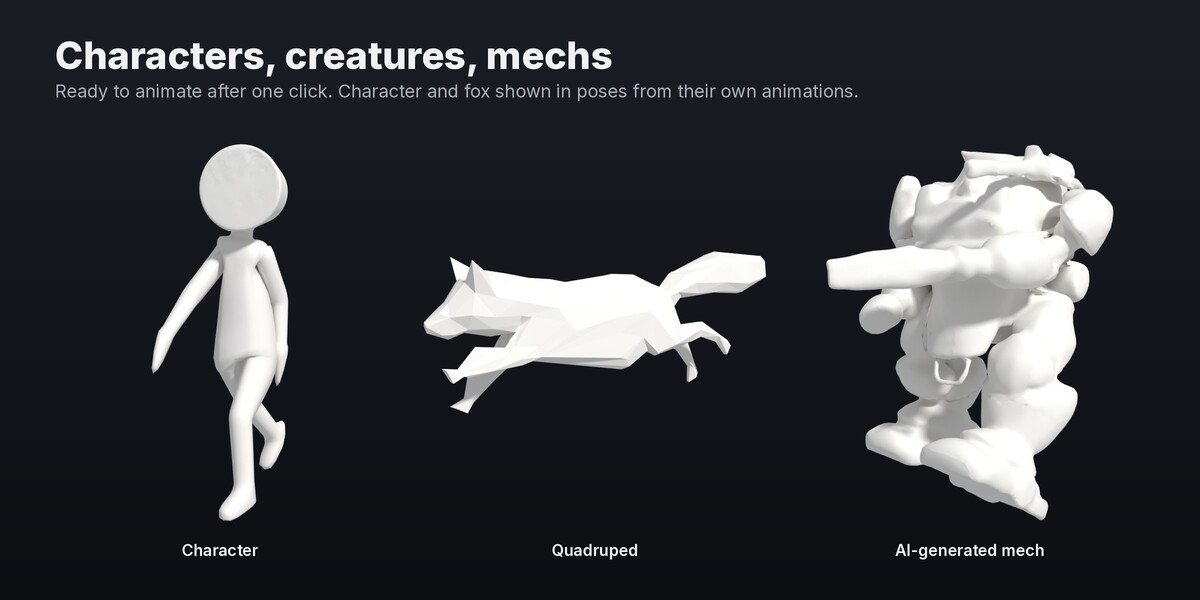
- Use Bone Tails: off by default, so bones run joint to joint, which works best for imported rigs (FBX, glTF, Mixamo) whose bone tails are often arbitrary. Turn it on for rigs whose tails you placed carefully, such as leaf bones that should reach the fingertips or the top of the head.
Repairing existing weights
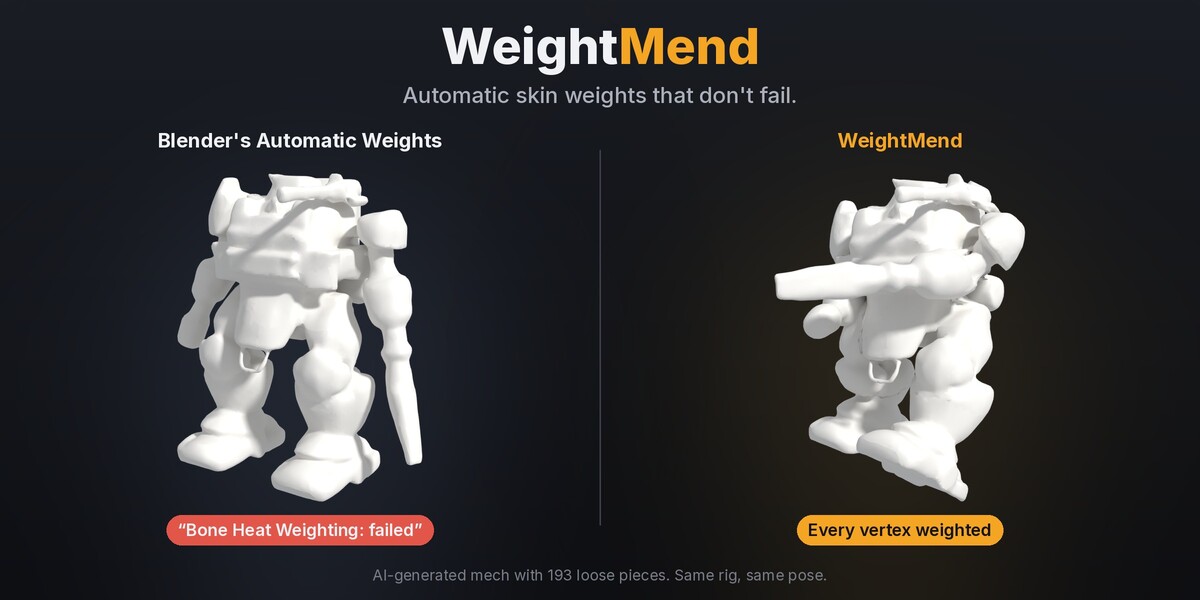
- Fix Unweighted Vertices: gives weights only to vertices that have none, for example after Blender reported "Bone Heat Weighting: failed". All other weights stay exactly as they were.
- Check: counts vertices with no weights or with more influences than Max Influences.
- Select Problems: selects those vertices so you can see them in Edit Mode or Weight Paint mode.
Tips
- Bind in the rest pose (WeightMend uses the rest positions of the bones automatically).
- Apply scale to the meshes and the armature if you plan to export to a game engine.
- Clothes, armor and accessories can be bound together with the body: select them all, then the armature.
- For a perfect result on a hero character, use WeightMend for the first 95% and touch up faces and fingers in Weight Paint mode.
How it was tested
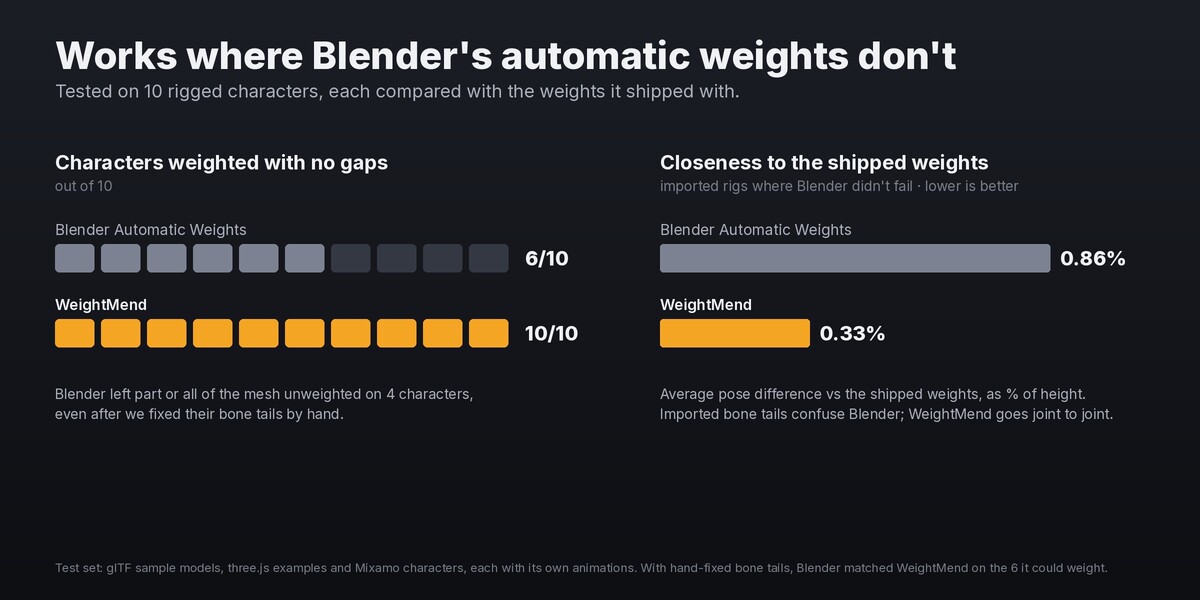
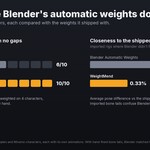
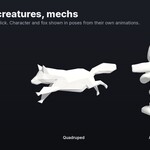
10 rigged characters: glTF sample models (Cesium Man, Fox, Rigged Figure, Brain Stem), three.js examples (RobotExpressive, Soldier, Xbot, Michelle) and Mixamo characters. Each was bound with Blender's Automatic Weights and with WeightMend, then posed with its own animations and compared with the weights it shipped with. Blender's Automatic Weights left vertices unweighted on 4 of the 10, even with hand-fixed bone tails; WeightMend weighted every vertex on all 10. On the 6 where Blender succeeded, the average pose difference from the shipped weights was 0.86% of the character's height for Blender (0.33% with hand-fixed bone tails) and 0.33% for WeightMend.
Support
Message MendWorks through Superhive. Include your Blender version and, if you can, the model. I reply within 72 hours.
Have questions about this product?
Login to message
| Blender Extension Compatible | Yes |
| Published | 2 days ago |
| Blender Version | 4.2 - 5.0 |
| Extension Type | Add-on |
| Render Engine Used | Cycles |
| License | GPL |
Discover more products like this
auto weights game assets bone heat skinning mixamo armature weights character weight paint rigging