Wizard School Covered Bridge - Procedural Geometry Nodes Generator
 Daniel Yosef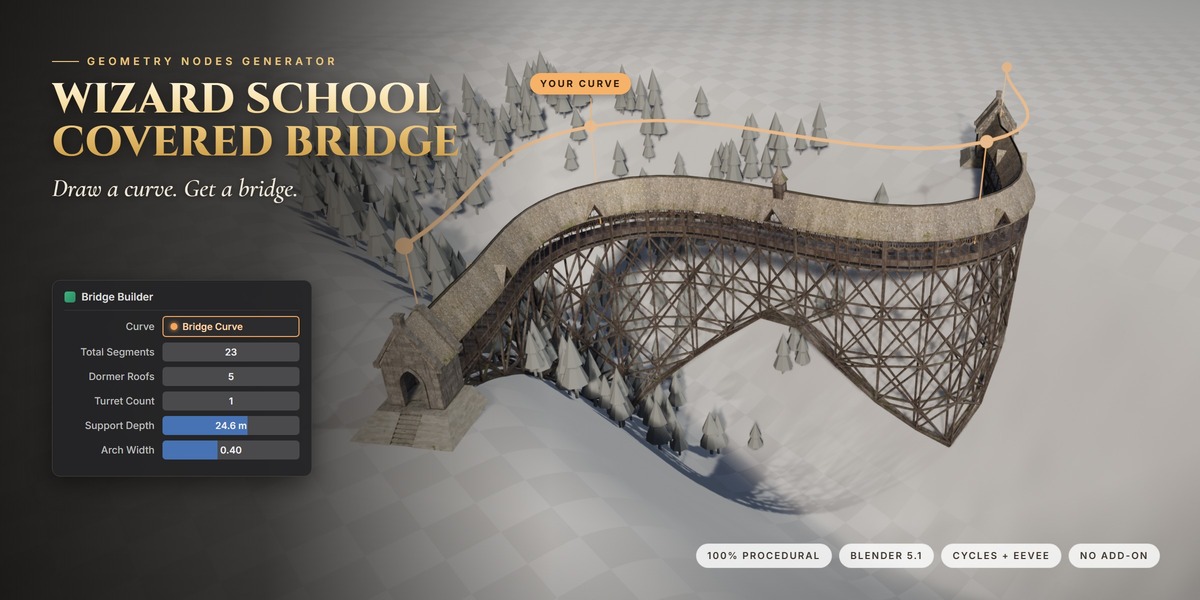



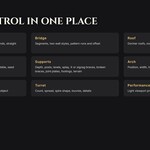
Quick Start
- 1. Open Wizard_School_Covered_Bridge.blend, or append the collection "Wizard School Covered Bridge" into your scene (File > Append > Collection).
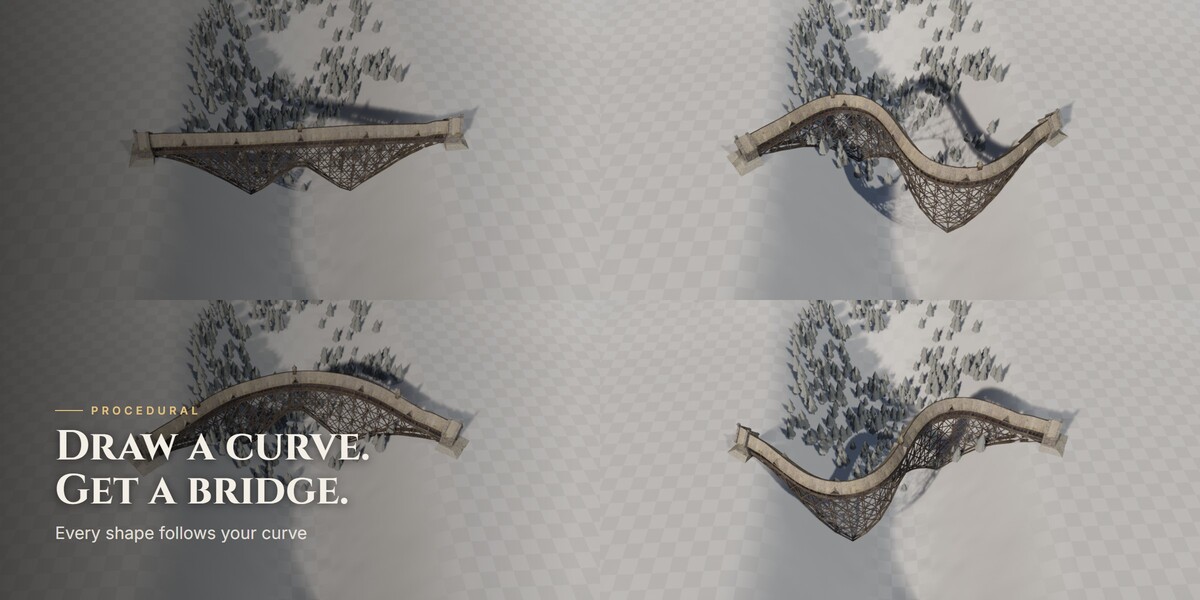
- 2. Select "Bridge Curve" and shape it in Edit Mode. The bridge follows it.
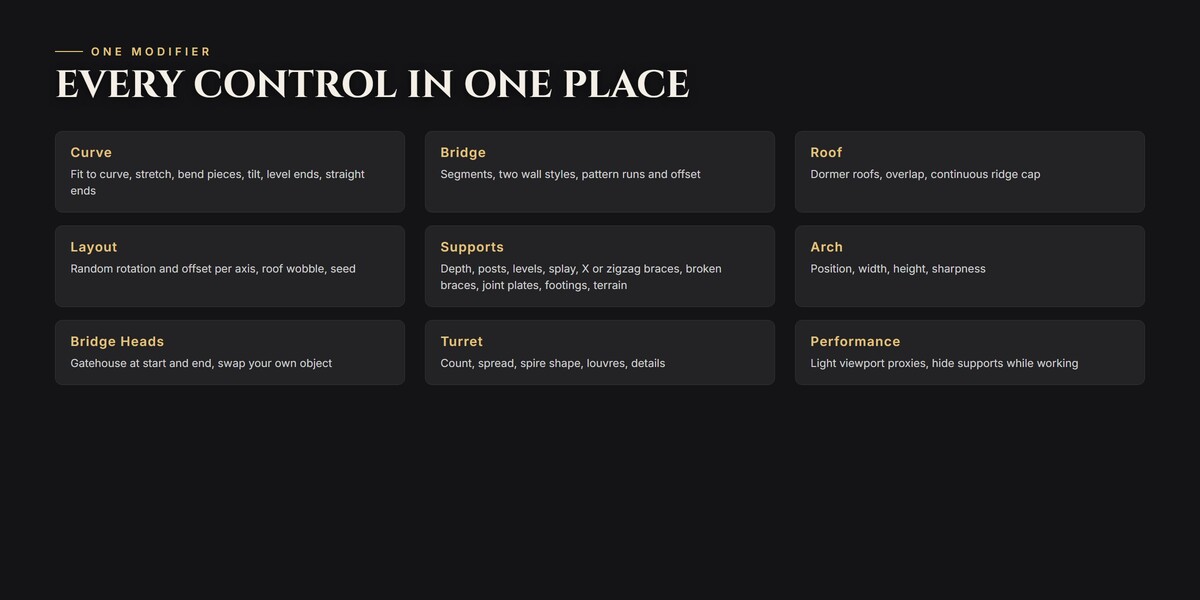
- 3. Select "Bridge Builder" and open the Modifier tab. Every control is grouped in panels.
- 4. Optional: pick your terrain object in Supports > Ground. The posts will stop on it.
- 5. Optional: select curve points and press Ctrl+T to bank that part of the bridge.
The "Piece - ..." objects are the building blocks. Keep them in the file (they can stay hidden). You can edit them, or swap in your own.
Controls, panel by panel
Performance
- Fast Viewport - the viewport shows rigid pieces that don't bend. Much lighter. The render still bends them.
- Viewport Proxies - the viewport uses the light proxy pieces. The render always uses the full pieces.
- Viewport Supports - show or hide the supports in the viewport. They always render.
Pieces
- Bridge Type 1 / Bridge Type 2 - the two wall pieces. Swap in your own objects here.
- Roof / Roof Windowed - the plain roof and the dormer roof.
- Type 1 Proxy / Type 2 Proxy - the light versions of the walls, used in the viewport.
Curve
- Fit To Curve - on, the curve length decides how many segments you get. Off, you set the count with Total Segments.
- Stretch To Fit - pieces stretch a little so the bridge fills the curve exactly. Off, they keep their real length.
- Bend Pieces - every piece bends with the curve. Off, the pieces stay rigid.
- Start Offset - where along the curve the bridge starts, in meters.
- Straight Ends - the end segments run straight, with no random wobble, so they meet the gatehouses square.
- Straight End Segments - how many segments at each end stay straight.
- Level Blend - how many segments the bridge takes to ease into level before the ends. Smooth, no jumps.
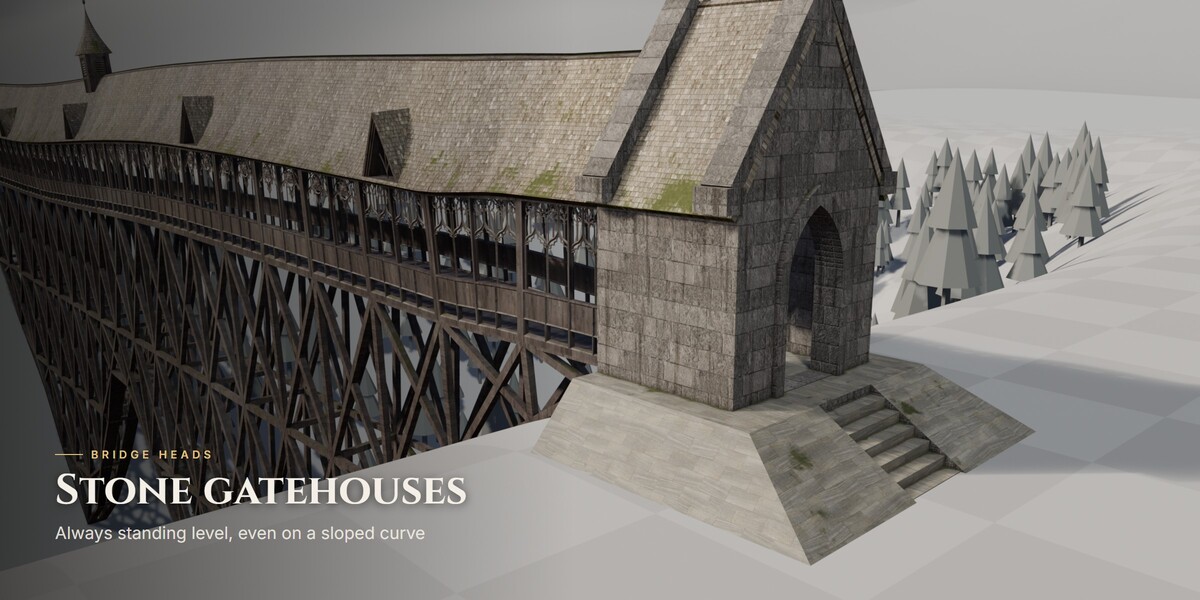
- Level Ends - the entrance and exit stay horizontal, no slope and no tilt. The gatehouses always stand level.
- Tilt - banks the whole bridge sideways.
- Use Curve Tilt - reads the tilt of your curve points (Ctrl+T), so you can bank just one part.
Bridge
- Total Segments - how many segments, when Fit To Curve is off.
- Type 2 Count - how many segments use the second wall style, when Use Pattern is off.
- Use Pattern - place the two wall styles in a repeating run instead of by count.
- Type 1 Run - how many Type 1 walls in each run.
- Type 2 Run - how many Type 2 walls in each run.
- Pattern Offset - slides the pattern along the bridge.
Roof
- Show Roof - turn the roofs on or off.
- Windowed Roof Count - how many segments get the dormer roof.
- Roof Height Offset - nudges the roofs up or down on the walls.
- Roof Overlap - makes each roof a little longer than its segment, so neighbours overlap and no seam shows.
- Ridge Cap - one continuous cap along the whole ridge.
- Ridge Cap Pitch - the angle of the cap, to match the roof slope.
- Ridge Cap Material - the material on the cap.
Layout
- Random Rotation (X, Y, Z) - the most each segment can rotate at random, per axis. Wall and roof move together.
- Random Offset (X, Y, Z) - the most each segment can shift at random, per axis, in meters.
- Roof Wobble - how much of that randomness the roofs get. Real slate roofs stay continuous, so keep it low.
- Random Order - shuffles which segments get the dormer roofs (and the Type 2 walls, when Use Pattern is off). Off, they're spread evenly.
- Seed - a new random variation.
- Gap - space between the segments.
- Center - centres the bridge on the curve. Start Offset is ignored when this is on.
Supports
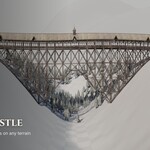
- Show Supports - turn the trestle on or off.
- Support Depth - how far down the trestle reaches, in meters.
- Posts Per Segment - how many posts under each segment.
- Level Height - the height of each trestle level. Depth divided by this gives the number of levels.
- Width Offset - makes the trestle wider or narrower than the deck.
- Splay - how much the legs spread out toward the bottom.
- Beam Thickness - the thickness of every beam.
- X Braces - diagonal X braces in every bay.
- Zigzag Braces - zigzag diagonals instead.
- Cross Ties - beams across, between the two sides, at every joint.
- Missing Braces - how many braces are left out.
- Broken Braces - how many braces are broken.
- Thickness Variation - random thickness per beam, for a hand-built look.
- Joint Plates - iron plates on the joints.
- Footings - stone blocks under the posts.
- Footing Size - the size of those blocks.
- Footing Material - the material on the footings.
- Plate Material - the material on the joint plates.
- Ground - pick your terrain object and the posts stop right on it.
- Support Material - the material on the timber.
- UV Scale - the texture scale on the timber.
Arch
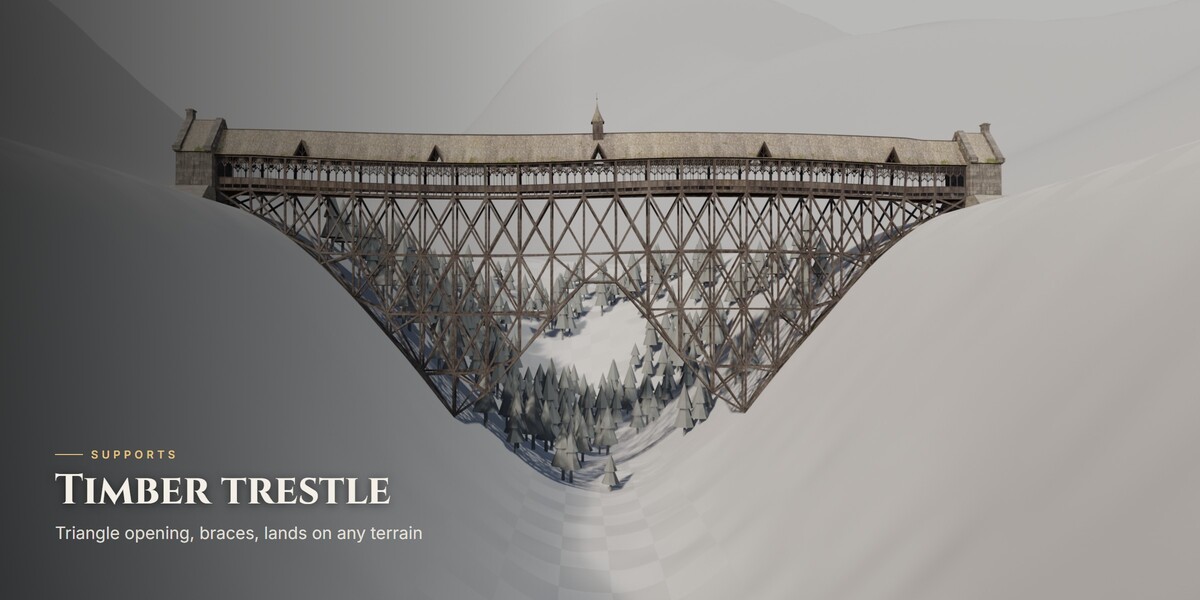
- Arch - cuts an opening into the trestle.
- Arch Position - where the opening sits along the bridge (0 is the start, 1 is the end).
- Arch Width - how wide the opening is, as a share of the bridge length.
- Arch Height - how high the opening reaches, as a share of the support depth.
- Arch Sharpness - the shape. 1 gives straight sides (a triangle), higher values give a rounder, fuller arch.
Bridge Heads
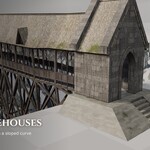
- Show Heads - turn the gatehouses on or off.
- Head At Start - a gatehouse at the start.
- Head At End - a gatehouse at the end.
- Head Object - the gatehouse model. By default it is "Piece - Gatehouse", which you can design with the Gatehouse Builder below. You can also put any object here.
- Head Gap - pushes the gatehouses away from the bridge ends.
- Head Height - raises or lowers the gatehouses.
Gatehouse Builder (new in 1.1)
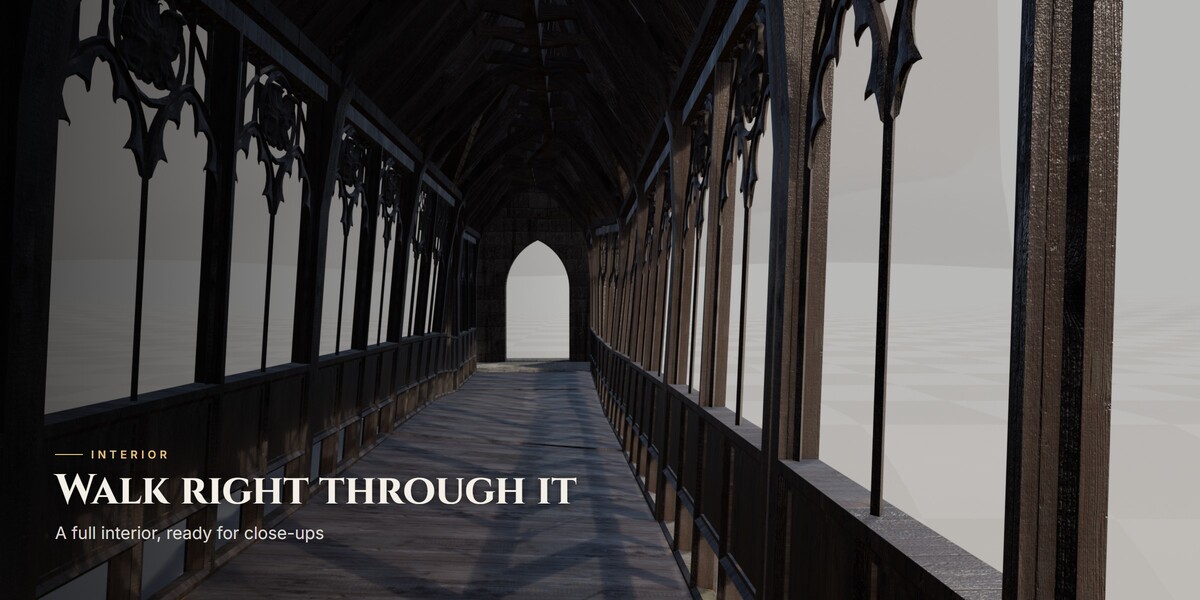
The gatehouse is a Geometry Nodes generator. Change it and both ends of the bridge update live.
- 1. In the Outliner, unhide Piece - Gatehouse (eye icon) and select it.
- 2. Open the Modifier tab and expand Gatehouse Builder.
- 3. Change anything below. The bridge picks it up right away.
- 4. Hide the object again when you're done. It is a building block, the bridge uses it.
- Original Model - shows the hand-built gatehouse mesh instead of the generated one.
- Body - width, depth, wall height, wall thickness, corner buttresses, cornice under the roof, stone band at the base.
- Roof - Roof Type (0 gable, 1 hip, 2 spire), pitch, spire height, overhang, gable overhang, slab thickness, finial, chimney, gable coping.
- Openings - front door width and height, Arch Point (0.5 round, 1 pointed, higher = lancet), back opening towards the bridge with its own arch shape, stone door surround, side windows (count, width, sill, height).
- Base - plinth height, landing in front of the door, plinth slope and margin, stairs (on/off, width, step height and depth).
- Materials - stone, roof and paving materials, UV scales.
The default values rebuild the original gatehouse exactly, so you can always get back to it.
Turret
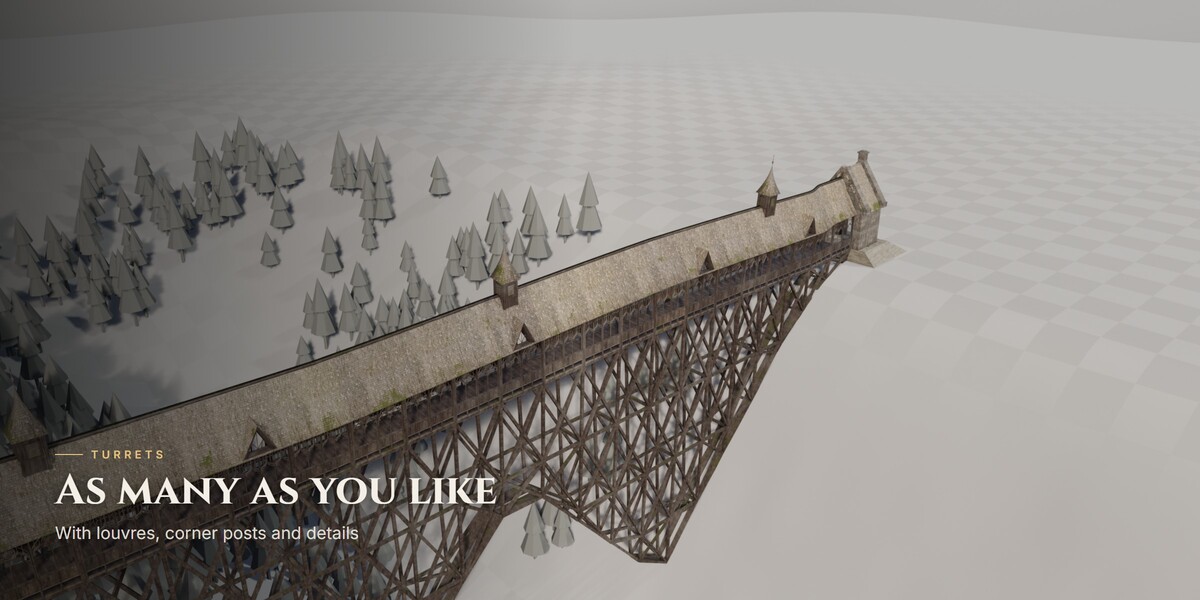
- Show Turret - turn the turrets on or off.
- Turret Count - how many turrets.
- Turret Start / Turret End - the stretch of the bridge they spread over (0 is the start, 1 is the end).
- Snap To Joints - moves each turret to the nearest joint between segments, never the very ends.
- Turret Width - how wide the turret is.
- Wall Height - the height of the turret walls.
- Spire Height - the height of the spire.
- Spire Flare - how far the spire base flares out.
- Spire Curve - how curved the spire's sides are.
- Finial Height - the height of the point on top.
- Turret Sink - how deep the turret sits into the roof.
- Turret Details - corner posts, battens, a top cornice and a band where the turret meets the roof.
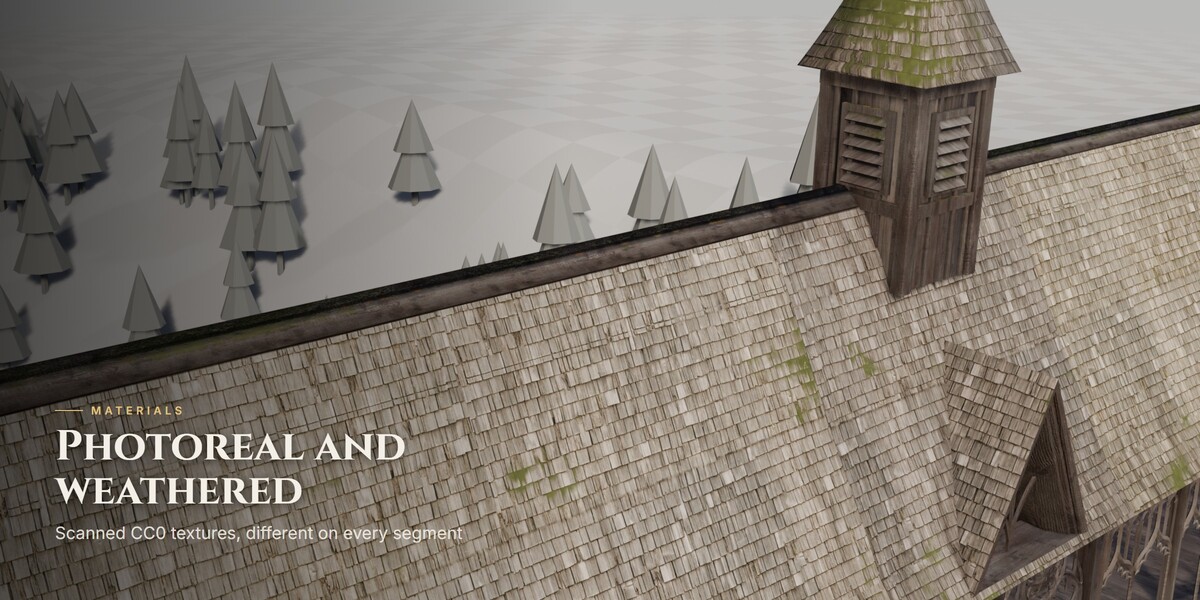
- Louvers - a louvred vent on every side.
- Turret Wall Material - the material on the walls.
- Turret Roof Material - the material on the spire.
Performance tips
- Keep Viewport Proxies on while you work. The render always uses the full pieces.
- Turn on Fast Viewport when you shape the curve. Pieces stay rigid in the viewport and bend again at render time.
- Turn off Viewport Supports when you don't need to see the trestle. It still renders.
- A deep trestle with a short Level Height and many Posts Per Segment means a lot of beams. Raise Level Height or lower the post count if things slow down.
Compatibility
- Blender 5.1 or newer
- Pure Geometry Nodes, no add-on needed
- Works in EEVEE and Cycles
- All textures packed in the file, 2K
- Real-world scale, meters
Credits
- Poly Haven: medieval_blocks_03 and roof_slates_02 (CC0)
- ambientCG: PavingStones125A (CC0)
- Modeling, Geometry Nodes and materials by Daniel Yosef Abdu
Changelog
- v1.1 - The gatehouse is now a Geometry Nodes generator (Gatehouse Builder) with roof types, arches, windows, buttresses, cornice, chimney, plinth and stairs. Defaults match the original gatehouse.
- v1.0 - First release.
$24
Have questions about this product?
Login to message
| Published | 1 day ago |
| Blender Version | 5.1 |
| Render Engine Used | Cycles, Eevee |
| License | Royalty Free |
Discover more products like this
geometry nodes gatehouse covered bridge Castle fantasy medieval trestle bridge-generator gothic timber wizard procedural