Xplo Camera Rig Orbit Add-on for Blender's Dolly Camera Rig
 XPLO Animation
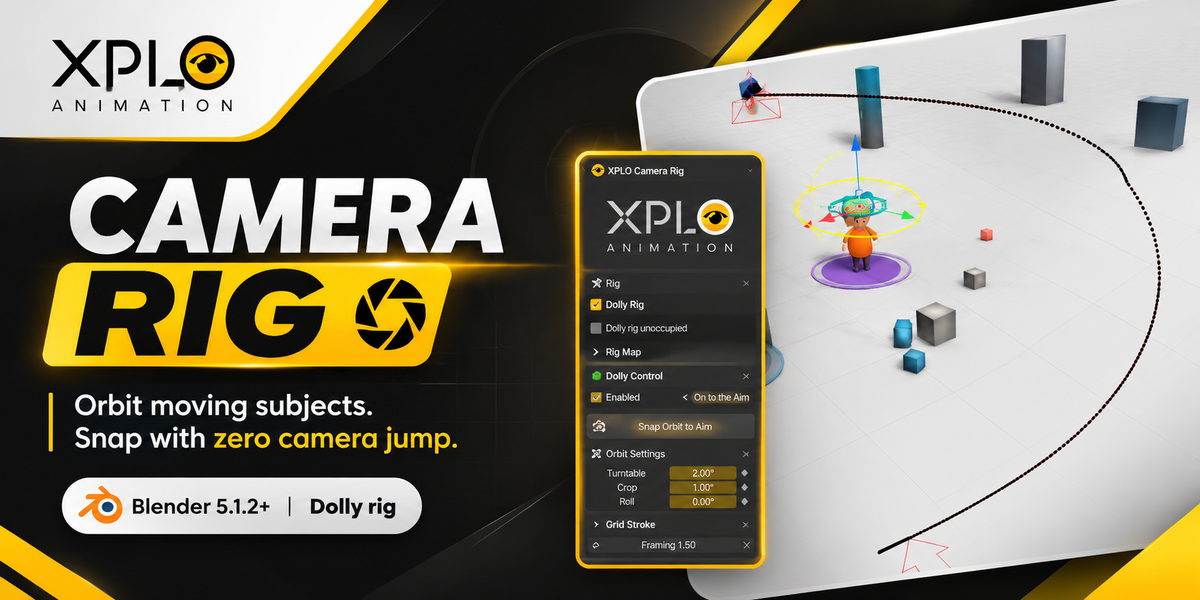
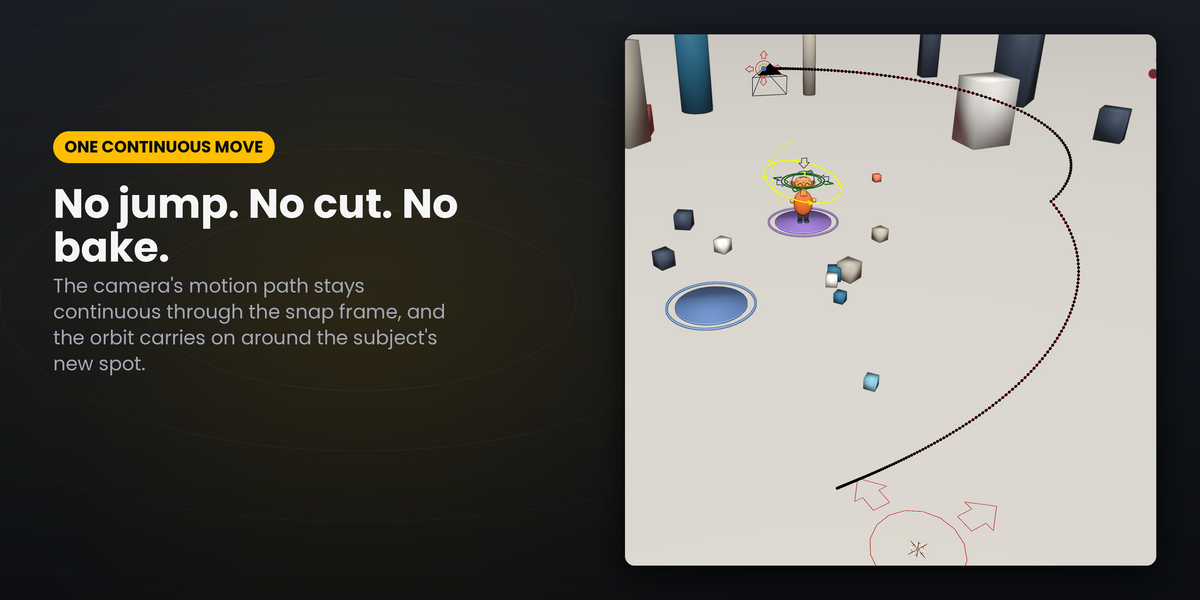
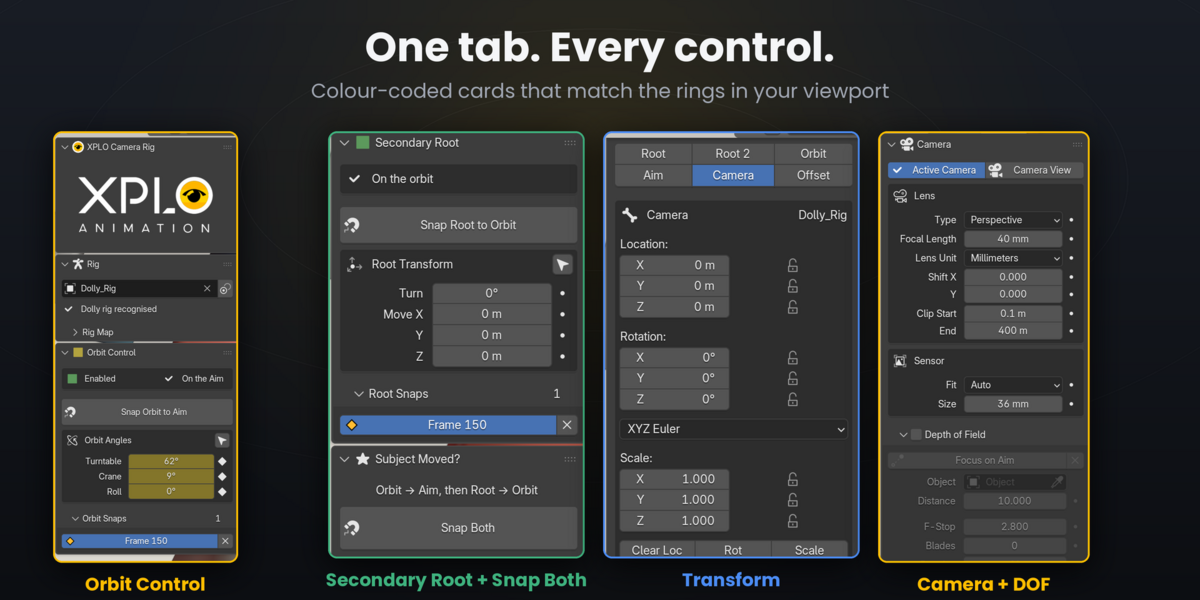
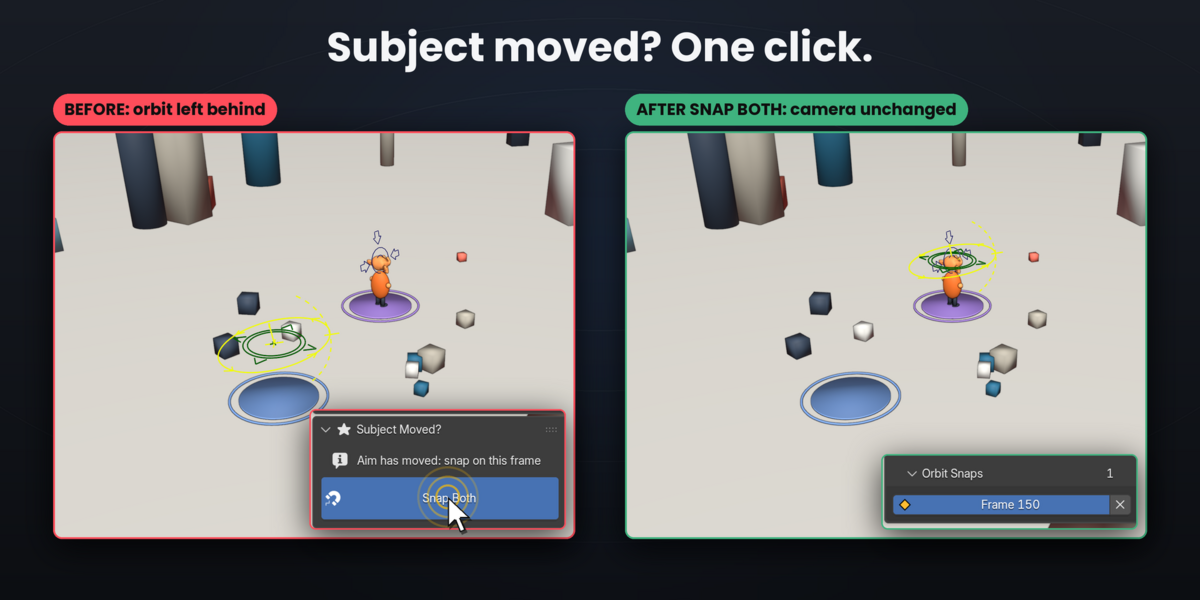
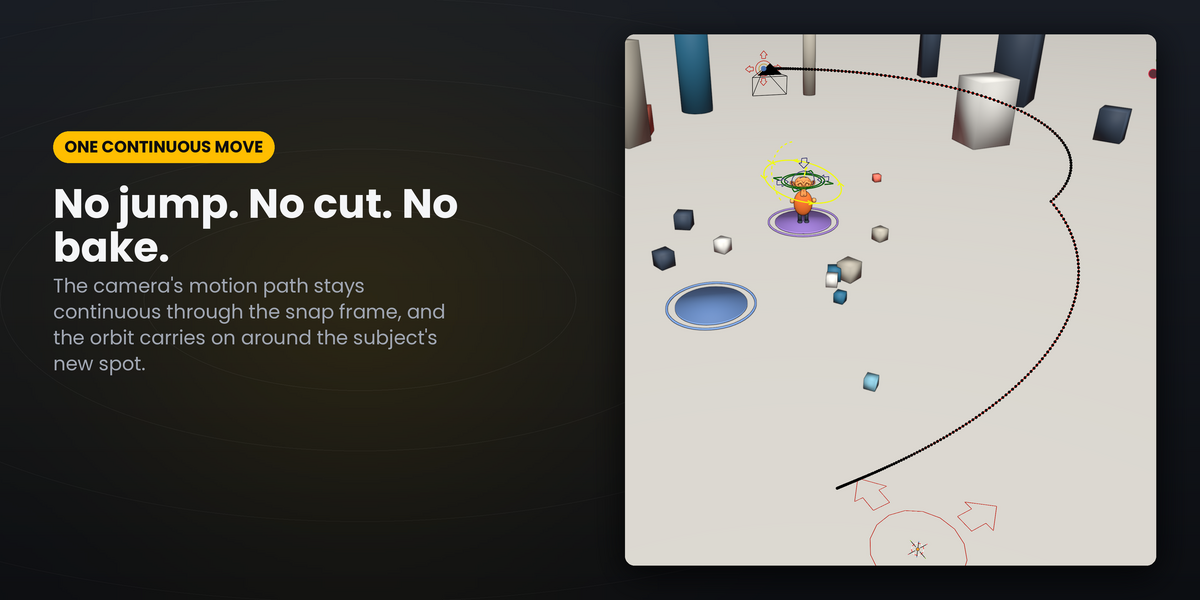
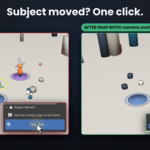
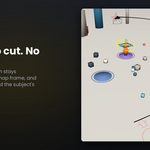
XPLO CAMERA RIG - DOCUMENTATION Version 1.5.1 | Blender 5.1.2+ | by Xplo Animation Services XPLO Camera Rig adds an animation-safe orbit layer to the Dolly camera rig from Blender's free Add Camera Rigs extension. When your subject moves mid-shot, one click (Snap Both) moves the orbit onto the subject from that frame on. The camera does not move, earlier frames are not changed, and nothing is baked. REQUIREMENTS - Blender 5.1.2 or newer. Tested on 5.1.2 and 5.2.3 LTS, on Windows, macOS and Linux. - The free Add Camera Rigs extension. In Blender, go to Edit > Preferences > Get Extensions, search "Camera Rigs" and install it. - A Dolly camera rig. Add one from Add > Camera in the 3D Viewport, or use a Dolly rig that's already in your scene. Renamed rigs work too. Not supported: Crane rigs, other nested camera rigs, and rigs whose Root has a non-uniform scale. INSTALLATION 1. Download XPLO_Camera_Rig-1.5.1.zip. Don't unzip it. 2. In Blender, open Edit > Preferences > Get Extensions. 3. Click the drop-down arrow at the top right, choose Install from Disk... and select the zip. You can also drag the zip into the Blender window. 4. In the 3D Viewport, press N and open the XPLO Camera Rig tab. Updating: install the new zip the same way. It replaces the old version, and your scenes keep working. QUICK START 1. Press N and open the XPLO Camera Rig tab. Select your Dolly rig (or its camera) and click Use Active Object. 2. Click Generate Orbit Bone, then Enable Orbit. 3. Rotate and key ORBIT_CTRL: Z = turntable, X = crane. 4. Has the subject moved? Go to the frame where it arrives and click Snap Both. 5. Keep orbiting around the new spot. Snap again whenever the subject moves. STEP BY STEP 1. Pick your rig Select the rig and click Use Active Object (the button to the right of the rig field). The panel confirms "Dolly rig recognised". The folded Rig Map section lists every bone it found. 2. Generate Orbit Bone This adds a yellow ORBIT_CTRL on the Aim, plus hidden helper bones. Nothing moves, and none of your bones are renamed or re-keyed. 3. Enable Orbit The camera now hangs from the orbit. This also adds a green ROOT_SECONDARY at the orbit centre. Every frame is checked before and after, so the camera does not move on any frame. - Yellow ring = ORBIT_CTRL. Rotate it to orbit the camera. - Green ring = ROOT_SECONDARY. Move or turn it to carry the whole rig. 4. Animate the orbit Rotate ORBIT_CTRL and key it as usual, or type values into Turntable / Crane / Roll in the panel. The camera keeps looking at the Aim. - Z (Turntable): orbits around the subject. - X (Crane): raises the camera over the subject. Keep it within about +/-85 degrees. - Y (Roll): sideways arc. The camera stays upright. 5. The subject moves The Aim follows your character, but the orbit stays at the old spot. The Orbit card shows a red "N m off Aim" warning, and the Subject Moved? card lights up blue. 6. Snap Both Go to the frame where the subject has arrived and click Snap Both. It snaps the orbit to the Aim, then the root to the orbit. If either step can't be done safely, nothing changes. The snap appears as "Frame N" in Orbit Snaps and Root Snaps. Click it to jump to that frame, or click x to remove it. 7. Keep orbiting Key ORBIT_CTRL after the snap. The orbit now goes around the new spot, and the camera's motion path stays continuous with no jump. Snap as often as the subject moves. Each snap only affects frames from its own frame onwards. PANEL REFERENCE - Rig: rig picker, Use Active Object, Rig Map (folded). - Orbit Control (yellow): status, main button (Generate > Enable > Snap Orbit to Aim), Orbit Angles, Orbit Snaps. - Secondary Root (green): status, Snap Root to Orbit, Root Transform (Turn, Move X/Y/Z), Root Snaps. - Subject Moved?: Snap Both (lights up blue when a snap is due). - Transform: quick-select buttons (Root, Root 2, Orbit, Aim, Camera, Offset) and the active control's location, rotation and scale, with locks and Clear buttons. - Camera: Active Camera, Camera View, Lens, Sensor, Depth of Field (with Focus on Aim) and Viewport Display. - Settings (folded): Orbit Ring Size, Hold Pose on Snap, Re-centre Orbit on Enable. - Maintenance (folded): Disable Orbit (with optional bake), Remove Orbit System, version info. SNAPPING IN DEPTH - Snap Orbit to Aim moves ORBIT_CTRL onto the Aim from the current frame on. The camera stays exactly where it is, and earlier frames are verified as unchanged. Your keys on ORBIT_CTRL, Aim, Camera, Camera_Offset and Root are not edited. - Snap Root to Orbit re-centres ROOT_SECONDARY on the orbit from the current frame on, with no camera jump. It works even while the root is animated. - Snap Both does both snaps on the same frame, as one all-or-nothing step. - Re-snapping a frame that already has a snap updates that snap. Snapping before an existing snap also works: later snaps are re-linked automatically. - Hold Pose on Snap (in Settings, on by default) keys the control's pose on the snap frame so that later keys can't break the snap. It only adds a key when that key changes no frame. - Snaps are stored as stepped (Constant) keys on hidden MCH helper bones. Leave those keys to the add-on. - Between snaps the pivot does not follow the Aim continuously. It only moves when you snap, which keeps earlier frames and revisions stable. REVISIONS AND REFRESH SNAPS Changing native animation (Aim, Camera, Camera_Offset, Root, lens) never affects a snap. If a revision changes the orbit angle or root pose on a snap frame, the camera would jump there, so the panel turns red. Click Refresh Snaps to fix it. This recalculates only the hidden snap offsets and leaves your keys untouched. If the Aim's path changed and the pivot should follow it, go to the snap frame and snap again. CAMERA SETTINGS - Focal Length, Focus Distance and F-Stop are driven by properties on the rig's Camera bone. The panel edits those properties, so you can key them directly here. - Focus on Aim turns on depth of field and makes the focus follow the Aim automatically. - Camera View makes the rig camera the active camera and looks through it. MAINTENANCE - Disable Orbit removes the orbit layer and hands the result back to the plain rig. You can keep the current frame or bake a frame range. Every frame is verified, and the operation is rolled back if anything doesn't match. You don't need this for normal work. - Remove Orbit System (after Disable) deletes the orbit bones and restores the original hierarchy. GOOD TO KNOW - Nothing is baked. Your shot stays editable through every client revision. - Scenes play and render identically without the add-on installed. The setup is plain bones, constraints and keys, so render farms and colleagues without XPLO see the same result. - Crane beyond +/-90 degrees flips the camera, exactly as the plain rig does. - A snap takes effect on a whole frame. With motion blur, the half-frame before a snap uses the previous pivot. TROUBLESHOOTING - No XPLO Camera Rig tab: press N in the 3D Viewport, and check that the extension is enabled in Preferences > Add-ons. - The rig isn't accepted: only Dolly rigs are supported. Read the message in the Rig section. - Red "out of date" warning: click Refresh Snaps. - "Snap check failed... Nothing was changed.": something outside the add-on would have moved the camera, for example F-Curve modifiers or muted channels. The message gives the reason. - Two XPLO tabs after updating: an older build is still installed. Uninstall it and restart Blender.
 Included
Includes 12 months of
- Support from XPLO Animation
- Product updates
Extend this product’s Support Period +12 months: 100% of product price
Have questions before purchasing?
Login to message
| Published | 1 day ago |
| Blender Version | 5.1 - 5.3 |
| Extension Type | N/A |
| Render Engine Used | Cycles, Eevee |
| License | GPL |
Discover more products like this
camera blender camera addon #3DCamera 3D camera tools blender camera rig camera rig blender blender camera preset