Your Model Stage - The Perfect Environment for Your 3D Models!
 DemNikoArt
in Tools
DemNikoArt
in Tools


Required Software
This scene requires Blender 3.0 or newer to ensure the Geometry Nodes particle system functions correctly.
Opening the File
Simply open the downloaded .blend file.
You will find two complete scene setups pre-configured in your Blender file's Scene dropdown menu (top right of the viewport):
- Scene HDRI: Uses an HDRI from Polyhaven for bright, realistic studio light.
- Scene Dark: Uses a single, moody moving lamp for high-contrast, atmospheric results.
The Placeholder Object
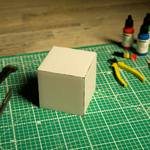
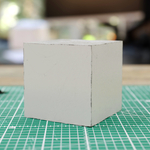
The scene contains a nicely textured default cube as a placeholder.
Just delete the cube (as you do) and put your model in the center of the cutting mat.
You can adjust all props to your liking and set your stage the way you want to.
Air Particles
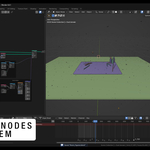
Select the object named "> Dust domain". In the Modifier Properties tab (wrench icon), adjust the controls in the Geometry Nodes Modifier.You can easily change the Size, Density, and Motion Speed of the air particles here.
Lighting (HDRI)
Select the 'World' tab in the Shading Workspace. Locate the Environment Texture node. It already comes with the embedded "poly_haven_studio_4k" HDRI from Polyhaven. To change the HDRI, click the "open folder icon" on the Environment Texture node to load any HDRI file of your choosing.
Rotate the texture using the Mapping node and its Z-Rotation to adjust the lighting direction.
Dark Scene Light
In 'Scene Dark', select the light source (an Area light).
You can easily adjust the color, power, and position of this single light source to best highlight your model.
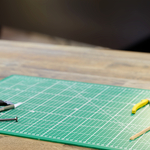
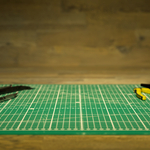
Table & Props
All objects are labeled and organized in the 'Objects' and 'BG' collections.
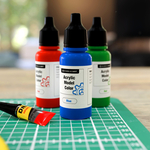
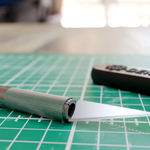
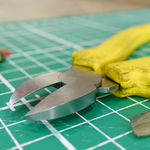
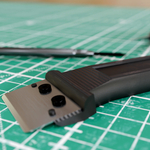
Feel free to move, hide, or duplicate any of the props (cutter knife, scraper, glue, etc.) to customize the composition and better frame your model.
Have questions about this product?
Login to message
| Published | 9 months ago |
| Blender Version | 3.0 - 4.5 |
| Render Engine Used | Cycles |
| Misc Data | Textured |
| License | Royalty Free |
Discover more products like this
3d models table 3D art tools stage lighting setup cutting mat 3d presentation 3d scene Professional-3D-lighting