 3D Texel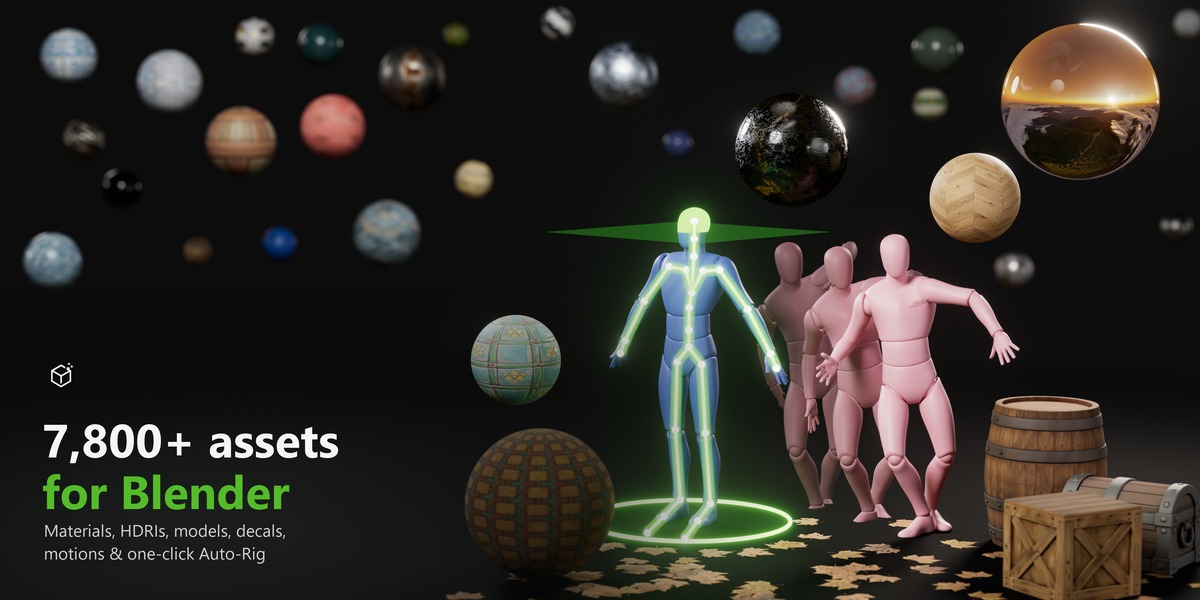
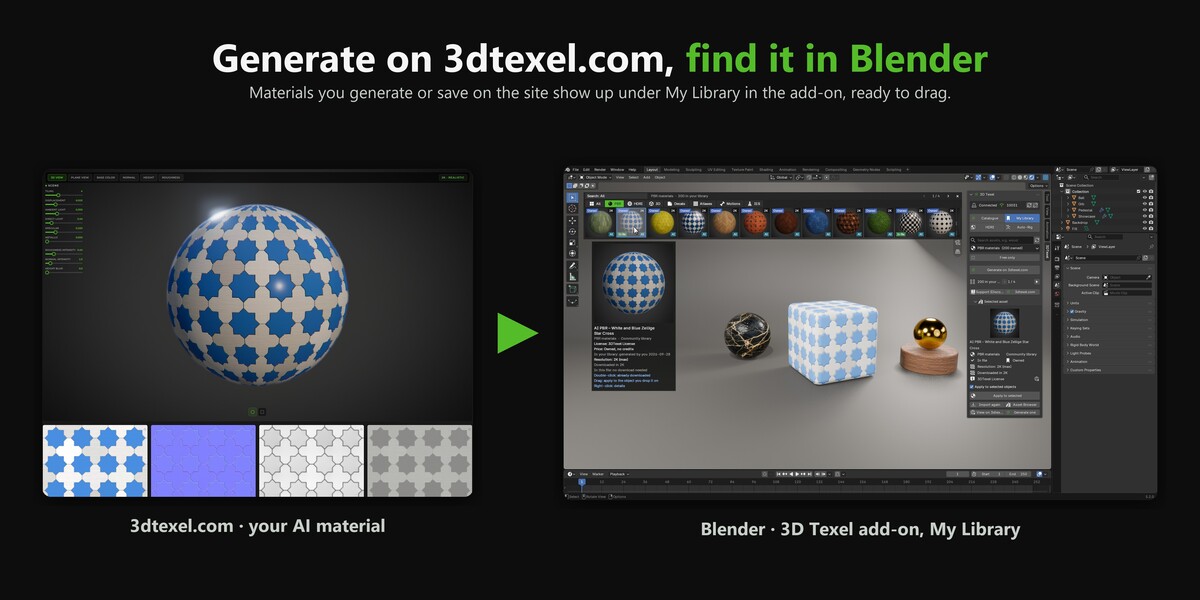

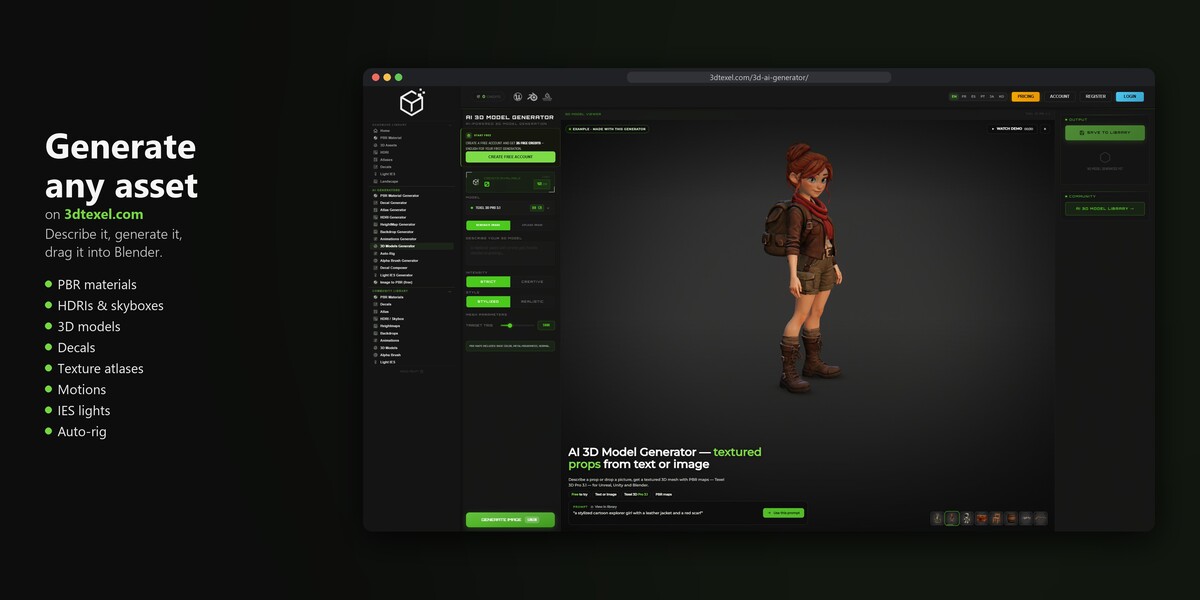
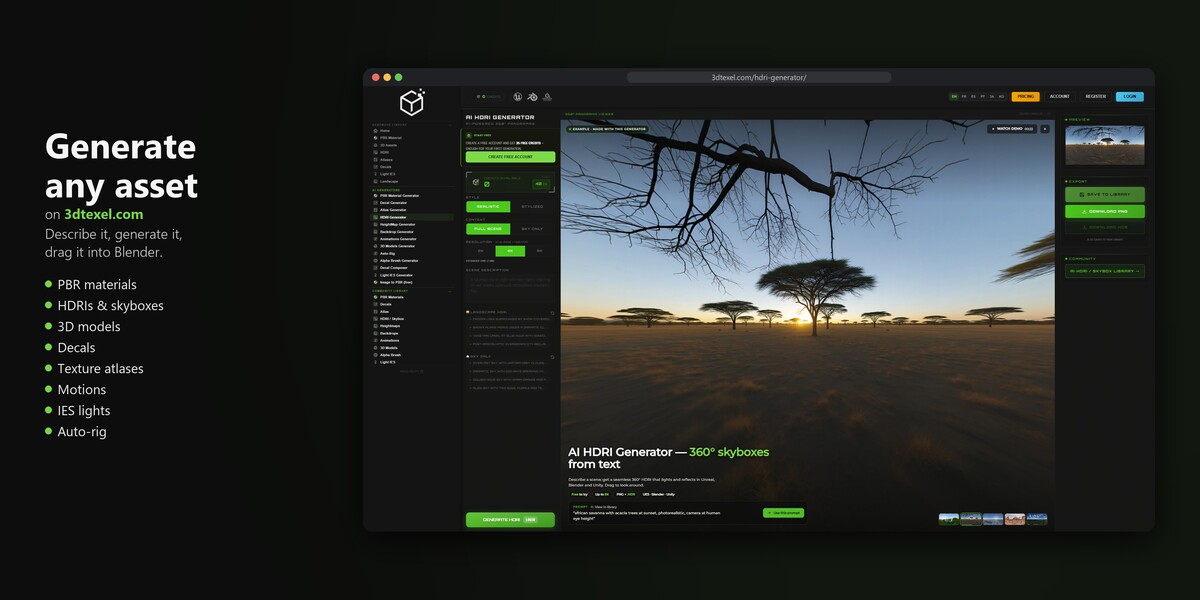
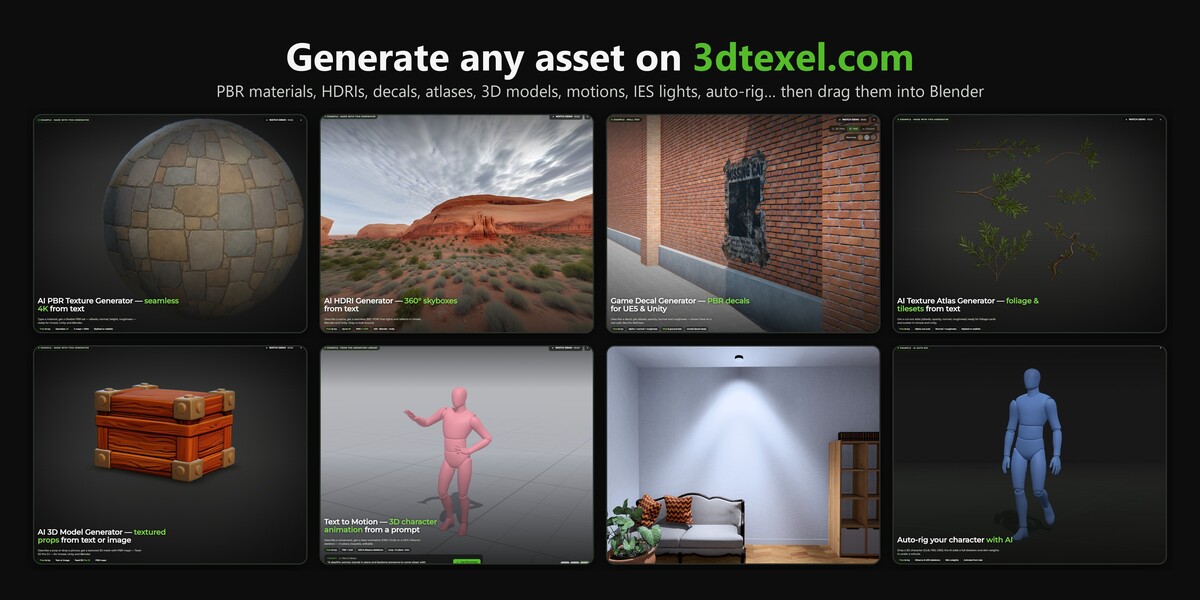



Full documentation (always up to date): 3dtexel.com/blender-plugin/docs
Install
- Download the zip. Don't unzip it.
- In Blender 4.2 or later: Edit > Preferences > Get Extensions, open the drop-down at the top right and choose Install from Disk….
- Pick the zip and turn on Allow Online Access when Blender asks.
- In the 3D viewport, press N and open the 3DTexel tab.
- Click Connect to 3DTexel and log in from your browser (a free account is enough).
Use the asset bar
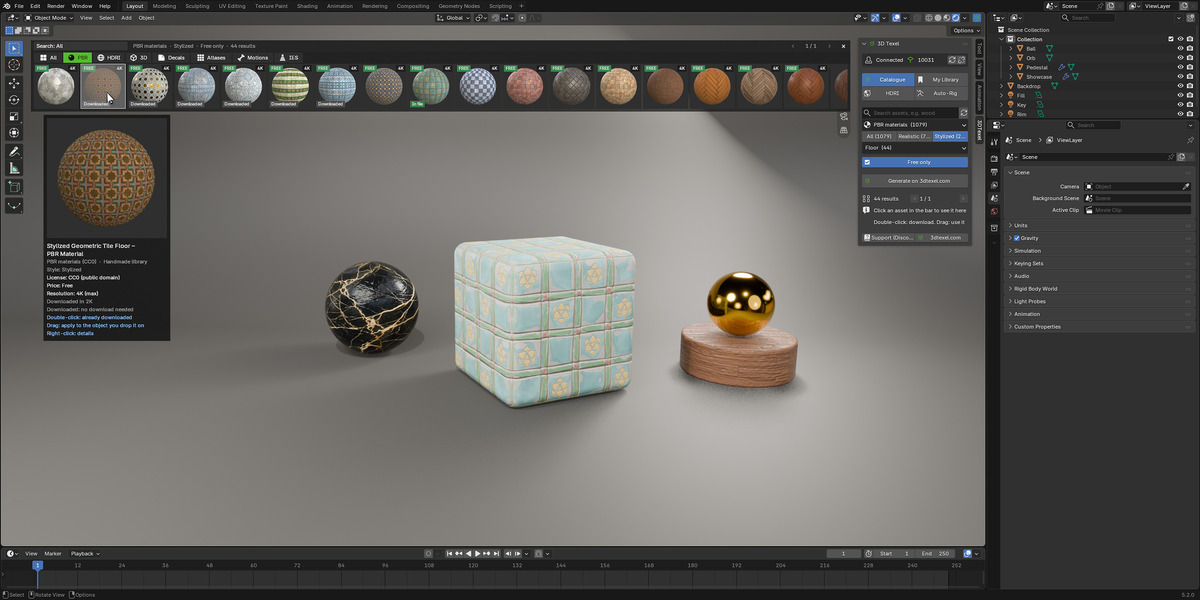
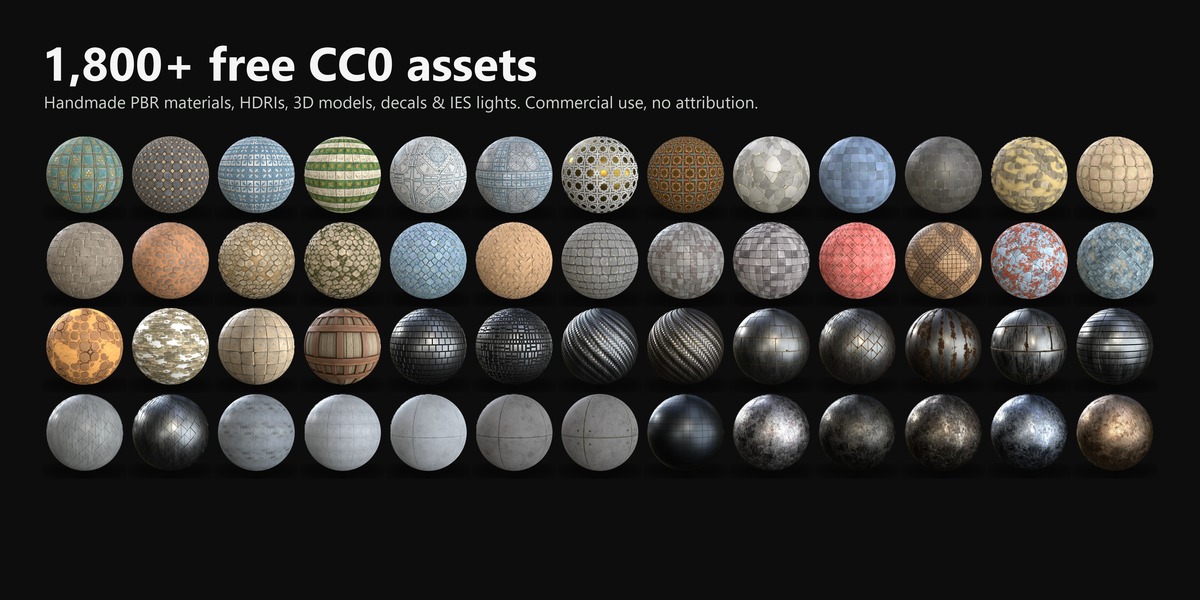
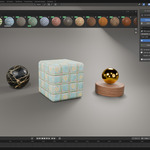
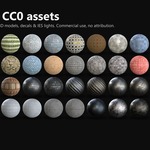
- Press Catalogue to open the bar at the top of the viewport. Pick a type, a style and a category, or tick Free only.
- Hover a thumbnail for a large preview with licence, price and resolution.
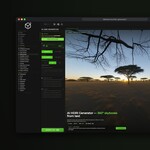
- Click to select it, double-click to download it (an HDRI is set as the world).
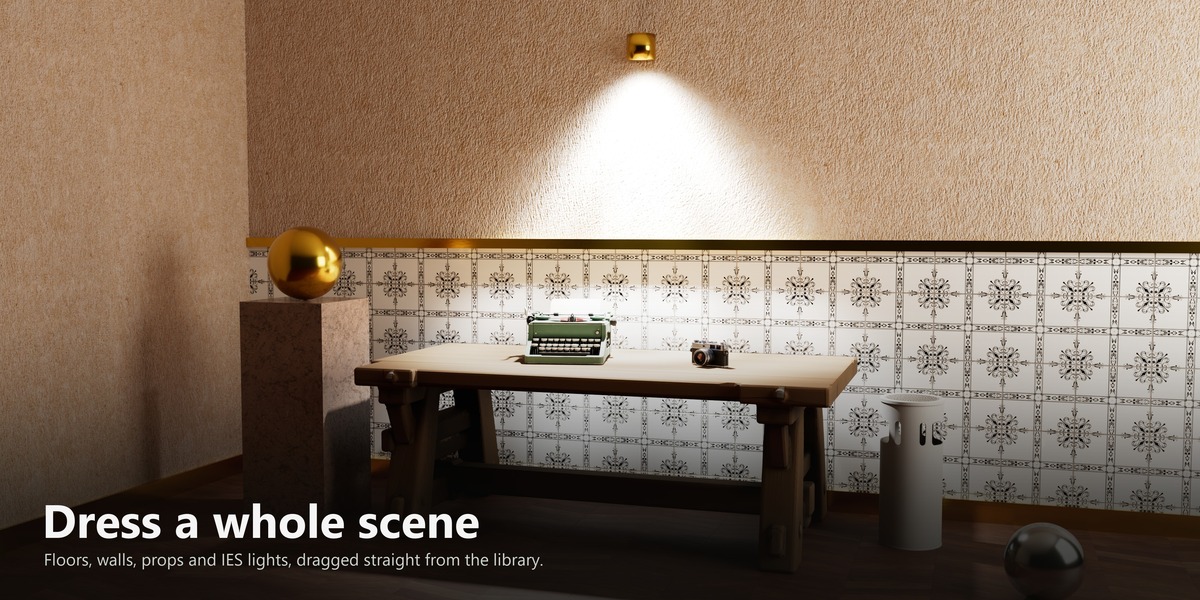
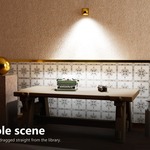
- Drag it into the scene: a material onto an object, a model onto the ground, a decal onto a surface, a motion onto your character.
- Right-click for details.
Adjust
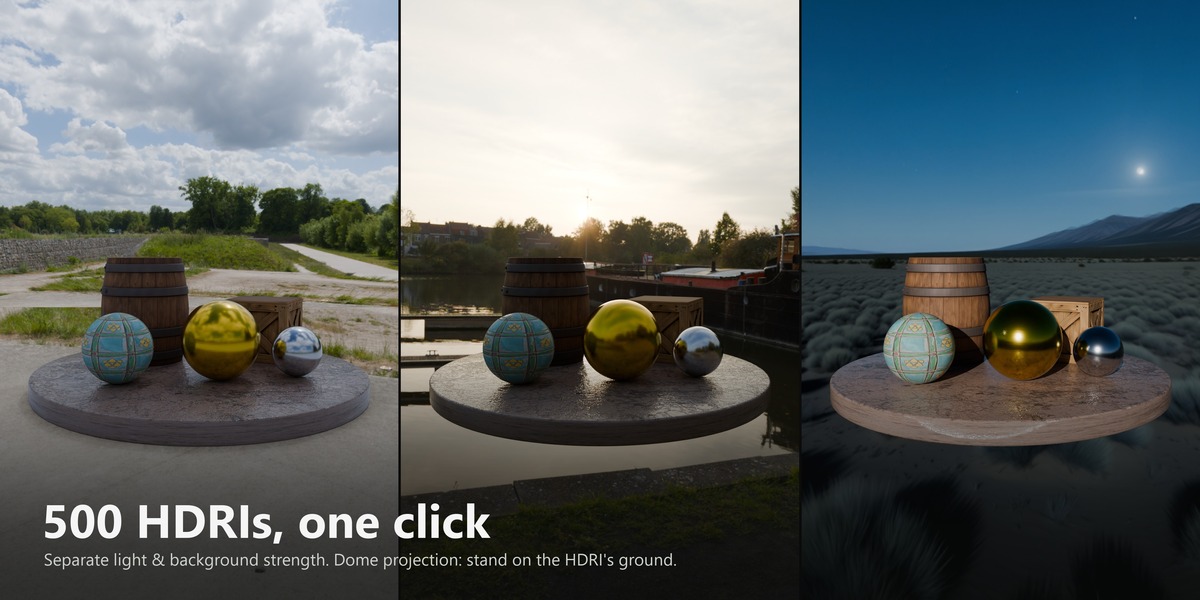
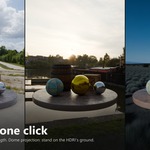
Select an object to tweak its 3DTexel material (tiling, rotation, normal, roughness, tint…), decal (opacity, offset, size) or IES light (power, colour, radius). The HDRI button opens the world controls: on/off, lighting and background strength, rotation, Sphere or Dome projection.
Motions and Auto-Rig
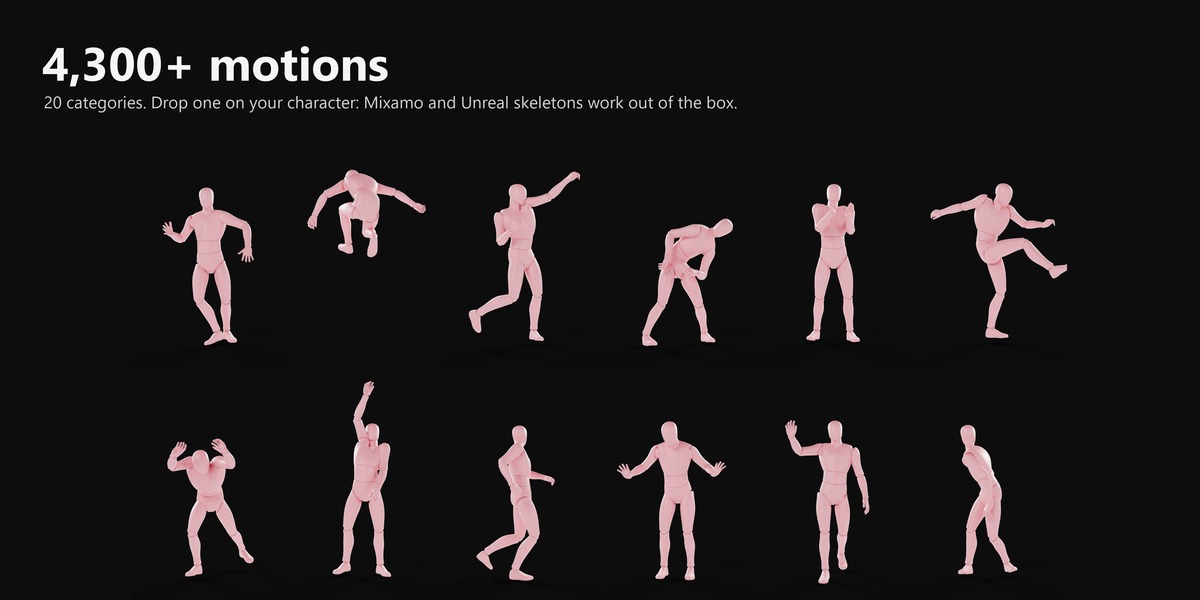
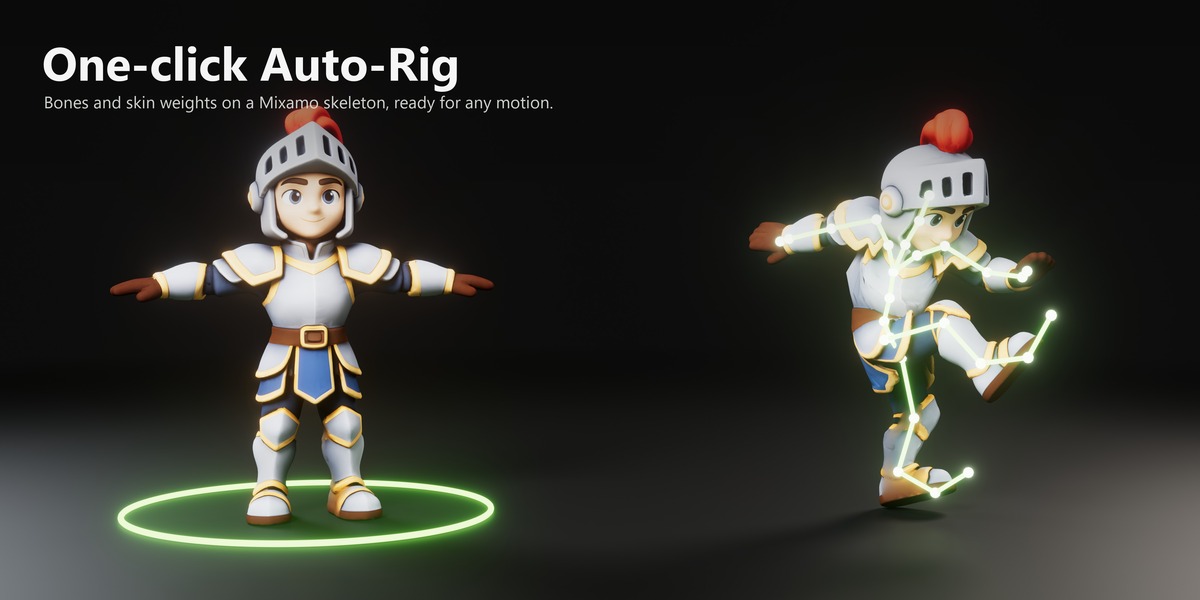
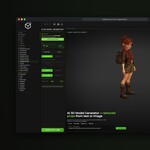
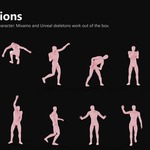
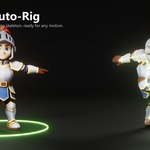
Drop a motion on a character with a Mixamo or Unreal skeleton and it plays on your armature. To rig a character, select its mesh, open Auto-Rig and confirm the price (30 credits). The rigged character replaces the original in place; the original is kept in the hidden "3DTexel Originals" collection.
Troubleshooting
- Nothing loads: turn on Edit > Preferences > System > Allow Online Access.
- Login doesn't come back to Blender: allow Blender through your firewall for local connections (127.0.0.1), then press Connect again.
- Something else: ask on our Discord.
Have questions about this product?
Login to message
| Blender Extension Compatible | Yes |
| Published | 1 day ago |
| Blender Version | 4.2 - 5.2 |
| Extension Type | Add-on |
| Render Engine Used | Cycles, Eevee |
| License | GPL |

Discover more products like this
auto-rig 3d models asset-browser pbr-materials cc0 asset library rigging textures drag and drop decals hdri mixamo