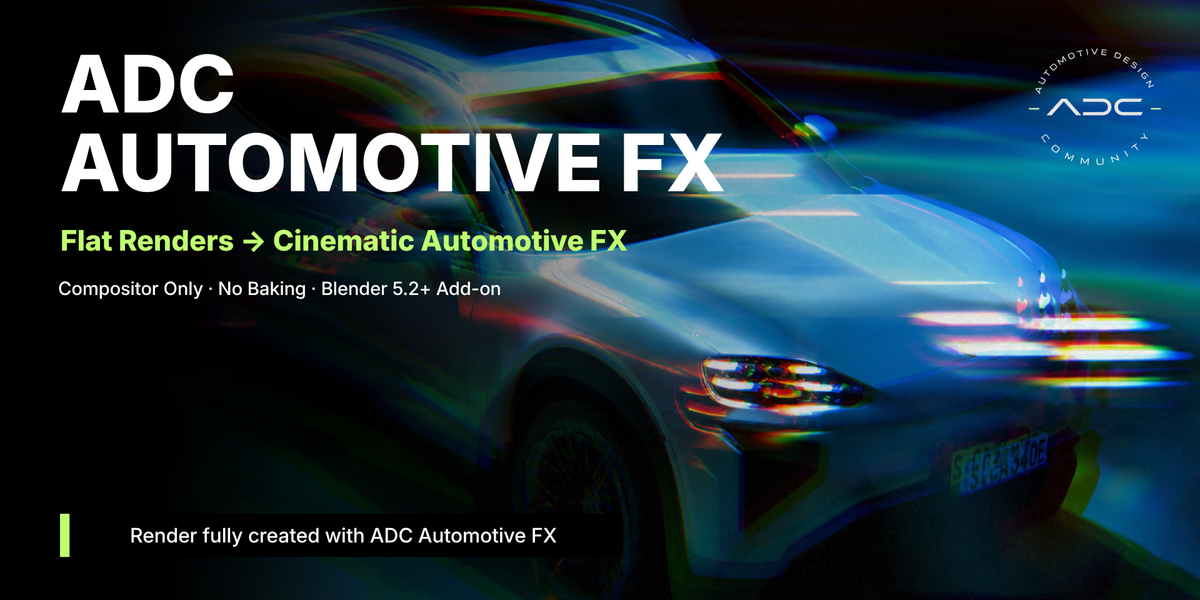
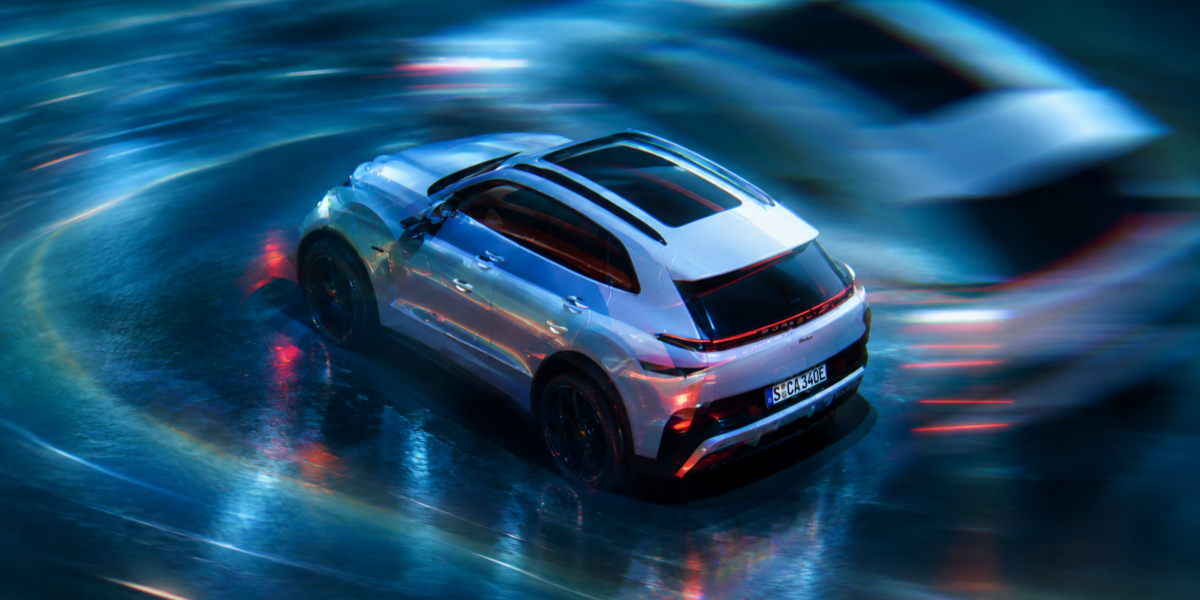
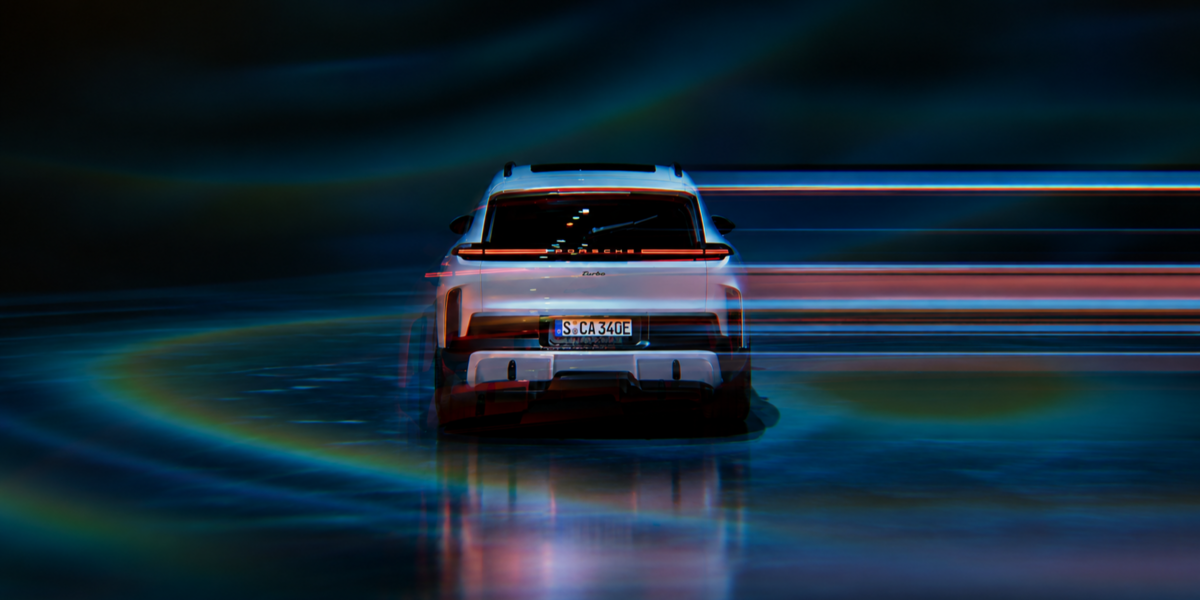
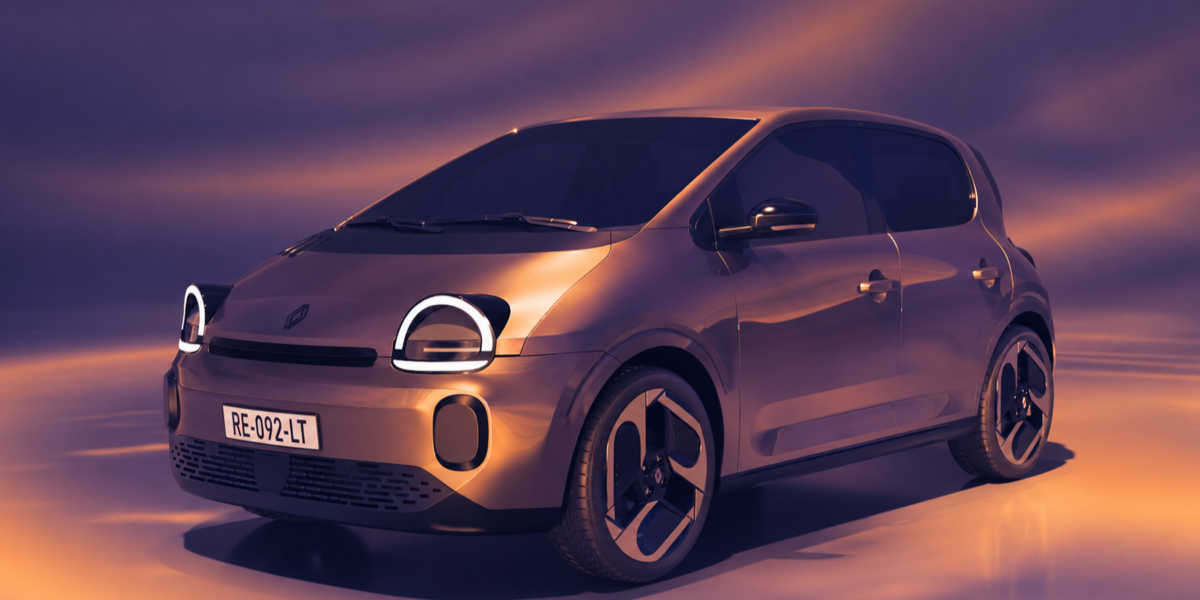
| ADC Automotive FX Documentation Everything you need to install, set up, and get the most out of every effect. |
| Requirements
| Blender version | 5.2.0 and newer | | Where it runs | Compositor only | | Render engine | Engine-agnostic (Cycles, EEVEE) | | Dependencies | None |
|
|
| Installation
| 1 | In Blender, go to Edit > Preferences > Add-ons. | | 2 | Click the dropdown arrow (top-right) and choose Install from Disk...
| | 3 | Select the downloaded .zip file — do not unzip it first. | | 4 | Enable the checkbox next to ADC Automotive FX. |
|
|
| Getting Started
| 1 | Switch to the Compositing workspace (or open a Compositor editor) and make sure Use Nodes is enabled. | | 2 | Open the sidebar (press N if it's hidden) and click the ADC FX tab. | | 3 | Pick a category — Motion, Lens, or Stylize — and press Add on any effect. |
That's it. The effect drops into your compositor stack, automatically wires itself between your render output and the Composite node, and its controls appear right there in the sidebar panel — no manual node linking required. |
|
| How the Effect Stack Works • Every effect is an independent node group. Add any combination, in any order — each one is inserted right above whatever was previously feeding the Composite node.
• Removing an effect (the Remove button on its card) automatically reconnects the stack around it — you never end up with a broken chain.
• Because each effect is procedural and resolution-aware, what you see in a 50% viewport preview matches what you get at full render resolution. |
|
| Effect Categories 24 effects across 3 categories MOTION Speed, movement, and long-exposure looks for cars in motion.
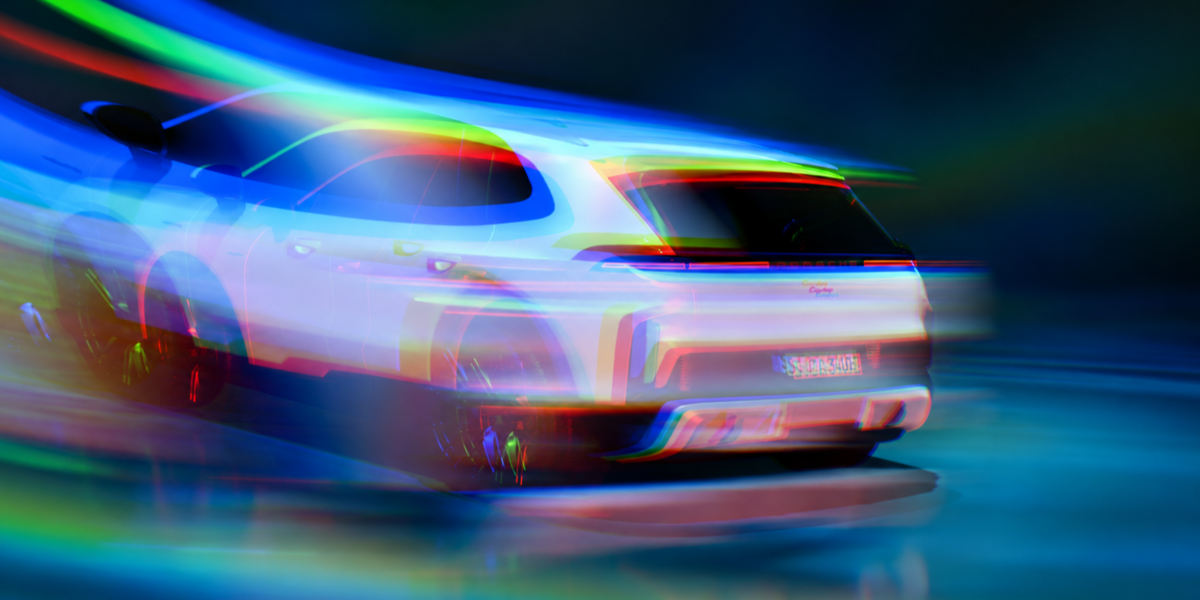
| Ghosting A soft, motion-blurred duplicate offset behind the car, like a long-exposure afterimage. Scale Amount · Offset X/Y · Blend Factor | | Pixel Stretch Directional pixel-stretch speed effect. Full Frame, or Behind Object via Blender's native Cryptomatte picker. Direction · Stretch Amount · Noise Scale · Blend · Swap Foreground/Background | | Speed Streaks Directional streak lines that sell velocity without an extra render pass. Density · Length · Direction · Intensity | | Light Tunnel A fan of colored light trails converging toward a vanishing point. Vanishing Point · Spread · Density · 3 Colours · Glow |
LENS Camera and optical effects for a more photographic finish.
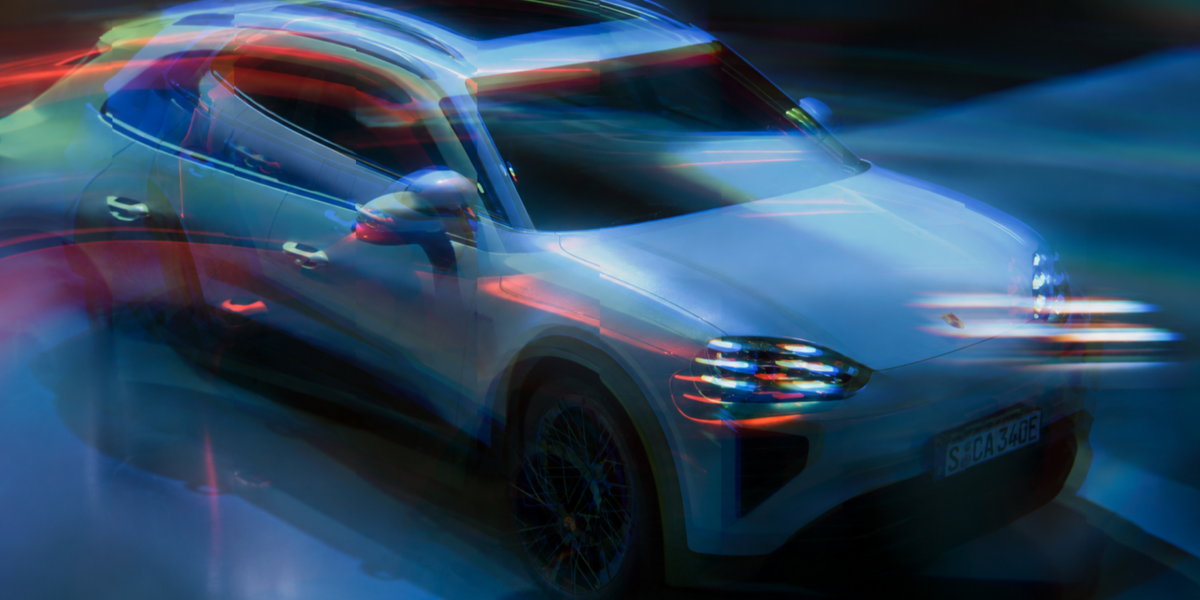
| Lens Distortion Simple barrel/pincushion distortion. | | Lens Distortion Pro A physically-modelled Brown-Conrady distortion: set a Focal Length and the barrel/pincushion curve derives itself, with Chromatic Fringing coupled to the same radial field. Focal Length · Strength · K2 · Center X/Y · Chromatic Fringing | | Dispersion Standalone prism fringing: red and blue channels pull radially apart from a chosen center. Amount · Falloff · Center X/Y · Blend | | Chromatic Aberration Subtle colour fringing toward the frame edges (Blender's official compositor asset). | | Bloom Soft highlight glow around headlights, chrome and hot reflections. | | Anamorphic Streaks Horizontal blue streaks off hot highlights, cinema-lens style. | | Vignette Natural edge falloff (Blender's official compositor asset). | | Vignette Pro Size and Softness as separate controls, Roundness to go from a frame-matching ellipse to a true circle, and an Exponent for a real cos⁴-style falloff curve. Size · Softness · Roundness · Exponent · Center X/Y · Colour | | Film Grain Organic grain from Blender's official Film Grain asset. See the "Known limitation" note below. Amount · Animate Seed | | Sensor Noise Fine, camera-sensor-style noise (Blender's official compositor asset). | | Patterned Glass Real refraction through glass. Five pattern types from a native dropdown (Vertical, Horizontal, Square, Dot, Circular Wave), a Mask Roundness control, edge-boosted displacement and true per-channel Dispersion. Position X/Y · Mask Radius/Softness/Roundness · Pattern Type · Pattern Scale/Rotation · Blur · Displace · Dispersion |
STYLIZE Full looks for social content, thumbnails, and stylized reveals.
| CRT Phosphor dot-matrix screen look with bloom. Scale · Exposure · Shadow/Highlight Colour · Glow · Amount | | Duotone Classic two-colour split-tone remap. Exposure · Shadow/Highlight Point · Two Colours · Amount | | Gradient Map The image's own luminance drives a fully editable, multi-stop colour ramp — any number of colours flowing across shadows/midtones/highlights, unlike Duotone's fixed two-colour split. Multi-stop Gradient · Amount | | VHS Analog tape distortion: RGB channel split, horizontal sine wobble, and scanlines. Colour grading is left out on purpose — stack Duotone or Gradient Map on top for a tint. Scanlines · Chroma Shift · Wobble · Amount | | Synthwave 80s retrowave grid and sun with real perspective spacing. Full Frame, or Behind Object via Cryptomatte. Horizon Y · Grid Density · Sun · Full Frame / Behind Object | | Posterize Quantizes each colour channel into discrete steps. Levels · Amount | | Blueprint Technical-drawing look: edge-detected outlines glow in cyan over a flat navy field, with an optional CAD-style crosshatch grid. Reads the car's own creases, not just its silhouette. Edge Width/Threshold/Intensity · Grid · Glow | | X-Ray Dims the car toward a translucent scan and outlines its edges in a glowing colour, using Blender's native Cryptomatte picker. Base Opacity · Line Colour · Whole Image / Object Only | | Wire Color Colourises the car's own edges without touching its base colour, on the whole frame or just the picked object. Line Colour · Glow · Whole Image / Object Only |
|
|
| Object-Only Effects & Cryptomatte Pixel Stretch, Synthwave, X-Ray, and Wire Color offer an Object Only / Behind Object mode that uses Blender's native Cryptomatte to isolate the effect to a specific object.
| 1 | In Render Properties > Passes > Cryptomatte, make sure the Asset pass is enabled. This add-on only uses the Cryptomatte Asset pass — not Object or Material. | | 2 | Render the frame at least once (F12) so Cryptomatte data actually exists in the Render Result. | | 3 | Add the effect using its Object Only / Behind Object button, then use the eyedropper in its Object / Cryptomatte panel to pick the car. |
If you see a "Passes Not Supported" warning, it means no Cryptomatte data exists yet for the current Render Result — usually fixed by rendering a fresh frame with the Asset pass enabled, on the active View Layer, before picking the object. |
|
| Known Limitation: Film Grain Film Grain is Blender's own official 5.2 Essentials compositor asset, not custom code from this add-on. In the current Blender build, only two of its parameters are actually wired internally — Amount and Animate Seed — so those are the only controls this add-on shows for it. The asset's other advertised parameters (Preset, Film Gauge, Style, ISO, Softness, etc.) aren't connected to anything inside Blender's own node group yet, so they're hidden rather than shown as sliders that would silently do nothing. |
|
| Tips • Effects stack in the order you add them — remove and re-add one to change where it sits in the chain.
• Every distance/size slider reads the render's live resolution, so previewing at a lower percentage still matches your final render.
• You can mix procedural effects (Motion, Lens) with full-look effects (Stylize) freely — e.g. Light Tunnel under Duotone under Vignette Pro. |
|
|
 ADC - Automotive Design Community