 ATDIGIT


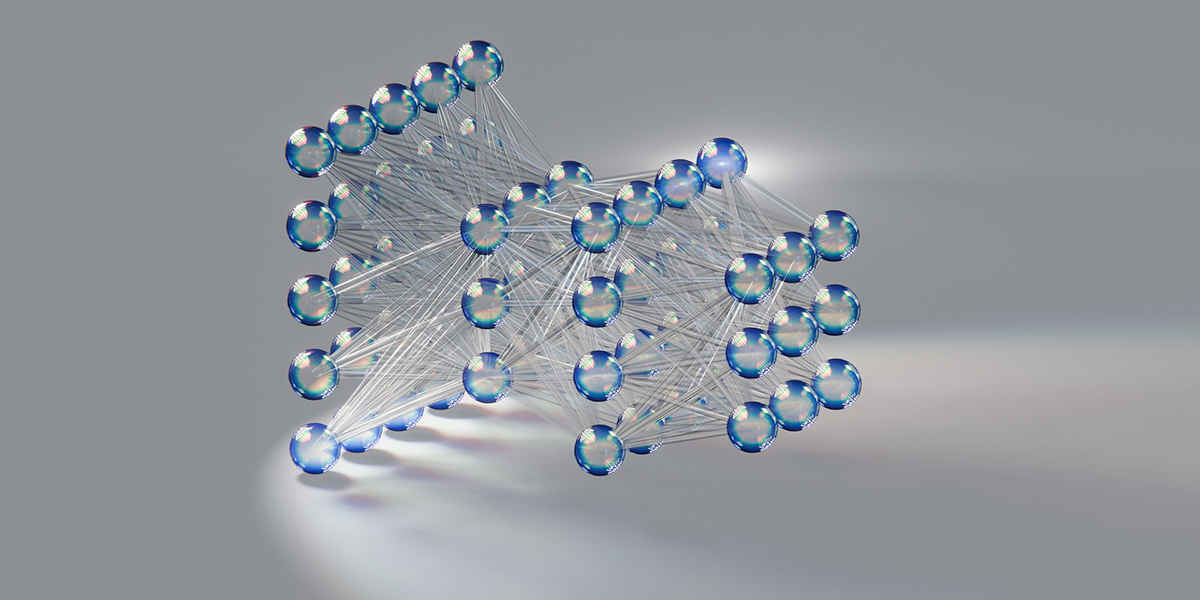
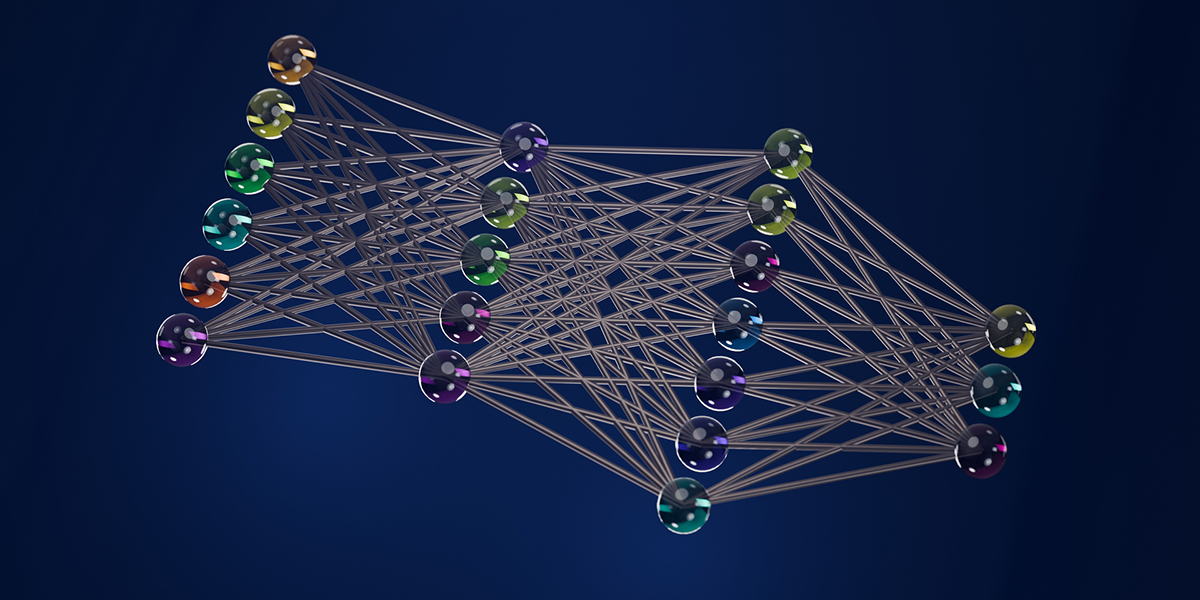

Documentation for 'Add mesh: Neural Network Creator'
Welcome to the 'Add mesh: Neural Network Creator' documentation. This guide covers all three methods of creating neural networks in Blender.
Getting Started:
After installing the addon, you'll find three options in the 3D Viewport under Add -> Mesh: '2D Neural Network', '3D Neural Network', and 'Geo Neural Network'.
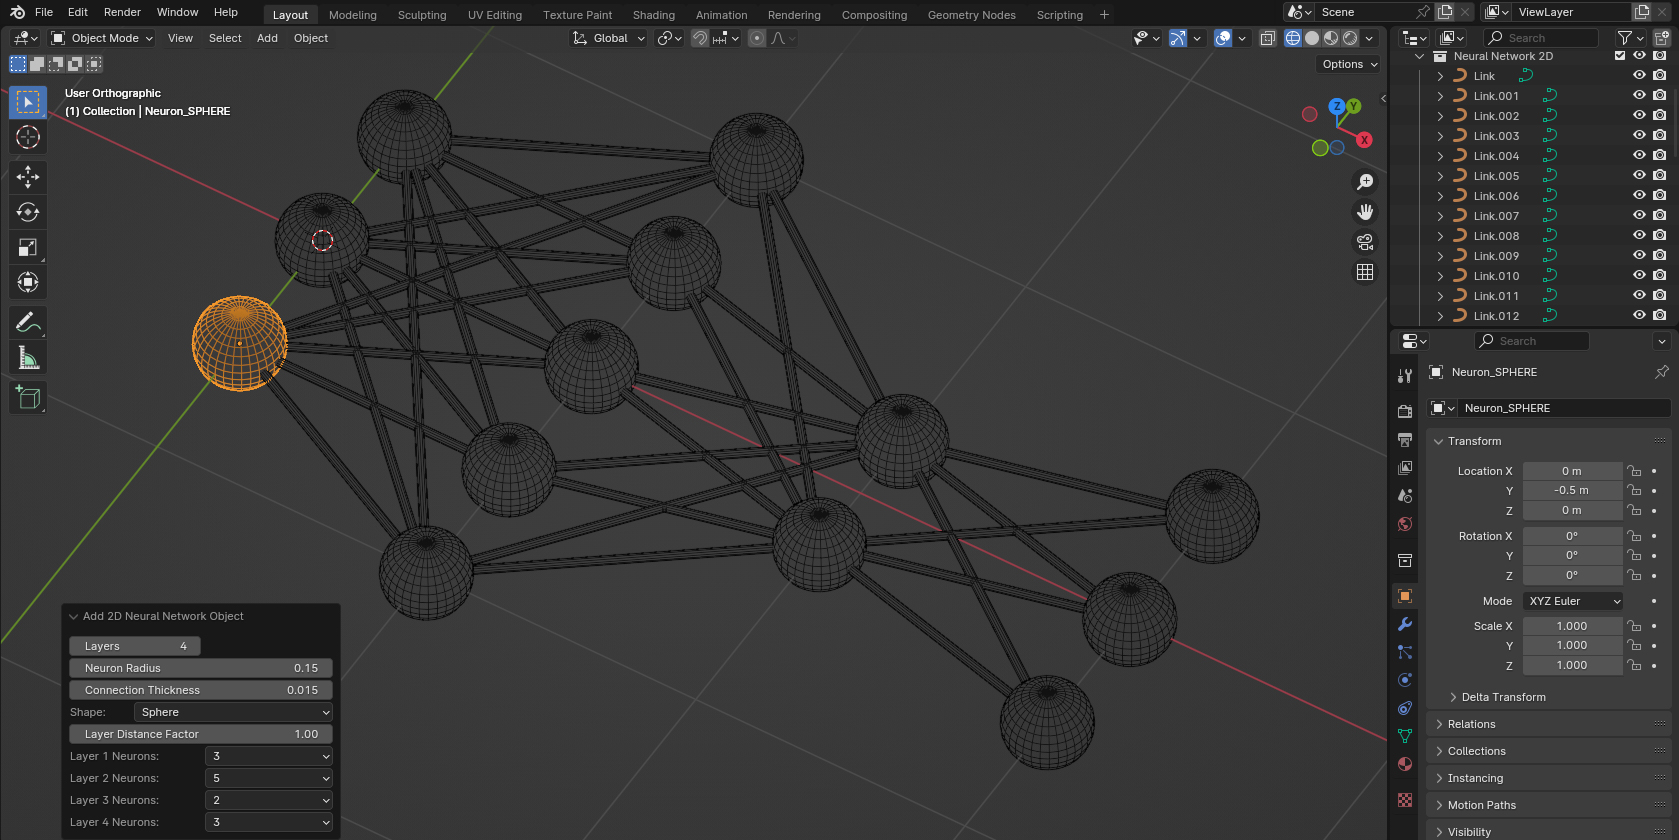
Method 1: 2D Neural Network (Quick Mode)
Creates a flat neural network structure instantly.
- Go to Add -> Mesh -> 2D Neural Network.
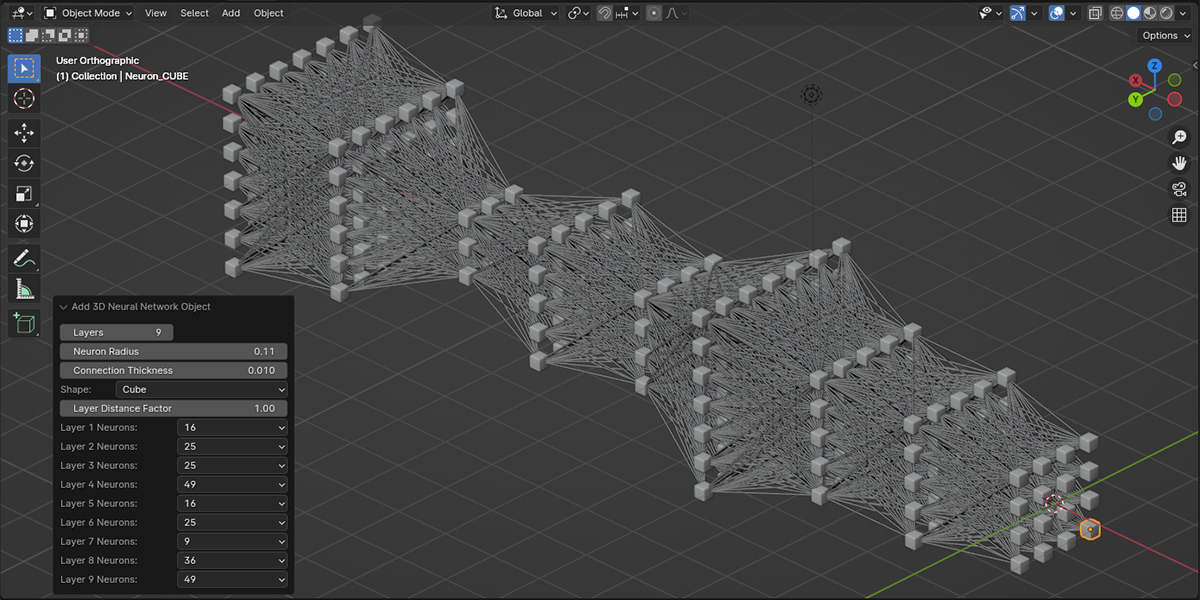
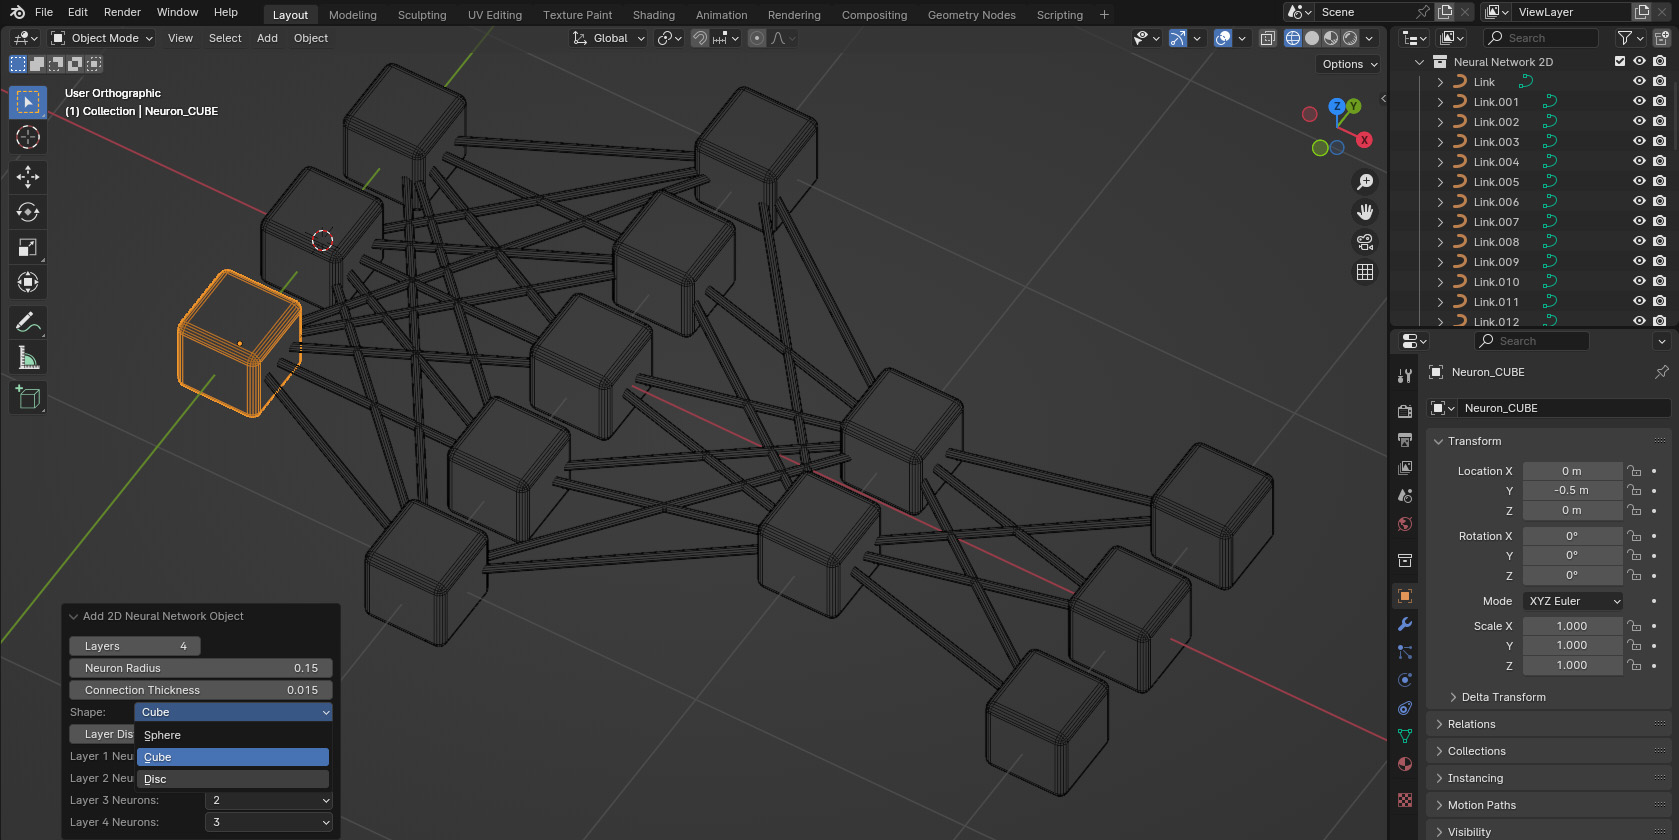
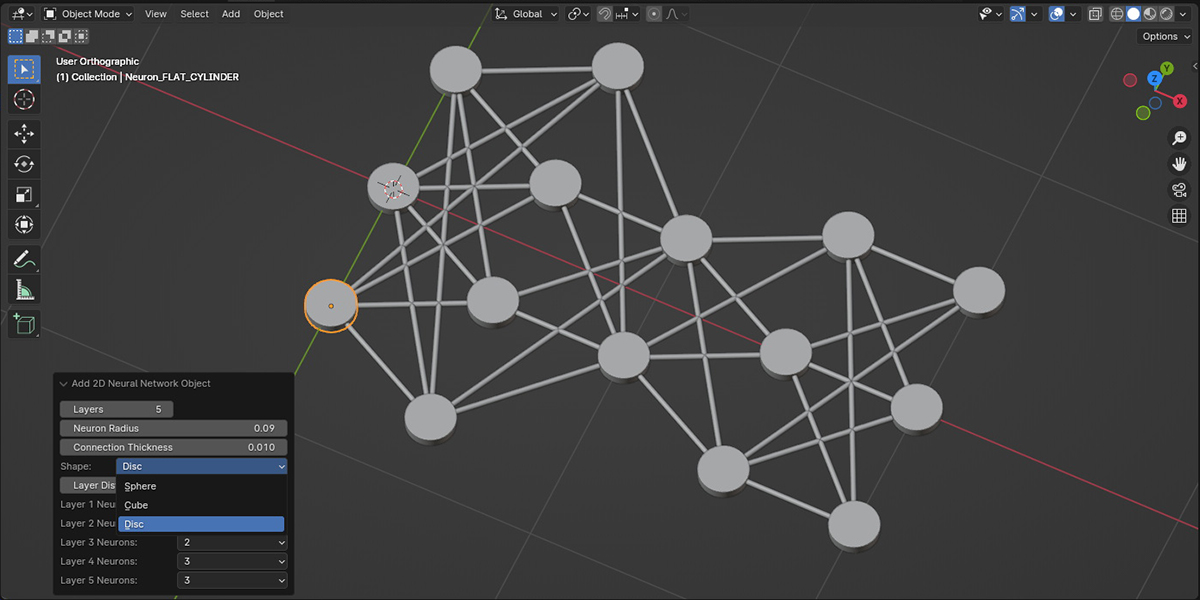
- In the operator panel (bottom-left), set the number of layers (up to 30).
- For each layer, select the number of neurons (up to 10 per layer).
- Choose neuron shape: Sphere, Cube, or Disc.
- Adjust Layer Distance Factor to control spacing between layers.
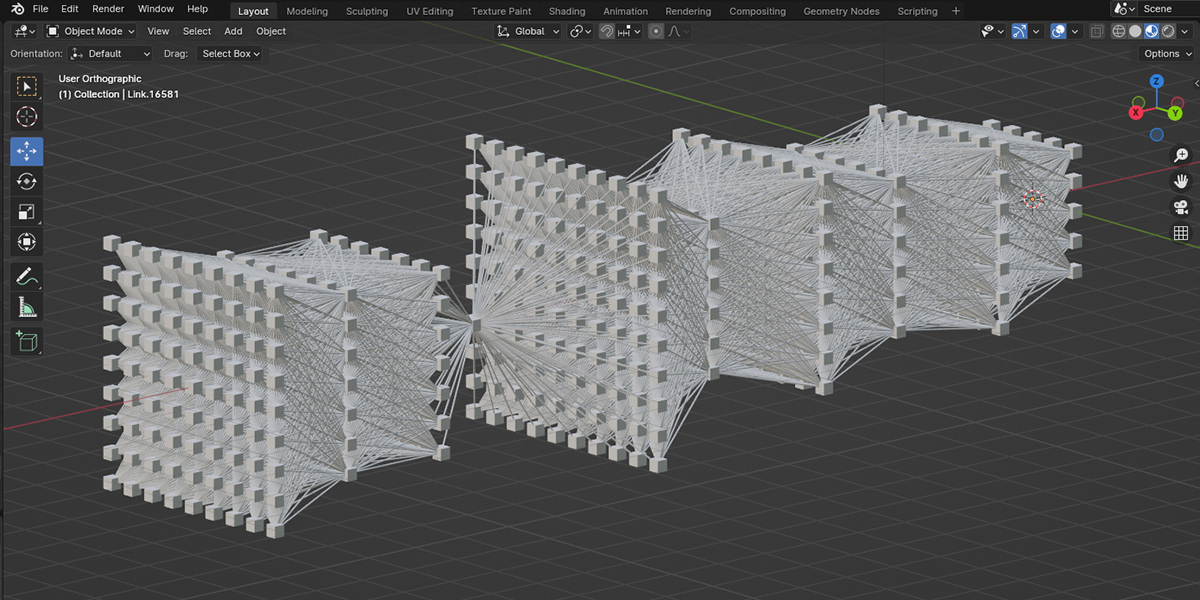
Method 2: 3D Neural Network (Quick Mode)
Creates a volumetric neural network structure instantly.
- Go to Add -> Mesh -> 3D Neural Network.
- In the operator panel, set the number of layers (up to 20).
- For each layer, select the number of neurons (up to 100 per layer: 1, 4, 9, 16, 25, 36, 49, 64, 81, 100).
- Choose neuron shape: Sphere, Cube, or Disc.
- Adjust Layer Distance Factor and connection thickness.
Method 3: Geo Neural Network (Advanced Mode — NEW)
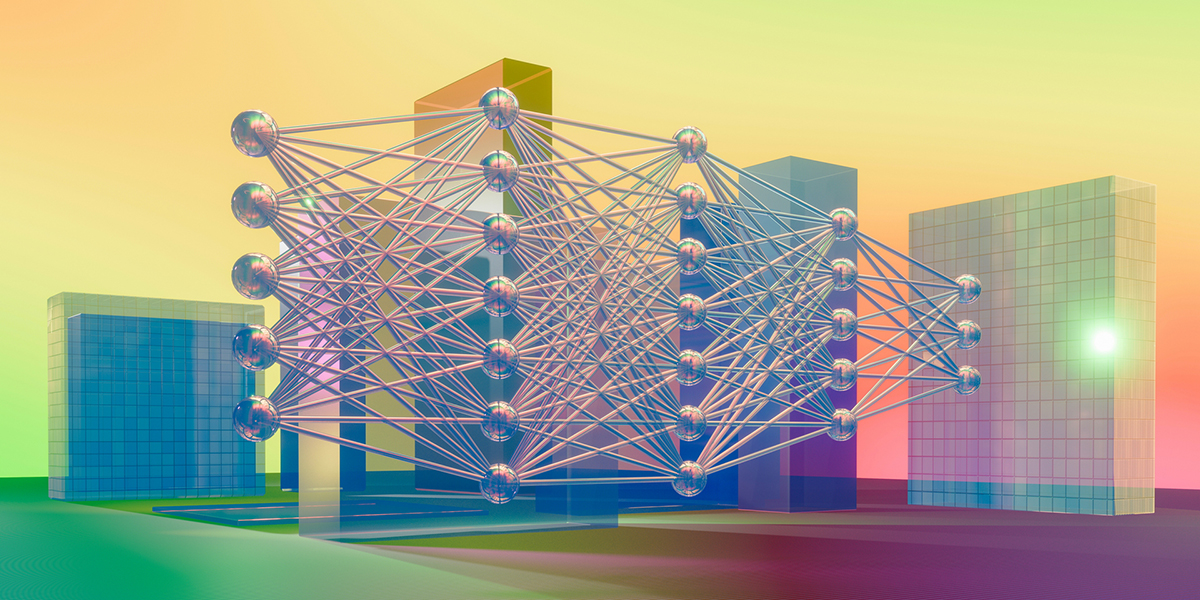
Creates a non-destructive Geometry Nodes-based network with unlimited possibilities. No limits on layers or neurons — only your computer's performance sets the boundary.
Key advantages of Geo Neural Network:
- Non-Destructive: All parameters remain editable at any time. No need to start over.
- Unlimited Layers & Neurons: Add as many as your computer can handle.
- Any Neuron Shape: Use any mesh object as a neuron.
- Full Material Control: Apply custom materials to any layer.
- Layer Offset (Shift X/Y): Move layers horizontally and vertically — impossible in Quick Mode!
- Distance Control: Set precise distance for each layer independently.
How to use Geo Neural Network:
- Go to Add -> Mesh -> Geo Neural Network. A base template appears with several pre-configured layers.
- Select the object and open the Geometry Nodes editor.
- The node layout visually mirrors the network structure. Each Layer node corresponds to a layer in the network.
- Each layer consists of two nodes: Layer + Neuron Shape.
- To add a new layer: copy these two nodes, connect them to the chain.
Layer Node Parameters:
- Distance: Distance of this layer from the center/previous layer.
- Shift X: Horizontal offset of the layer.
- Shift Y: Vertical offset of the layer.
- Neuron Count: Number of neurons in this layer.
- Material: Custom material for neurons (one layer includes an example).
Installation Instructions:
- Download the addon as a .zip file and do not unzip it.
- Open Blender and navigate to Edit -> Preferences -> Add-ons.
- Click 'Install…' and select the downloaded .zip file.
- Activate the addon by checking the box next to its name.
Support:
If you encounter any issues or have questions, please reach out through the Superhive Market messaging system for assistance.
Thank you for choosing 'Add mesh: Neural Network Creator'!