 ZibadMend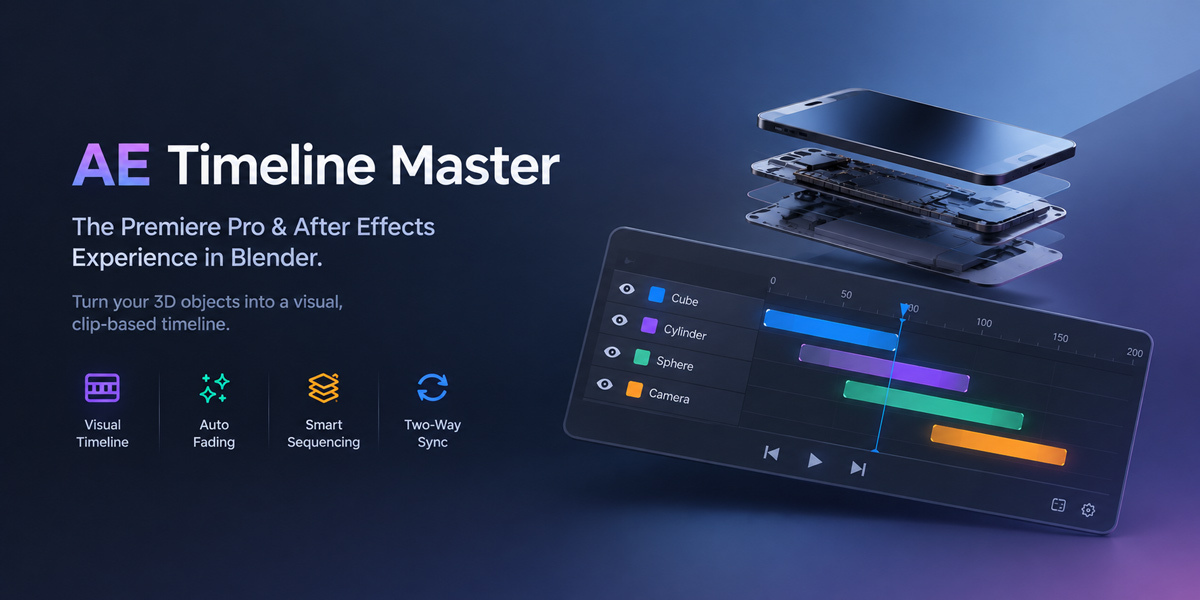
🎬 AE Timeline Master — Full Documentation
The Premiere Pro & After Effects Experience in Blender. Visual Layer Timeline, Auto-Fading, Smart Sequencing & Two-Way Sync.
⚡ 1. Overview & The Problem It Solves
In standard Blender, managing when objects appear and disappear requires setting absolute keyframes on the Outliner's visibility toggles. If you want to delay an object's appearance, you must open the Dope Sheet, find the exact keyframes, and move them manually.
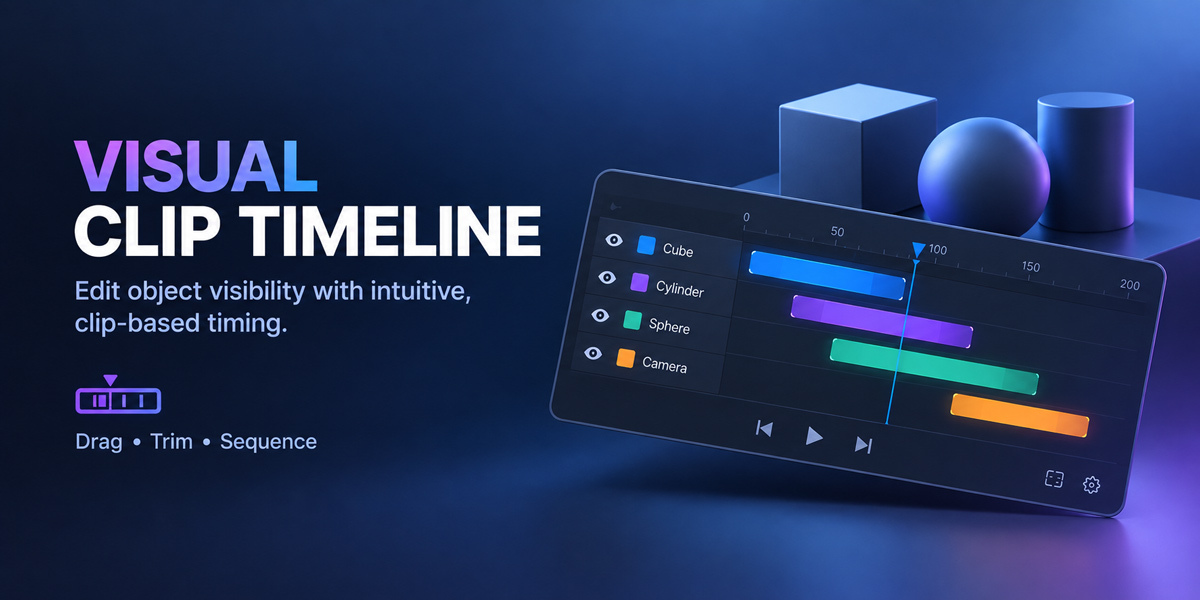
AE Timeline Master replaces this destructive loop by bringing a familiar, clip-based timeline directly into your 3D Viewport. It treats visibility as a "Clip" with a Start (In) and End (Out) point.
- 🎞️ Visual Clip Editing: Drag the left/right edges of a block to set exact In and Out points for any object or collection.
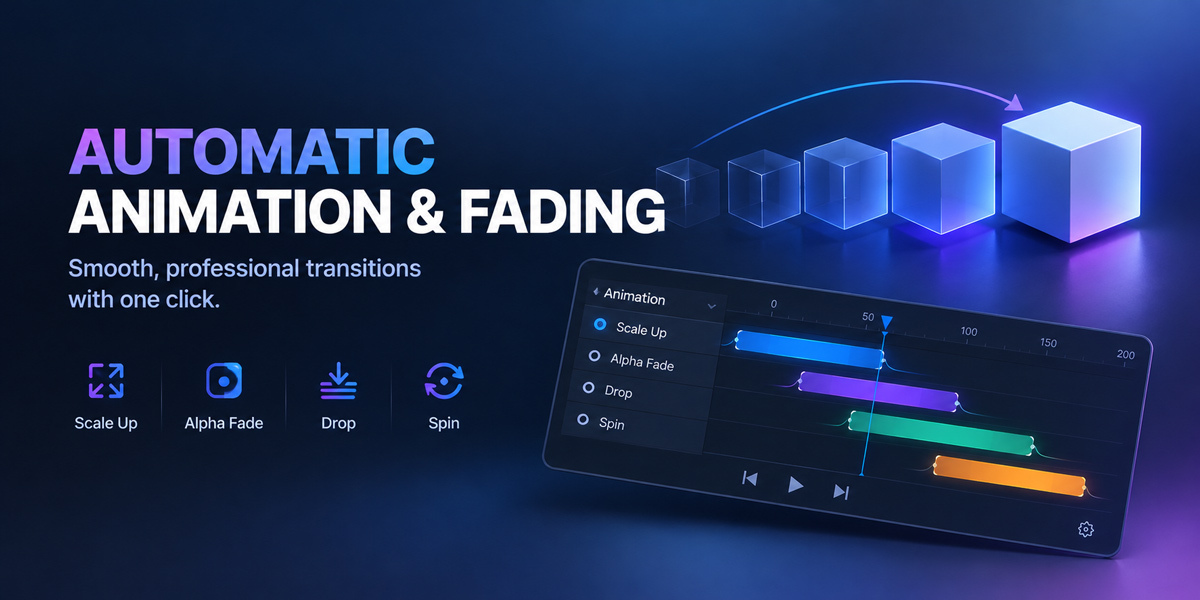
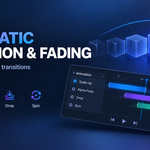
- 🪄 Auto-Fading Engine: Generate smooth transitions (Scale, Alpha, Drop, Spin) automatically at the boundaries of your clips.
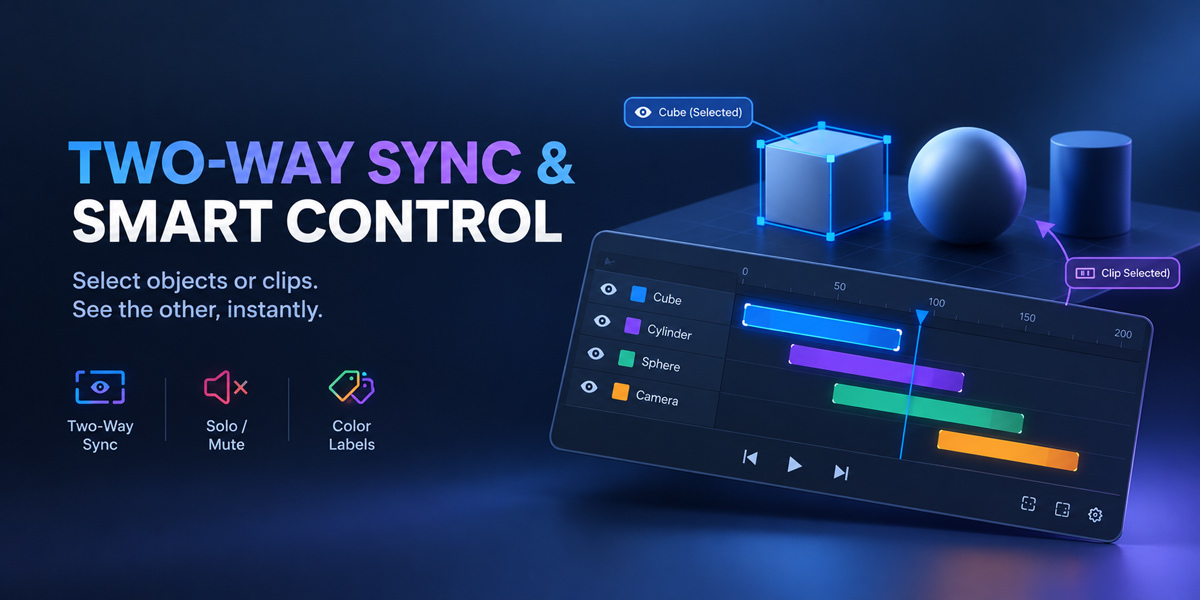
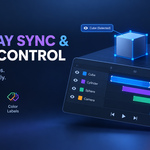
- 🔄 Two-Way Sync: Selecting an object in 3D selects its clip in the timeline, and vice-versa!
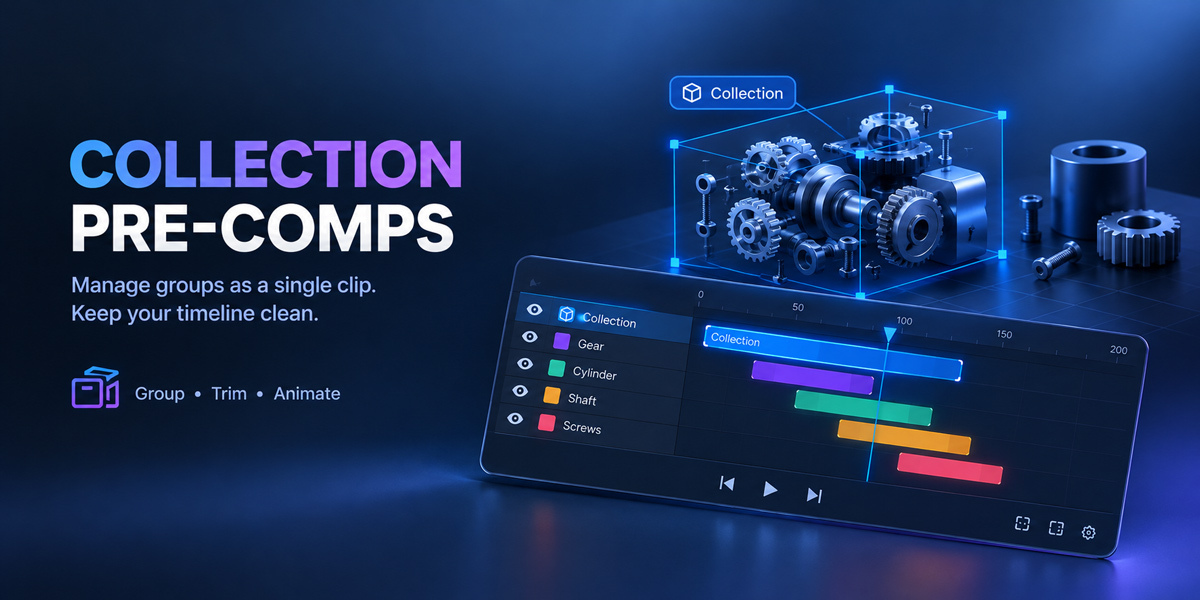
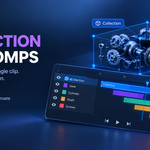
- 📦 Collection "Pre-Comps": Add an entire Collection to the timeline as a single track. All objects inside will animate together.
🎛️ 2. Panel Reference & Animation Effects
Located at 3D Viewport > Sidebar (N) > AE Timeline. Here is a breakdown of the UI.
📂 Managing Layers
| Setting | Description |
|---|---|
| Add Selected Objects | Adds the currently selected 3D objects to the timeline. They will spawn exactly at your playhead's current location to prevent them from disappearing. |
| Add Active Collection | To animate a complex group (like 100 screws of a machine part), activate the Collection in the Outliner and click this. It acts as a single clip! |
| S (Solo) / M (Mute) | Inside the timeline, click S to isolate a layer (hiding all others), or M to mute/hide a specific layer temporarily. |
✨ Animation Effects
Select a layer to reveal its settings in the N-Panel. Instead of objects abruptly popping into existence, choose an effect and click Update Settings:
| Effect Type | Description |
|---|---|
| Scale Up | The object smoothly scales from 0 to 100% (its original size). |
| Alpha Fade | The object fades in from 0% to 100% opacity seamlessly. |
| Drop from Top | The object falls gracefully from 5 meters above its final location. |
| Spin In | The object performs a cinematic 180-degree Z-axis rotation as it appears. |
| Easing | Choose how the motion feels: Linear, Smooth (Ease In/Out), or Bounce (Spring Effect). |
Object Info node into your active material, allowing hundreds of objects to share ONE material while fading in at completely different times based on their clip position! ⌨️ 3. Timeline Navigation & Controls
The floating UI is designed to mimic industry-standard compositing software. Use these shortcuts to fly through your timeline:
- 🔍 Zooming: Hold Ctrl + Scroll your Mouse Wheel.
- ✋ Pan Horizontal (Time): Scroll the Mouse Wheel while hovering over the clips area on the right.
- ↕️ Vertical Scroll: Scroll the Mouse Wheel while hovering over the layer names on the left.
- ⏱️ Playhead: Click and drag the top time-ruler (gray bar with numbers) to scrub through the animation.
- ▶️ Playback: Simply press Spacebar while your mouse is over the timeline.
- 🎨 Color Tags: Right-Click on any clip to cycle its color (Blue, Red, Green, Yellow, Purple) for better organization.
✂️ 4. Editing Clips & Motion Sequencer
Editing and Multi-Select
-
Trimming: Hover over the left or right white edge of a blue clip (cursor changes to
↔). Click and drag to trim its lifespan. -
Moving: Hover over the center of the clip (cursor changes to
🖐) to slide the entire animation left or right. -
Reordering: Click the
≡icon next to a layer's name and drag up/down to rearrange the layer stack. - Multi-Select: Drag an empty box around clips, or Shift + Click to select multiple layers. Grab the edge of ANY selected clip, and they will all trim or move together!
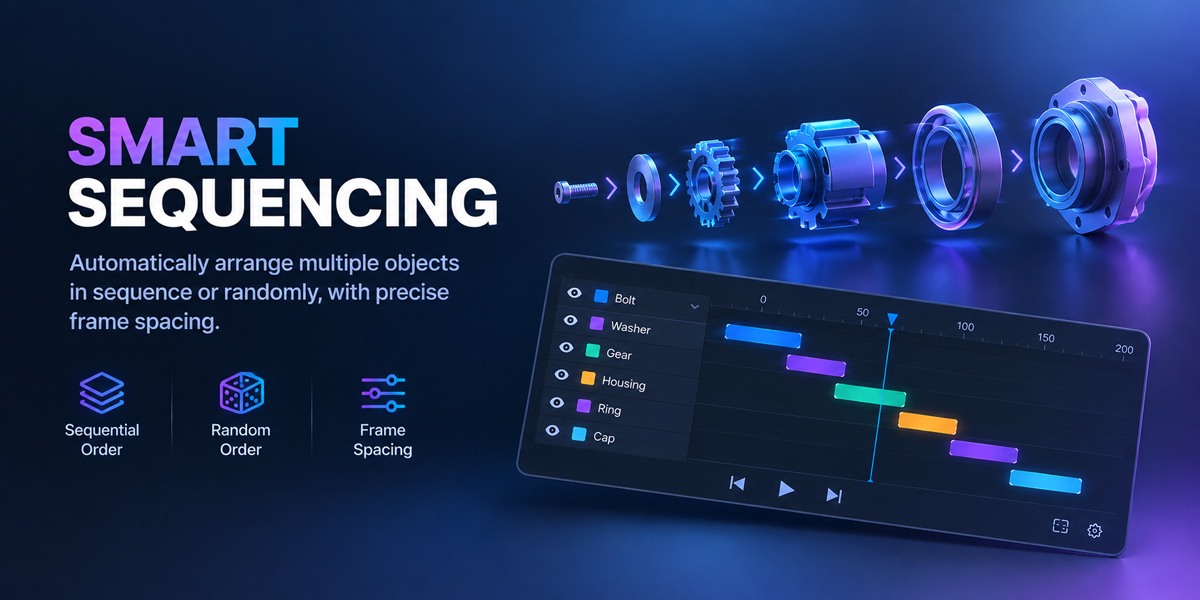
🚦 The Motion Sequencer
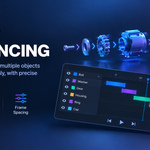
Want to build an exploding view or cascade animation in seconds?
- Add all your parts to the timeline and select them all using Box Select.
- In the N-Panel, under "Auto Sequence", set the Frames Offset (e.g., 5 frames).
- Check Randomize if you want them to appear in a chaotic/random order.
- Click Sequence Selected. The timeline will instantly arrange the clips in a beautiful cascading staircase!
🔧 5. Troubleshooting & Pro Tips
If you click on the Dark UI background (where there are no clips), you can click through the timeline! This allows you to select 3D objects behind the timeline or interact with Blender without closing the UI. The UI only consumes your clicks if you hit a clip, button, or the time-ruler.
Make sure your mouse is over the actual Blender button. The addon is designed to let your mouse escape its boundaries the moment you leave the timeline area.
Ensure your object has a material with a Principled BSDF node. If you are using highly complex custom shaders, connect the Object Info > Color output to your main mix factor manually.
Not at all! The addon Remembers your In and Out points. Just select the clip, change the settings in the N-Panel, and hit Update Settings. The new effect will be applied exactly within your existing timeframe.
 Included
Includes 12 months of
- Support from ZibadMend
- Product updates
Extend this product’s Support Period +12 months: 50% of product price
Have questions before purchasing?
Login to message
| Blender Extension Compatible | Yes |
| Published | about 19 hours ago |
| Blender Version | 4.2 - 5.2 |
| Extension Type | Add-on |
| License | GPL |
Discover more products like this
after effects mograph productivity sequencer user interface Motion design motion graphics layers Workflow timeline keyframe animation