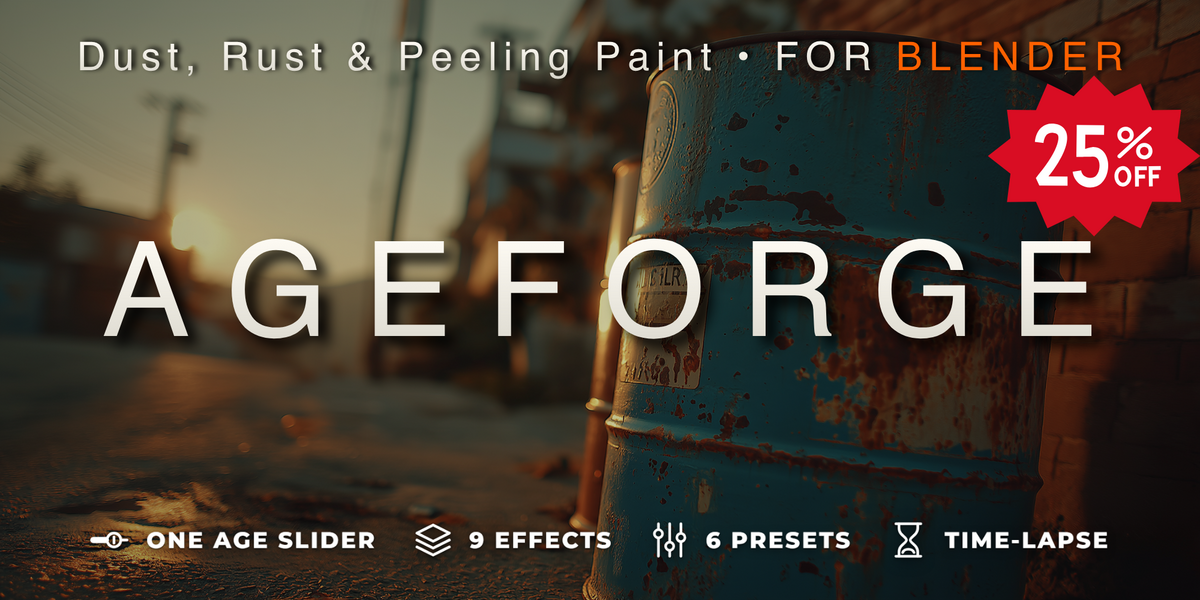
AgeForge - Dust, Rust & Peeling Paint
 Voyde Procedural

Requirements
Blender 5.0 or newer. EEVEE and Cycles.
Installation
- Download
age_forge-<version>.zipfrom your Superhive library. Do not unzip it. - Drag and drop the zip into the Blender window, or go to Edit → Preferences → Get Extensions, open the ⌄ menu at the top right and choose Install from Disk…
- The add-on is enabled automatically. The panel lives in the 3D Viewport sidebar (N) → AgeForge.
The download also contains two scenes:
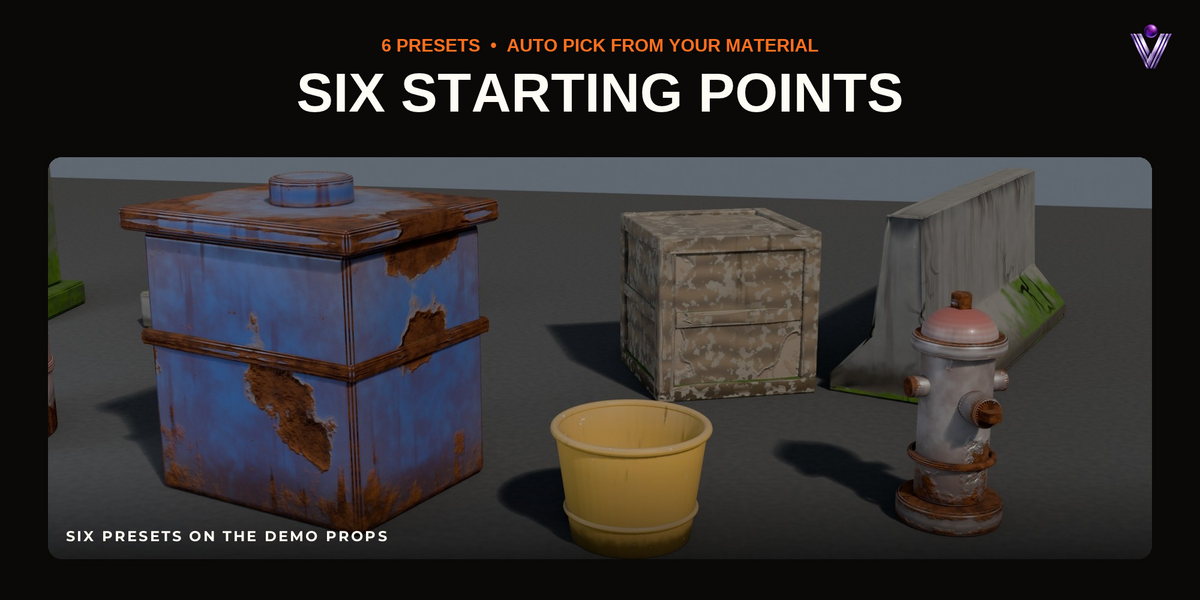
- AgeForge Demo.blend: nine props, one or more per preset, and a steel box whose age is animated.
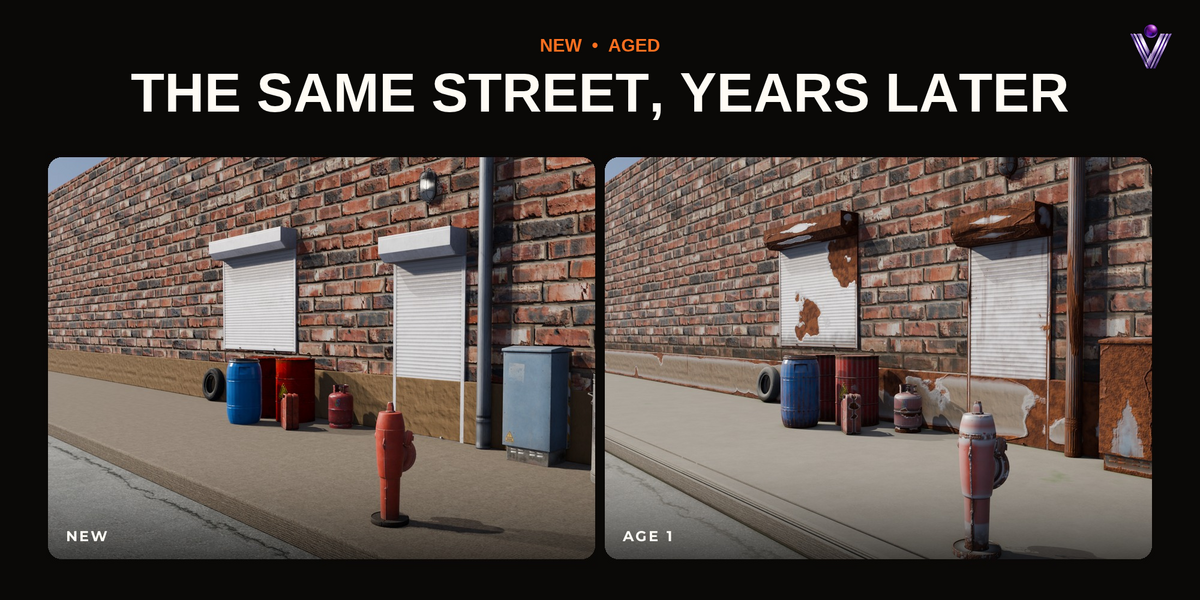
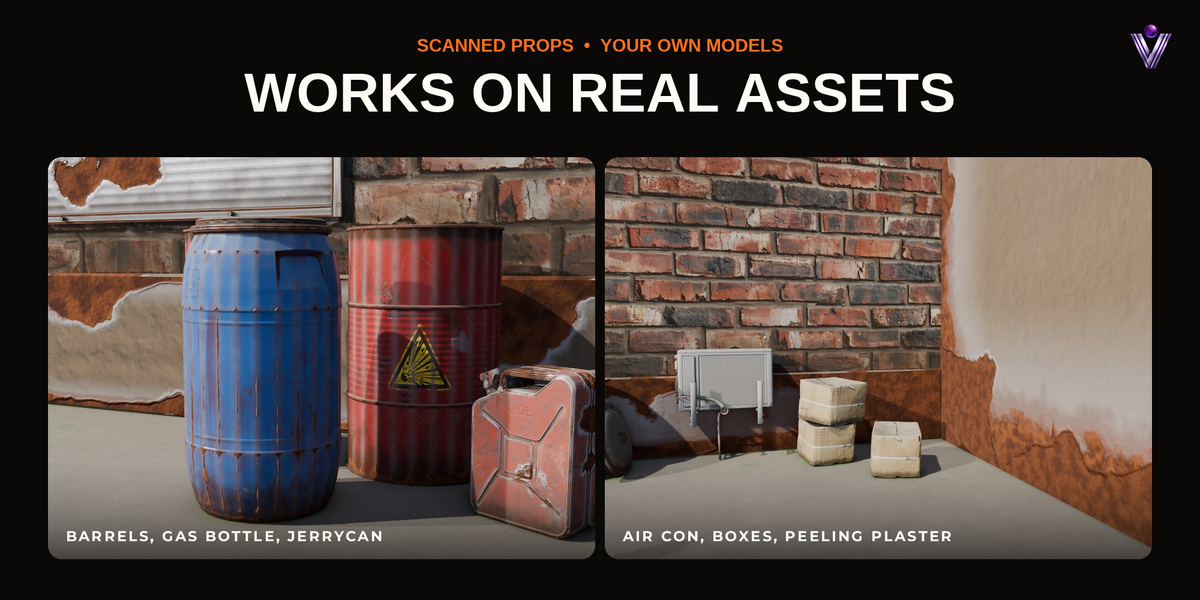
- AgeForge Example Scene.blend: a back street of scanned and modelled CC0 props (barrels, a gas bottle, a jerrycan, a roller shutter, a hydrant, a road barrier) on a brick wall and pavement, every surface aged with its own preset. Press play: the whole street ages from new to its final look over 200 frames.
Open them, press play, and select any object to see its settings.
Quick start
- Select one or more mesh objects.
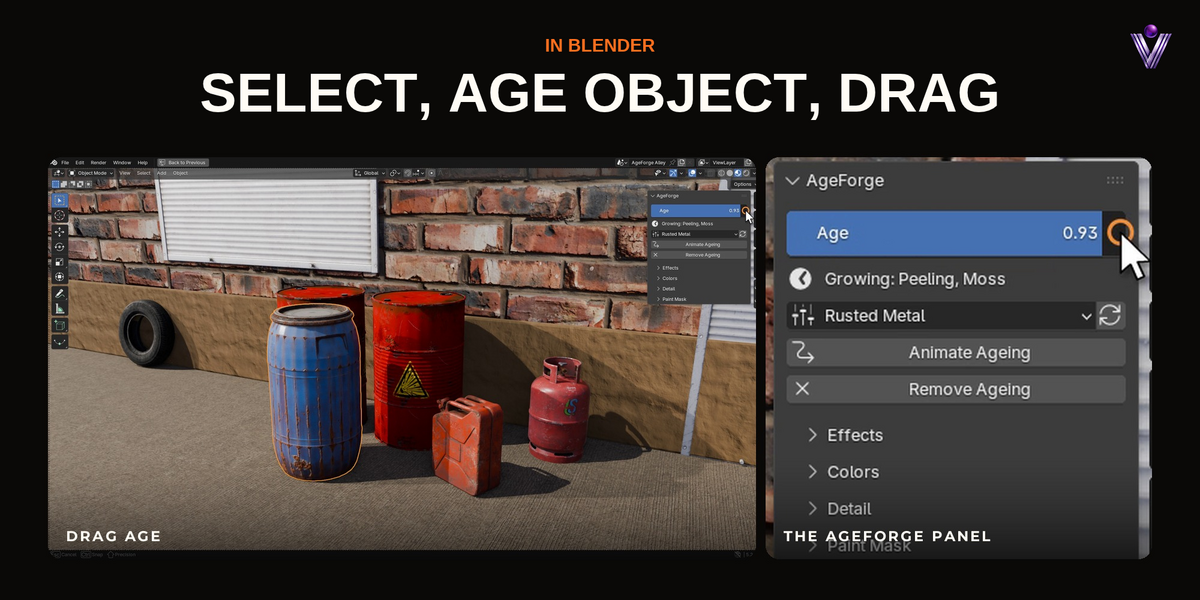
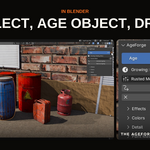
- AgeForge → Age Object. The object keeps its material; AgeForge picks a preset from it (metallic surfaces rust, glossy ones peel, rough ones crumble). Age As lets you choose the preset yourself.
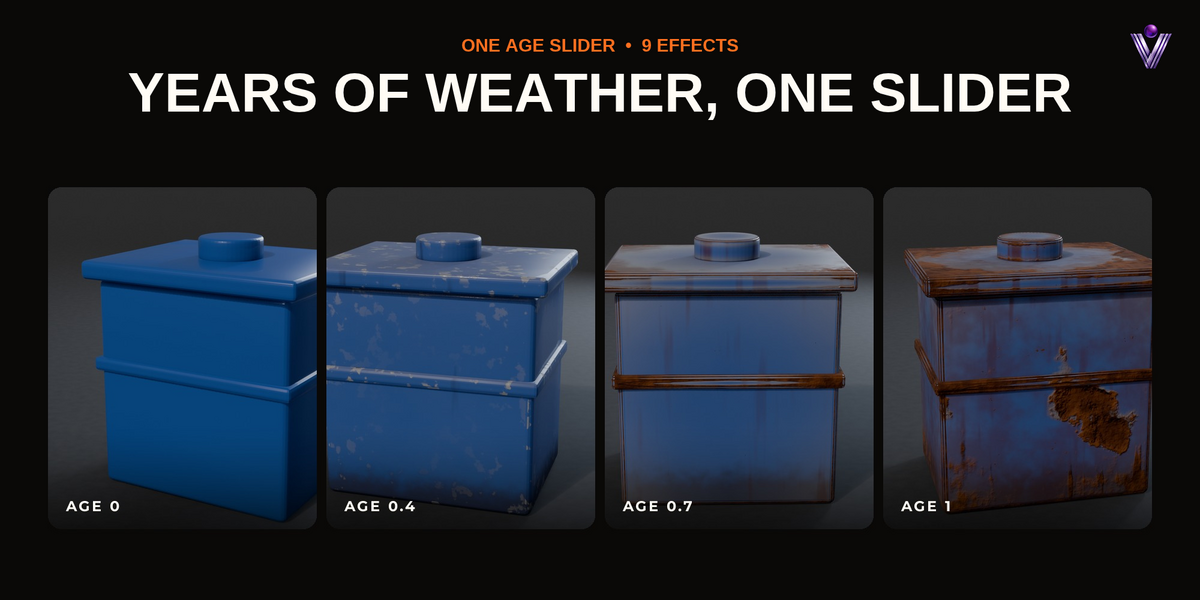
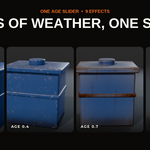
- Drag Age. Dust and corner grime come first, then sun fading, rain streaks and worn edges, then rust and moss, and at the end peeling paint and cracks. The line under the slider tells you which effects are growing at the current age. The slider is a property of the object, so objects that share a material still age on their own.
What the panel does
- Age: 0 is new, 1 is fully weathered.
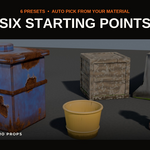
- Preset menu: Rusted Metal, Weathered Wood, Mossy Stone, Peeling Paint, Dusty Plastic, Concrete. A preset only sets the sliders below; it never replaces your material.
- ↻ (New Seed): another pattern.
- Animate Ageing: keys the age from 0 at the first frame to 1 at the last frame of the scene, a ready-made time-lapse. In the options you can pick other ages, other frames and an eased timing. Re-animate replaces the keys, ✕ removes them and keeps the current age.
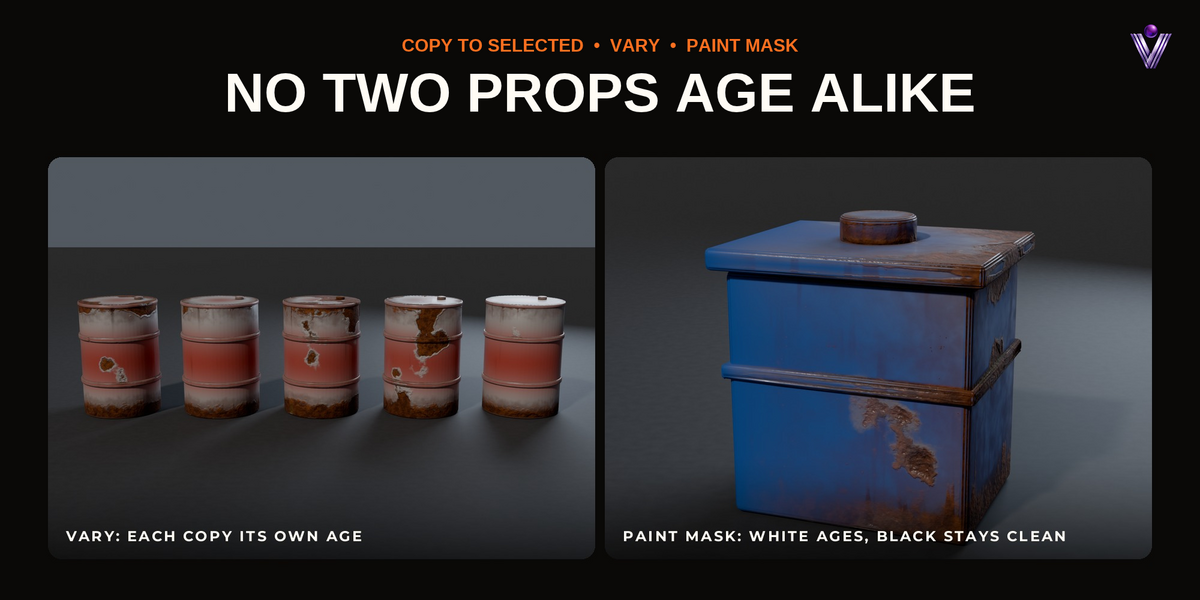
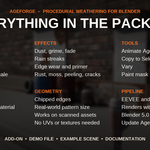
- Copy to Selected (with several objects selected): gives the other selected objects the active object's age, preset and effect settings. Each keeps its own pattern scale, seed and paint mask. Objects that were not aged yet are aged on the way.
- Vary (with several objects selected): moves each object's age a little up or down and gives it a new pattern, so a row of identical barrels stops looking copied.
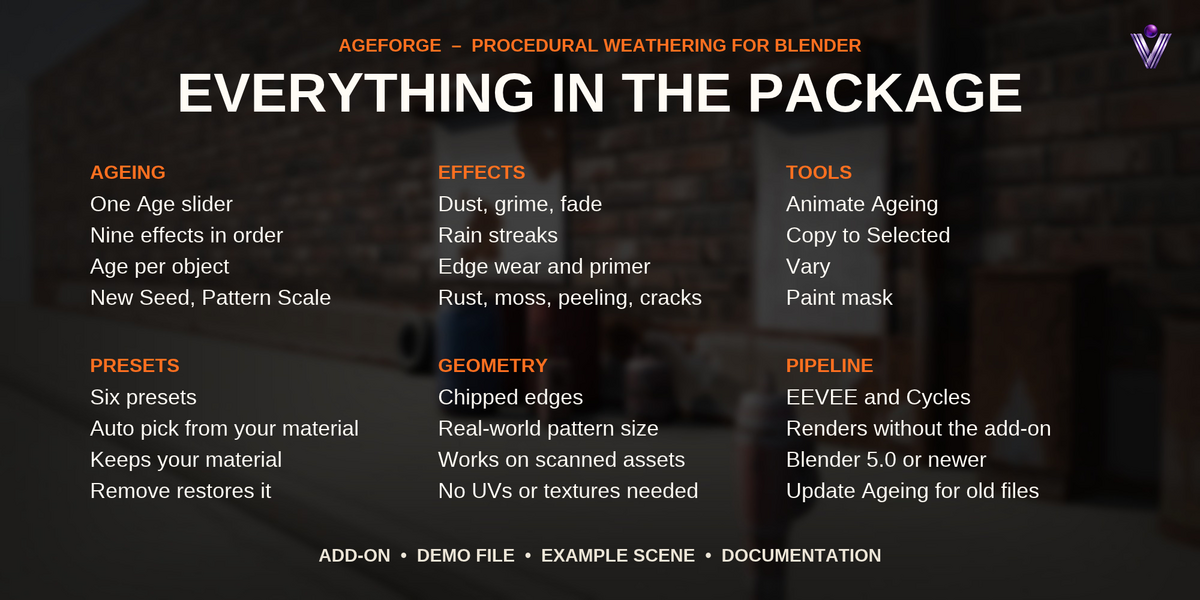
- Effects: how much of each effect the object can get at full age: Dust, Grime (dirt in corners and splashed up from the ground), Fade (sun-bleached, chalky paint), Streaks, Edge Wear, Peeling, Rust, Moss, Cracks.
- Colors: dust, grime, rust and moss colours; the primer that shows as a rim around worn and peeled spots; and the surface underneath (Under Color, Under Metallic, Under Roughness).
- Detail: Pattern Scale (set from the object's size, raise it for finer detail), Seed, and the Chips modifier: Chips, Chip Size, Subdivisions.
- Paint Mask: put the ageing where you want it. Start Clean gives a black mask (nothing ages) and a white brush: paint where the ageing goes. Start Aged gives a white mask and a black brush: paint what stays clean. Done Painting returns to Object mode. Turn the mask off by setting Use Paint Mask to 0.
- Remove Ageing: puts the material back exactly as it was and removes the modifier and the age animation.
How it works
AgeForge inserts one node group, AgeForge Age, between your material's shader and the material output, and adds one Geometry Nodes modifier, AgeForge Chips. The modifier subdivides the mesh (simple subdivision, shape unchanged), measures its edges and corners for the shader, and pushes worn edges inward as the age grows. Everything is procedural and sized to the object, so it works on a coffee cup and on a building. Scenes render on machines without the add-on.
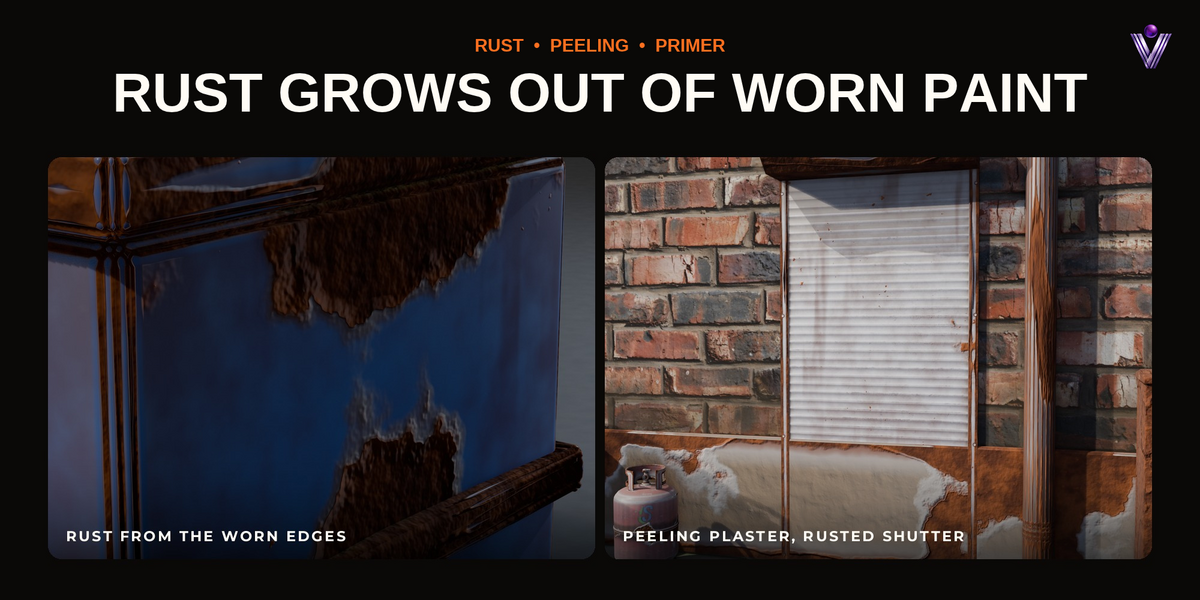
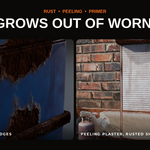
Rust is not painted on at random: it starts where the paint is gone (worn edges and peeled patches), then creeps along edges, into corners and up from the damp bottom, and small blisters break through the paint. Once there is rust, the rain streaks below it turn rusty too.
Tips
- Rain streaks run down the world's Z axis; rotate the object and they still fall the right way.
- Ground grime rises from the bottom of the object's own bounding box.
- Dense meshes get fewer subdivisions automatically; raise Subdivisions for bigger chips on heavy meshes, lower it to speed up very large scenes.
- Edge wear and chips need the modifier. If you remove it, the shader still works but has no edges to find.
- Files aged with an older AgeForge show Update Ageing in the panel. It moves the object to the current effects and keeps every setting you changed.
Changelog
1.0.0
- First release: nine effects on one Age slider (dust, grime, fade, streaks, edge wear, peeling, rust, moss, cracks), six presets, Chips modifier, paint mask, Animate Ageing, Copy to Selected, Vary, demo file and example scene.
Have questions about this product?
Login to message
| Blender Extension Compatible | Yes |
| Dev Fund Contributor | |
| Published | about 20 hours ago |
| Blender Version | 5.0 - 5.2 |
| Extension Type | Add-on |
| Render Engine Used | Cycles, Eevee |
| License | GPL |