 Armin

Installation
- Keep the downloaded anime_ocean-0.5.0.zip zipped
- In Blender (5.2 or newer), open Edit > Preferences > Get Extensions
- Open the menu in the upper-right corner, choose Install from Disk and pick the ZIP
- In the 3D Viewport press N and open the Anime Ocean tab
First ocean
- Click Create Ocean. It appears at the 3D cursor
- Click Fit to Camera. The ocean is sized so the scene camera sees water to the horizon
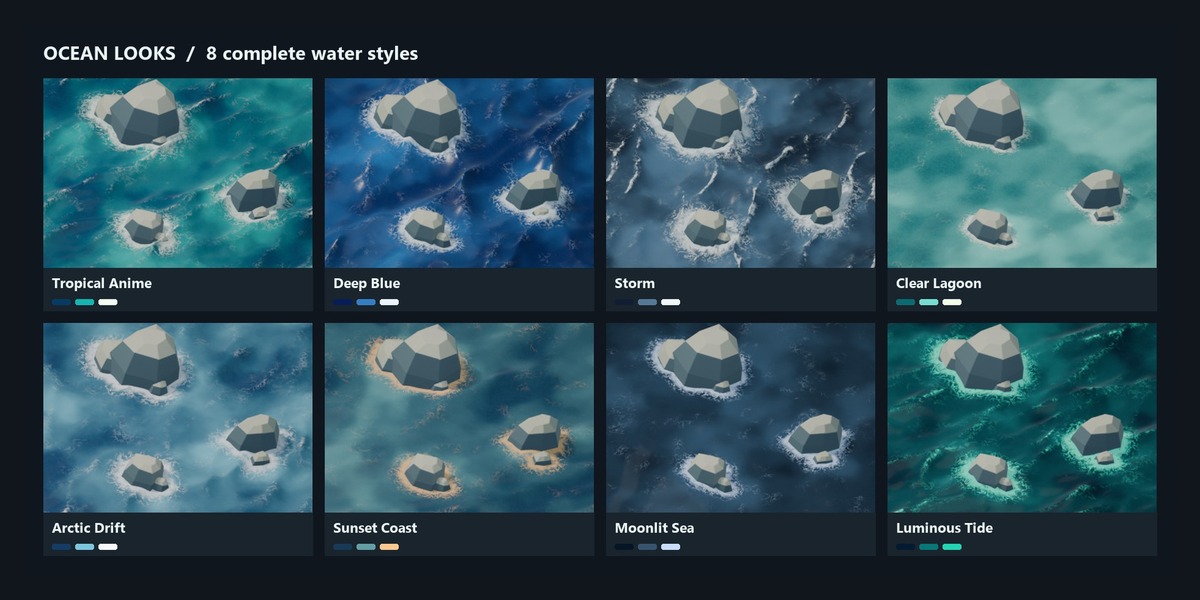
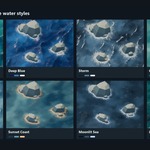
- Click the picture under Ocean Looks and choose one of 8 complete looks
- Open Colors & Shading to choose one of 12 palettes, or edit the colours by hand
- Press Space: the waves move without any baking
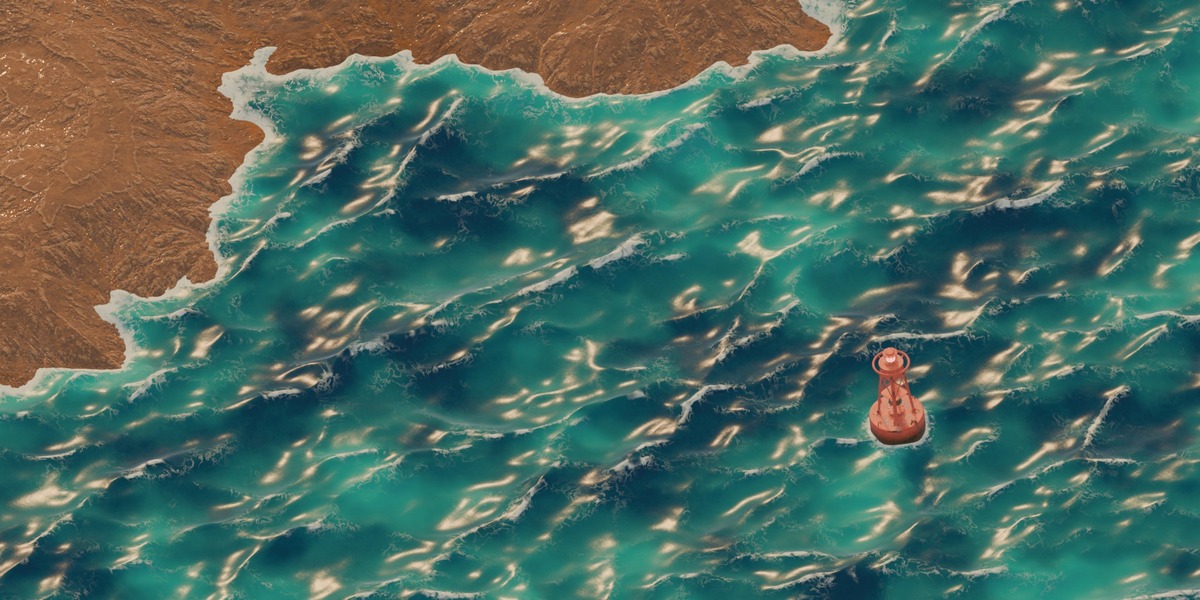
- Put a rock (any mesh) through the water. Foam appears where it meets the water
Use Material Preview or Rendered shading to see the water. The very first preview compiles the water's shaders, which can take up to a minute; after that it is instant.
Float on Waves
Select a buoy, a boat or a crate, make the ocean active and click Foam & Contact > Float Selected. Float Tilt (default 0.6) sets how much floaters rock; Float Smoothness (default 0.5) how many small waves they ignore. For moving or big floaters use 0.7 to 0.75. Stop Floating gives the objects back their height, turn and scale.
Performance
Surface > Performance: Light, Balanced (default) or Detailed. A slow viewport? Pick Light; renders still use Surface Detail. For close-ups pick Detailed.
Seamless Loop
Set Waves > Loop Length (for example 96) and the water repeats exactly. Use Loop as Frame Range sets the scene's end frame to one loop.
Render farms
Saved files animate, float and render without the add-on. Keyframed ocean controls need Anime Ocean enabled on the render machine: blender -b shot.blend --addons bl_ext.user_default.anime_ocean -a
The full user guide is README.md inside the ZIP.
Have questions about this product?
Login to message
| Blender Extension Compatible | Yes |
| Published | about 15 hours ago |
| Blender Version | 5.2 |
| Extension Type | Add-on |
| Render Engine Used | Eevee |
| License | GPL |