 XYZ360


Archviz Camera Add-on: User Guide
1. Introduction
Welcome to the Archviz Camera add-on for Blender! This tool is designed to streamline your workflow for architectural visualization by providing a complete and intuitive toolset for managing cameras.
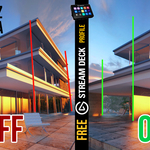
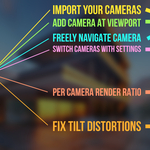
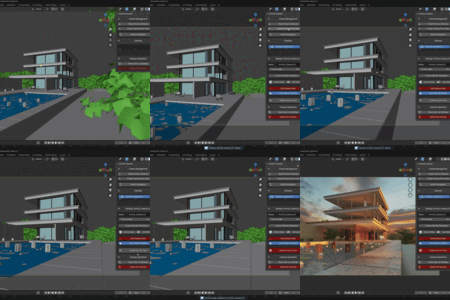
Key features include one-click architectural tilt correction to ensure perfect vertical lines, game-like WASD navigation to explore your scene, one-click add camera at viewport and a robust camera management system that lets you handle multiple shots with ease.
This guide will walk you through installation, features, and best practices to get the most out of the add-on.
2. Installation
If you're using Blender version 4.2 onwards, you can simply drag and drop the zip file you download into Blender viewport. You'll be prompted to install with ease. Alternatively, you can do the traditional way:
- Go to Edit > Preferences > Add-ons.
- Click the Install... button at the top-right (older versions) or click the down arrow and select Install From Disk (newer versions).
- Navigate to the archviz_camera.zip file you downloaded and select it.
- Find "Archviz Camera" in the add-ons list and enable it by checking the box next to its name, if it's not already enabled.
- The add-on panel will now be available in the 3D Viewport's Sidebar. Press the N key to open the sidebar and click on the "Archviz" tab.
3. Interface Overview
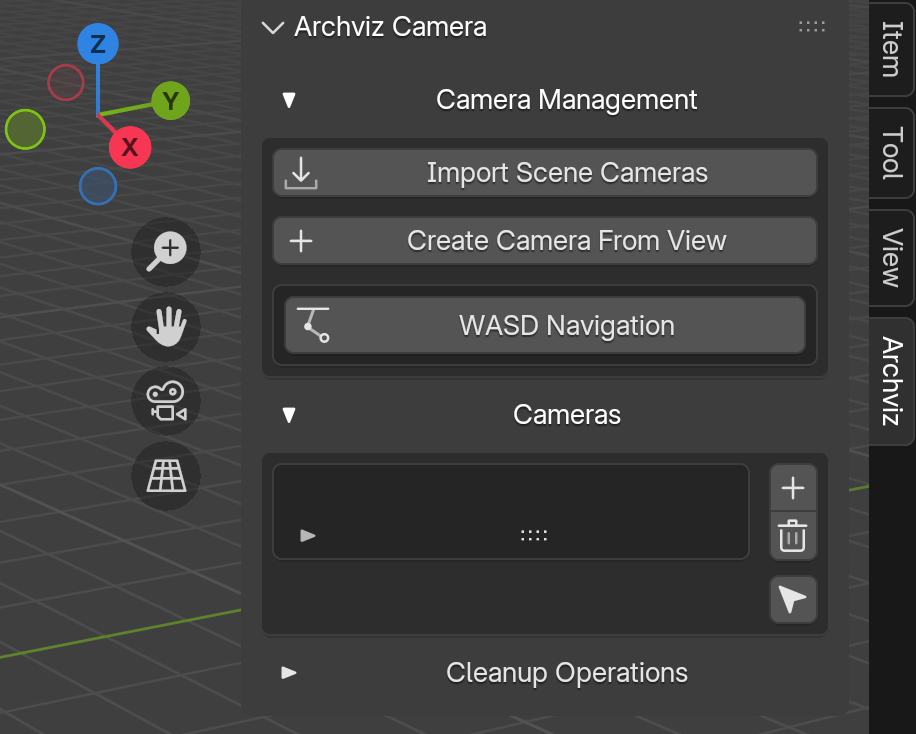
The Archviz Camera panel is divided into four main sections:
- Camera Management: Contains tools for creating and navigating with cameras.
Cameras: A list of all cameras managed by the add-on, with quick-action buttons.
Settings: Detailed properties for the currently selected camera, including resolution, lens settings, and the core tilt-correction feature.
Cleanup Operations: Tools for resetting the add-on or deleting all managed cameras.
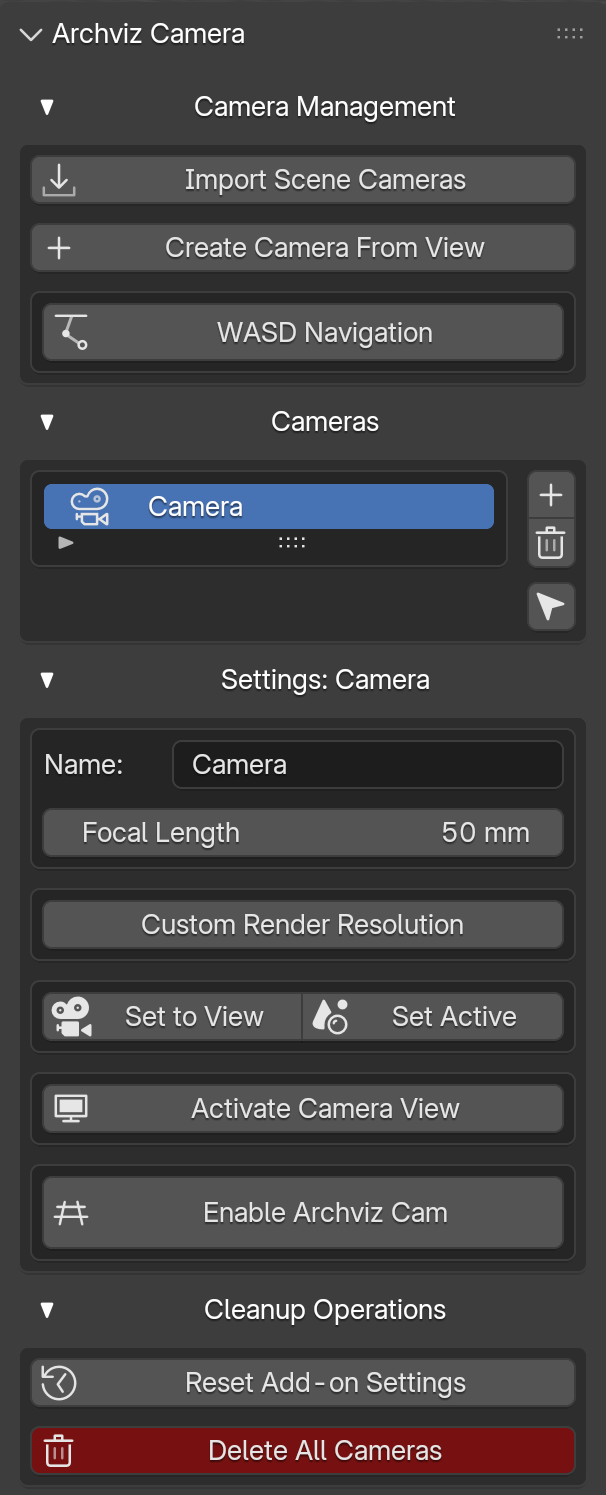
4. Core Features & How-To
4.1. Camera Management
This section helps you create and control your cameras.
Import Scene Cameras: Click this to automatically add any existing cameras in your scene to the Archviz Camera list. This is useful for bringing cameras from older projects under the add-on's management.
Create Camera From View: This is the primary way to create a new camera. Position your 3D viewport to the desired angle and click this button. A new camera will be created at that exact position and orientation, added to the list, and set as the active camera.
-
WASD Navigation:
Select a camera from the list.
Click WASD Navigation. Your view will switch to the camera.
Use W, A, S, D to move, Q and E to move up/down, and the mouse to look around.
Use the mouse scroll wheel to increase or decrease movement speed.
Click LMB to confirm the new position or RMB/Esc to cancel.
4.2. The Camera List
This list is the central hub for managing all your shots.
The List: Displays all cameras managed by the add-on. Clicking an item in the list selects it for editing in the Settings panel below.
Quick-Activate Button (CAMERA_DATA icon): Click the camera icon next to a name to instantly make it the active camera, select it in the scene, and switch to its view.
-
Action Buttons (on the right):
+(Add): A shortcut for "Create Camera From View".TRASH(Delete): Deletes the currently selected camera from the list and from the scene.RESTRICT_SELECT_OFF(Select): Selects the camera object in the viewport without making it active.
4.3. Camera Settings
Once a camera is selected in the list, you can fine-tune it here.
Name: Rename the camera object.
Focal Length: Adjust the camera's lens (e.g., 50mm for standard, 24mm for wide-angle).
-
Custom Render Resolution:
Enable this toggle to assign a specific output resolution to this camera.
When you make this camera active, it will automatically change Blender's output resolution settings to match.
This is perfect for managing multiple shots with different aspect ratios (e.g., a landscape shot at 1920x1080 and a portrait shot at 1080x1920) in the same file.
Set to View: Moves the selected camera to match your current viewport perspective.
Set Active: Makes the selected camera the scene's active camera for rendering.
Activate/Exit Camera View: A toggle to jump in and out of the camera's perspective.
-
Lock View to Camera: When in camera view, this locks your navigation to the camera, allowing you to orbit, pan, and zoom the camera as if it were the viewport.
4.4. One-Click Archviz Tilt Correction
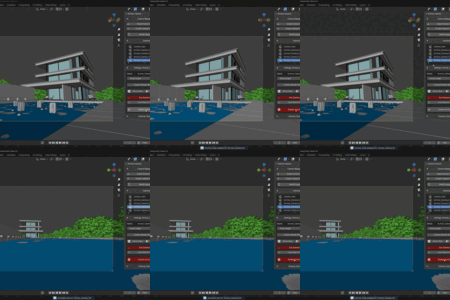
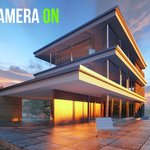
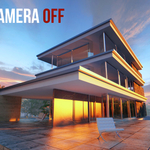
This is the add-on's most powerful feature. In architectural shots, perspective can cause vertical lines to converge, which looks unprofessional. This feature corrects that with a single click.
How it Works: The add-on uses a combination of camera rotation and "Lens Shift" to keep vertical lines perfectly straight while allowing you to look up or down.
Workflow:
Position your camera and frame your shot. Don't worry if the vertical lines are skewed.
In the Settings panel, find the Archviz Cam section.
Click Enable Archviz Cam.
The camera will instantly adjust, making all vertical lines in the perspective view parallel.
You can freely rotate the z axis to look around while your Archviz Cam is active, or use wasd keys or middle mouse button to move around (tilt correction will be disabled during movement).
For better results, animate your cameras without tilting (only dolly, panning or side movements) to keep Archviz Cam Tilt Correction valid).
Click Disable Archviz Cam to revert to the camera's original, uncorrected state.
4.5. Cleanup Operations
Reset Add-on Settings: This will clear the camera list in the UI. It does not delete the actual camera objects from your scene. Use this if the list becomes cluttered or out of sync. You can then use "Import Scene Cameras" to repopulate it.
-
Delete All Cameras: This is a destructive action that will permanently delete all cameras in the list from your Blender scene. Use with caution. A confirmation pop-up will appear to prevent accidents.
5. Typical Workflow Example
Open your architectural scene in Blender.
In the 3D Viewport, press N and go to the Archviz tab.
Navigate your viewport to a location you'd like a shot from.
Click Create Camera From View. A camera named Archviz_Camera_01 is created.
Click WASD Navigation to fine-tune the camera's position. Left-click to confirm.
With the camera selected, notice the vertical lines of your building are converging. Click Enable Archviz Cam. The lines are now perfectly vertical.
Adjust the camera's rotation to perfect the composition.
Go to the Settings panel, enable Custom Render Resolution, and set it to 3840 x 2160 for a 4K shot.
Repeat the process for other shots, creating Archviz_Camera_02, Archviz_Camera_03, etc.
To switch between your shots, simply click the camera icon next to the desired camera in the list. The active camera, its view, and its render resolution will all update instantly.
Happy rendering!
-
$8
A lite tool for easy camera management. Features one-click architectural tilt correction for perfect vertical lines and simple WASD navigation for scene exploration. Ideal for quick archviz setups.
-
$26
Lite Version for Studios (2+ seats)
-
$18
The complete camera toolkit for architects. Manage cameras in a list, set custom resolutions per camera, explore with WASD navigation, one-click camera creation at viewport and achieve perfect vertical lines with one-click tilt correction.
-
$35
The complete camera toolkit. Manage cameras in a list, set custom resolutions per camera, Set Focal Length per Camera, one-click camera creation at viewport, explore with WASD navigation and achieve perfect vertical lines with one-click tilt correction.
Have questions about this product?
Login to message
| Blender Extension Compatible | Yes |
| Sales | 10+ |
| Published | about 1 year ago |
| Blender Version | 3.0 - 5.0 |
| Extension Type | Add-on |
| Render Engine Used | Cycles, Eevee |
| License | GPL |
Discover more products like this
realistic rendering tilt tilt-correction architectural render ArchViz architecture camera viewport streamdeck camera-manager