 Blood Pixel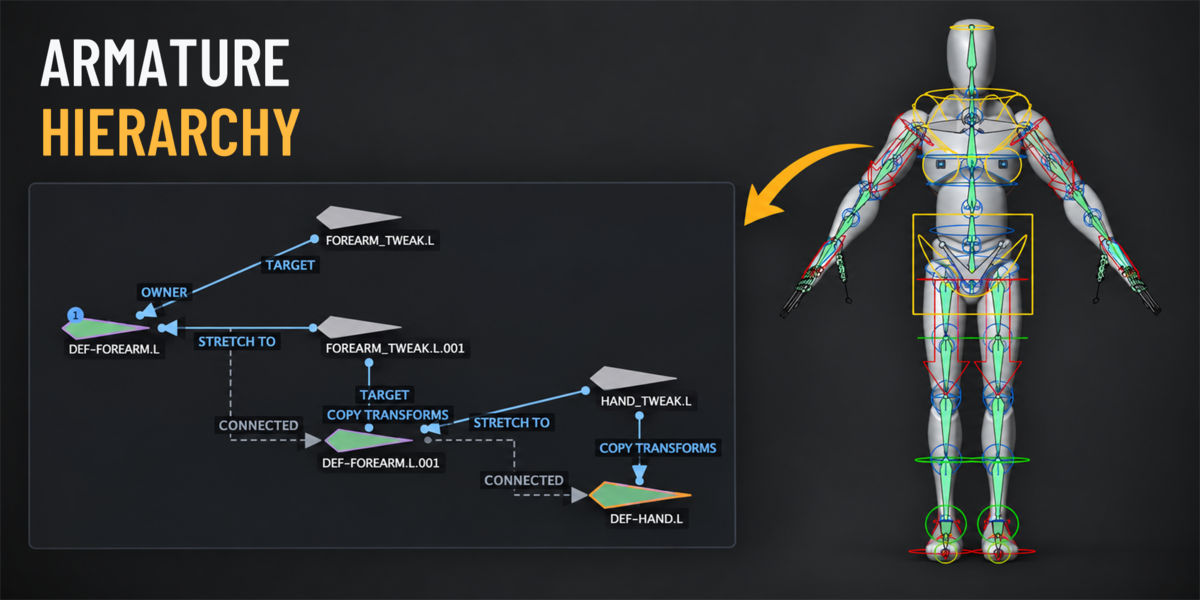
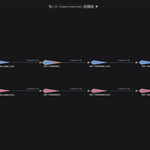
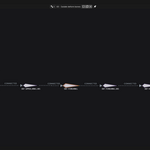
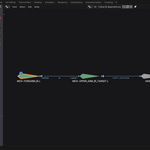
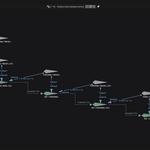
See how your Blender rig is connected.
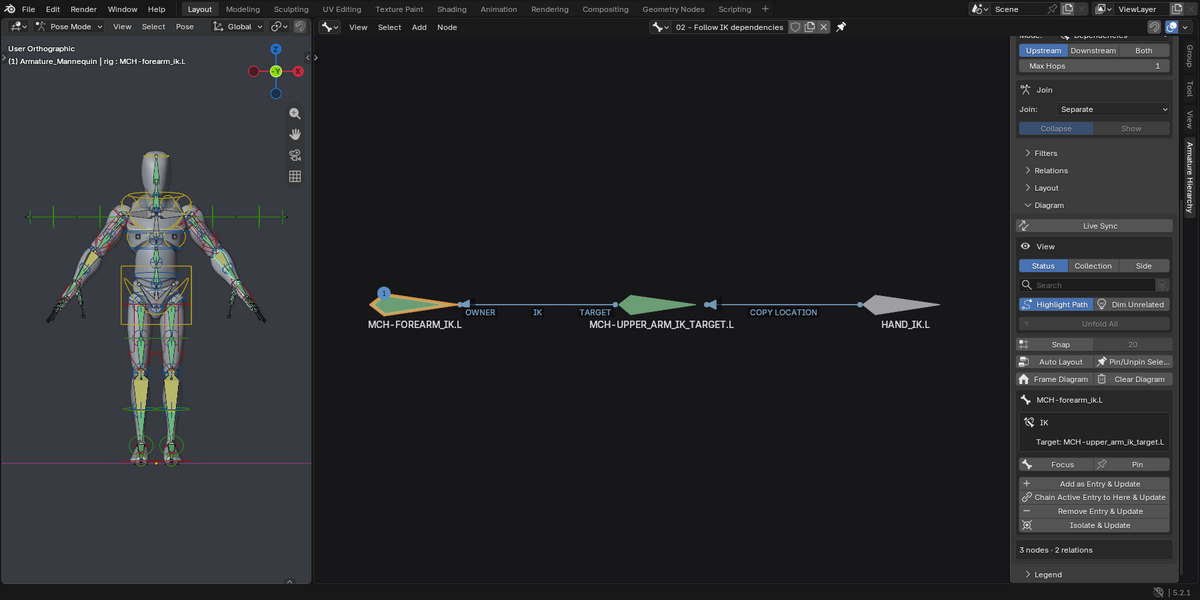
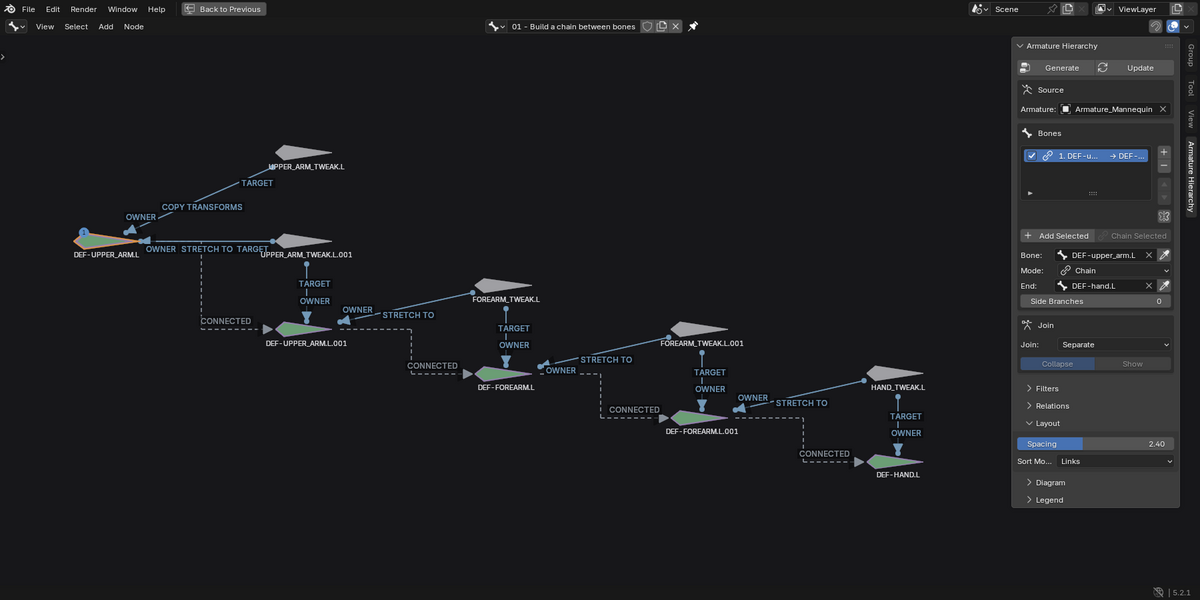
Armature Hierarchy turns bone parenting and constraint relationships into an interactive diagram inside Blender. Start with the bones you want to understand, trace their connections, and keep a readable map of the rig alongside your 3D View.
Whether you are investigating an unfamiliar character, checking an IK setup, or explaining a rig to a teammate, Armature Hierarchy helps you follow the relationships that matter.
Follow the hierarchy and the constraints
Explore parents, children, or both. Build a chain between two bones, including bones on different branches, and add nearby side branches when you need more context. Combine several starting bones into one diagram and connect them through their common ancestor or root.
Switch to Dependencies to follow constraint relationships upstream, downstream, or in both directions. Directional links show which target affects which owner. You can include external targets and disabled constraints, while missing targets receive a distinct visual marker.
Make complex rigs easier to read
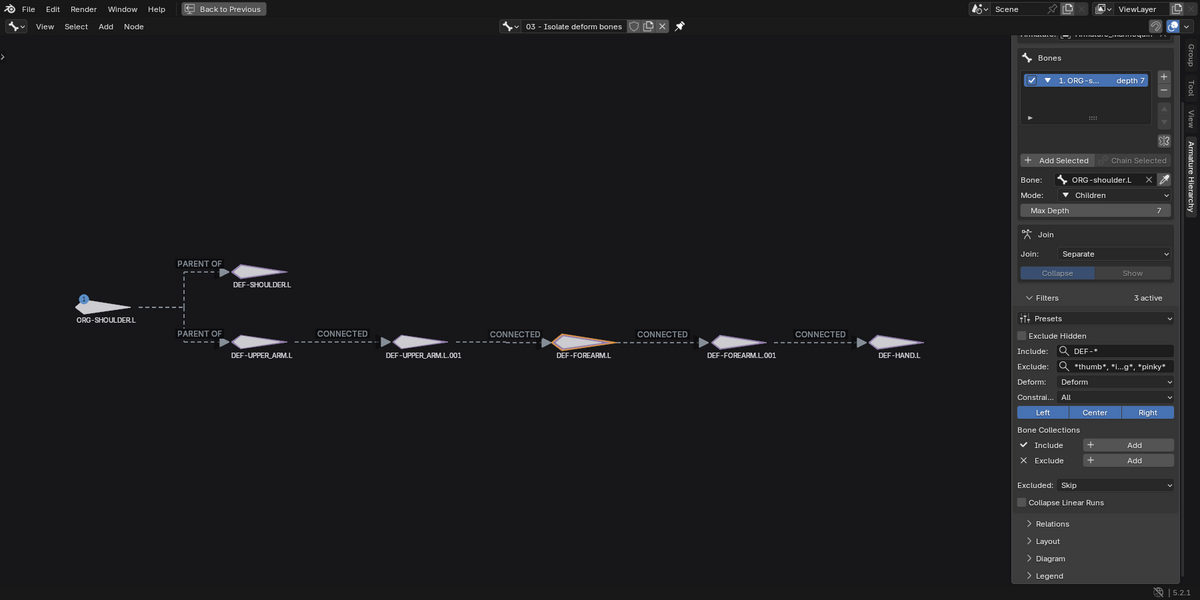
Filter by bone name, collection, side, deform status, visibility, or constraints. Use the included Rigify control and deform presets to narrow the view quickly.
Keep filtered bones as faded context, retain only the bones needed to connect a chain, or skip them. Collapsed connections show how many bones they pass over. Fold branches, collapse plain linear runs, search by name, and highlight the shortest connection between two selected bones.
Move between the diagram and your rig
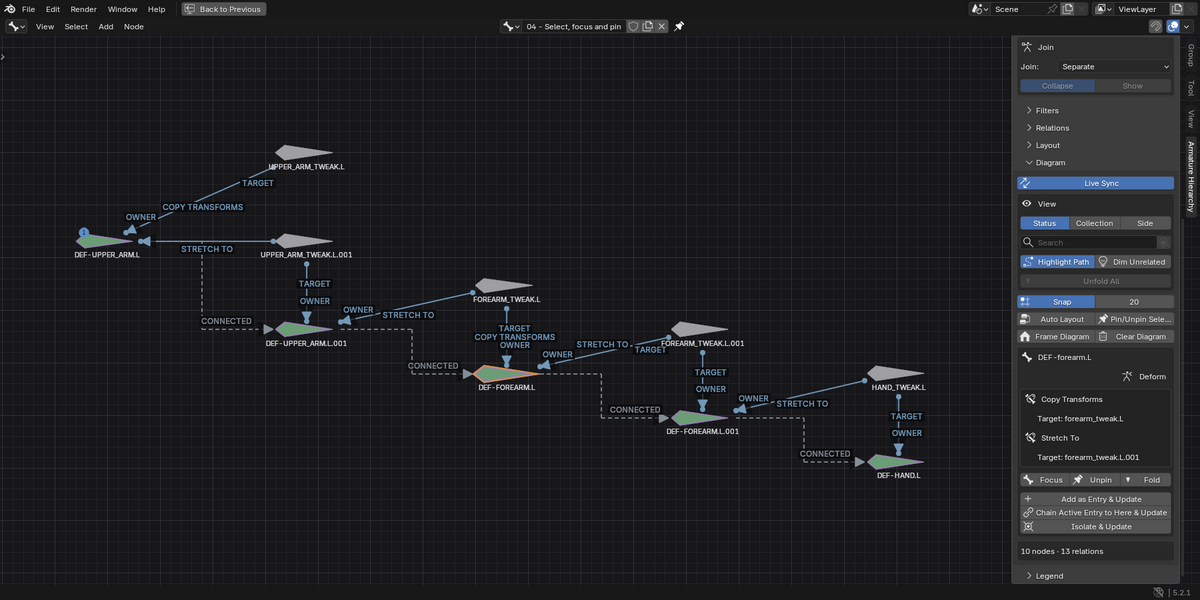
Select a bone in the diagram and use Focus to find it in the 3D View. Enable Live Sync to keep the active pose bone and diagram selection in step.
Automatic layout provides a starting point. Drag bones to arrange your diagram, use grid snapping for alignment, and pin the positions you want to preserve. After changing the rig, press Update to refresh its relationships: pinned bones stay fixed, and manual placement preferences are retained where possible.
Check symmetry and keep your work
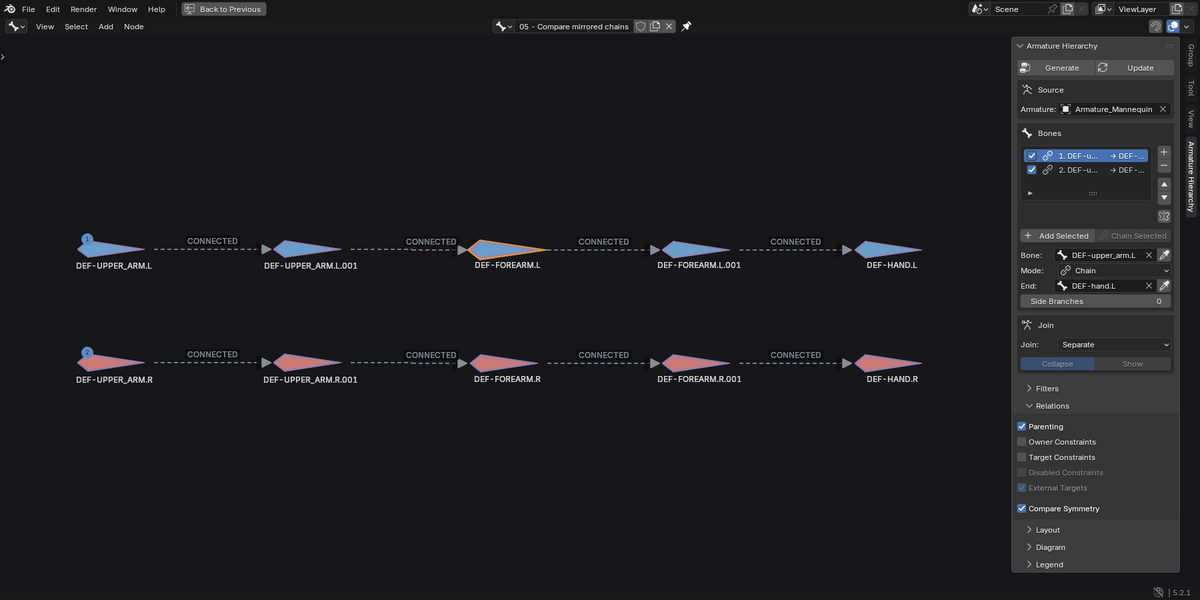
Compare Symmetry flags missing mirrored bones, mismatched parents, different deform settings, and constraints without a matching mirrored counterpart. Select a flagged bone to inspect the differences.
Your diagram and its layout are saved in the .blend file, ready to revisit when you return to the project.
Get started
- Select a bone in Pose Mode.
- Open an Armature Hierarchy editor and its sidebar.
- Press Generate to start from the active bone, or add bone entries to choose a wider scope.
- Explore, filter, and arrange your diagram. Use Update after editing the rig.
Requires Blender 4.5 LTS or newer. Includes the Blender extension and its user guide.