Armature Hierarchy
 Blood Pixel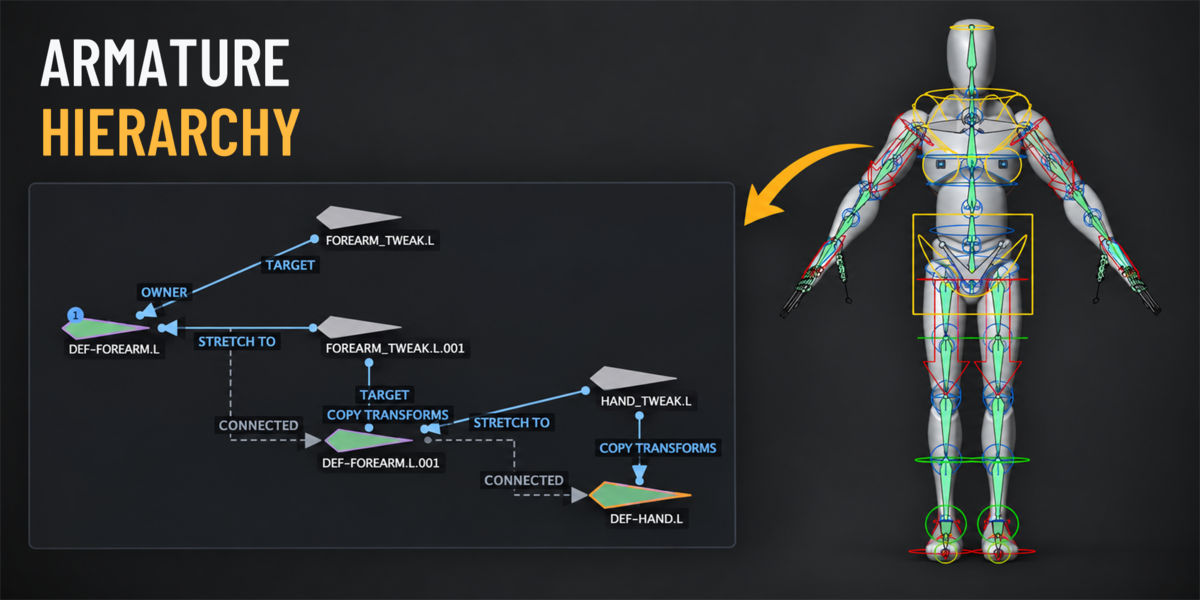
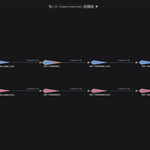
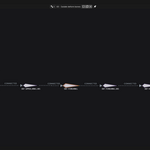
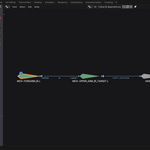
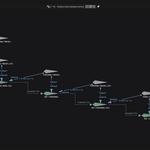
Armature Hierarchy — User Guide
Explore the parenting and constraint relationships of an existing Blender armature. This guide covers installation, building a diagram, filtering the rig, navigating between views, and saving your layout. Requires Blender 4.5 LTS or newer.
1. Install the extension
- Download the Armature Hierarchy extension
.zip. - In Blender, open Edit → Preferences → Get Extensions.
- Open the menu in the top-right corner and choose Install from Disk.
- Select the downloaded ZIP and complete installation.
2. Create your first diagram
- Select an armature, enter Pose Mode, and select a bone.
- Split an area or use an existing one, then change its editor type to Armature Hierarchy.
- Press N to open the sidebar and select the Armature Hierarchy tab. Check the Armature field.
- Press Generate. With no bone entries configured, the diagram starts from the active bone. Use Frame Diagram to fit it in the editor.
The 3D View sidebar also provides the add-on controls. Generate and Update are available through F3 search while the pointer is over the 3D View. Leave Edit Mode before generating or updating a diagram.
3. Choose the bones and relationships to explore
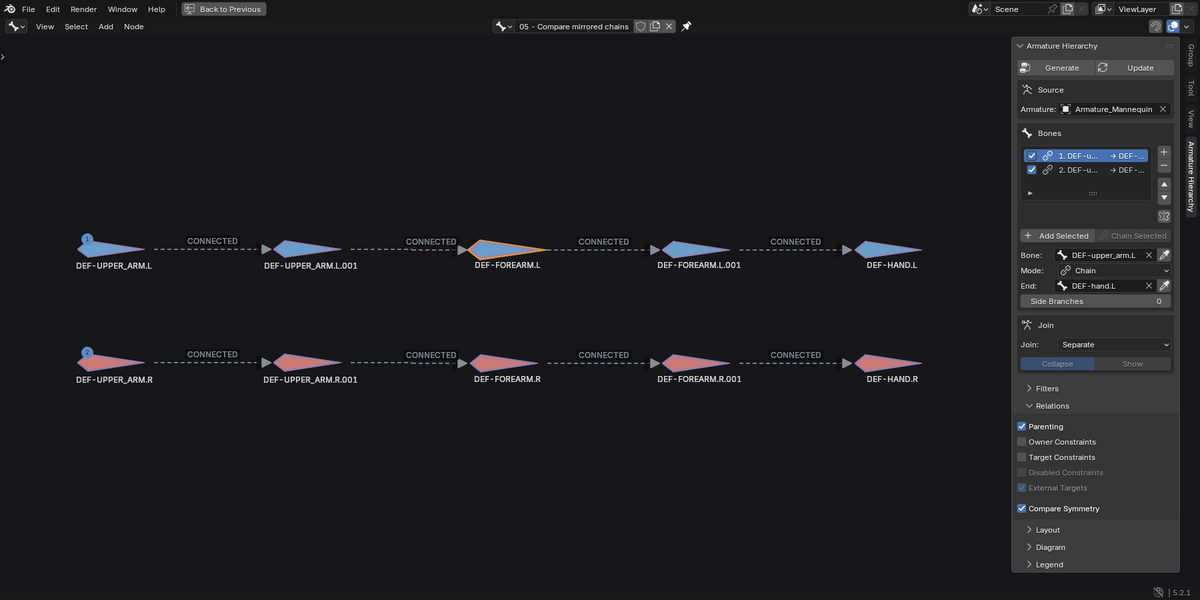
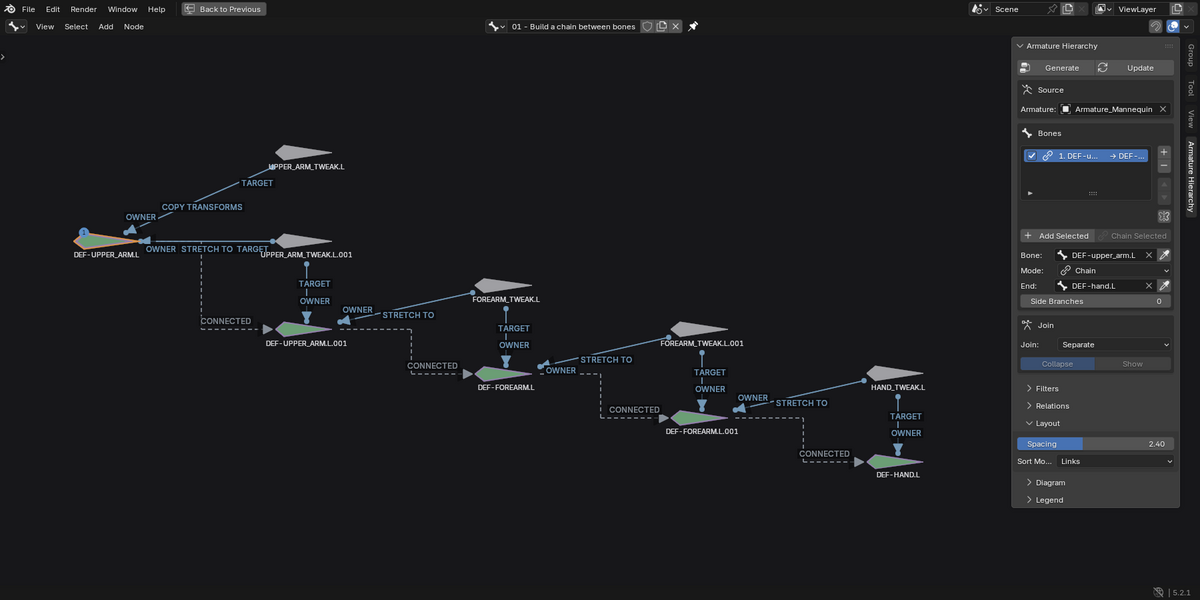
Each item in Bones is a starting bone with its own exploration mode. Use Add Selected to create entries from selected pose bones. The numbered discs on the diagram match the entries in the list.
- Children / Parents / Both: explore descendants, ancestors, or both, within Max Depth.
- Chain: choose a starting bone and an End bone. The path can pass through a common ancestor when the bones are on different branches. Increase Side Branches to include nearby branches.
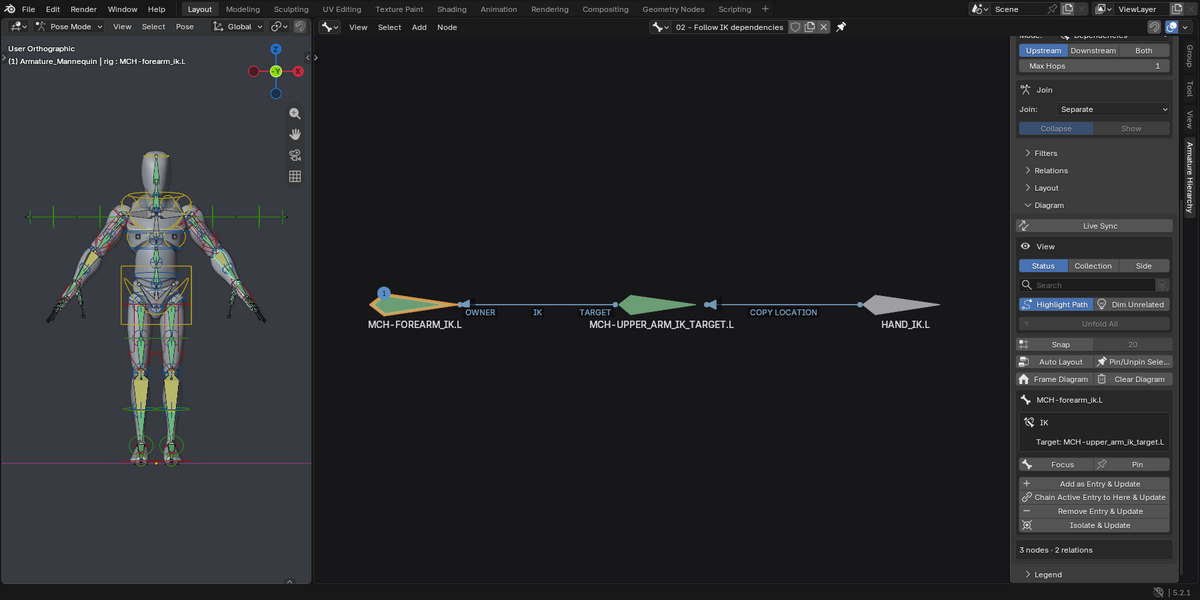
- Dependencies: follow constraints within Max Hops. Upstream follows what drives the bone; Downstream follows what it drives; Both combines them.
Select two pose bones and use Chain Selected for a quick chain. The mirror button copies the active entry to its opposite side using mirrored names such as .L and .R.
With multiple entries, Join → Separate keeps their trees apart. Common Ancestor connects them through their lowest shared ancestor; Root extends each entry to its root. For connecting bones, Bridge Bones → Collapse replaces intermediate bones with a labelled link, while Show displays them faded.
4. Read the diagram
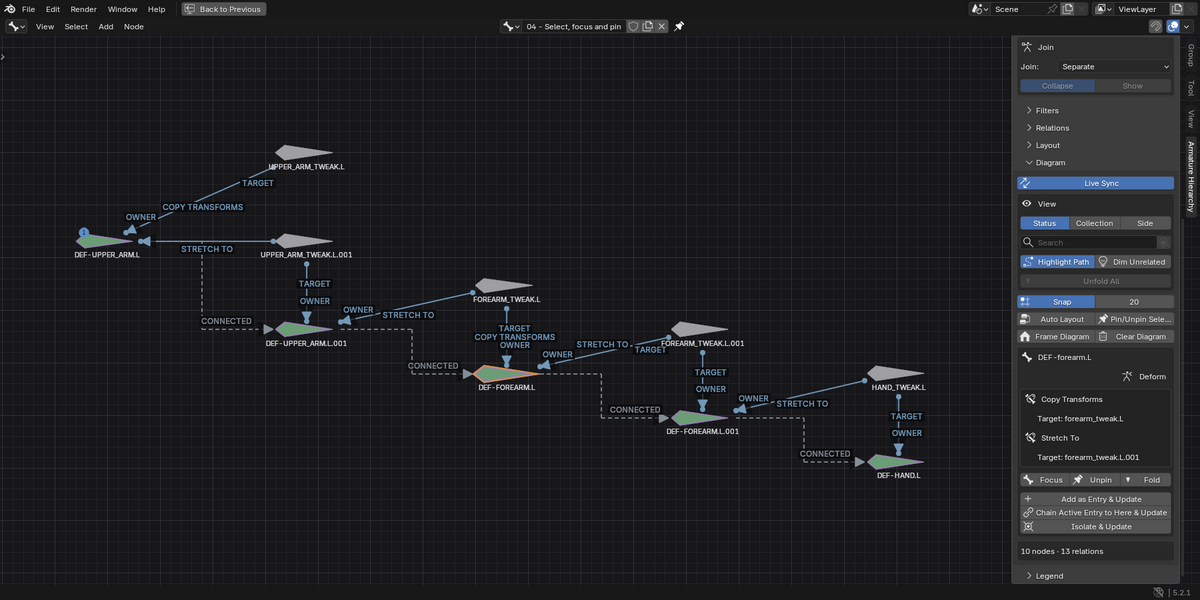
- Gray dashed links show parenting. Blue arrows run from a constraint target to its owner.
- A faded dotted constraint link indicates a muted constraint or zero influence.
- VIA n BONES means the link passes over omitted intermediate bones.
- In the default Status color mode, plain bones are light gray, constrained bones green, external bones or objects orange, and missing targets red.
- Borders identify selection, deform bones, and bones with IK constraints. Open Legend for the color key.
Select a bone and open Diagram to inspect its constraints and targets, filter explanations, and symmetry differences. External constraint targets can appear as context; the diagram does not recursively expand their entire rigs.
5. Filter complex rigs
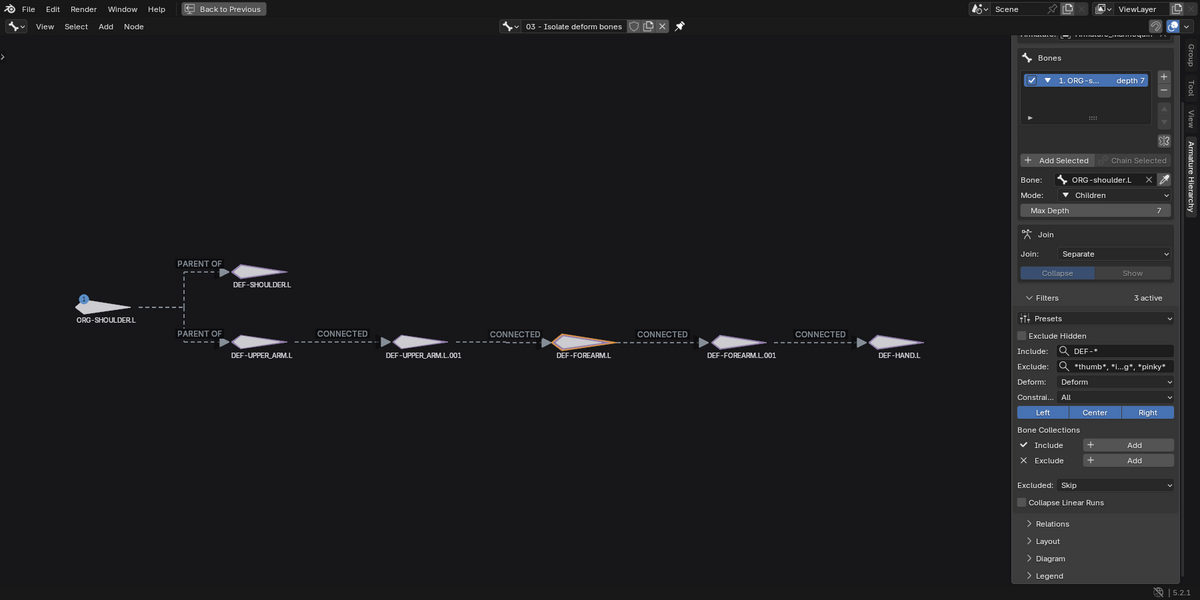
Open Filters to combine visibility, name, deform status, constraints, side, and bone collection filters. Name patterns accept * and ?, ignore case, and can be separated by commas. For example, DEF-* includes Rigify deform bone names. Presets include Rigify deform bones, Rigify controls, Deform Chain, and Constrained Bones; use Clear to reset filters.
Excluded → Skip omits filtered bones; In Between retains those needed to connect visible bones; Faded retains them as subdued context. Entry bones, chain ends, and joining bones remain visible. Constraint targets may also appear as context. Collapse Linear Runs simplifies plain intermediate bones along a chain.
In Relations, choose whether to show parenting, owner constraints, constraints targeting the bones, disabled constraints, and external targets. Press Update after changing the diagram's scope or build settings.
6. Navigate and arrange the diagram
- Select: click a bone; Shift+click adds to the selection.
- Focus: select the corresponding bone in the 3D View and pan onto it.
- Live Sync: synchronize active pose-bone and diagram selection in both directions.
- Drag: move a bone glyph to arrange the diagram.
- Pin / Unpin: lock or release a bone's diagram position across updates.
- Snap: align dragged bones to a grid; hold Ctrl while dragging to toggle snapping for that drag.
- Auto Layout: arrange unpinned bones automatically.
- Layout → Spacing: increase the space between bones; press Update to rebuild.
Use Search to emphasize matching bone names and frame the matches. With two bones selected, Highlight Path emphasizes their shortest connection through parenting and constraints. Dim Unrelated emphasizes the active bone's hierarchy and constraint partners. Fold hides a branch; Unfold All restores folded branches. The View settings apply without Update.
7. Check symmetry
Enable Relations → Compare Symmetry and update the diagram. Orange triangle markers identify differences between mirrored bone names. Select a marked bone to inspect missing counterparts, parent differences, deform-setting differences, or constraints without matching mirrored counterparts. This checks rig relationships, not mesh symmetry, skin weights, or every constraint parameter.
8. Update and save
After editing the rig, press Update to refresh its relationships. Pinned positions stay fixed, and manual placement preferences are retained where possible. Live Sync synchronizes selection; it does not automatically rebuild the rig relationships.
Save your Blender project to preserve the diagram and layout in the .blend file. A saved diagram remains viewable if its source armature is removed, but updating it requires a valid source armature.
Troubleshooting
- Generate or Update is unavailable: leave Edit Mode, select the intended armature, and return to Pose Mode. Check the Armature field.
- Expected bones are missing: check entry mode and depth, Exclude Hidden, name and collection filters, folded branches, and Collapse Linear Runs. For Rigify technical bones, try turning off Exclude Hidden. Update, then use Frame Diagram.
- Connection labels are crowded or hidden: increase Layout → Spacing, update, and zoom in. Most link labels appear from 75% zoom. Maximize the editor with Ctrl+Space when needed; fitting a large diagram into a small area can hide labels again.
- A target is red: inspect the selected bone's constraint target in Blender, correct any missing object or bone reference, then update the diagram.
Have questions about this product?
Login to message
| Blender Extension Compatible | Yes |
| Published | 3 days ago |
| Blender Version | 4.5 - 5.2 |
| Extension Type | Add-on |
| Render Engine Used | Cycles |
| License | GPL |
Discover more products like this
rig inspection rig visualization symmetry bones armature Pose Mode rigging rigify constraints bone collections Inverse Kinematics bone hierarchy