Asset Placer Pro
 Rekanyx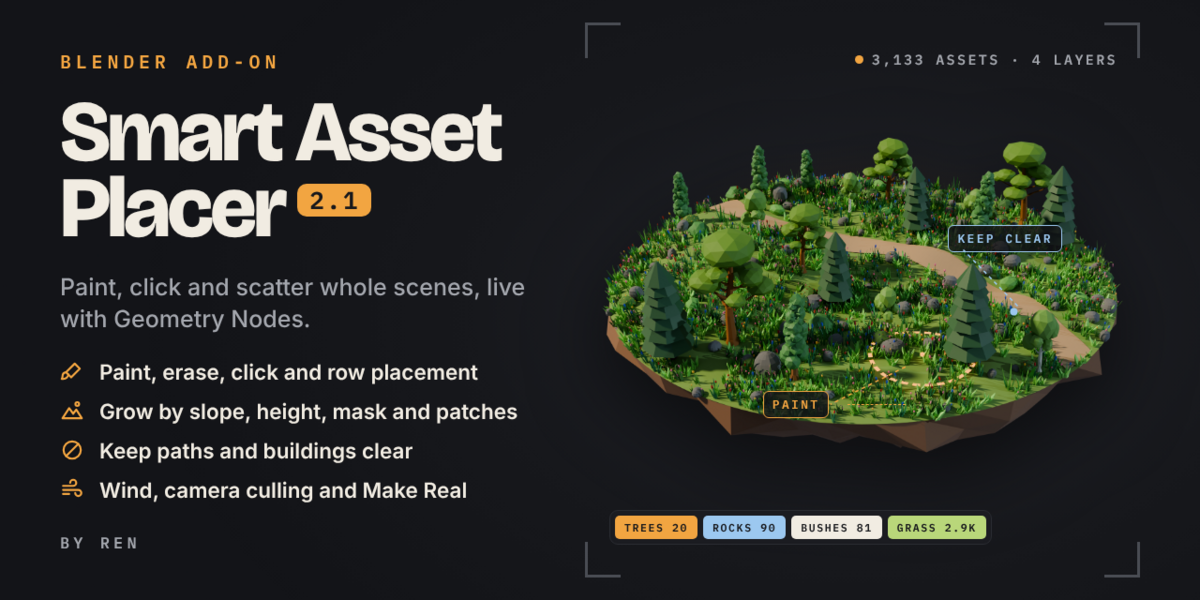
Smart Asset Placer 2.1 — Documentation
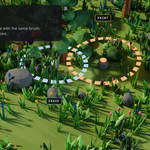
Smart Asset Placer scatters, paints and places assets on any surface, live with Geometry Nodes. Everything stays editable: change a setting and the scene updates straight away.
Works with: Blender 4.2 and newer (tested up to 5.2) · Cycles and EEVEE Where to find it: 3D Viewport → Sidebar (press N) → Placer tab
Installation
- Download
smart_asset_placer_2.1.0.zip. Don't unzip it. - In Blender go to Edit → Preferences → Add-ons.
- Click the arrow in the top right and choose Install from Disk…, then pick the zip.
- Tick the box next to Smart Asset Placer.
- In the 3D Viewport press N and open the Placer tab.
Updating: remove the old version in Preferences, restart Blender, then install the new zip.
Quick start: your first scatter in 30 seconds
- Select the assets you want to scatter (trees, rocks, grass…).
- Shift-click your ground last, so it's the active object.
- In the Placer tab click + and pick a preset (Trees, Rocks, Grass…).
- Done. Change Density, Spacing and Seed to taste.
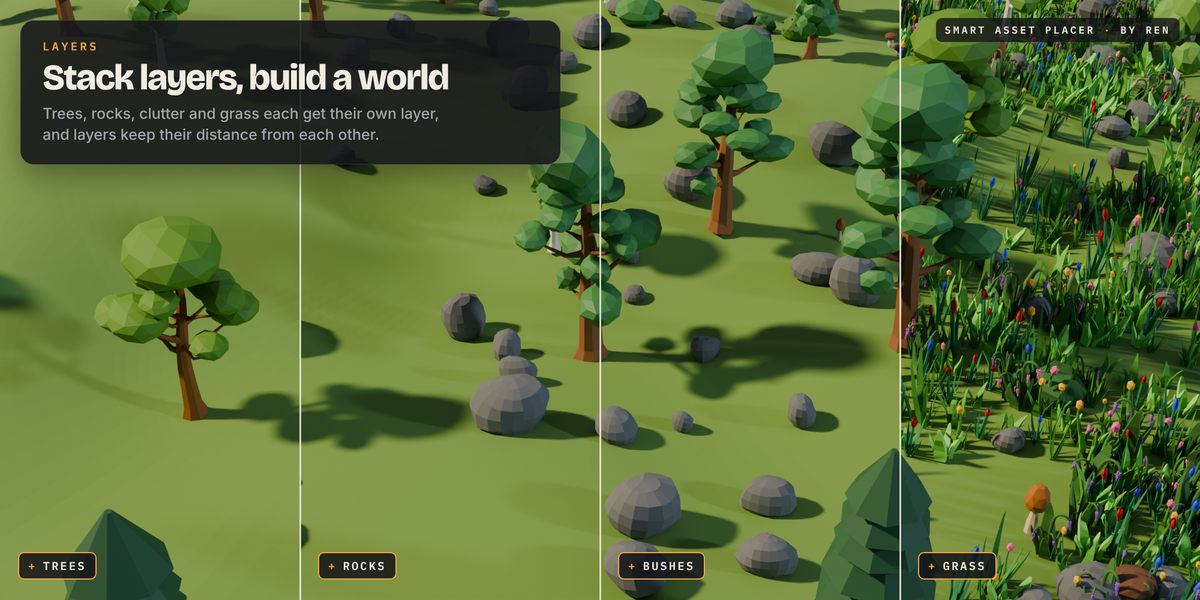
You can make as many layers as you like, one for trees, one for rocks, one for grass and so on.
Layers
The list at the top shows every scatter layer in the scene, with how many assets each one makes.
| Button | What it does |
|---|---|
| + | New scatter layer from a preset: Grass, Rocks, Trees, Debris, Props or Clutter |
| – | Delete the active layer (including anything painted on it) |
| Copy | Copy the layer to another ground. Select the other ground first. Same assets and settings, new surface |
| Eye / camera icons | Hide the layer in the viewport or in renders |
Surface & Assets
- Surface: the mesh the assets grow on. The eyedropper uses the active object.
- More Surfaces: scatter on every mesh in a collection too. + adds the selected objects.
- Assets: the collection that gets scattered.
- Assets from Selection: makes a collection from the selected objects and tucks the originals away. The scatter still shows them.
- Show Originals: show or hide the original assets so you can edit them. The scatter isn't affected.
- Fix Origins: if an asset's origin isn't at its base it will float or sink. The panel warns you, and this button moves each origin to the middle of its base.
Asset Mix
Set how common each asset is. Click Set How Common Each Is, then give each asset a weight. The percentage shows its share. Use the reset button to make them all equal again.
Add Colour Variation
Gives every scattered copy a slightly different colour (small hue and brightness changes). Only the scattered copies change, never your originals.
Scatter
- Load Preset: starting values for Grass, Rocks, Trees, Debris, Props or Clutter. Your surface, assets and mask stay as they are.
- Save Preset (+): save this layer's settings as your own preset. It shows up in every Blender file.
- Density: assets per square metre.
- Spacing: minimum distance between assets, so they don't overlap.
- Seed: change it for a different random layout.
- Max Instances: a safety limit so a typo can't freeze Blender. The panel tells you when the limit is reached, or warns you when a layer gets heavy.
- Viewport display: Full, Boxes or Points. Boxes and Points keep big scenes fast. Renders are always full.
- Viewport %: show only part of the scatter while you work. Renders always show everything.
The checkbox in the panel header switches the automatic scatter off. Painted and placed assets still show.
Size & Rotation
- Scale Min / Max: random size range.
- Scale Jitter: random stretch per axis, for less uniform shapes.
- Align to Surface: 0 = always upright, 1 = follows the slope.
- Random Rotation: spins every asset randomly.
- Tilt: random lean.
- Sink: pushes assets into the ground. Good for rocks.
Where It Grows
- Limit by Slope: only grow on slopes in a range, for example no trees on cliffs.
- Limit by Height: only grow between two heights, for example a tree line on a mountain.
- Natural Patches: break the scatter into clumps. Set Patch Size, Coverage and Softness.
- Density Mask: pick a vertex group to control where the layer grows, or click Paint Where It Grows to weight-paint it straight on the ground (Ctrl paints it away). Click Done Painting when finished. Invert flips the mask.
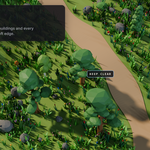
Keep Clear
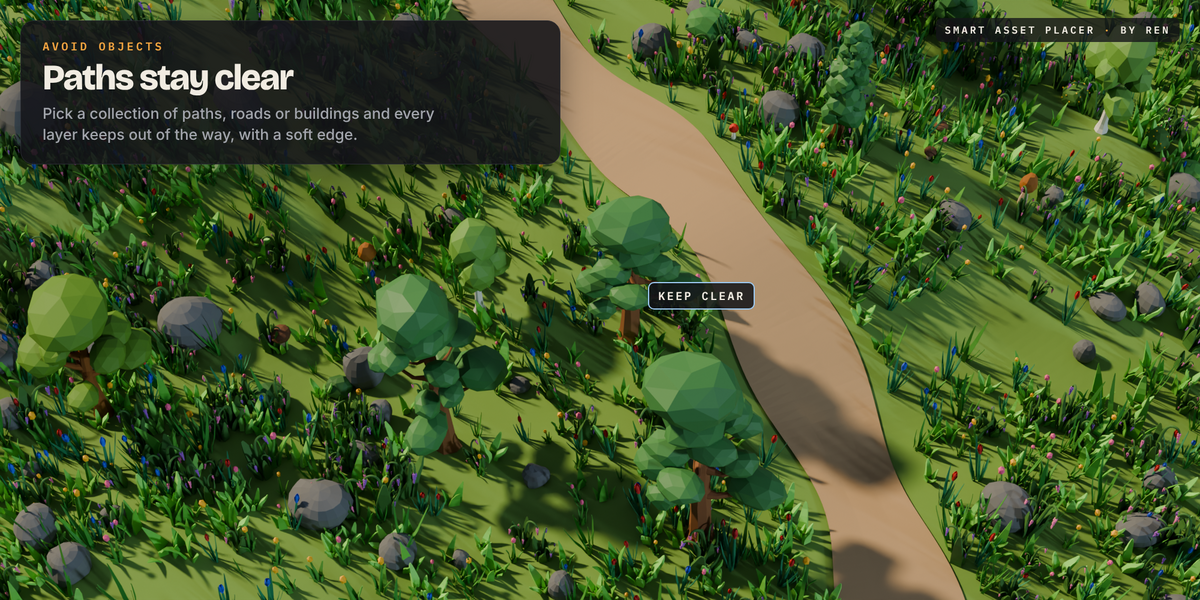
- Objects: pick a collection of paths, roads or buildings. Assets stay off and away from them.
- Margin: how much space to keep around those objects.
- Layer / Distance: keep clear of another layer, for example rocks never inside trees.
- Soft Edge: thins the scatter out gradually near anything avoided, so edges look natural.
Two layers can't avoid each other at the same time. The panel warns you if you try.
Camera & Wind
- Only Near Camera: only scatter up to a Max Distance from a camera, with a Fade Distance to thin out before the edge. This works in renders too and saves a lot of memory in big scenes.
- Hide Behind Camera: also skip assets behind the camera. Use it for still shots or cameras that don't turn.
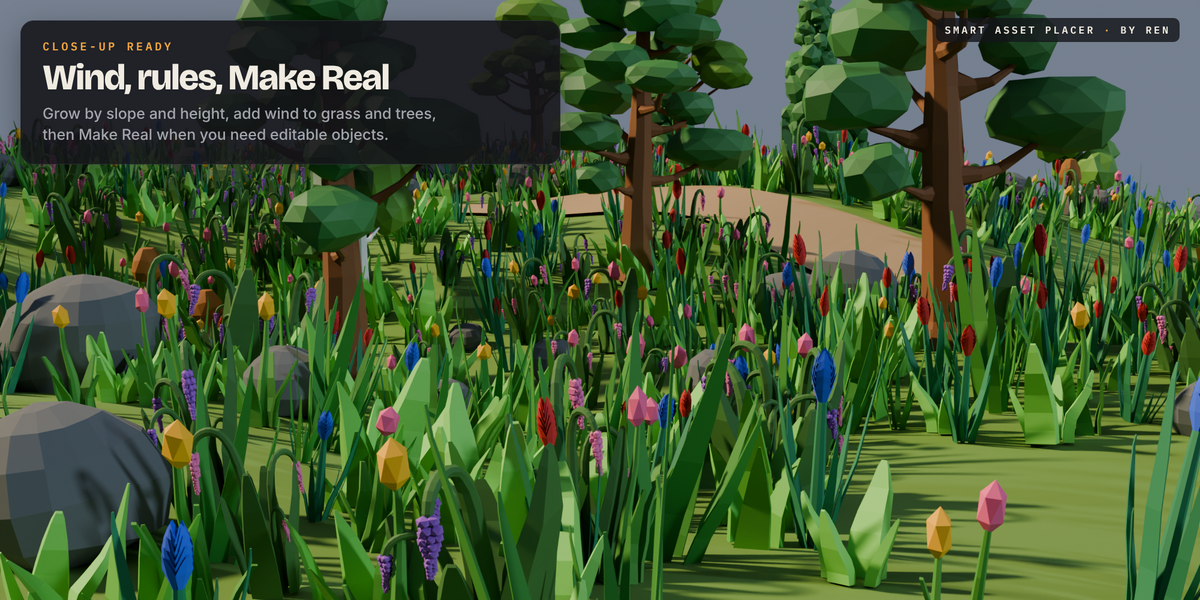
- Wind: switch it on and set Strength, Speed, Direction and Gust Size. Grass and Trees layers get good starting values automatically. Press Play to see it move.
Paint & Place
| Tool | How to use it | Shortcuts |
|---|---|---|
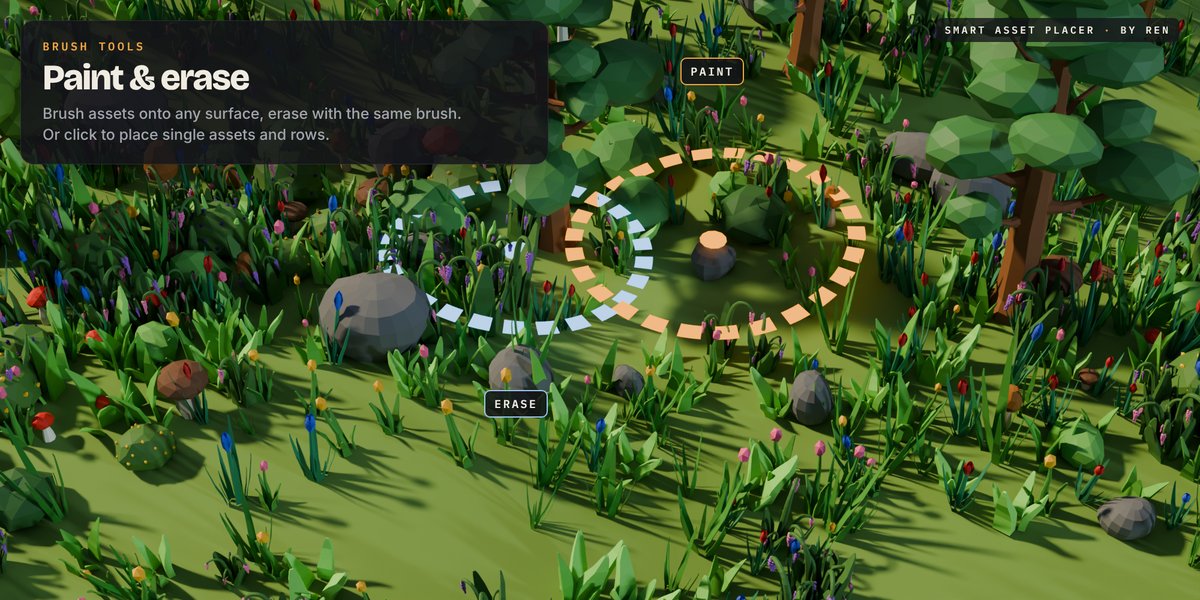
| Paint | Click and drag to brush assets onto any surface | Ctrl: erase · F: brush size · Shift+F: strength · Esc / right-click: done |
| Erase | Brush away scattered or painted assets | Same as Paint |
| Place | Click to place single assets exactly where you want | Scroll: rotate · Ctrl+Scroll: size · Tab: next asset · A: align to surface on/off |
| Row | Click two points to place a row of assets (fences, lamps, crates). Keeps going from the last point | Scroll: spacing · Ctrl+Scroll: turn 90° · Tab: next asset · M: mixed assets |
Settings: brush Radius and Strength, Align to Surface and Random Rotation for placing, Row Spacing and Mixed Assets for rows.
Clear Painted removes everything painted or placed by hand on the layer. Clear Erase brings back anything you erased. The automatic scatter always stays.
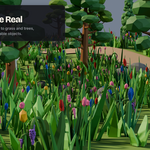
Export: Make Real
Turns a layer into real objects for game engines, other software or hand editing. The layer is kept but hidden, so you can go back.
- Make Real (Linked Objects): separate objects that share mesh data. Light on memory.
- Make Real (One Mesh): everything merged into a single mesh.
Make Real always uses the full scatter, not the thinned-out viewport view. Wind animation isn't kept.
Tips for big scenes
- Use Boxes or Points display and a low Viewport % while you work.
- Turn on Only Near Camera for huge landscapes.
- Keep grass on its own layer, with a lower viewport percentage than trees and rocks.
- Simple, low-poly assets scatter much faster than high-poly ones.
Support
Questions or bugs? Send me a message through Superhive. Include your Blender version and a screenshot of the Placer panel if you can.
Have questions about this product?
Login to message
| Blender Extension Compatible | Yes |
| Published | about 18 hours ago |
| Blender Version | 5.2 |
| Extension Type | Add-on |
| Render Engine Used | Cycles, Eevee |
| License | GPL |