DOCUMENTATION · VERSION 1.0
Asset Shot
Create consistent Blender Asset Library thumbnails using Fast Viewport, Cycles, camera presets, reusable lighting setups, custom images, and batch target workflows.
Blender 5.0+ Object & Collection Assets Fast Viewport & Cycles
Select the target, choose a capture mode, adjust the look, and create the thumbnail.
1 Select Choose an object, several objects, or a Collection from the Outliner.
2 Choose Target Use the full selection as one asset or process every object separately.
3 Set the Look Choose Fast Viewport or Cycles, camera, lighting, background, and framing.
4 Quick Shot Generate the PNG, mark the asset, and load the preview according to your settings.
◎
TARGET & ORGANIZATION
Objects, Collections, and Multi-Target Modes
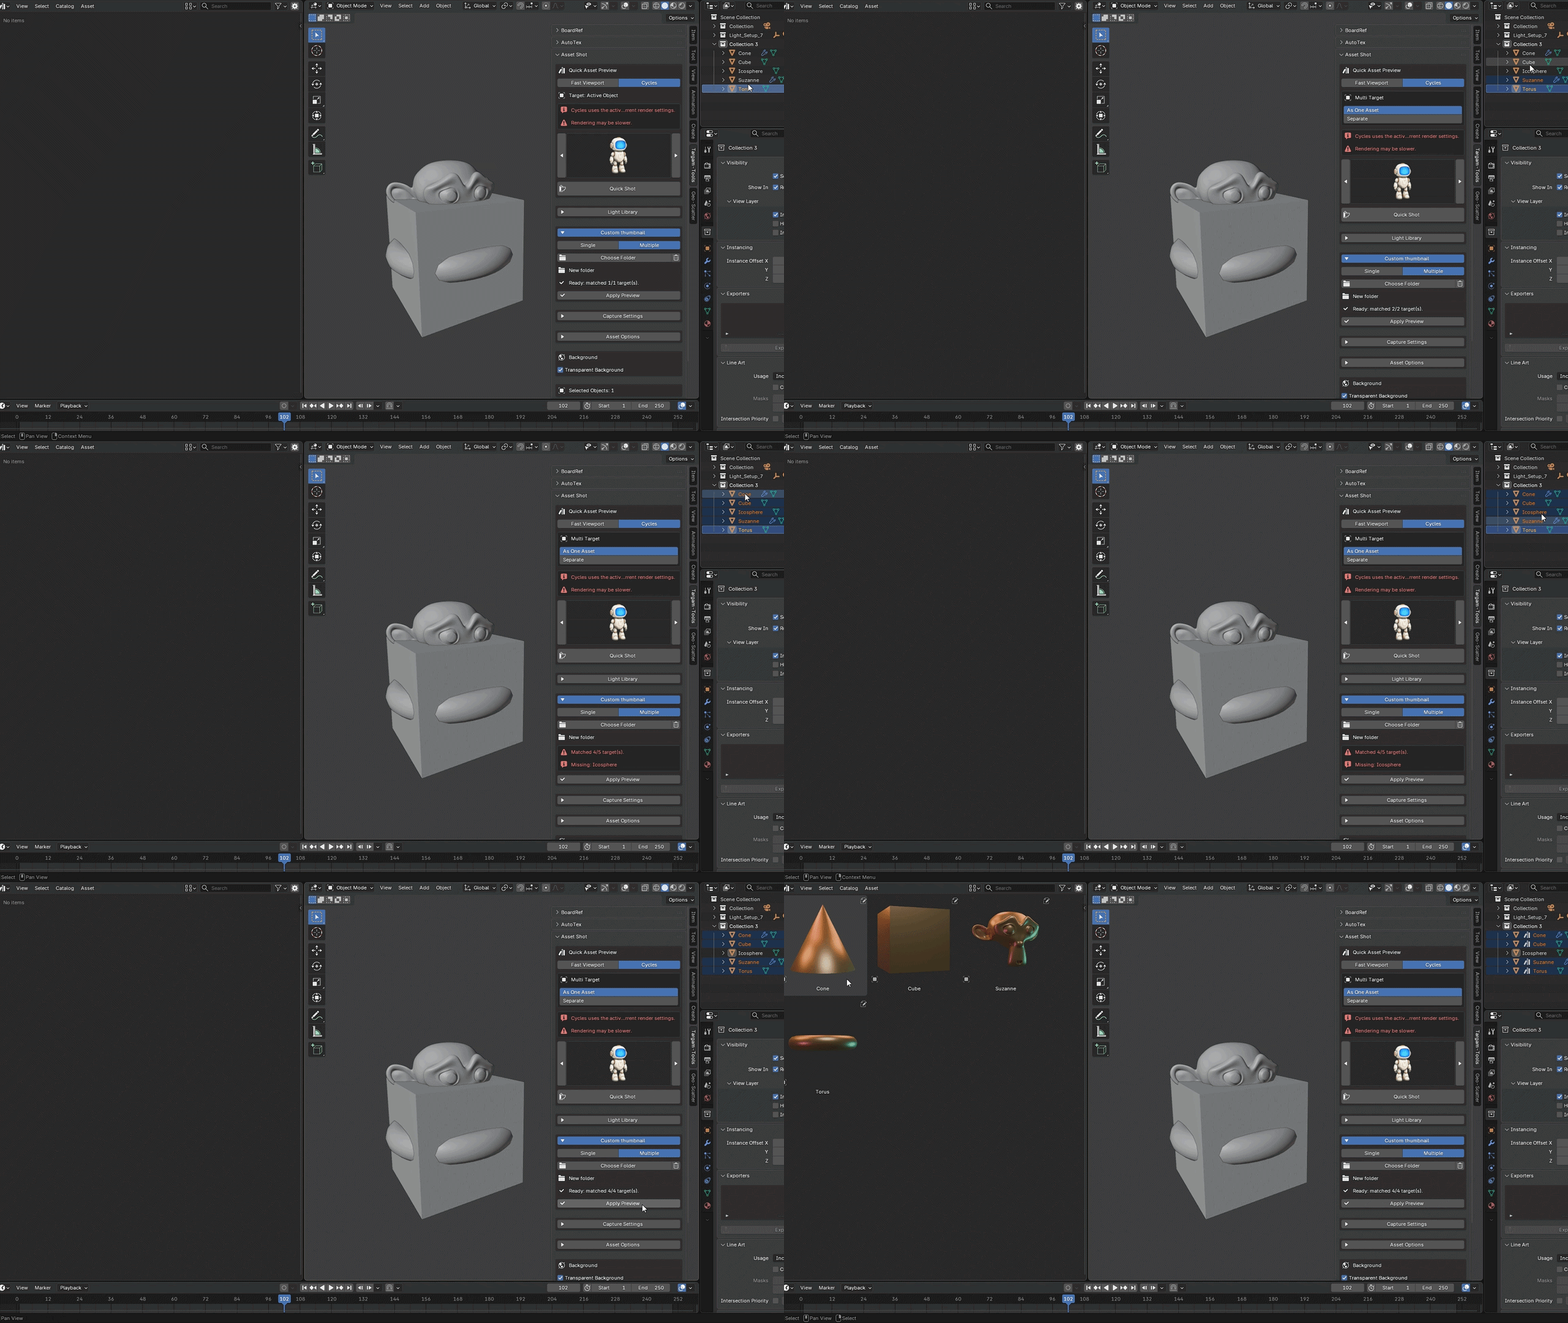
This section replaces the repeated Organization and Target Modes explanations.The current selection determines what Asset Shot processes and what kind of Blender asset is created.
◇
Active Object
With one selected Object, Asset Shot automatically uses the active Object as the target.
▣
Selected Collection
Select one Collection in the Outliner to create or update that existing Collection as one asset.
◫
As One Asset
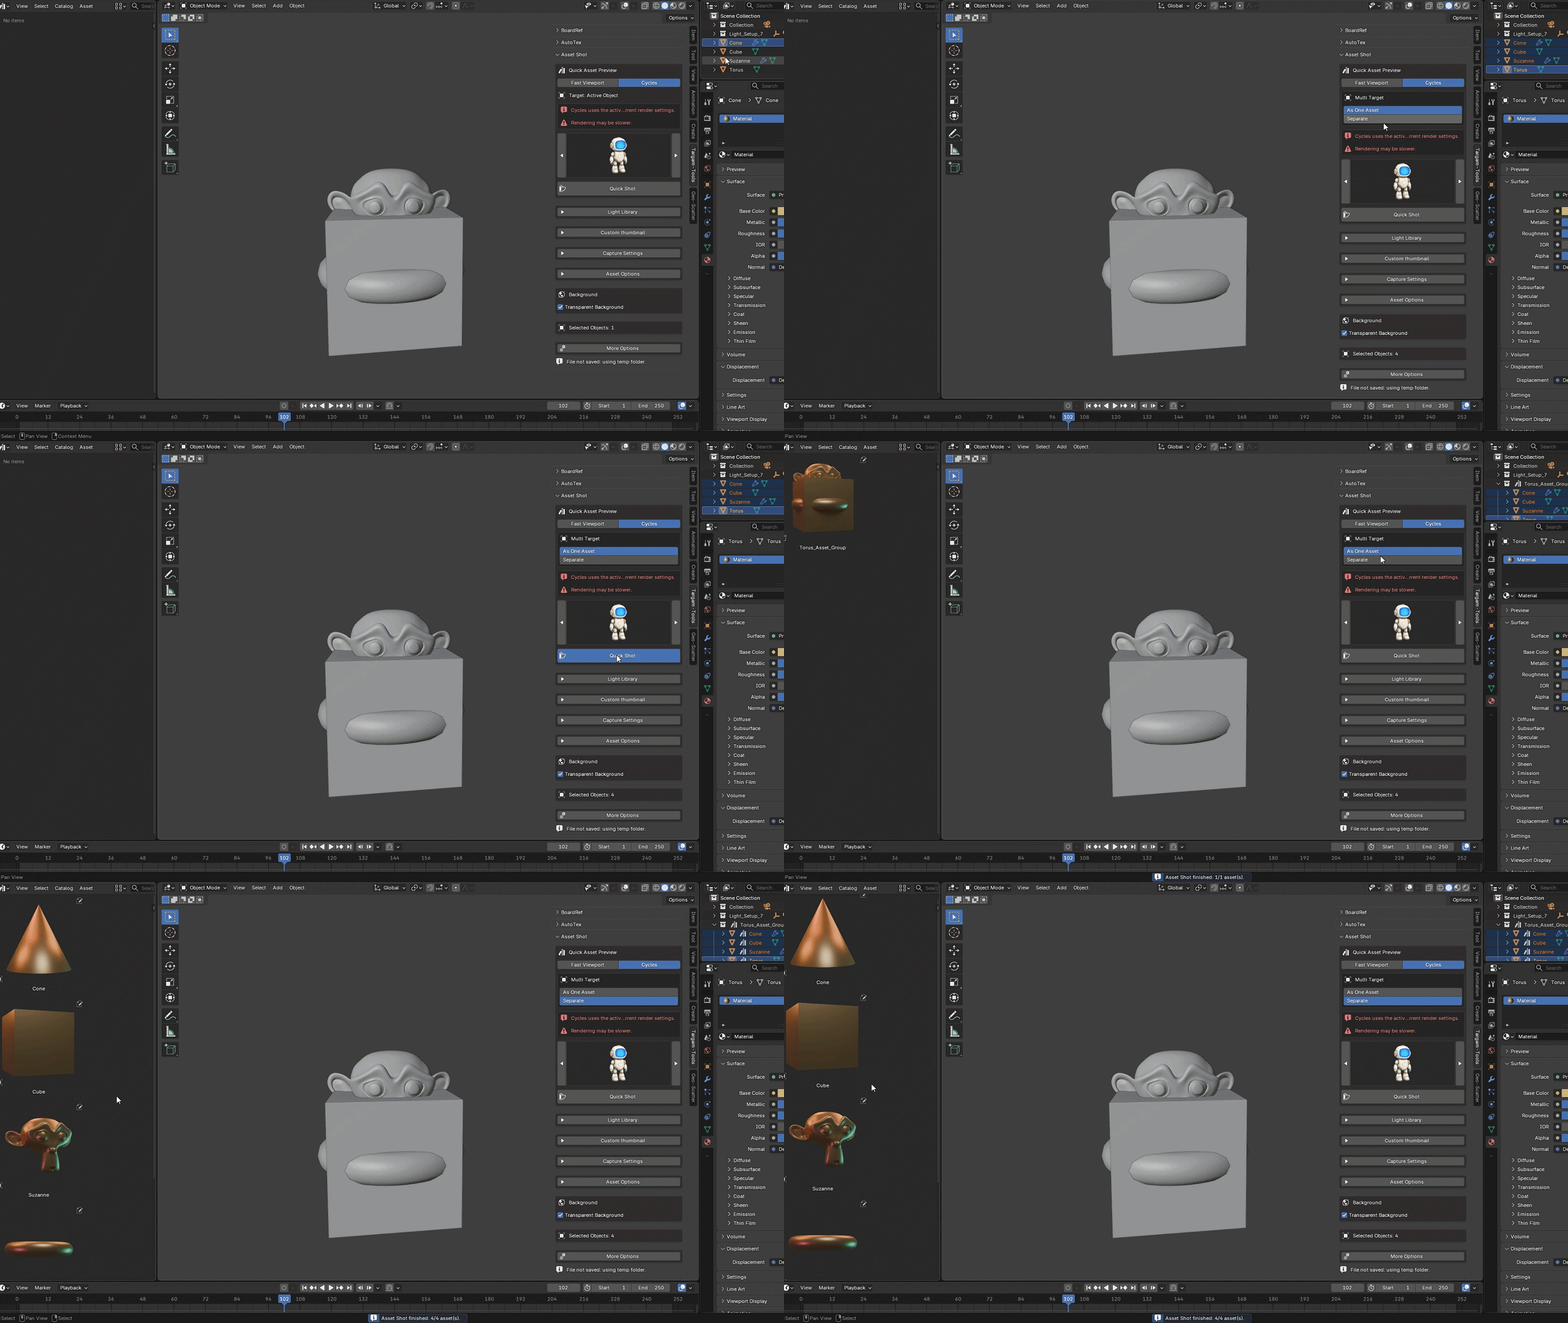
With multiple Objects or Collections, one thumbnail is created for the full selection. When Mark as Asset is enabled, Asset Shot creates or updates a grouped Collection for that selection.
⋮
Separate
Every selected Object is processed independently and receives its own thumbnail. Objects inside selected Outliner Collections are included.
Supported Target Types Mesh, Curve, Surface, Meta, Text, Volume, Grease Pencil, Empty, and Collections containing supported objects.
When Mark as Asset Is Disabled As One Asset captures one combined image without creating a grouped Collection asset. The generated image can still be saved if Save Preview Image is enabled.
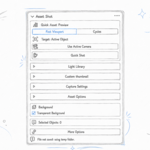
Selection Status The panel shows the selected Object count, selected Outliner Collection count, and whether Fast Viewport is currently using the active camera.
OBJECTS, COLLECTIONS & MULTI-TARGET
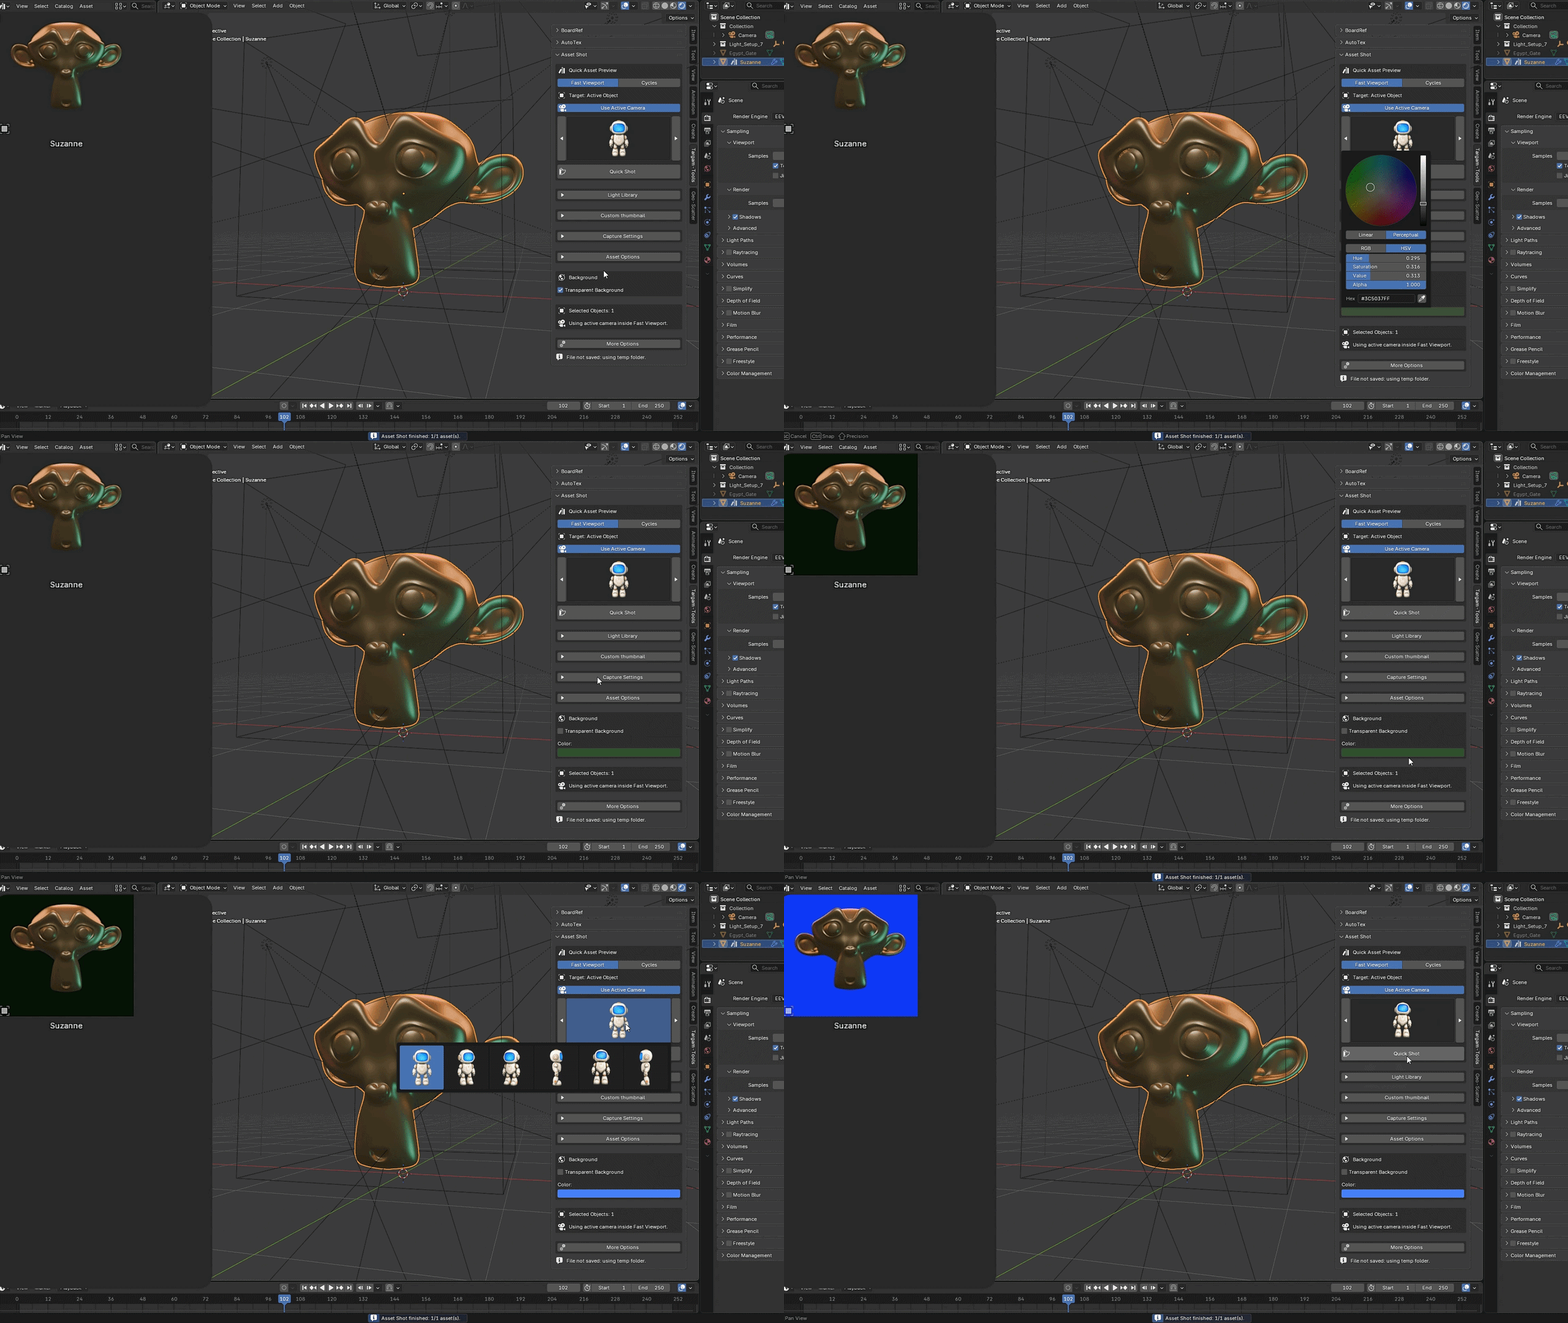
Choose between a fast viewport snapshot and a full Cycles render.
⚡
Fast Viewport
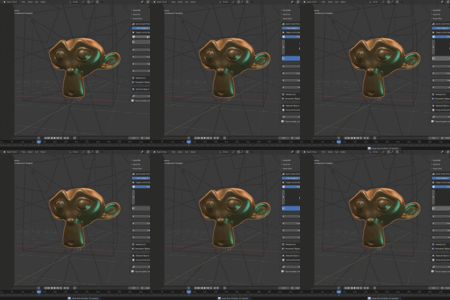
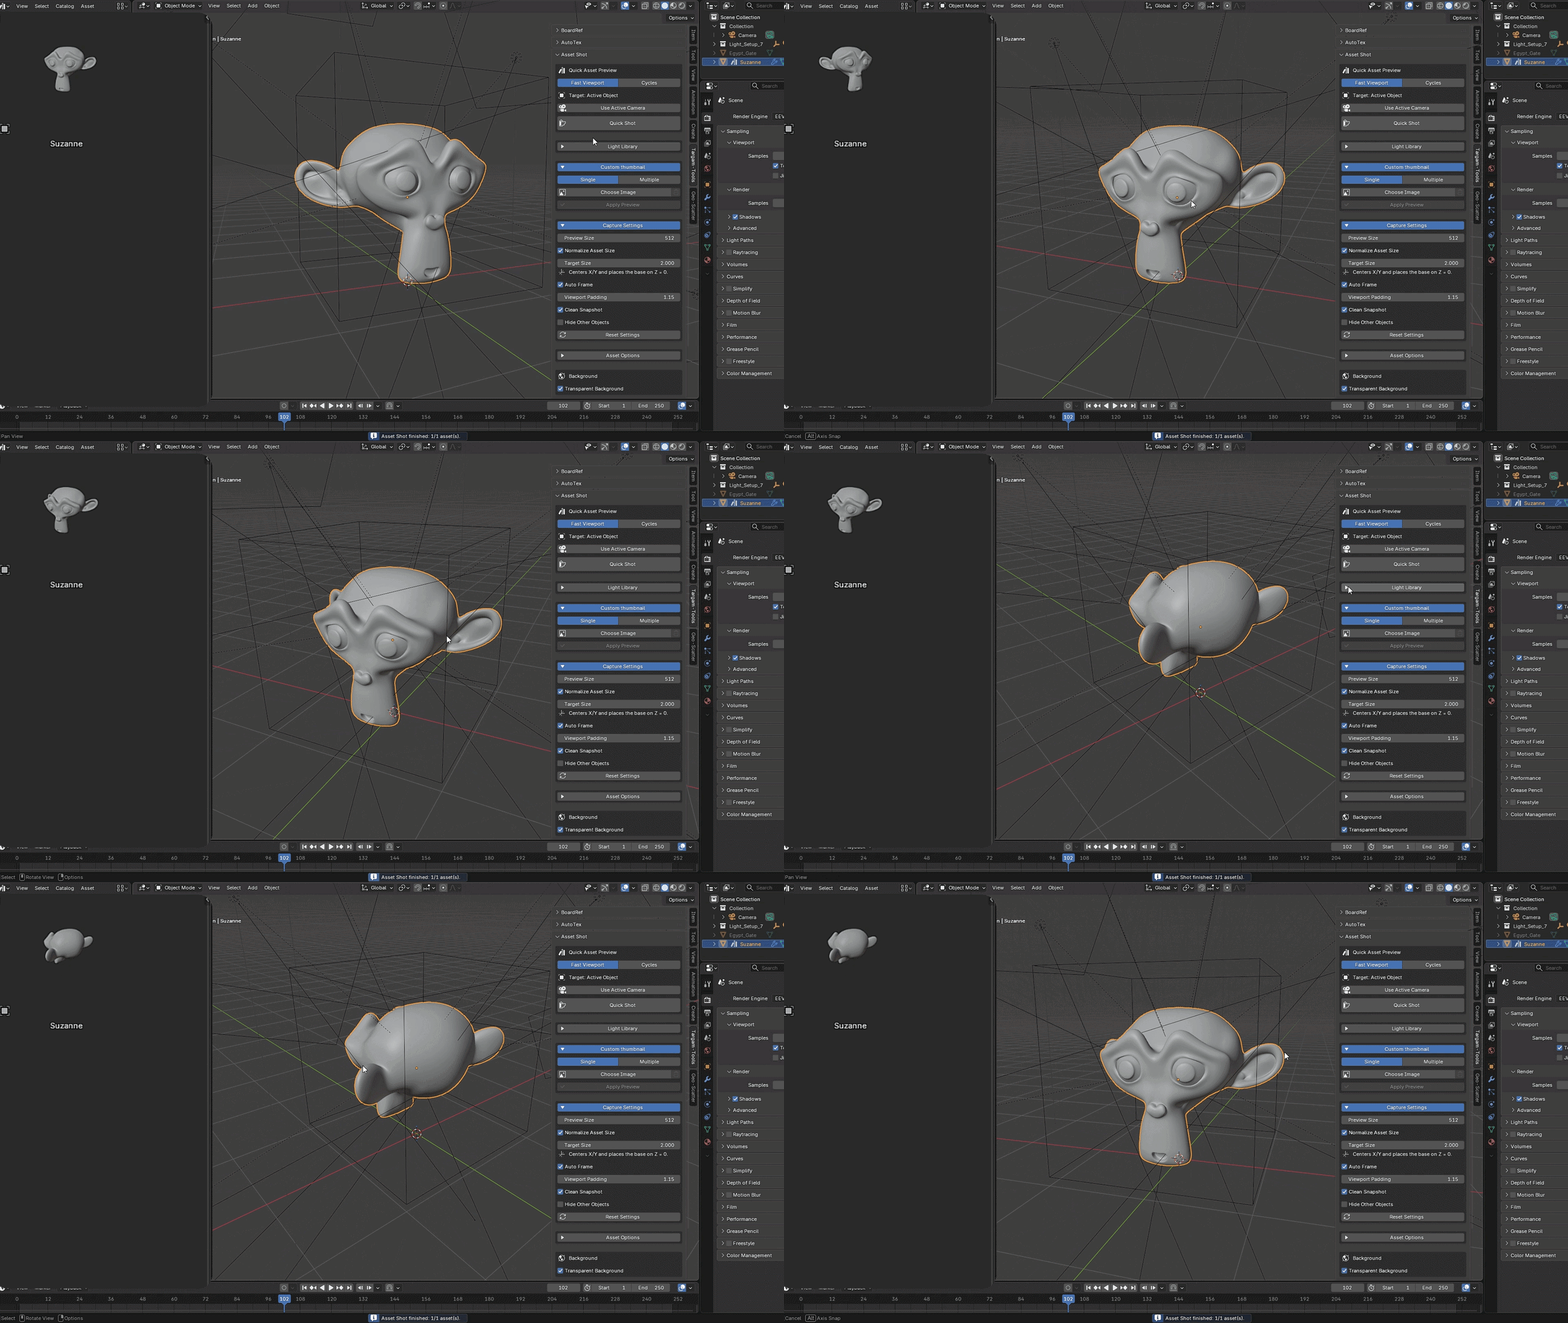
Captures the current viewport display quickly. It keeps the current viewport shading and is recommended for producing many thumbnails.
◆
Cycles
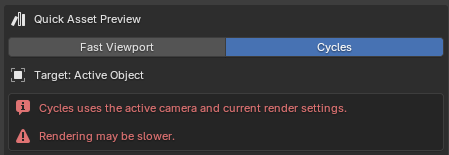
Uses the active camera and the scene's current Cycles render settings. The scene render engine must already be set to Cycles.
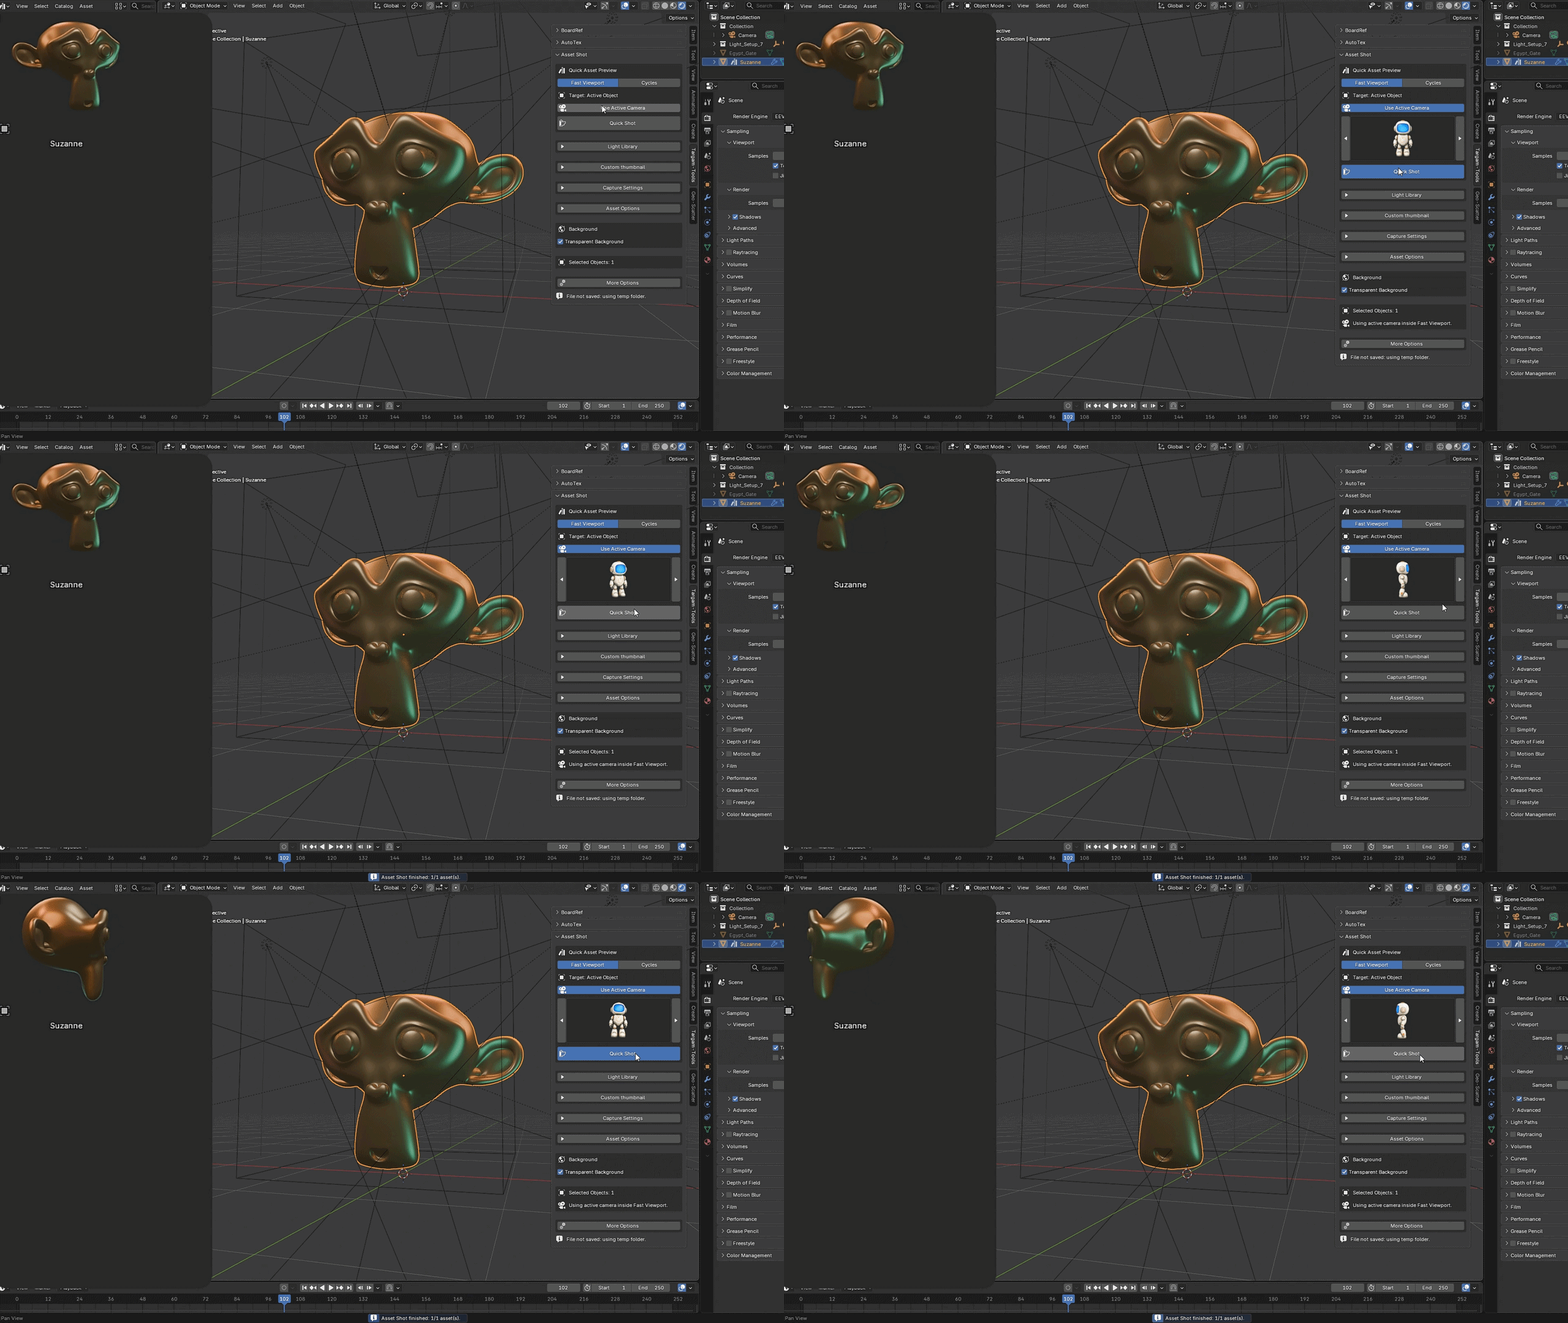
Fast Viewport + Active Camera Enable Use Active Camera to keep the fast viewport capture method while framing and capturing through the selected camera preset.
Cycles Warning Cycles can be slower. Asset Shot does not replace your render settings; it temporarily changes only what is needed for the square preview and restores the original settings afterward.
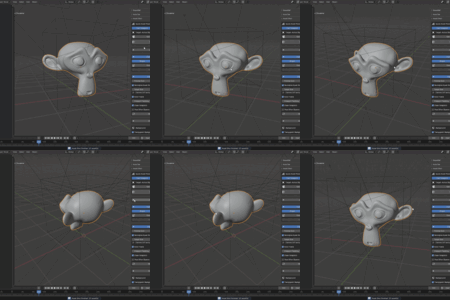
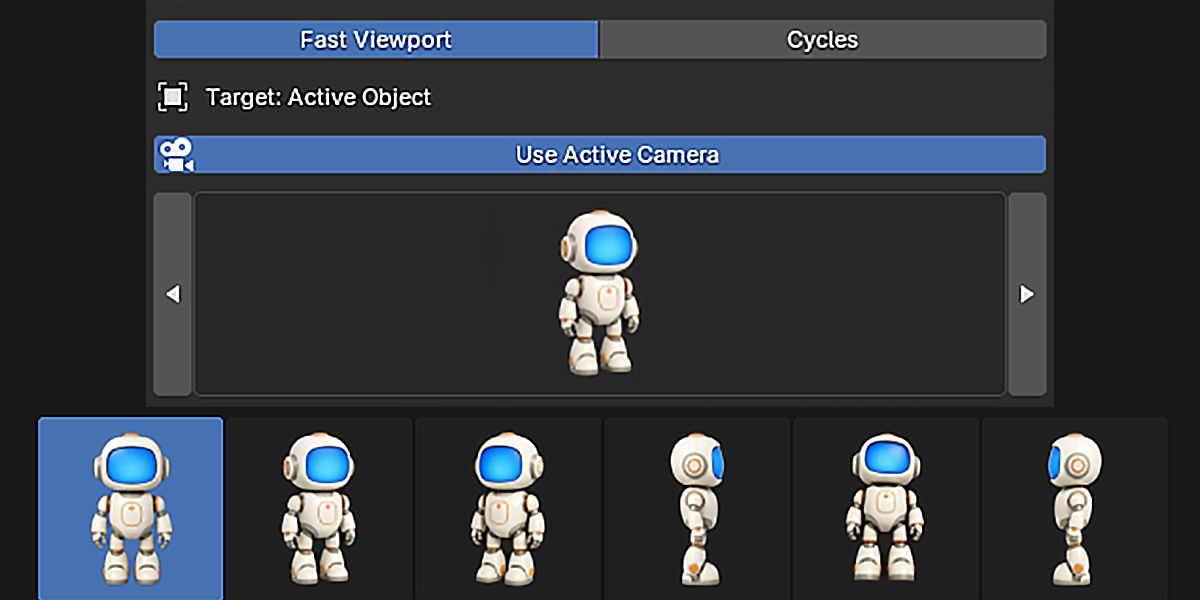
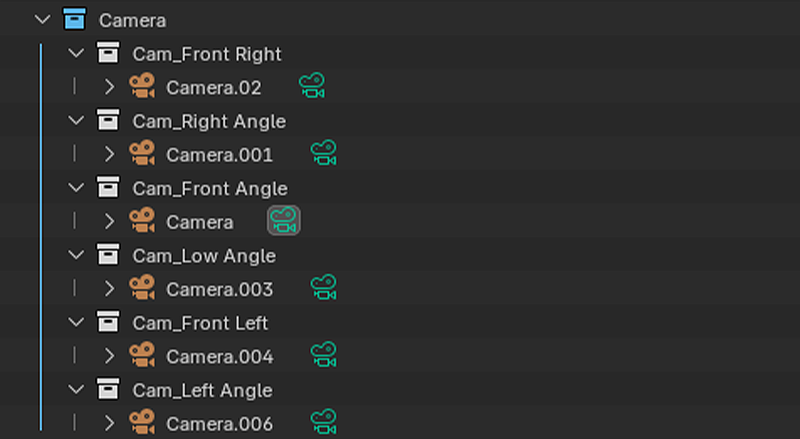
Asset Shot includes ready-to-use camera presets for creating consistent thumbnail angles. The preset selector appears in Cycles mode and in Fast Viewport when Use Active Camera is enabled.
Browse the Included PresetsUse the left and right arrows around the preview image to switch between the available camera positions.
Fast ViewportEnable Use Active Camera to capture quickly through the selected preset instead of using the current free viewport angle.
CyclesThe selected preset is used as the active camera while the thumbnail is rendered with the current Cycles settings.
Automatic RestoreAfter the shot, Asset Shot restores the original scene camera and removes the temporary preset data used during capture.
✦
CUSTOM LIBRARIES
Create Your Own Camera and Light Library
Asset Shot can load camera presets and lighting setups from your own Blend files.
1. Create a Separate Blend File Store reusable camera and lighting Collections in a dedicated Blend file for easier maintenance.
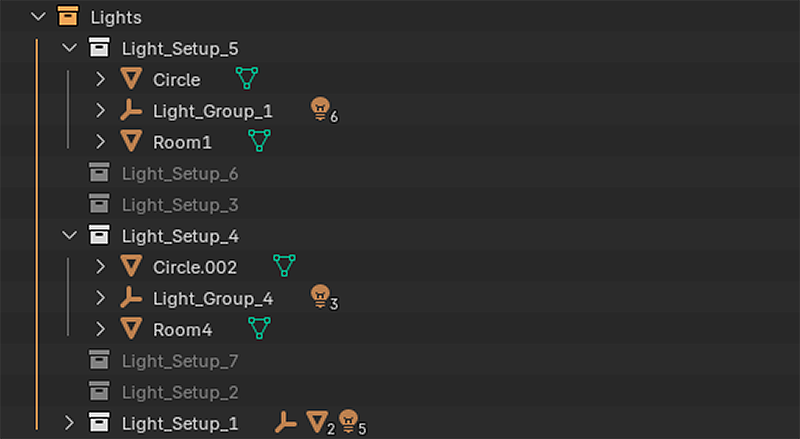
2. Use One Collection Per Preset Every camera angle or lighting setup must be placed inside its own Collection. The Collection name becomes the preset name.
◉
Camera Collection
For reliable classification, begin the Collection name with
Camera or
Cam.
Camera_Front
Camera_Side
Cam_Low
Cam_ThreeQuarter
The Collection must contain a Camera Object.
✦
Light / Setup Collection
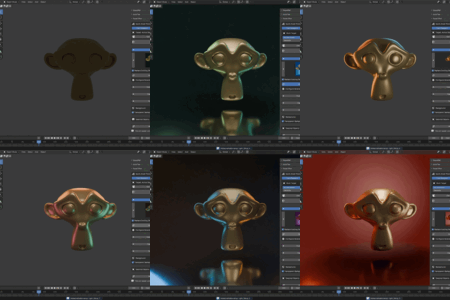
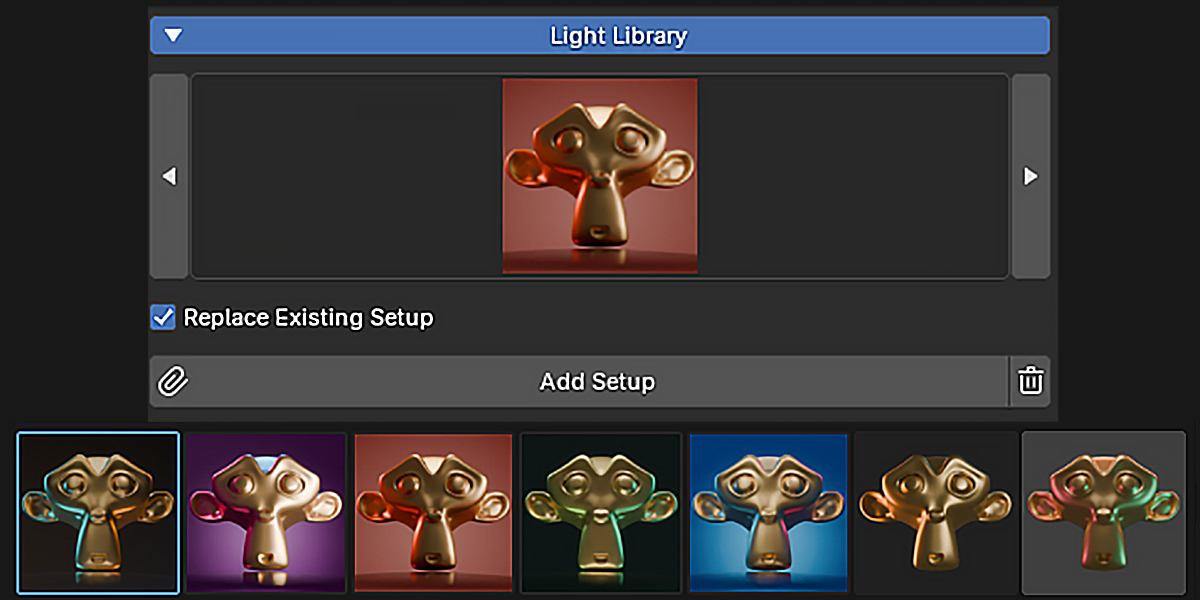
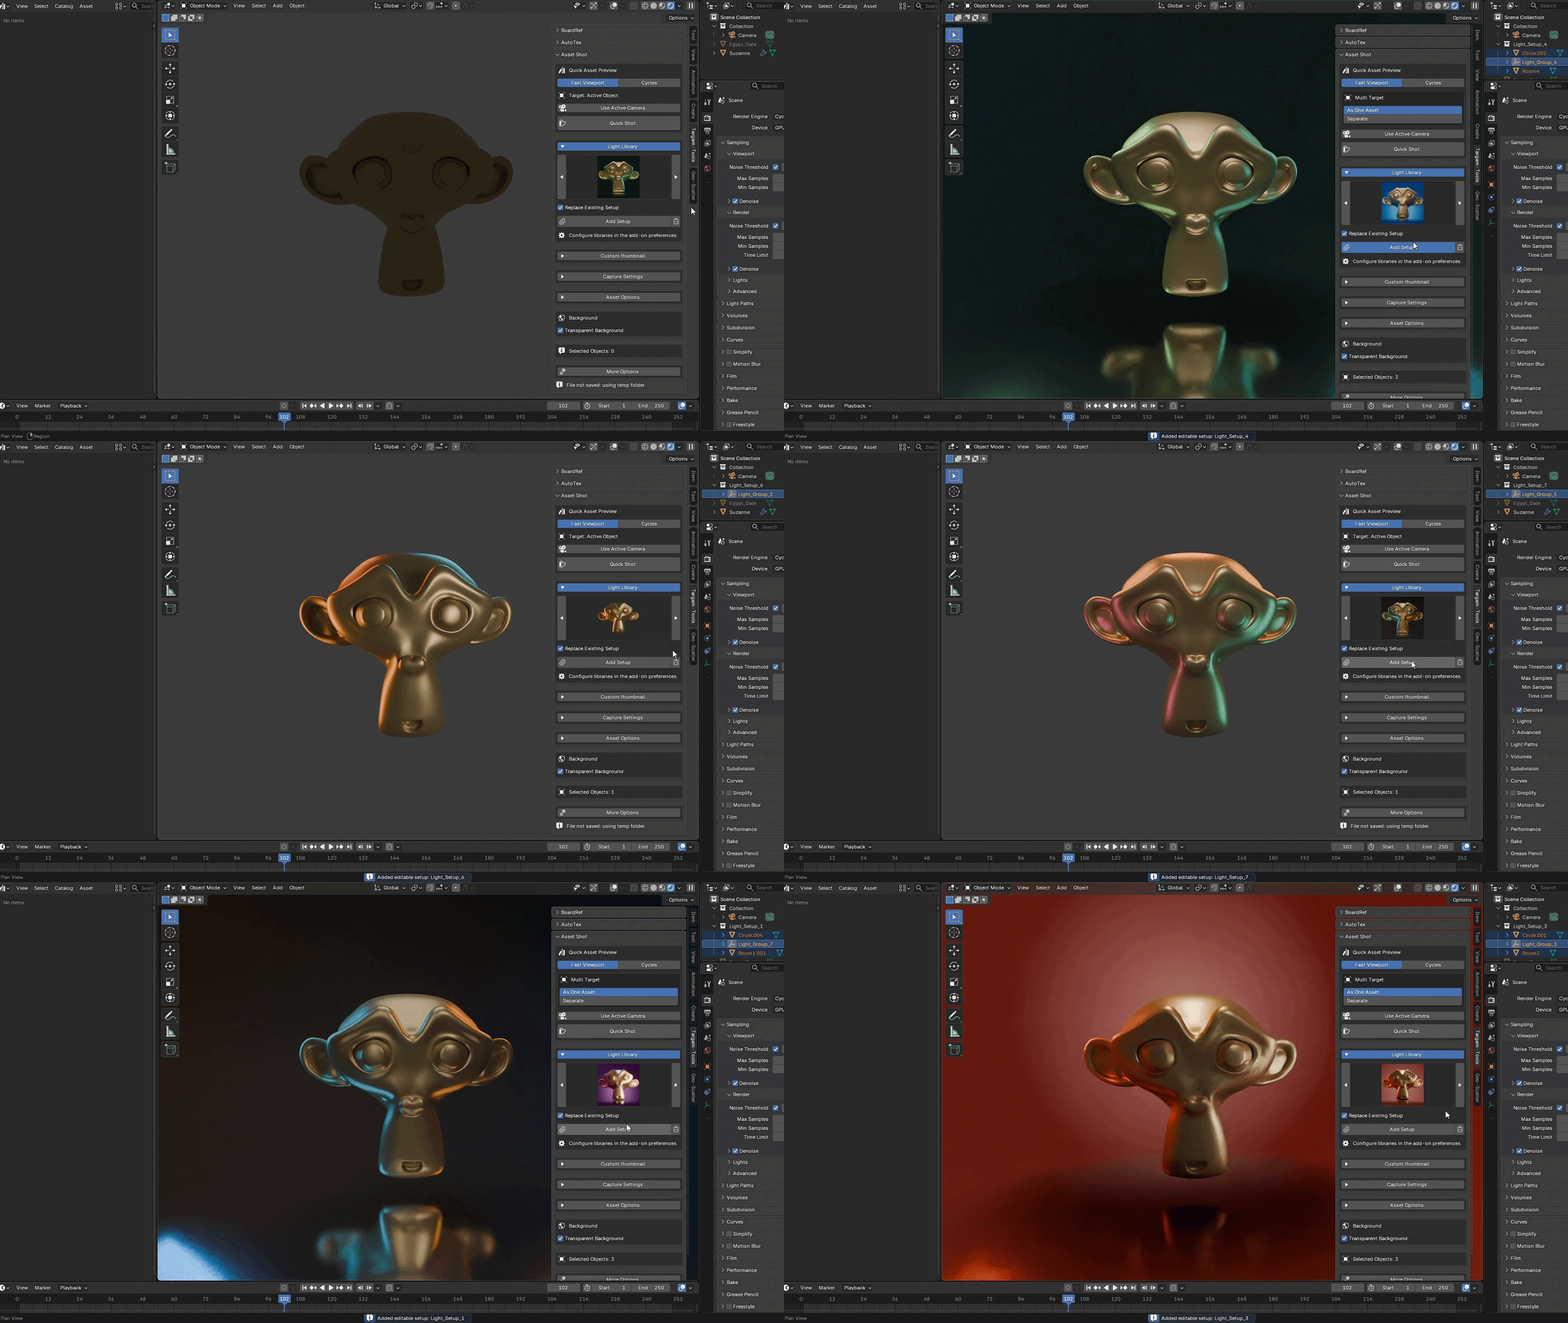
Collections not classified as camera presets are shown in the Light Library.
Softbox_Warm
Studio_Blue
Clay_Setup
Rim_Lighting
A setup may contain Lights, floors, backgrounds, reflectors, and supporting Objects.
3. Create Matching Thumbnail Images Every Collection needs an image whose filename exactly matches the Collection name. Matching is case-insensitive and thumbnail subfolders are scanned.
Collection: Camera_Front
Image: Camera_Front.png
Collection: Softbox_Warm
Image: Softbox_Warm.png
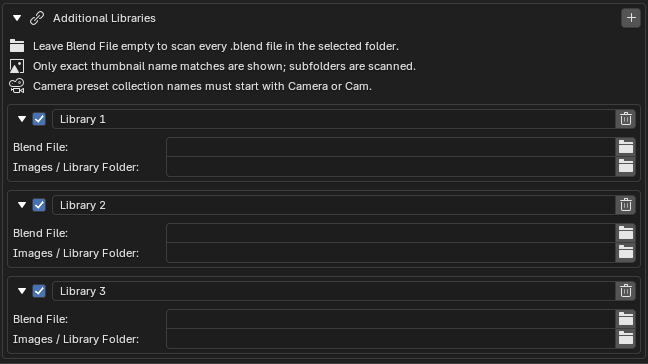
4. Add the Library in Preferences
- Open Blender Preferences and find Asset Shot.
- Expand Additional Libraries.
- Press +.
- Enter a library name and enable or disable the entry as needed.
- Select one Blend File and an image folder, or leave Blend File empty.
- Press Refresh at the top of the preferences.
Folder-Scanning Mode If Blend File is empty, Asset Shot scans every .blend file located directly inside the selected Images / Library Folder. Thumbnail images may be stored in subfolders.
▣
CUSTOM IMAGES
Custom Thumbnail Tools
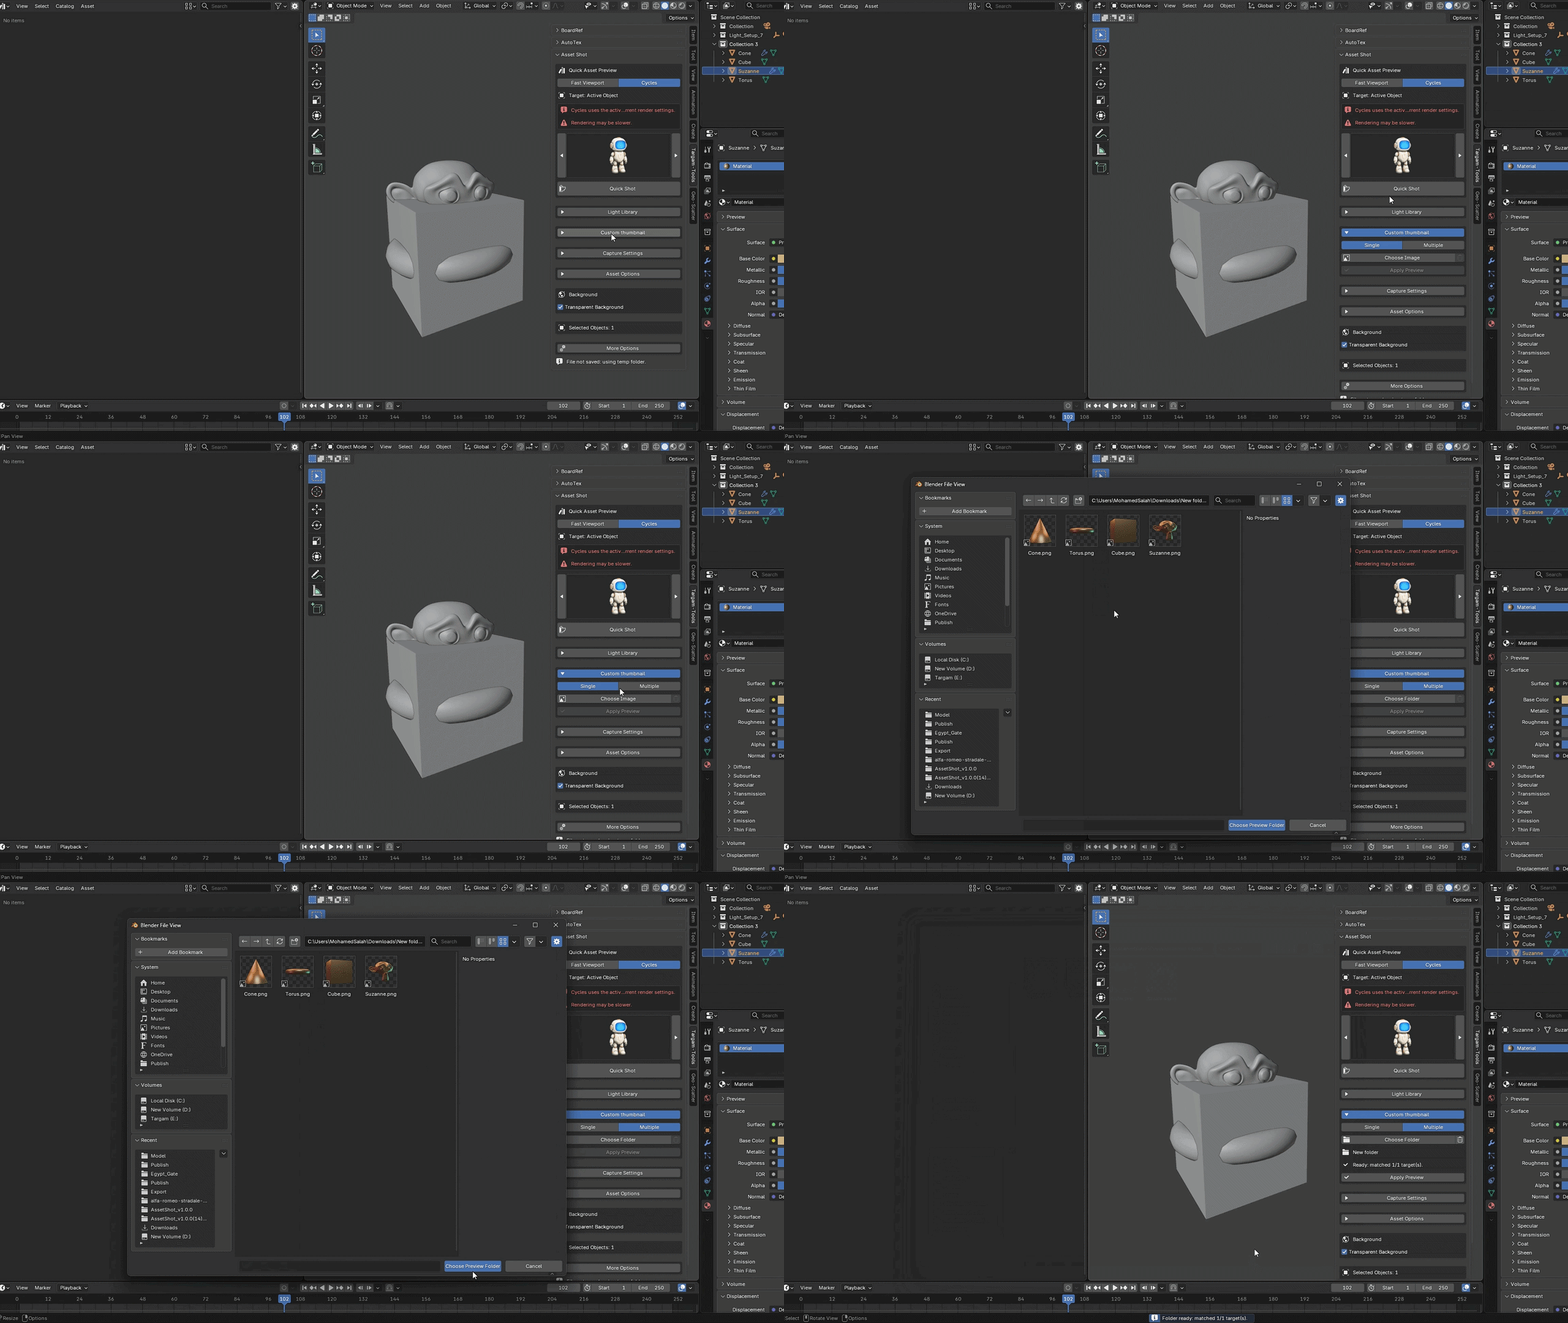
Assign existing images as custom previews without capturing a new shot.
Single Image
Choose one PNG, JPG, JPEG, TIF, TIFF, BMP, or WEBP image and apply it to the current target. It follows the current As One or Separate target behavior.
Multiple Images by Name
Choose a folder and match images to Objects by filename. This mode is always Object-based and never creates a grouped Collection.
Multiple Mode Selection It applies to selected Objects and to Objects inside selected Outliner Collections. Each Object is matched independently.
Filename Matching The image filename should match the Object name. Asset Shot also tries a cleaned filename version where unsupported characters and spaces are normalized.
Match Report The panel shows how many targets were matched and lists the first missing names when some images cannot be found.
Apply and Clear Apply Preview uses the active Single or Multiple mode. The trash button clears the selected image or folder path without deleting files from disk.
□
CAPTURE
Capture Settings
Preview Size Sets the square PNG resolution from 64 to 4096 pixels.
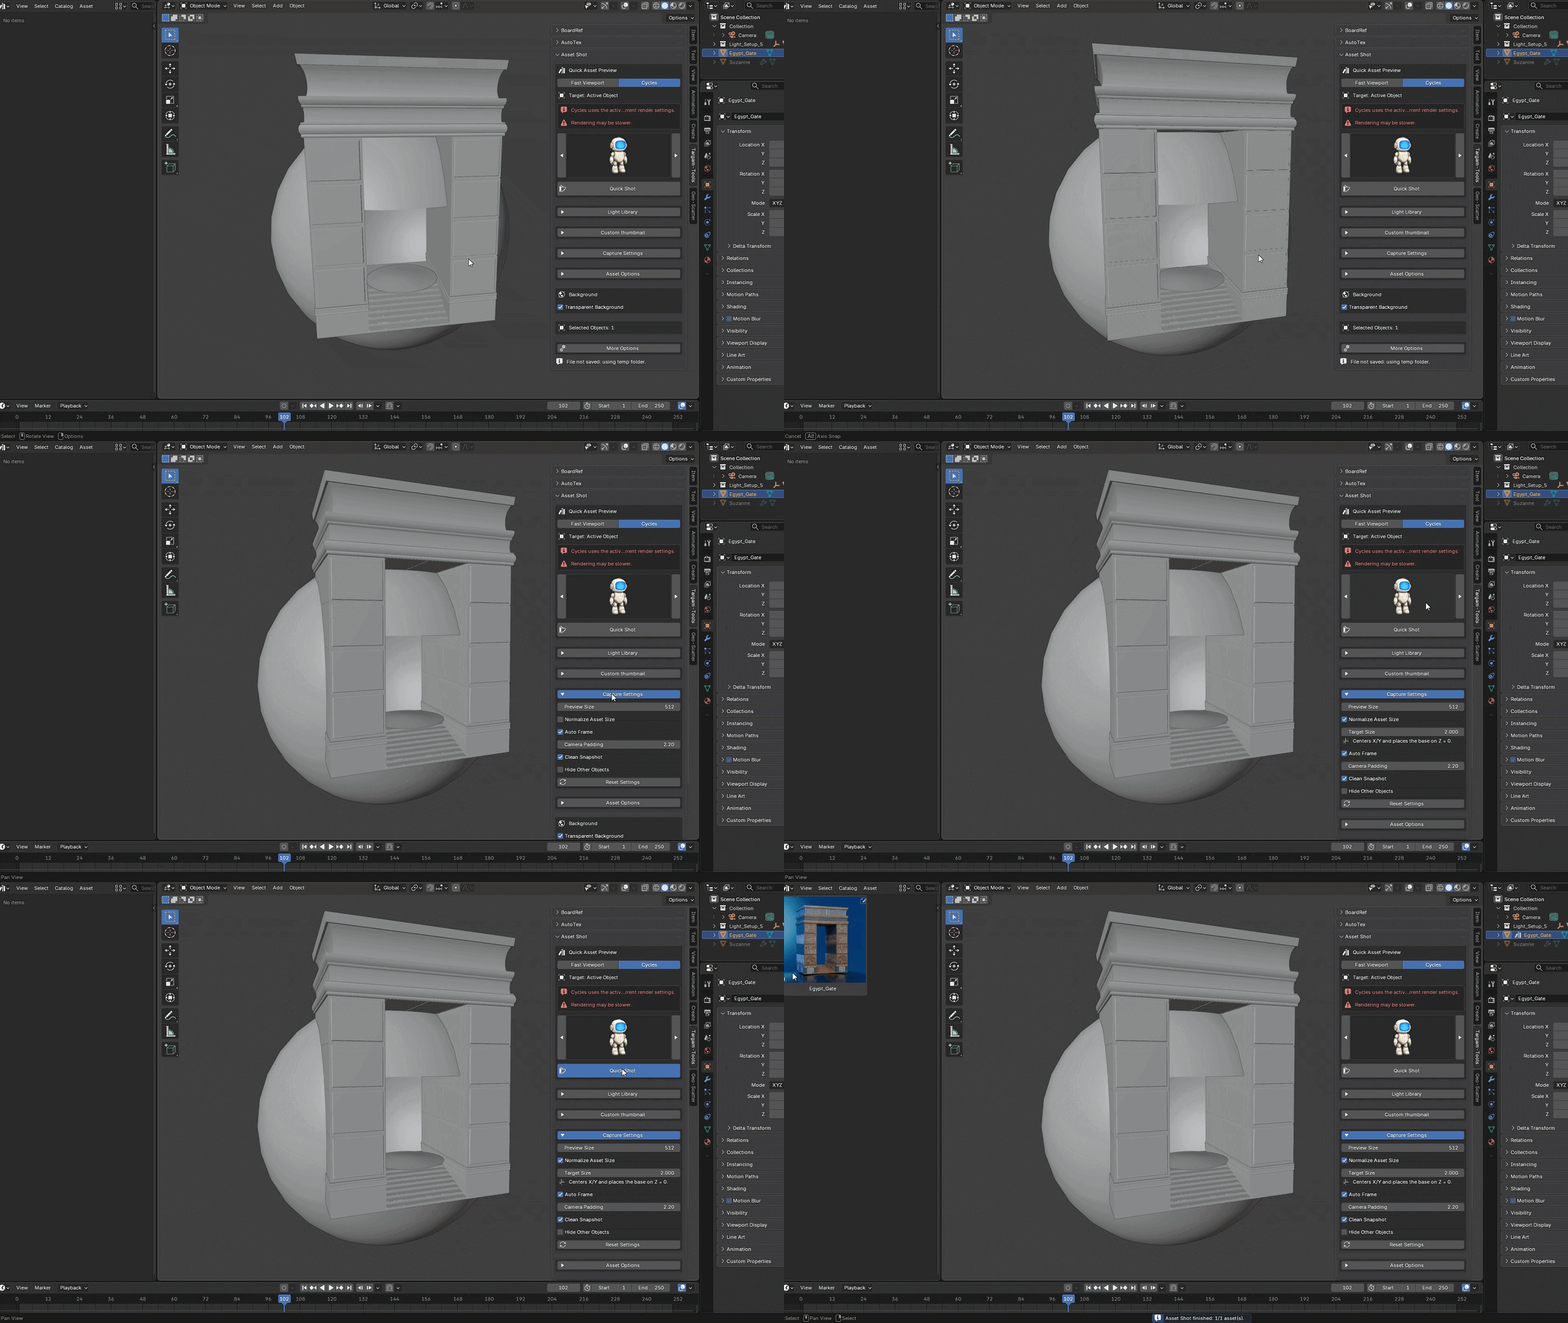
Normalize Asset Size Temporarily scales the target so its largest evaluated bounding-box dimension matches Target Size. It centers the asset on X/Y and places its lowest point on Z = 0.
Restore Original Transforms Normalization changes only root Object transforms temporarily. The original world transforms are restored after capture.
Auto Frame Frames the complete target before capture and restores the previous viewport or camera state afterward.
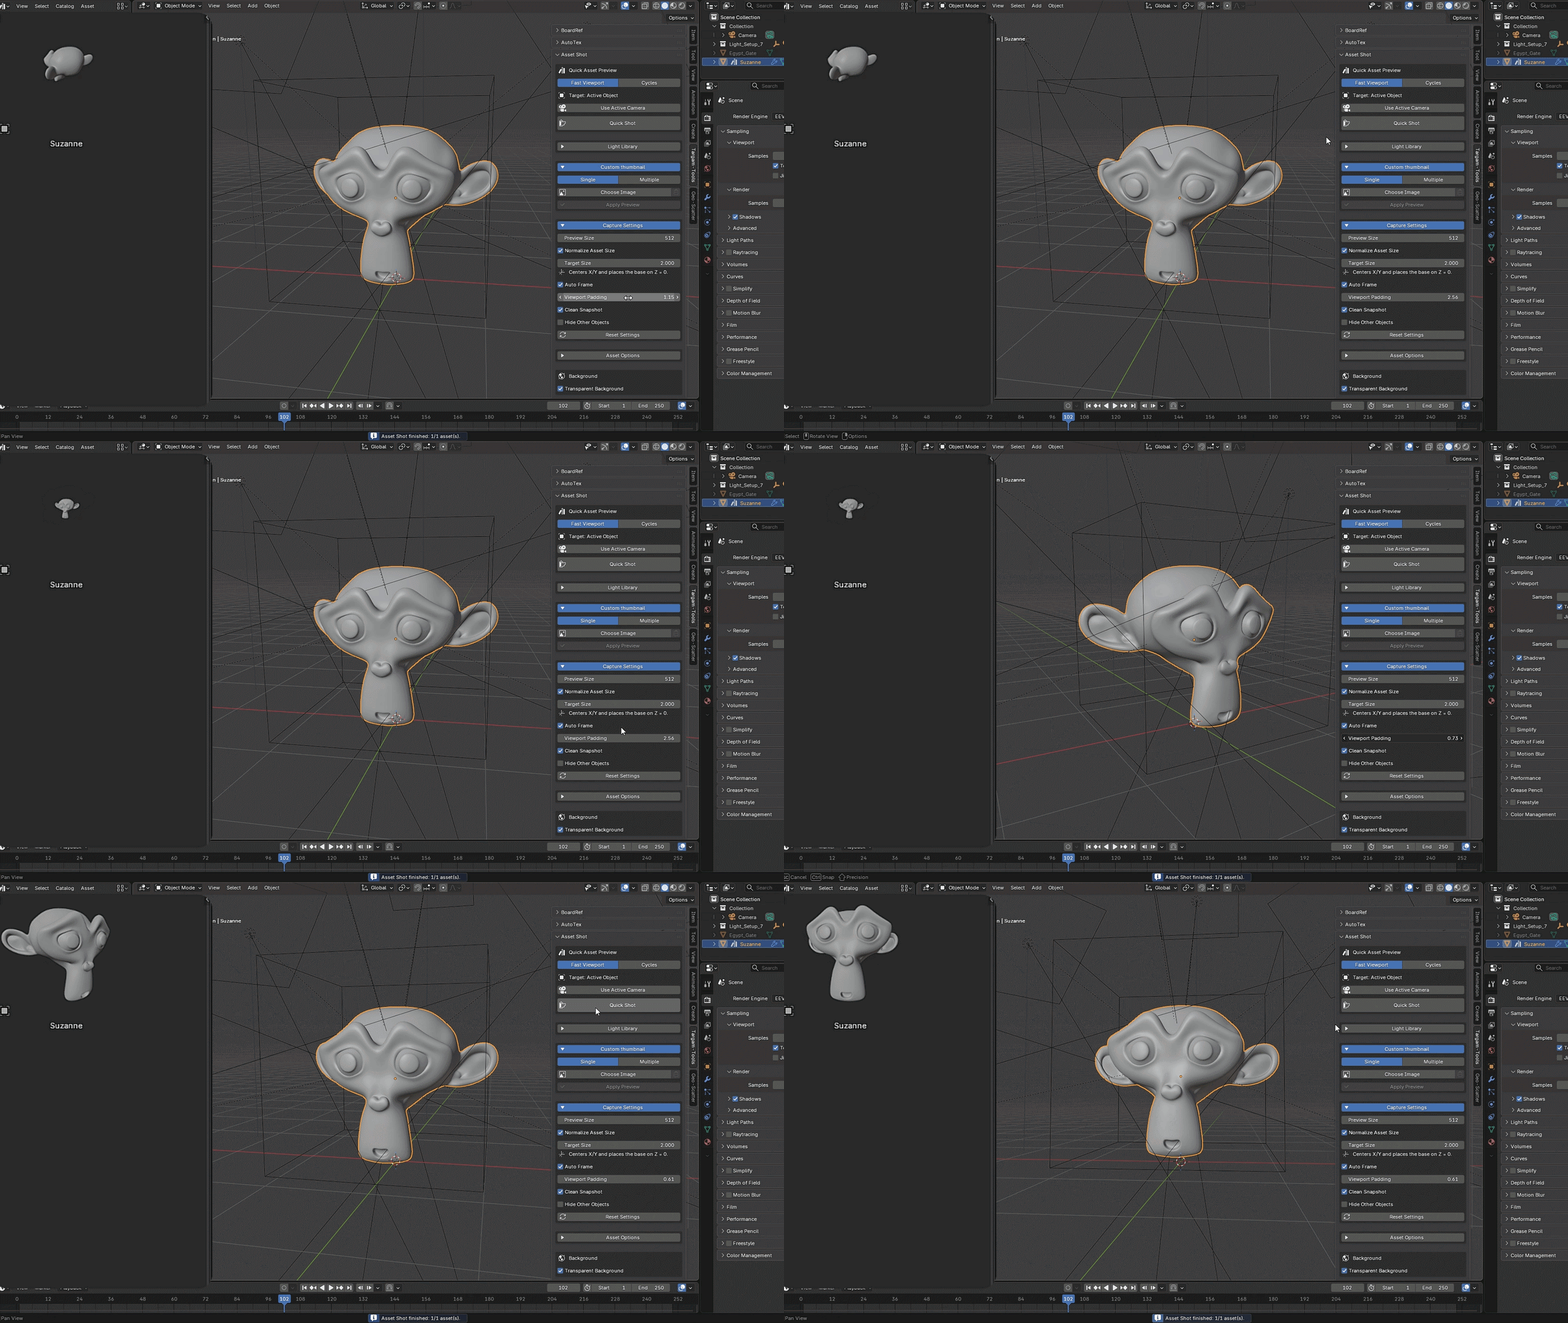
Viewport Padding Controls empty space around the asset when Fast Viewport uses the current viewport angle.
Camera Padding Controls framing when Cycles or Fast Viewport uses the active camera.
Clean Snapshot Temporarily hides grids, axes, origins, extras, gizmos, cursor, annotations, text, statistics, and selection outlines without changing the chosen viewport shading.
Hide Other Objects Temporarily hides other supported geometry while capturing and restores its previous visibility afterward.
Reset Settings Restores the default fast setup, including Fast Viewport, 512 px, transparent background, Auto Frame, Hide Other Objects, and the default asset options.
◆
ASSET LIBRARY
Asset Options
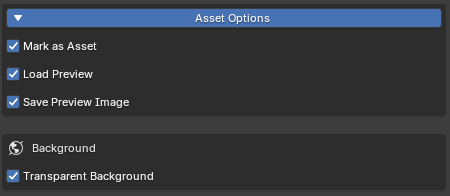
Mark as Asset Marks the target Object or Collection as a Blender Asset. If the target is already an asset, it is updated instead of duplicated.
Load Preview Loads the generated PNG as the custom preview for the target asset.
Save Preview Image Keeps a PNG copy in the output folder. If disabled, the temporary PNG is removed after the preview is loaded.
Independent Controls Mark as Asset, Load Preview, and Save Preview Image are separate options. You can create only an image, update only a preview, or perform the complete asset workflow.
!
TROUBLESHOOTING
Common Warnings
No Target Select one supported Object or select a Collection in the Outliner.
No 3D Viewport Asset Shot requires an available 3D Viewport for viewport framing and capture.
Cycles Is Not Active Switch the scene render engine to Cycles before using Cycles mode.
No Camera Preset Enable the built-in presets or configure a valid camera library. A camera preset Collection must contain a Camera Object.
No Light Setups Check the library Blend file, image folder, matching thumbnail filenames, enabled state, and press Refresh Libraries.
Some Separate Targets Failed Asset Shot continues processing the remaining targets and writes detailed failed-item messages to Blender's console.
Custom Images Are Missing Check Object names, image filenames, supported extensions, and the folder selected in Multiple mode.
 Mohamed Targam