Auto Animal Rig
 AutoRig.online


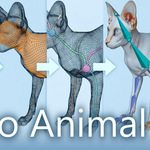
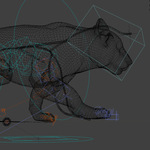
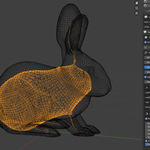
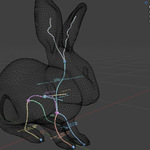
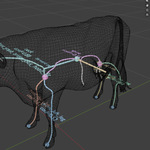
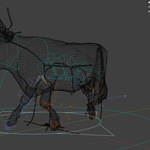
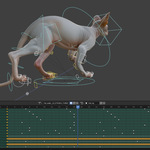
Auto Animal Rig Documentation
Before using the add-on, install the required products:
Both products are required and sold separately. Auto Animal Rig does not include Auto-Rig Pro or the Auto-Rig Pro: Rig Library.
Installation
1. Download the Auto Animal Rig ZIP file.
2. Open Blender 5.1.
3. Go to Edit > Preferences.
4. Open Get Extensions or Add-ons, then choose Install from Disk.
5. Select the Auto Animal Rig ZIP file.
6. Enable the add-on.
7. In the 3D View, open the Sidebar and find the Auto Animal Rig panel.
Before You Run
1. Make sure Auto-Rig Pro is installed and enabled.
2. Make sure Auto-Rig Pro: Rig Library is installed.
3. Select the mesh you want to process.
Cleaner, more complete meshes usually produce better automatic detection, fitting, and binding results. If the model has disconnected pieces, very thin parts, or unusual proportions, use the step-by-step workflow so you can inspect each stage and save adjusted settings for future one-click runs.
Workflow Option 1: One-Click Run
One-click is one of the main features of Auto Animal Rig. It runs the full detection, rig fitting, binding/skinning, and animation tuning path from the selected model using the currently saved settings.
1. Select the target animal mesh.
2. Choose the One-Click preset / Animal preset in the add-on UI.
3. Check that the selected preset exists in the ARP Preset Folder if the add-on asks you to confirm it.
4. Click One-Click CGAL Run.
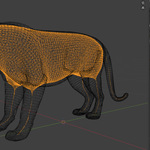
5. Wait for the add-on to run remesh, smooth, CGAL detection, semantic detection, External ARP Rig fitting, binding/skinning, and animation tuning.
6. Review the result and use Finish Pipeline when the output is ready.
The one-click run uses the values stored in the active defaults file. To change those values, use the step-by-step workflow, adjust the settings in the relevant stage panels, then press Save Defaults before starting a one-click run.
Workflow Option 2: Step By Step
The step-by-step workflow gives you more control. Use it when testing a new model, tuning settings, or checking where a detection result needs adjustment.
1. Select the target mesh.
2. Run Remesh.
3. Apply Remesh when the preview looks correct.
4. Run Smooth.
5. Apply Smooth and switch to the CGAL pipeline.
6. Run MCF Stage 1.
7. Run Segment Cleanup Stage 2.
8. Run Presemantic Limbs and Torso Stage 2.1.
9. Run Detect Body Semantics Stage 2.2.
10. Choose the Animal / ARP Preset and confirm the ARP Preset Folder.
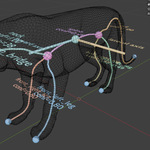
11. Run Stage 3: External ARP Rig.
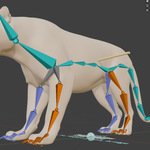
12. Choose the bind engine and binding settings, then run/confirm binding so the model is skinned to the fitted rig.
13. Run Stage 4: Animation Tuning and adjust its settings, such as tuning strength, when needed for the fitted actions.
14. Click Finish Pipeline.
Quad Remesher can be selected as a remesh engine only if the external Quad Remesher add-on is already installed and enabled. If it is not installed, use the built-in Blender remesh modes instead.
Voxel Heat Diffuse Skinning is only required when the VHDS binding engine is selected. If VHDS is not installed, choose another available binding option.
Notes And Limitations
- Auto-Rig Pro and Auto-Rig Pro: Rig Library are required and sold separately.
- Voxel Heat Diffuse Skinning and Quad Remesher are optional external add-ons and are not included.
- The workflow is built around compatible Auto-Rig Pro Rig Library presets.
- The final result is a fitted Auto-Rig Pro based rig with the model bound/skinned to it, but difficult topology may still require manual review or adjustment.
- Automatic detection works best on clear animal meshes with readable body and limb shapes.
- For difficult models, use the step-by-step workflow and adjust settings between stages.
- If a run fails early, check the selected mesh, ARP Preset Folder, selected preset, and optional add-on availability.
Have questions about this product?
Login to message
| Published | 4 months ago |
| Blender Version | 5.1 |
| Extension Type | N/A |
| Render Engine Used | Cycles, Eevee |
| License | GPL |
