Auto Bake Master
 Alpha Productions


Auto Bake Master
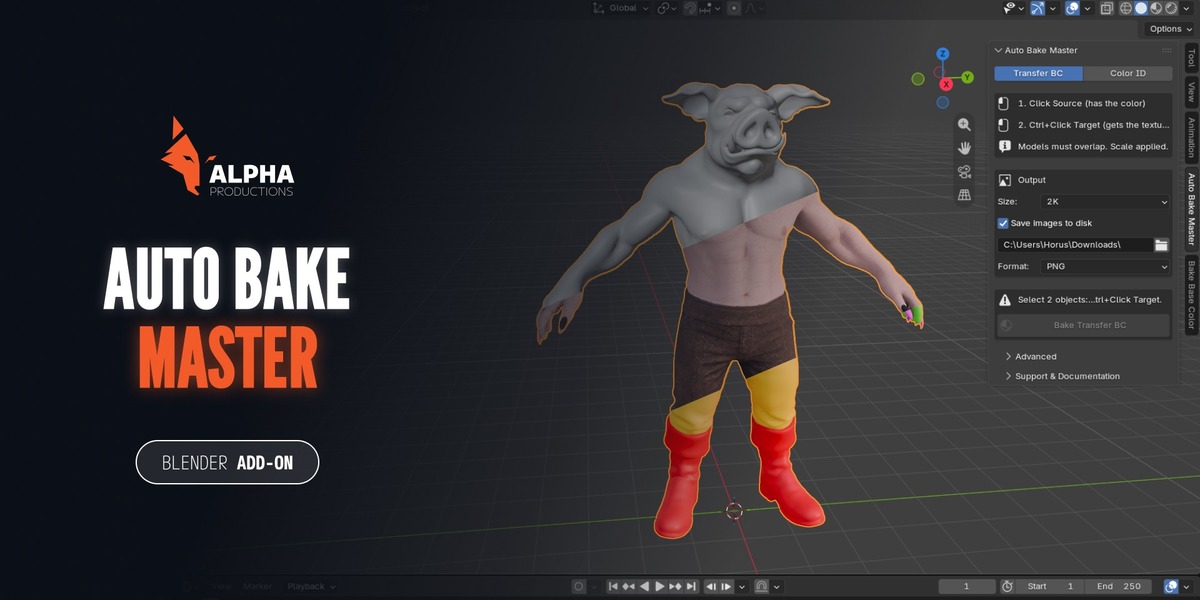
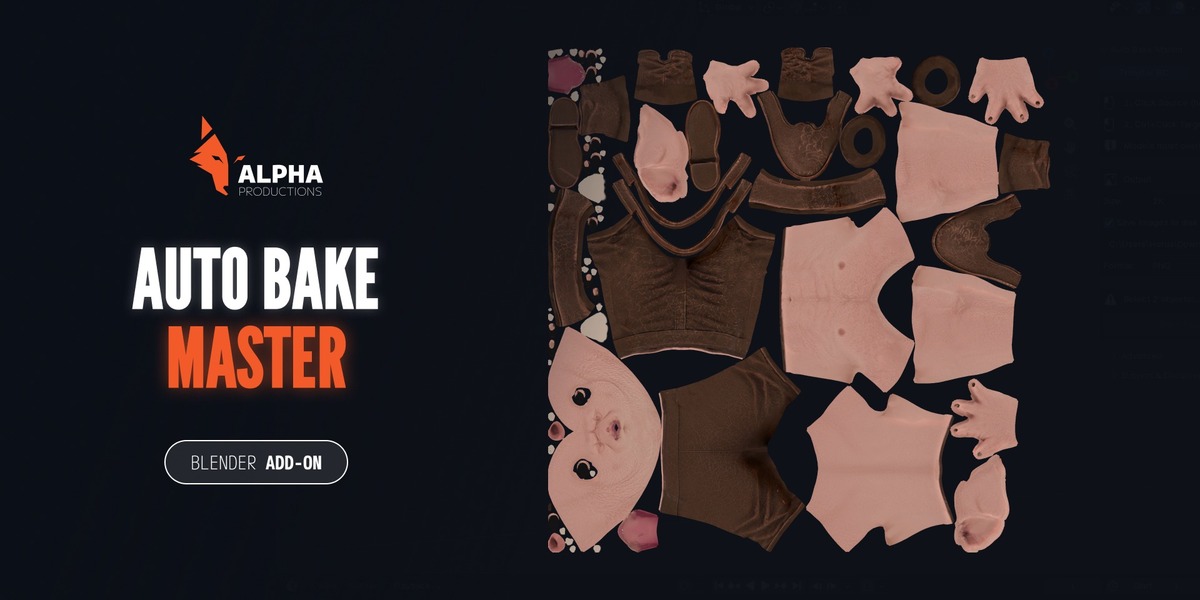
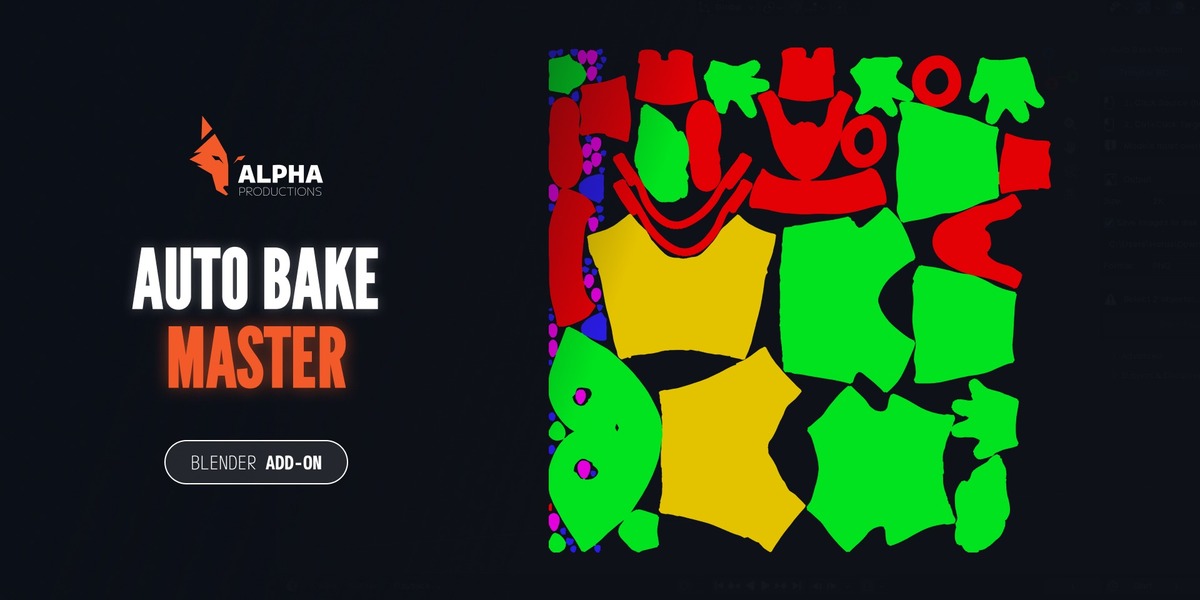
Auto Bake Master removes the repetitive setup of baking in Blender. It has two modes. Transfer BC (Base Color) bakes a Source model's Base Color into a texture for a Target model's UV map. Color ID bakes the material colors of one model into an ID map. It creates the images, saves them, connects the Base Color for you, and restores your Blender settings afterwards.
Transfer BC moves texture information, not polygons. The Source and the Target can have different polygon counts or the same one: what matters is that they overlap in space and that the Target has a UV map.
What it does not do (version 1.0): it does not bake Normal, Ambient Occlusion, Roughness, Metallic or ORM maps. Those are planned for a future version, with no date promised.
What it does
Transfer BC: bakes the Base Color (color only, without lighting or shadows) from the Source onto the Target's UVs.
Color ID: creates ID materials in one click (optional), bakes one flat color per material into a single image, and removes the helper nodes afterwards.
Lets you choose the size (512, 1K, 2K or 4K), the folder and the format (PNG, TGA or JPG), and saves the images to disk.
Checks the selection, scale, UV map, and materials before baking, with a specific message for each problem.
Bakes as a regular Blender job: progress bar in the status bar, the interface stays responsive, and Esc cancels.
Restores every setting it changed when the bake ends or is cancelled.
Requirements
Blender 4.2 or newer (tested on Blender 5.2).
Enable the Cycles add-on (it is enabled by default).
Transfer BC: both models must be meshes with scale applied (Ctrl+A > Scale) and must overlap in space. The panel offers an Apply Scale button.
The Target (Transfer BC) or the model (Color ID) needs a UV map.
Installation
Open Edit > Preferences > Get Extensions.
Open the menu at the top right and choose Install from Disk.
Select the .zip file and confirm.
Enable the add-on. The panel appears in the 3D Viewport sidebar (press N) under the tab Auto Bake Master.
Updating
If you have an older version installed, remove it in Preferences before installing the new one.
Workflow
Transfer BC (Base Color)
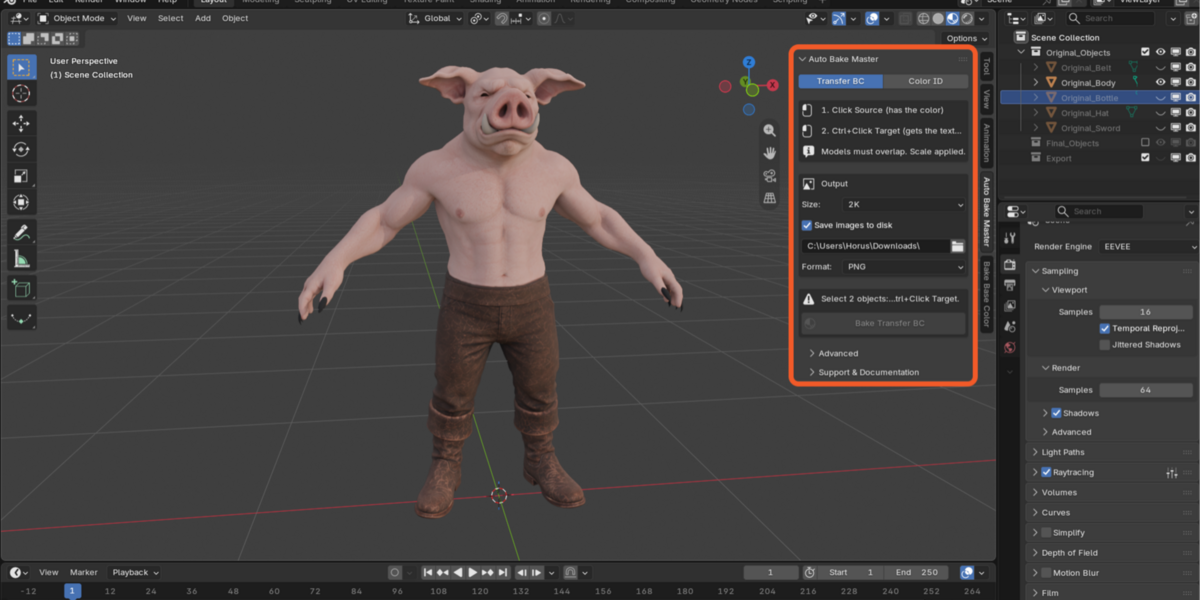
Click the Source (the model that has the color), then Ctrl+Click the Target (the model that will receive the texture). The Target must be the active object.
In Output, choose the size and the folder where the image will be saved.
Press Bake Transfer BC. The status bar shows the progress and Esc cancels.
When it finishes, the image is saved, shown in the Image Editors and connected to the Target's Base Color if that socket was free.
Color ID
Select only the model.
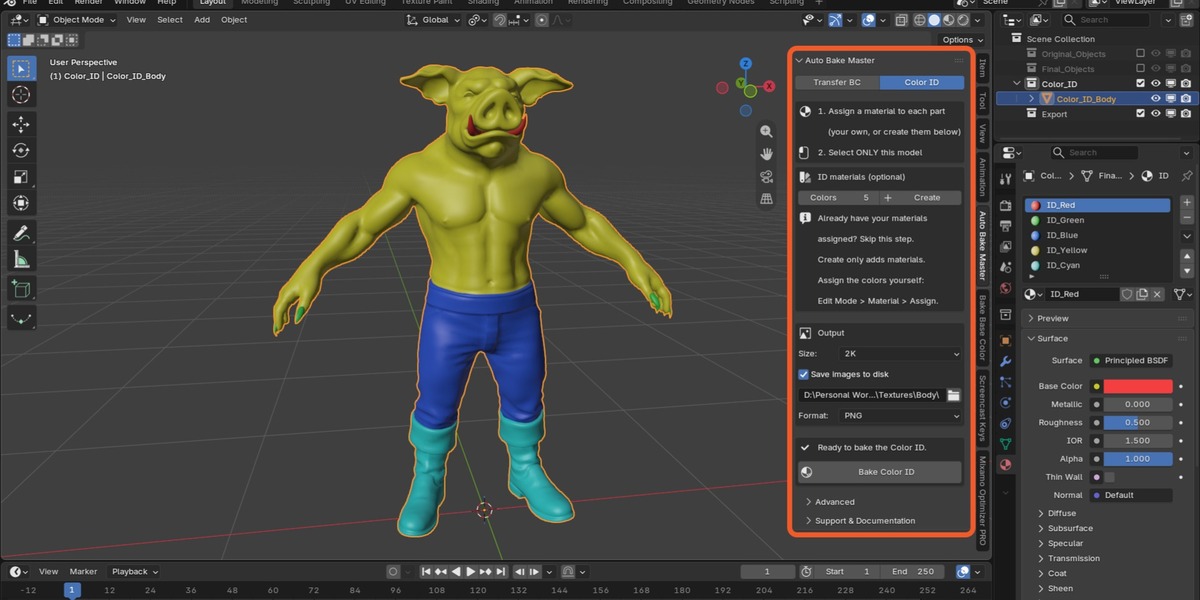
Use your own materials, or choose how many Colors you want (default 4) and press Create to add ID materials. If your model already has its materials created and assigned, skip this step: Create always adds new materials, so do not press it again.
Create only adds the materials; you assign the colors by hand. Assign the materials to the faces: go to Edit Mode, select the faces, and use Material Properties > Assign.
Back in Object Mode, press Bake Color ID.
Save your images
If Save images to disk is off, the baked images live only inside the .blend file. If you close Blender without saving the file, they are lost. With the default folder (//, next to the .blend), save the .blend first.
Panel reference
Mode: Transfer BC or Color ID.
Size: 512, 1K, 2K, or 4K (default 2K; 4K for more detail). Large images use a lot of memory while Blender bakes. If your free RAM is not enough for the chosen size, the add-on blocks the bake with a message instead of freezing your computer.
Save images to disk: saves every baked image as a file (on by default).
Folder: output folder. // means the folder of the .blend file (default //). You can type a subfolder such as //textures/; the add-on creates it.
Format: PNG, TGA, or JPG. JPG makes smaller files but is lossy (quality 95); it is not recommended for Color ID because compression blurs the edges between flat colors. Files are named _BaseColor or _ColorID.
Colors and Create (Color ID): how many ID materials to add, from 2 to 16 (default 4).
Advanced > Remove helper nodes after bake (Color ID, on by default): to bake, Blender needs an Image Texture node in every material, so the add-on adds one temporarily. With this on, it removes those nodes afterwards and your materials stay exactly as they were. Turn it off only if you want to inspect them.
Advanced > Extrusion (Transfer, default 0.001): ray distance used to reach the Source. 0.001 works for models that overlap closely.
Advanced > Margin (0 to 64 px, default 16): pixels of color bleed around the UV islands. Useful against seams and mipmaps in game engines.
Reset Advanced Settings: restores Extrusion and Margin to their defaults.
What it changes in your scene
During the bake, the add-on switches the render engine to Cycles and changes the bake options it needs. When the bake ends or is cancelled, it restores your previous engine, samples, and bake settings.
Transfer BC adds one Image Texture node with the baked image to each material of the Target, and connects it to Base Color only if that socket is free. An existing Base Color connection is never replaced. If the Target has no material, the add-on creates one named Mat_Bake_.
Color ID adds temporary image nodes to your materials and removes them afterwards (unless you turn off Remove helper nodes after bake). The ID materials created with Create are normal materials that you can edit or delete.
Have questions about this product?
Login to message
| Blender Extension Compatible | Yes |
| Published | about 3 hours ago |
| Blender Version | 4.2 - 5.2 |
| Extension Type | Add-on |
| Render Engine Used | Cycles |
| License | GPL |
Discover more products like this
base-color bake character Unreal Engine game assets diffuse baking ID-map color id automation texture-baking