 Sunyifan


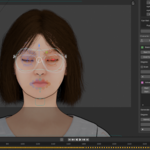
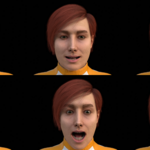
🧭 Quick Start Guide
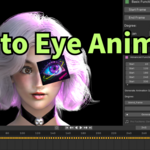
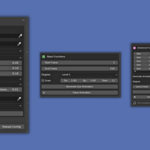
Here’s a step-by-step overview of how to use AutoEye Animator:
🔹 1. Basic Setup
Select your character and armature.
Choose your rig type (Rigify, Auto-Rig Pro, Faceit, Custom).
Set the eye master bone.
Define eye movement range (horizontal & vertical limits).
Select the eyeball mesh.
(Optional) Select a Pupil Shape Key for emotion-driven dilation.
Choose animation start and end frames.
Click Generate Animation under "Basic Functions".
💡 Tip: Adjust "Intensity" to control how dynamic the eye movements are. Smaller movement ranges = more exaggerated motion.
🔹 2. Blinking & Scan Mode
Enable Scan Mode to make the eyes roll upward (e.g., when the character is thinking).
Customize blink strength, speed, and frame offset.
Blinking is random and natural — no extra rigging required.
🔹 3. Multi-Character Workflow
Working in a scene with multiple characters?
Use Save Character Settings to store rig setups.
Use Clear Settings to start with a new character.
Previously saved settings can be instantly restored.
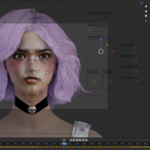
🔹 4. Emotion-Driven Mode (Advanced)
AutoEye Animator supports emotional gaze shifts over time. Here's how:
Add a pupil shape key: Set value to 1, enter Edit Mode, resize pupil, set min value to -1.
In the Advanced Panel, define emotional intervals (start & end frames).
Choose to generate single or multiple emotion sections.
Adjust intensity and smooth blending between sections.
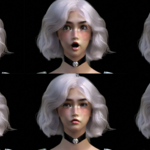
✨ Example: Sad eyes blink slower with less motion. Angry eyes shift more rapidly with narrower pupils.
🔹 5. Rig Compatibility Overview
🔧 Requirements
Blender 3.6 or later
A rigged character with separate eye control bones (e.g. eyeball_LookAt_master)
(Optional) Face with ARKit shape keys
(Optional) Shape keys for pupil control
-
$24.99
- Automatic Eye Animation - One-Click Workflow - Blinking & Scan Motion
-
$49.99
- Automatic Eye Animation - One-Click Workflow - Blinking & Scan Motion - Emotion-Driven Eye Motion - Emotion-Driven Face expression
Have questions about this product?
Login to message
| Blender Extension Compatible | Yes |
| Sales | 10 |
| Published | about 1 year ago |
| Blender Version | 3.6 - 4.5 |
| Extension Type | Add-on |
| Render Engine Used | Cycles, Eevee |
| License | Mit |
Discover more products like this
eye animation emotion face 3d character expressions motion eye motion rig Eye animation face expression eyemotion